


How To Glaze Your Painted Furniture For An Antique Look

Using glaze is a great way to add an antique, patina look to your project and bring out the fine details. Read this post to learn all about the newest Country Chic Paint product and find out how you can win some!
We know many of you have been asking about glazes and we're so excited to tell you that we now have a beautiful line of furniture glaze available!
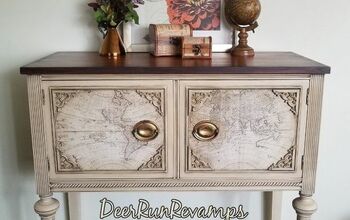
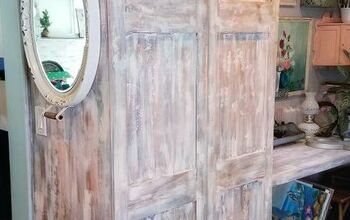
Country Chic's furniture glaze gives any piece a beautiful aged look. It is eco-friendly, suitable for both indoor and outdoor projects and dries with a matte finish.
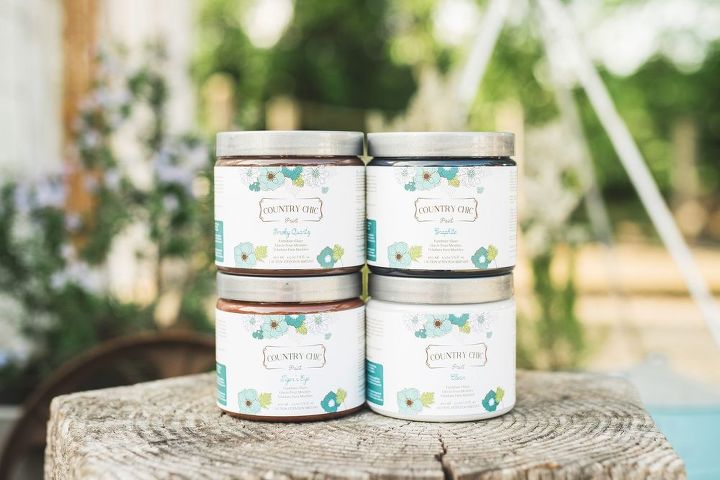
You can get the glaze in 4 different colors. There is Tiger's Eye which is a warm mahogany brown tone, Smoky Quartz which is a rich, cool, chocolate brown, and Graphite which is a very dark grey that dries almost black. A clear glaze is also available, so that you can tint with any Country Chic Paint color to create your own custom glaze color!
All of our glazes are available in 16 oz pints and 4 oz sample jars.
Country Chic furniture glaze is available at our retailers (http://www.countrychicpaint.com/storelocator). Please make sure you call ahead for availability.
In this brand new video tutorial, we'll show you our tips and tricks on how to apply Country Chic Paint's new glazes to achieve a beautiful antique look.
Watch this video to see our company co-founder, Rosanne creating a gorgeous glazed piece!
We know many of you have been asking about glazes and we're so excited to tell you that we now have a beautiful line of furniture glaze available!
Country Chic's furniture glaze gives any piece a beautiful aged look. It is eco-friendly, suitable for both indoor and outdoor projects and dries with a matte finish.
You can get the glaze in 4 different colors. There is Tiger's Eye which is a warm mahogany brown tone, Smoky Quartz which is a rich, cool, chocolate brown, and Graphite which is a very dark grey that dries almost black. A clear glaze is also available, so that you can tint with any Country Chic Paint color to create your own custom glaze color!
All of our glazes are available in 16 oz pints and 4 oz sample jars.
Country Chic furniture glaze is available at our retailers (http://www.countrychicpaint.com/storelocator). Please make sure you call ahead for availability.
In this brand new video tutorial, we'll show you our tips and tricks on how to apply Country Chic Paint's new glazes to achieve a beautiful antique look.
Watch this video to see our company co-founder, Rosanne creating a gorgeous glazed piece!
{
"id": "2890690",
"alt": "How To Glaze Your Painted Furniture",
"title": "How To Glaze Your Painted Furniture",
"video_link": "https://www.youtube.com/embed/fomx0q4GI08",
"youtube_video_id": "fomx0q4GI08"
}
{
"width": 634,
"height": 357,
"showRelated": true
}
- Enter to Win FREE Glaze! -
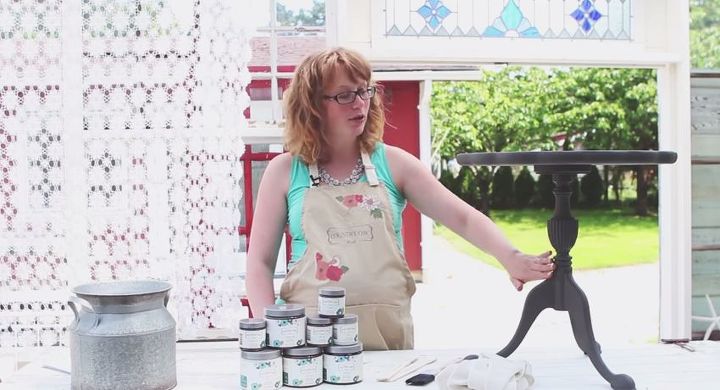
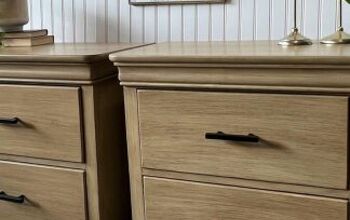
Step 1) Paint your piece
Step 1) Paint your piece
Before using the glaze, be sure to paint your piece first. For this table, we've decided to go with Rocky Mountain.
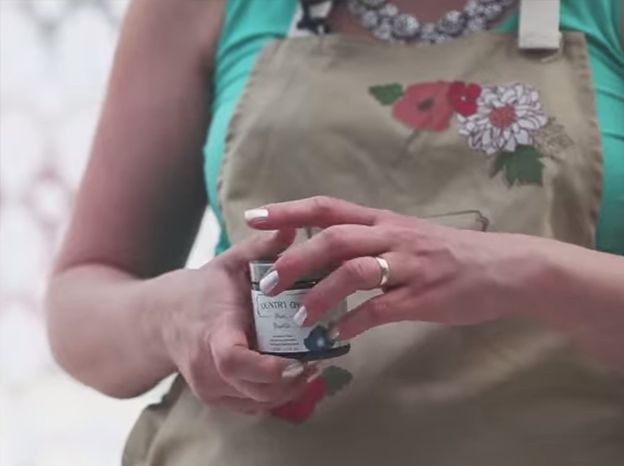
Step 2) Shake and stir your glaze
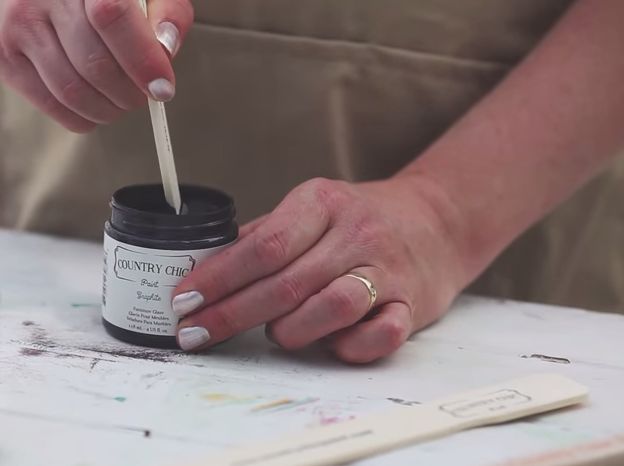
Step 2) Shake and stir your glaze
Before you open the jar, give it a good shake for about 1 minute. Then you can open the jar and stir it for another minute to make sure the ingredients are mixed well.
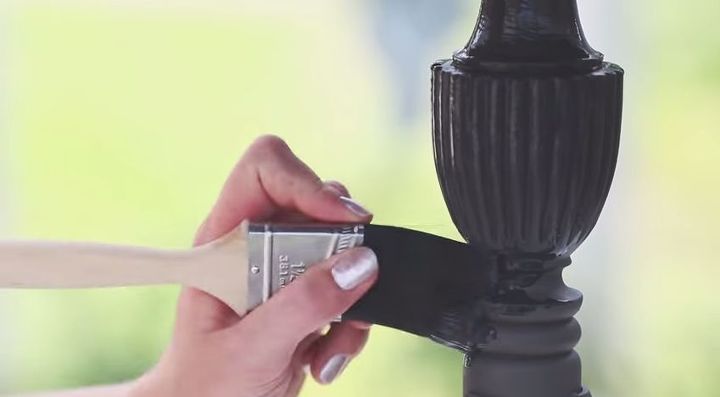
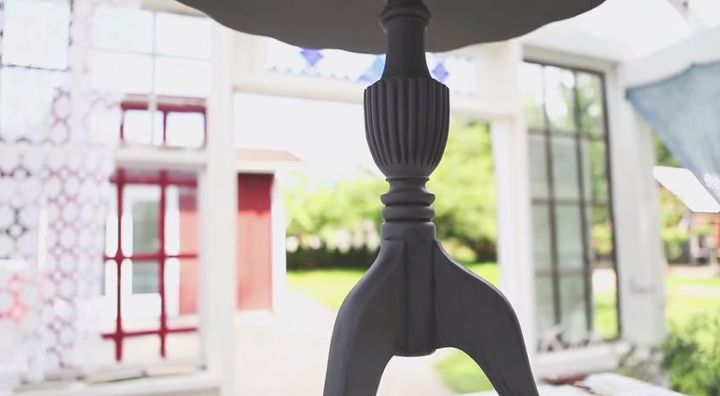
Step 3) Apply Glaze
Take your paint brush and apply glaze onto your piece. For this piece, we decided to use Graphite.
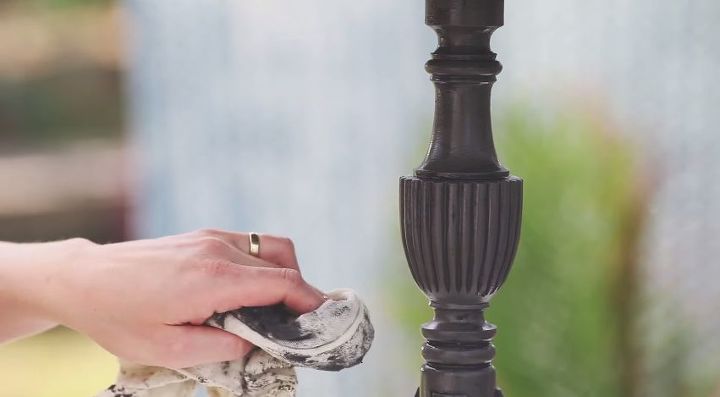
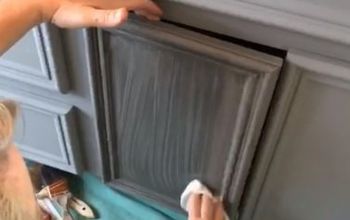
Step 4) Remove excess glaze
Immediately after applying your glaze, you’ll take a damp cloth and wipe away as much glaze as you want in order to create the look you’re after.
These new products can be found at many of our retailers. Call ahead for availability.
Comments
Join the conversation
4 of 5 comments
-
This looks so easy to use! I like that it is safe for the environment, too. I am just getting into refinishing and already have several pieces for my gal cave.
-
Very glad I watched this video. My glazing was not coming out right. . Using a brush and experimenting with colors beyond black did the trick. Thank you for valuable free advice.


Frequently asked questions
Have a question about this project?