Rope Wrapped Vase

Diana
by Diana
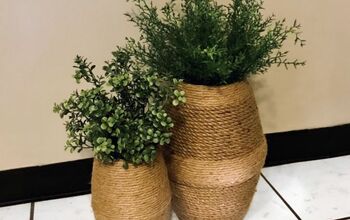
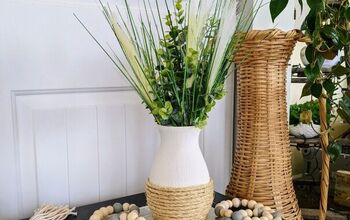
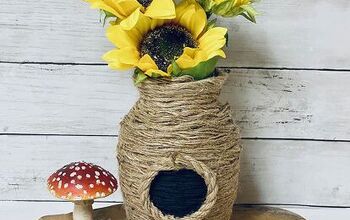
Macrama yarn over vase and empty candle glass
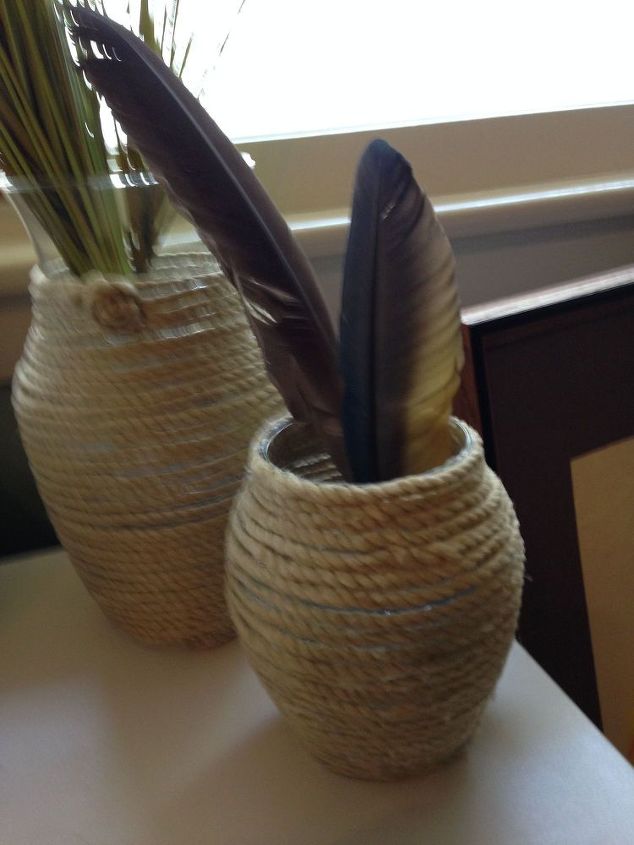
Yard or rope wrapped vases, jars, etc.


Step#1 wash glass item with hot sudsey water to remove any grease or film – allow to dry thoroughly or dry with cloth.


Step#2 cover work surface to catch any drips, plug in glue gun to pre-heat


Step#3 determine starting point – I like to start at the bottom in case I run out of material I can stop and my project look like it was planned to stop at that point.


Step#4 put a dap of glue on the end of the yarn or rope and hold it


in place to anchor it – then apply a couple of inches at a time


hot glue to the glass surface and begin winding the material


around the glass object


( if you want a tight, solid look be sure to push the material


tightly into place)


Continue until you have reached the area where you want to stop and cut the material, dap a little glue on the end, turning the raw end in and press into place.


WARNING: do not try to apply too much glue at a time as it cools fairly rapidly and you want it to be hot and pliable as you apply the material.


Once you are finished you can tie a bow around the throat of the object and glue in place. I twisted the ends instead of making a bow and glued into place to create a more finished look on the vase.


I do not use these objects with live flowers which need water as I do not know how he glue will hold up, but they are perfect for silk or dried flowers, feathers, pencils, etc.


I used macrame yarn that I had on hand. You could use any type of yarn, rope, string, etc. that you happen to have on hand. I can even envision scraps of fabric cut into long pieces and braided together.


If you plan to do this as a project with children I would not do so with small children unless they are safe using hot glue.
Frequently asked questions
Have a question about this project?
Comments
Join the conversation
 2 comments
Next