


Burlap Sack, Styrofoam, and Fabric Wall Art

Last year I posted another tutorial very similar to this one but I used Styrofoam box. This is what you can do with Styrofoam board and some scrap fabric. Since I didn't have a larger piece of the fabric to cover the back and do the boarders, I used burlap sack. This project is very easy and fun. It takes some time but you can do it while watching TV in a few hours depending on how large and detailed your picture will be :) if you precut it, your children can work on it too. All you need to do is draw something fun and tuck the fabric in
No glue required :)
No glue required :)

Finished :)
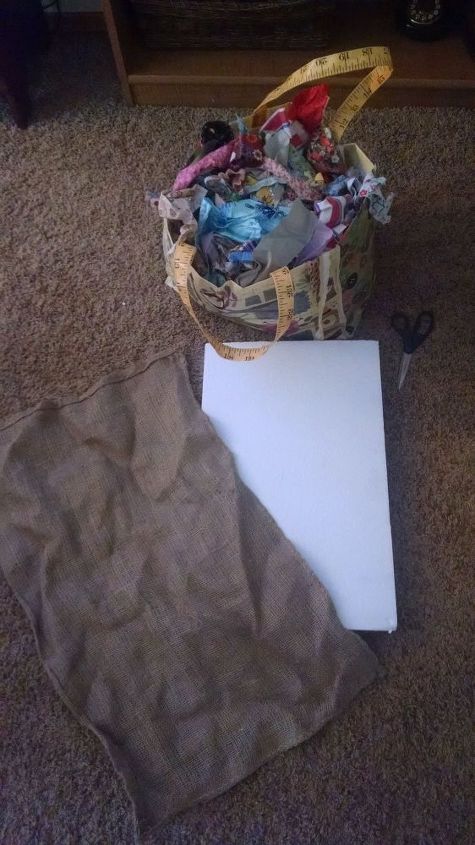
Burlap, Styrofoam, and lots of fabric scraps
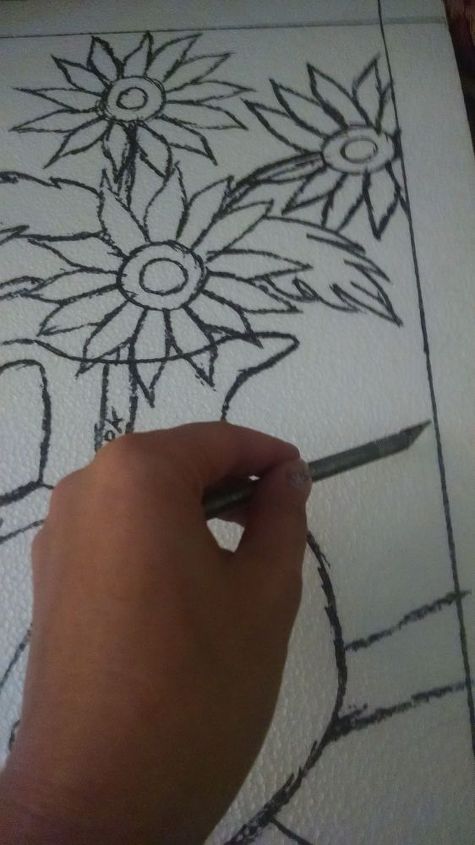
Draw your design with a marker. Then cut along the lines using a sharp craft knife. Don't cut through
Put the Styrofoam on top of larger piece of burlap or fabric and push your burlap into Styrofoam using flat knife or other tool
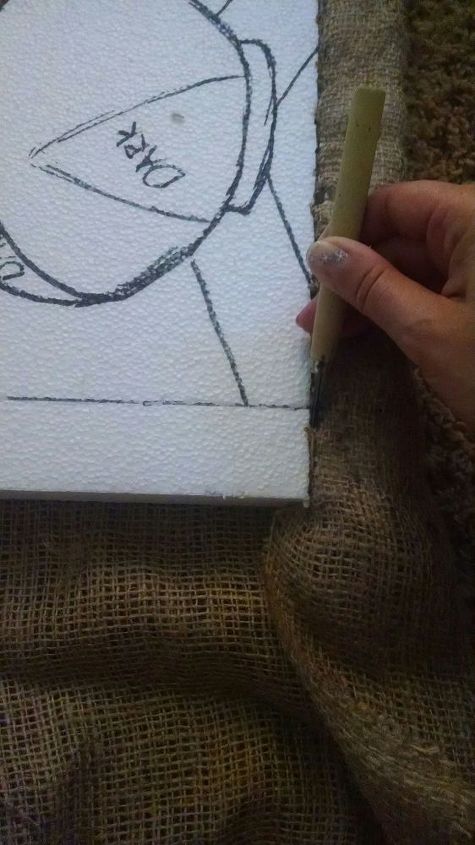
Burlap I harder to work with than fabric because it frays easily. But when you tuck it in it stays there pretty well
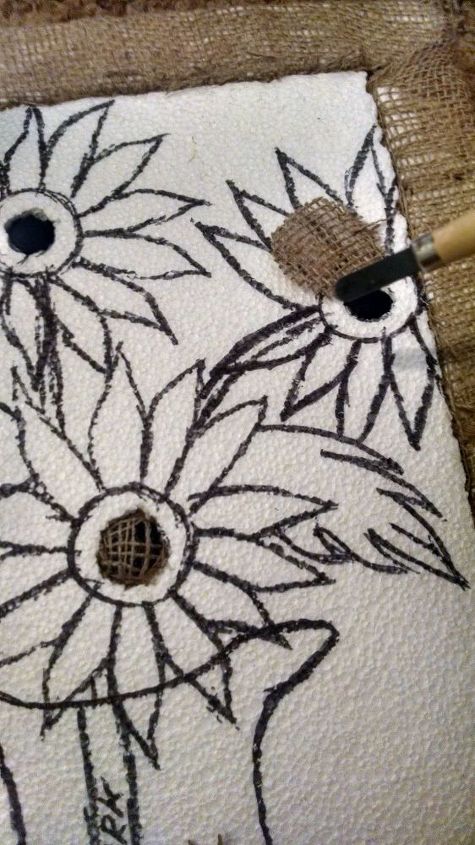
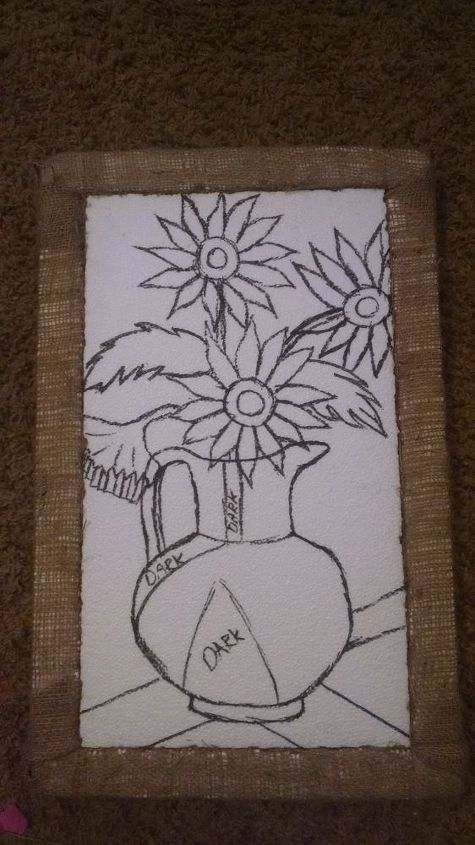
Work on your details. Remember to cut wherever you drew your design. I chose black fabric for the center of the flower and then added burlpap on top. Cut fabric larger than your design so you can tuck it in deep enough
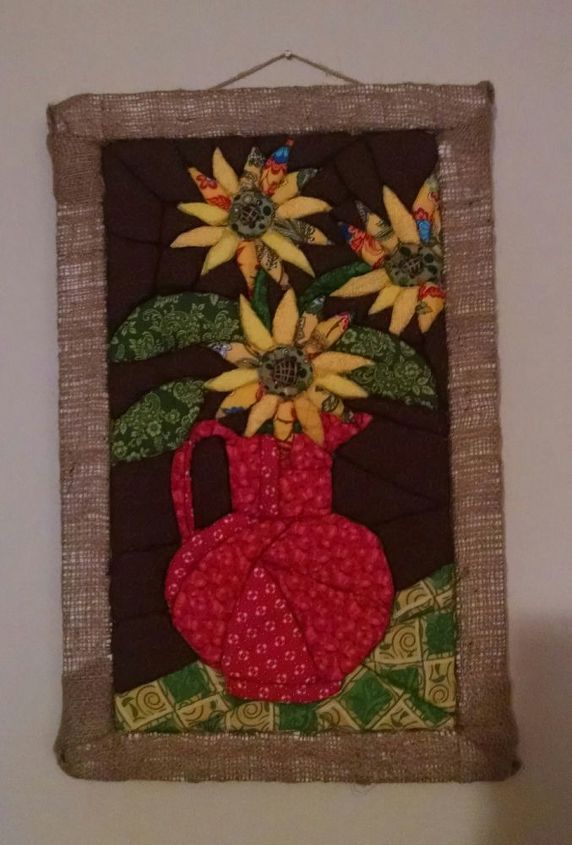
All done. I changed some details during my work because it didn't look right. The fabric can be always pulled out because it is not glued to anything. You can always add extra lines to your background to use smaller pieces of fabric

On my wall :)

This is another project I did the day before. I used only regular fabric
Comments
Join the conversation
2 comments
-
Will be making one. Thanks for sharing
-
Such a creative use of fabric scraps!! Thanks for sharing


Frequently asked questions
Have a question about this project?
Great idea! Looks like a quilt, I’m definitely saving this to make later. How thick was the styrofoam you used? It needs to be thin enough for a frame, but I’m worried it will crack while pushing in the fabric..