


Ugly Brown Cabinet Transformation Thanks to Decoupage and Chalk Paint.

Browsing my local thrift shop, I decided to grab this ugly old cabinet while I could. It was only $5! It was HEAVY and I knew with some TLC, it could look pretty. It was a long project, only because I applied a few techniques and I needed hubby's help with attaching new feet to the piece, but it was well worth the time it took as I really love the results. I sold it the same day I put it online! :D Here is what I did. I hope this inspires you to look at ugly ol' things with a new eye, seeing the potential in all pieces you might come across. It wasn't an expensive project as I made my own chalk paint and had many of the supplies already. I bought deck post toppers for the four feet, too, which saved 50%! More details below ...
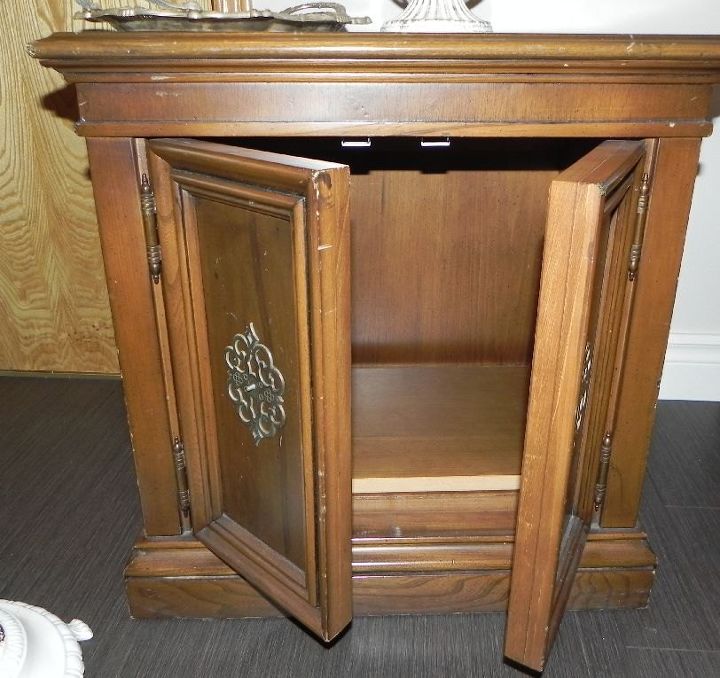
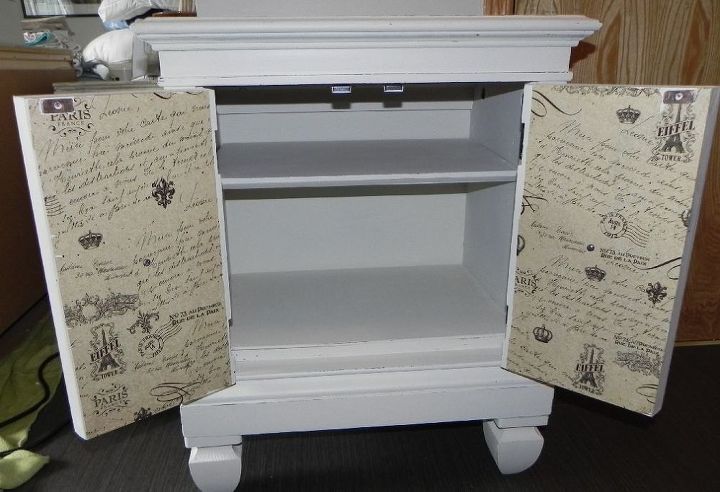
Here is the cabinet before I did a thing to it. It had a shelf inside and there were no knobs left on the doors. It was beat up, dirty, cheap but had good bones and details. There was a little bit of real wood, and lots of laminate. What did I have to lose?
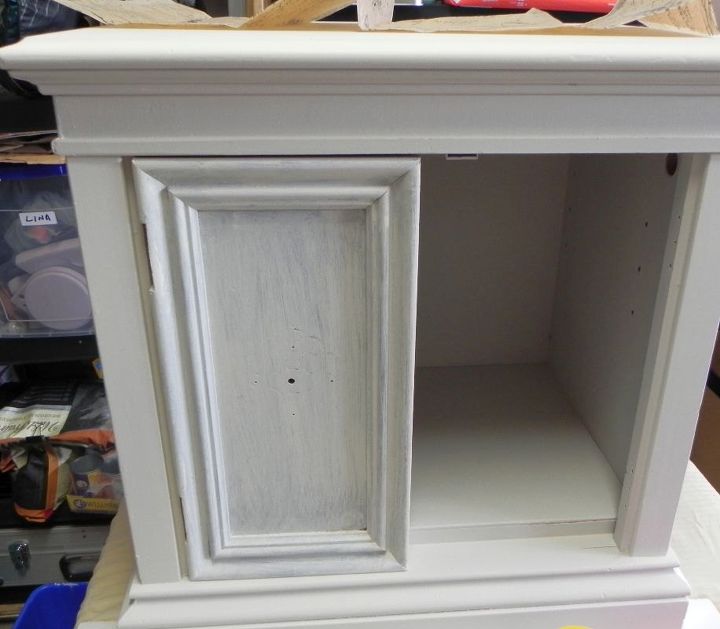
I cleaned the cabinet thoroughly, took off the hardware and applied a coat of Zinsser primer. I prefer to use a coat of primer on laquered, laminated or smooth surfaces even though you don't have to when using chalk paint, only because it saves me a coat of chalk paint (and sometimes that can be pricey - though I used a homeade recipe for this project) and also, it assures me that the following coats will adhere.
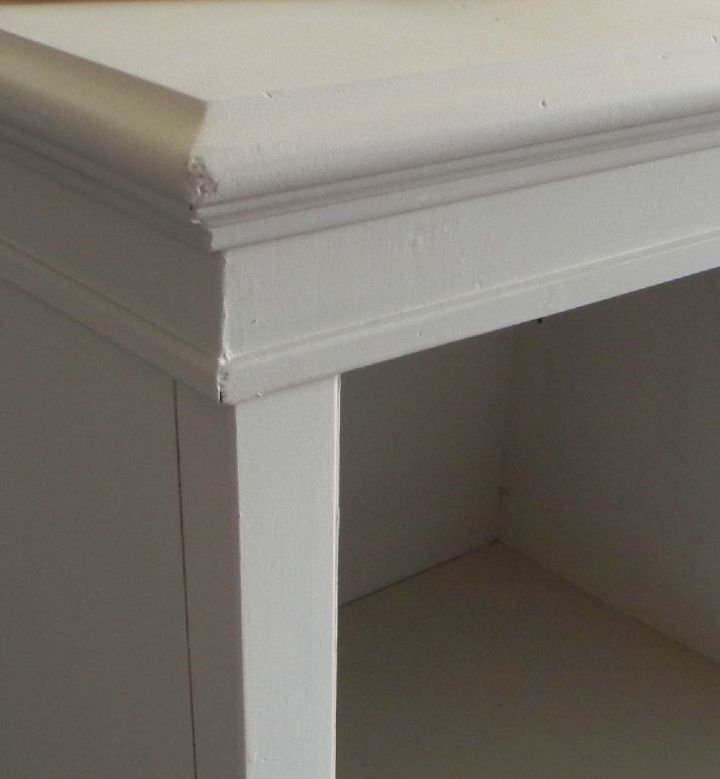
After a coat of primer, I painted on three light coats of a cream coloured chalk paint I made. I used a latex paint, Plaster of Paris and a bit of water - recipe is all over the internet. Easy, cheap because I already had leftover paint from a bedroom project and it went on well.
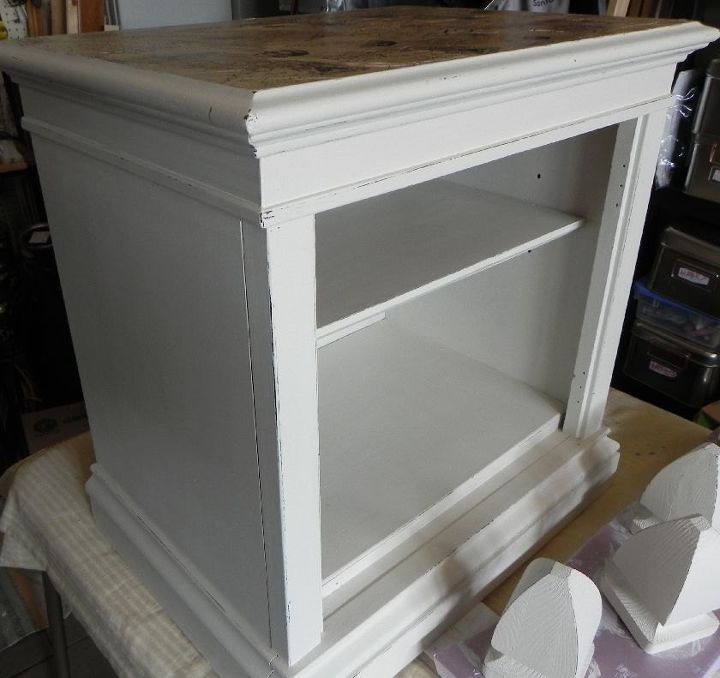
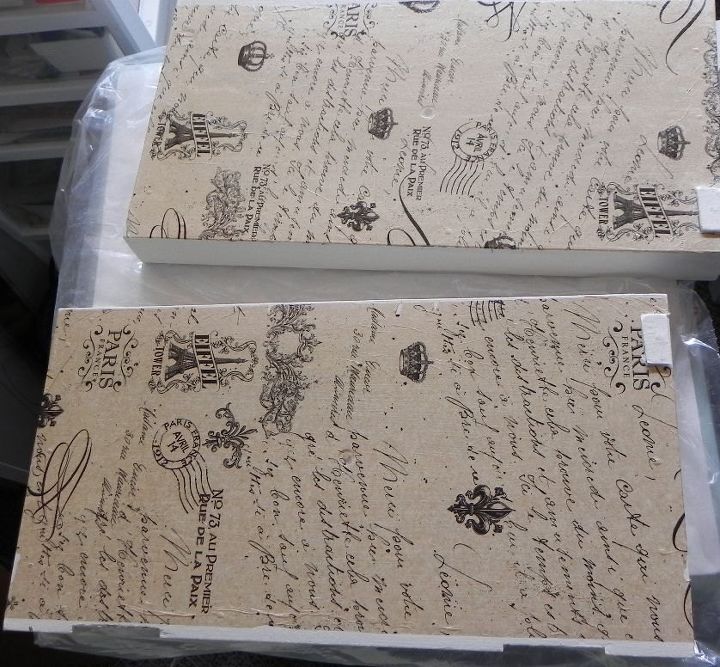
I decided to decoupage the top of the cabinet as it was gouged and damaged, as well as do the insides of the two front doors. I used a tissue paper, mod podge before and after applying the paper and a couple more coats for protection.
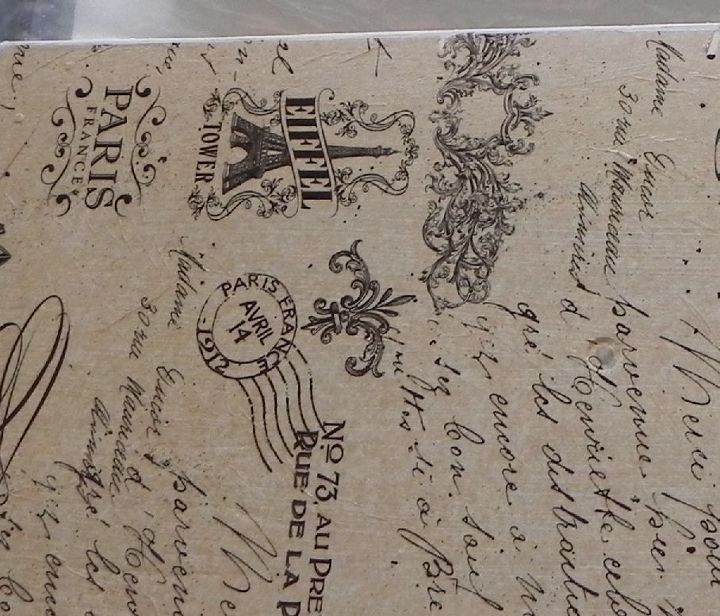
Detailed look at the tissue paper I used. Isn't it pretty?
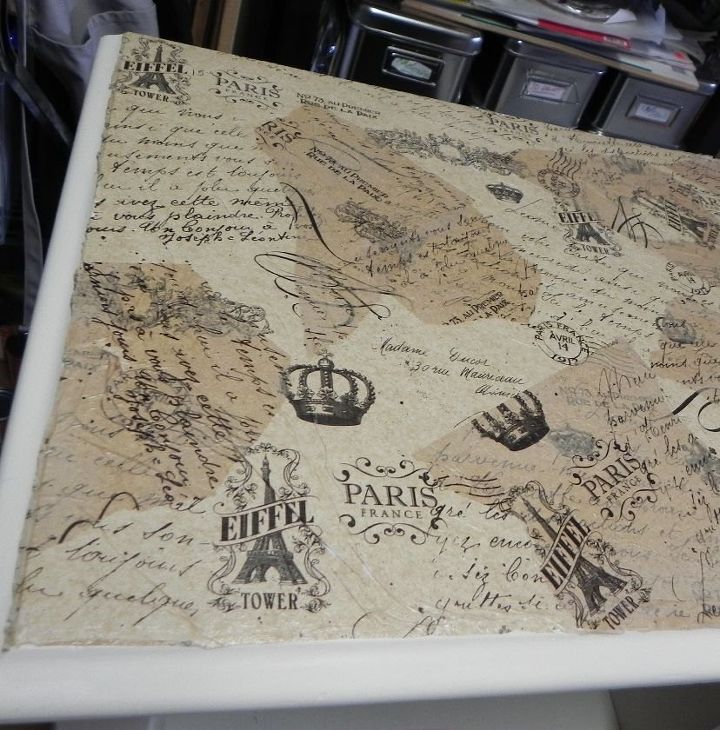
I started applying the tissue paper to the top of the cabinet, wanting to cover up so much damage that was there, and when it dried, I sanded off the bits hanging over the edges, cleaning it up a bit, distressing here and there.
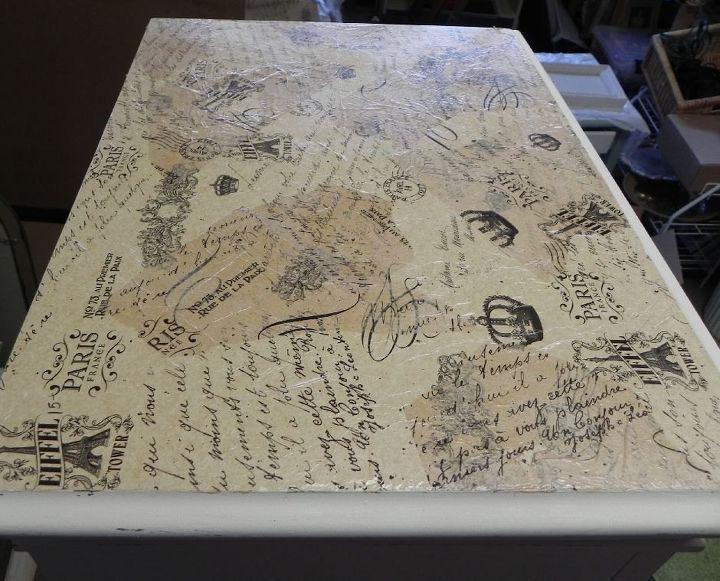
I applied four coats of Mod Podge, wanting to give the top a good protected surface, a hard surface that could take some wear and tear.
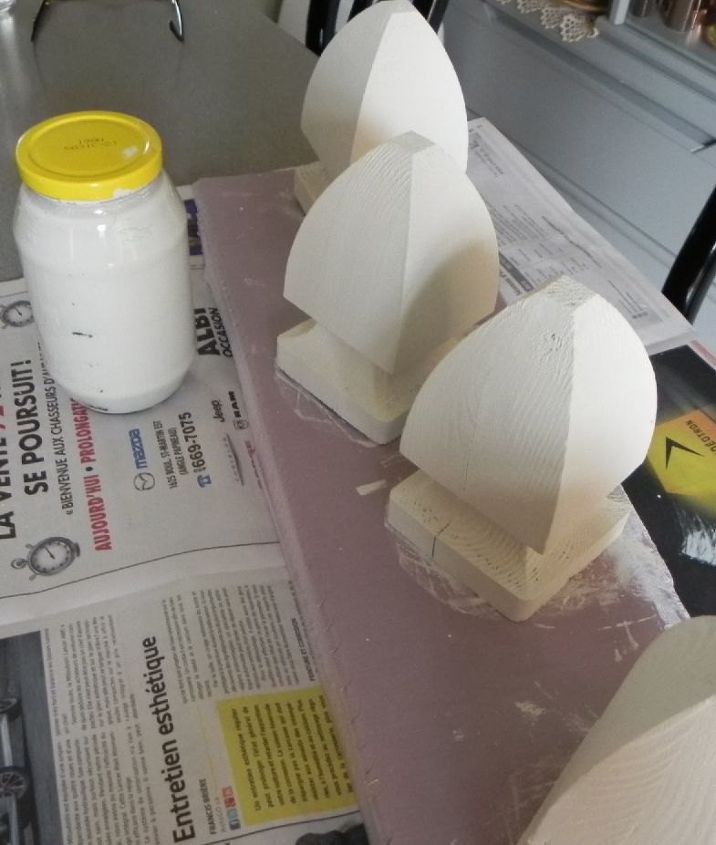
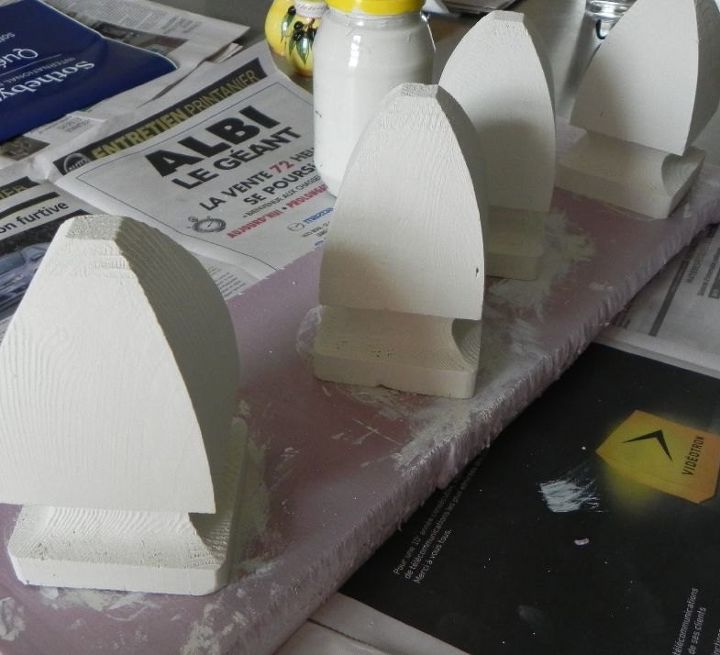
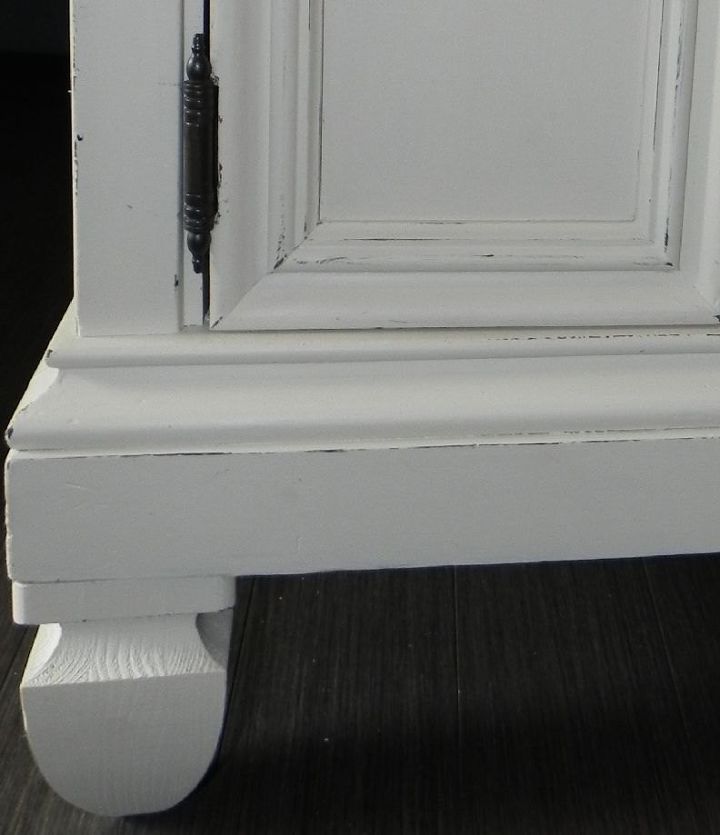
The bottom of the cabinet was rough and instead of sanding it all smooth so it wouldn't scratch floors, I decided to add feet to it. Furniture feet can be expensive, so I learned you could use deck post toppers and found some of those at a large hardware store. I painted them the same colour, lightly distressed them, then waxed them. My husband installed them, as the bottom of the cabinet needed some extra wood to have these feet well installed and sturdy.
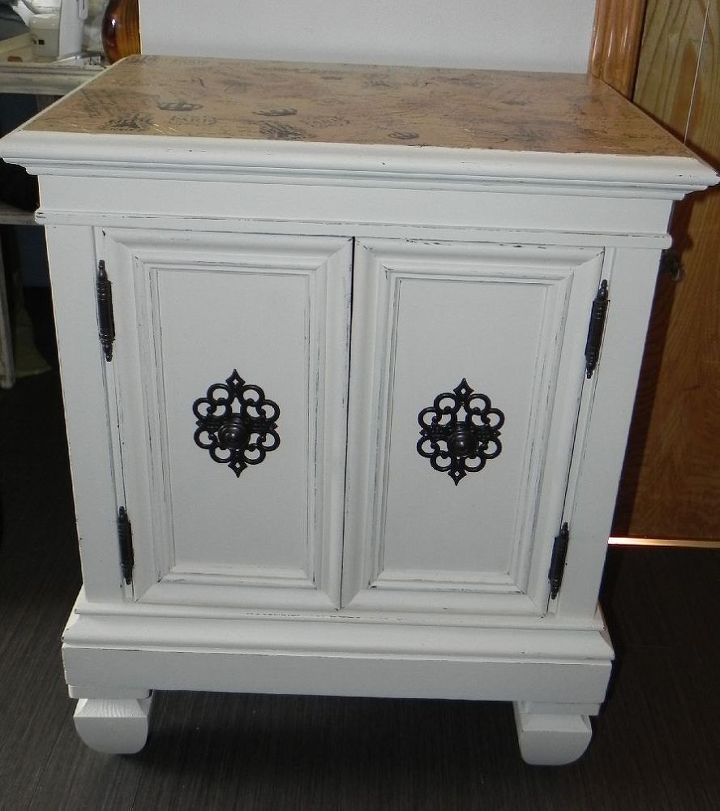
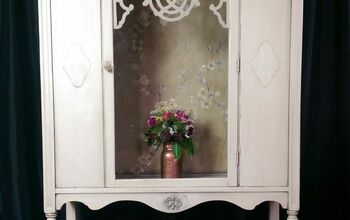
I sprayed the hardware that came with the piece in an oil-rubbed bronze and found new knobs that got the same treatment. The feet added height and elegance to the cabinet, I think. I applied three light coats of Crooked Label beeswax.

I sold this piece the same day I put it online! Very exciting and the customer was thrilled with it. :)
Comments
Join the conversation
4 of 12 comments
-
Stunning!
-
Beautiful!


Frequently asked questions
Have a question about this project?