


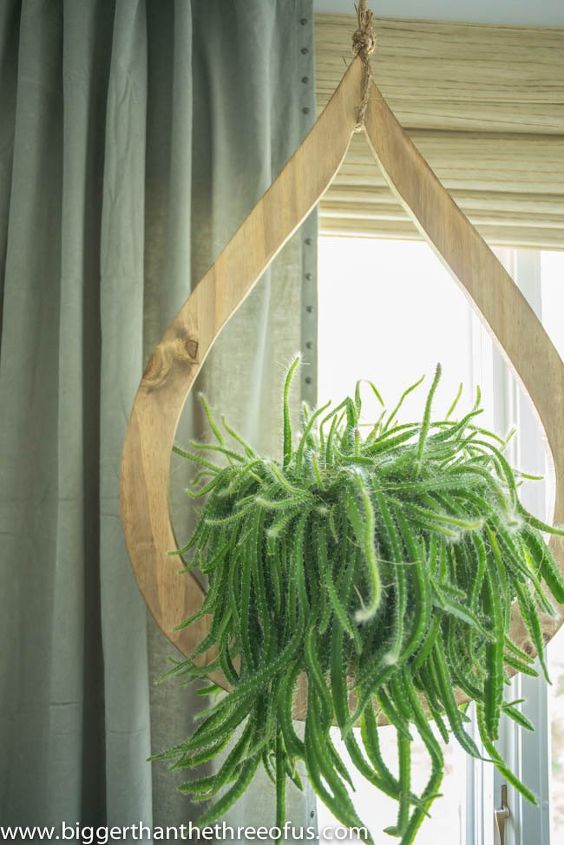
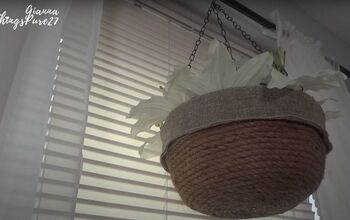
Mid-Century Modern DIY Hanging Planter
$20
1 Hour
Easy
You guys know I love Mid-Century and if you don’t know it… now you do! I also love working with my jigsaw and today, I’m combining the two. I’m thrilled to be able to share with you this Mid-Century Inspired DIY Plant Hanger!

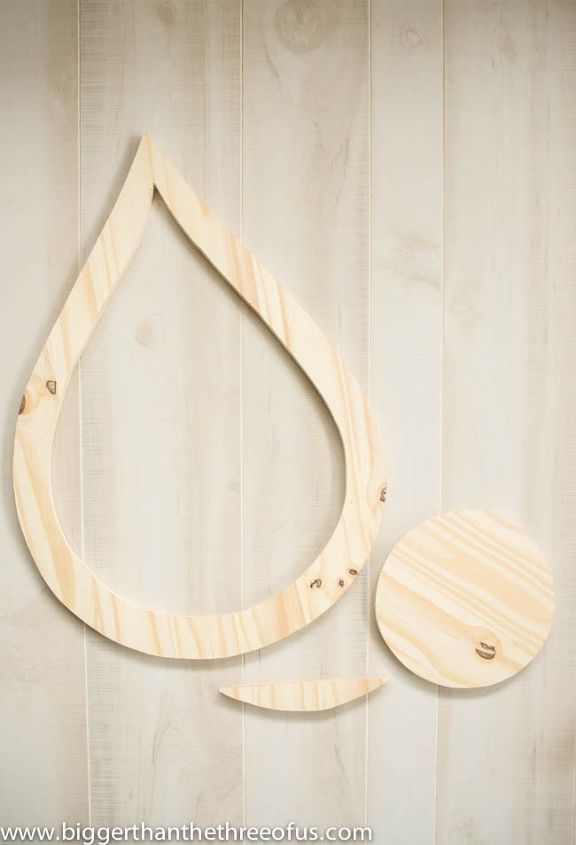
I made my tear drop pretty large but you could definitely scale yours to make it smaller if you wanted. Ready for the tutorial?
2. The first thing I did was to do a Google Search for “Teardrop” and picked my shape. From there, I knew that I wanted a pretty large teardrop so I scaled the size up and had it printed as an engineer print at Staples. I got it home and realized that it was a bit too large. Using the print as a guide, I made small dots about an inch in from my line and connected the dots. That allowed me to have a smaller teardrop shape.
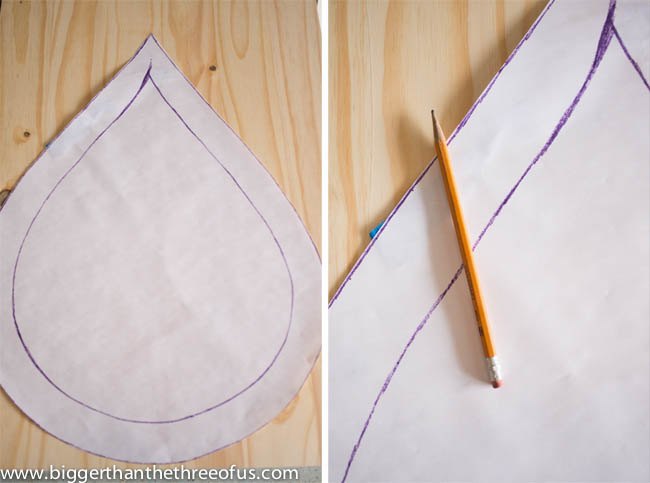
3. Once I had the smaller form on my paper, I came in another 2 inches and drew more dots. I connected the dots on the inside to make the inside edge of the drop.
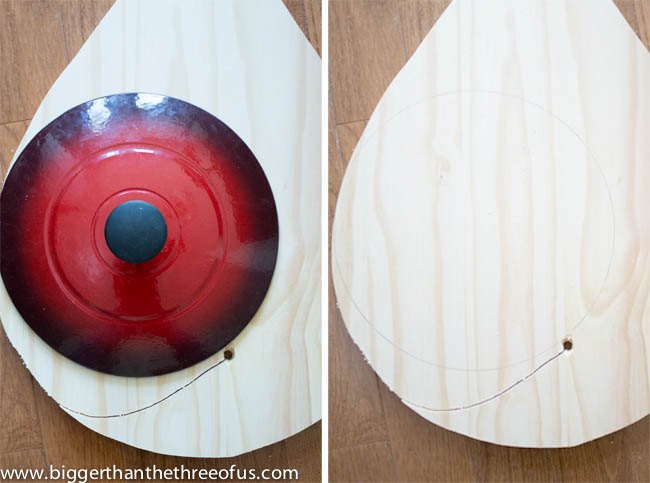
6. Make a Plant Base
Step 7: Make a Wedge for your Base * (You can skip this step if you cut your shape out with the wedge already in it)
Step 8: Attach the wedge to your planter
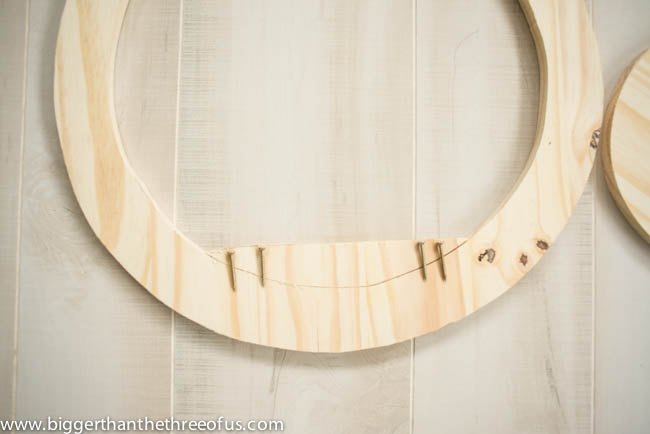
I used some long screws and clamps to attach the pieces.
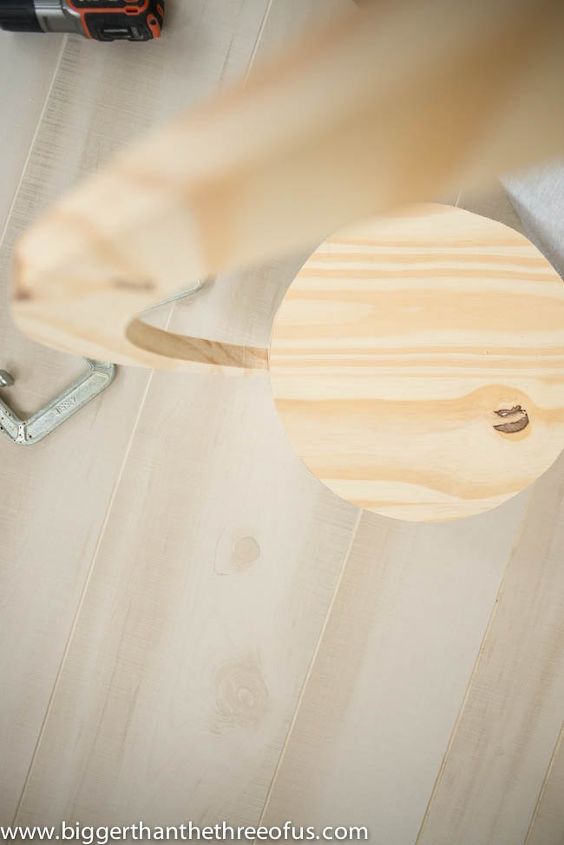
Step 9: Attach the circle base

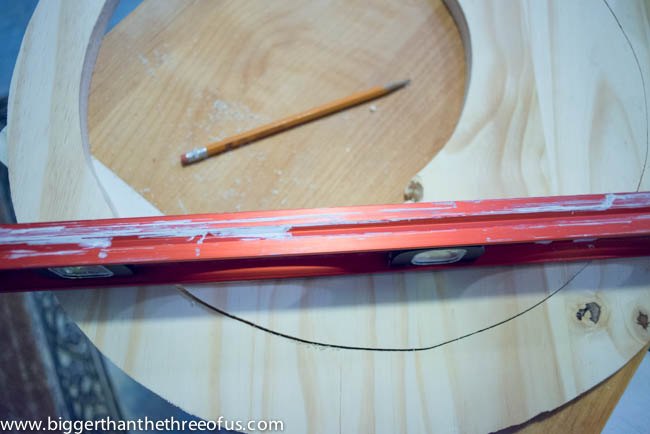
Step 10: Sand and Stain
If you want a few more pictures and details, feel free to visit me on my blog!

Want more details about this and other DIY projects? Check out my blog post!
Comments
Join the conversation
2 of 93 comments
-
Incredibly gorgeous! I have seen similar items figuring the hangers to be pricey. I love it! Thanks for showing a way to make them!
-
I love it. It is gorgeous and I love it.


Frequently asked questions
Have a question about this project?