


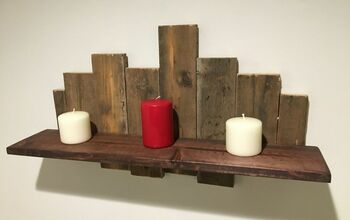
Rustic Wooden Shelf

by
Zest it Up
5 Materials
$15
1 Hour
Easy
Howdy y'all! Apparently Chanda and I REALLY like to wood work before we are off to coordinate a wedding- bahah we are nerds! Last week we assembled a gorgeous bench (pics coming soon!) and then today we whipped out a DIY shelf before out coordination day. But the good news is we were able to make Mr. Billy smile really big. He was very excited when he came home from work to a gorgeous new shelf in our bathroom. (AKA Sam was tired of seeing Billy's toiletries all around the counter).
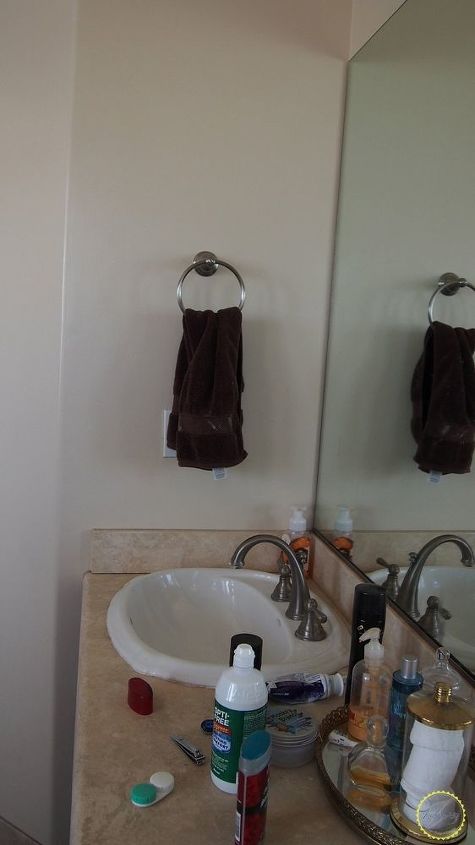
The before, check out the chaos!!
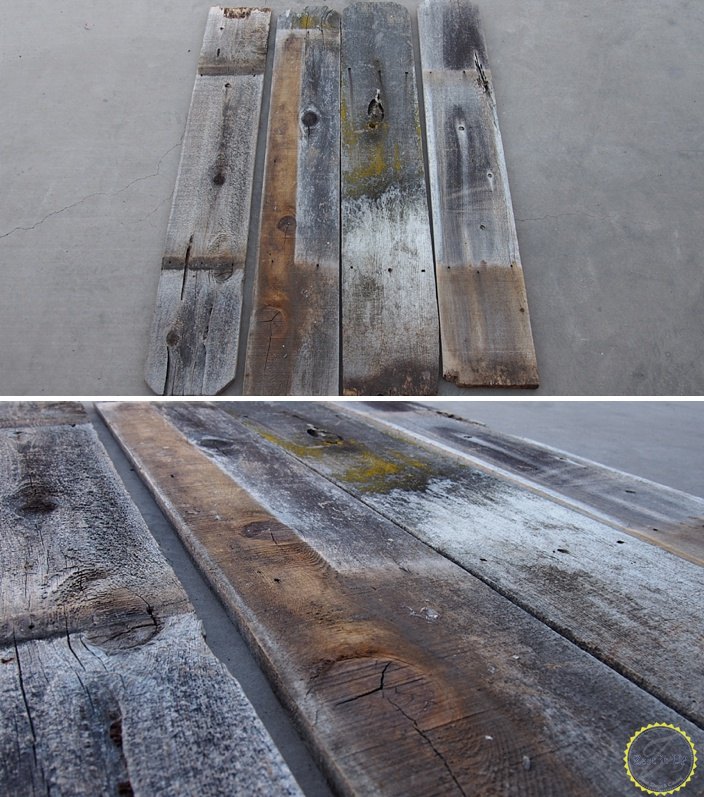
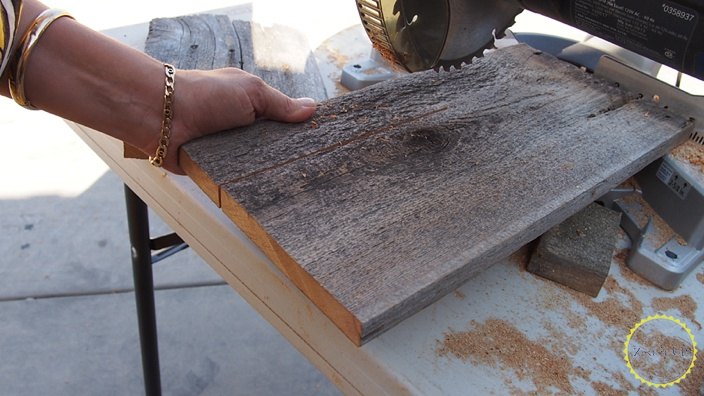
Grab your wood panels!

Cut them depending on the size of your space!
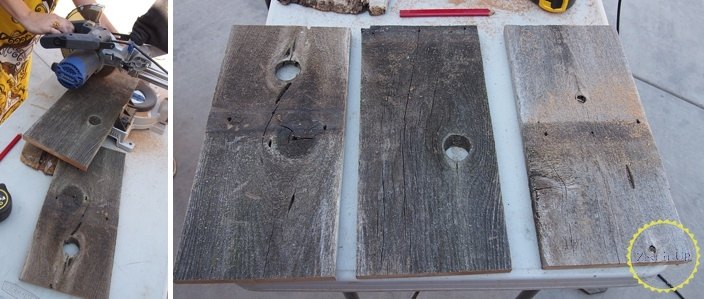
Cut your wood into three panels of equal size.
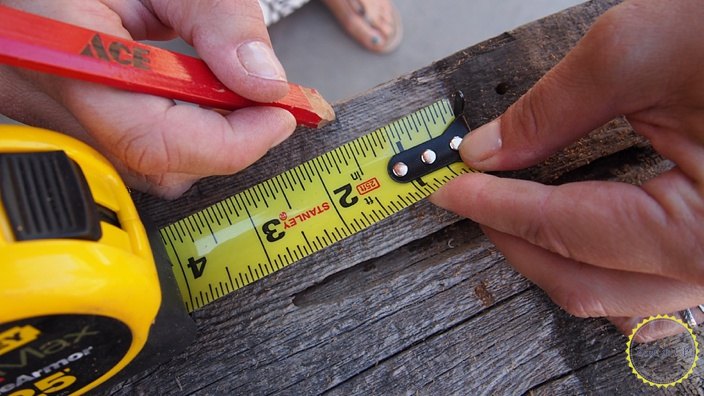
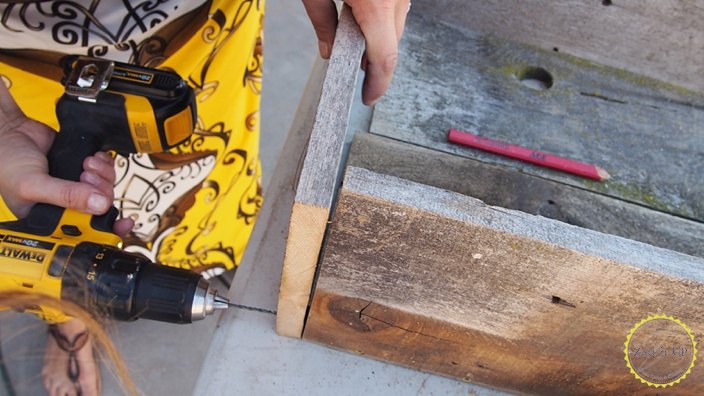
Now it's time to measure an inch and a half past your back shelving width (this will be the height of your backing boards)
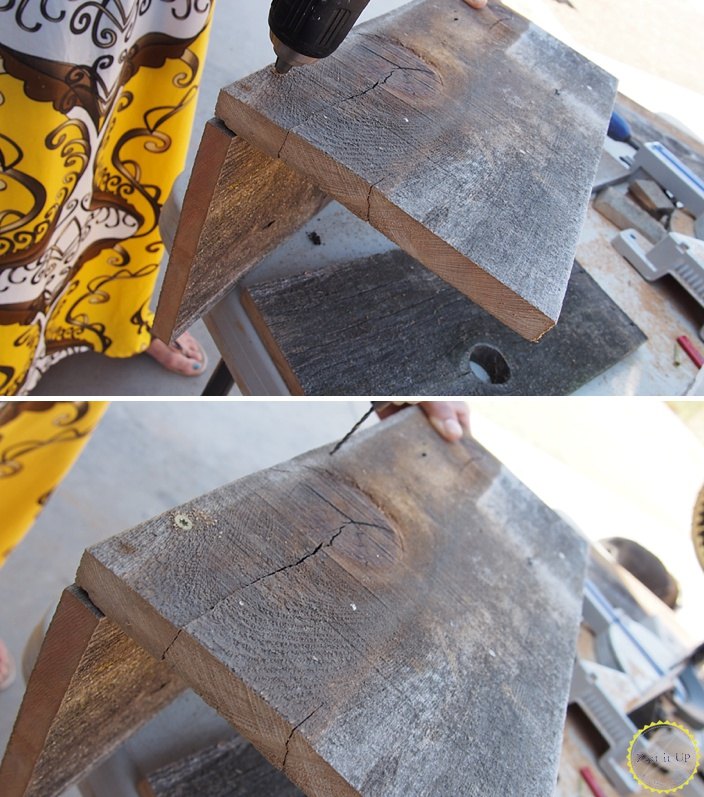
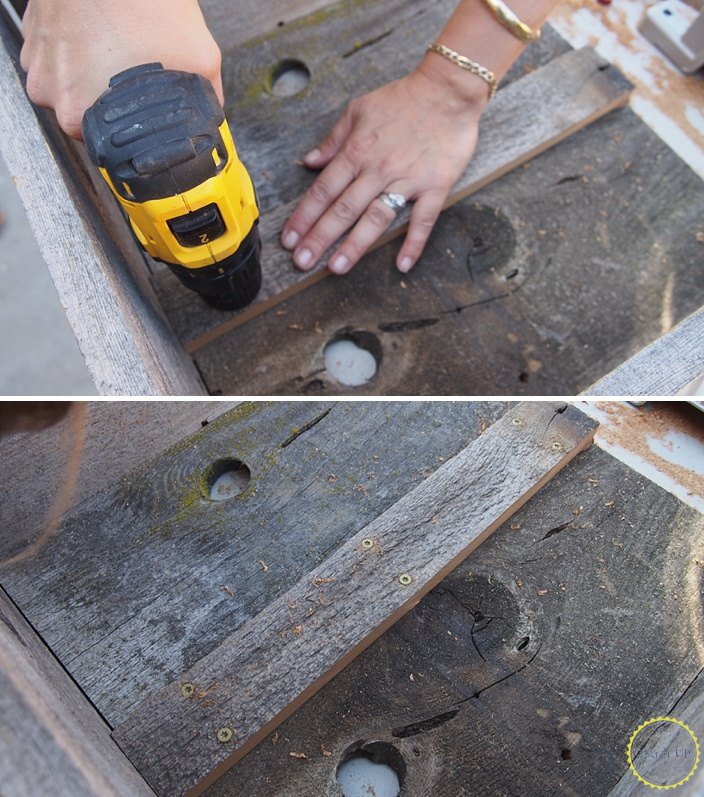
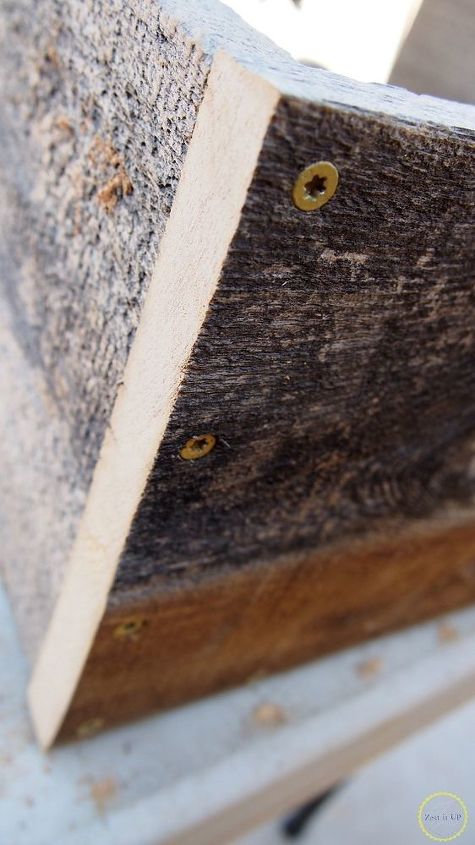
Now time to make you "L" with your boards, be sure to pre-drill!
All drilled together, score!
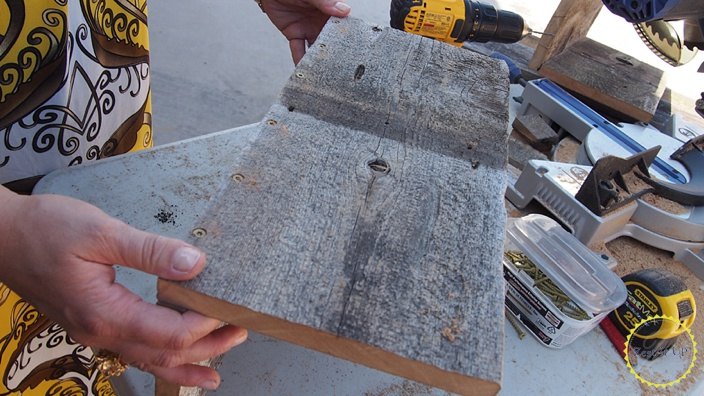
Now for the other side, time to add the sides.
Cut your board in fourths...
This piece will become your main source of structure for your center shelf
Next screw together the other side panel....

And lastly the top panel!!
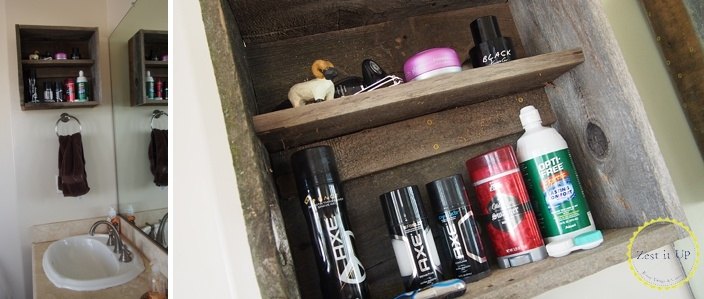
It's all coming together! I love my new bathroom decor!
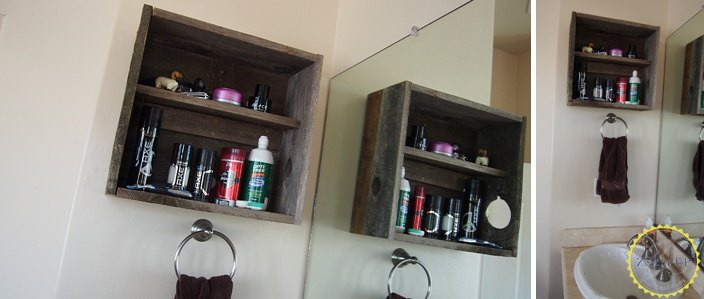
Didn't it turn out cute?? Rustic wooden shelves to help with organization! You could also make this for Kitchen Storage to organize all your spices! :)
Happy Zesting!
Want more details about this and other DIY projects? Check out my blog post!
Comments
Join the conversation
1 comment
-
How perfect- love the rustic feel of it!


Frequently asked questions
Have a question about this project?