Proggy Rugging Rainbow Pillow

Give this British rag rugging technique a try and make a fun pillow. It's a great way to recycle old t-shirts or fleece blankets!
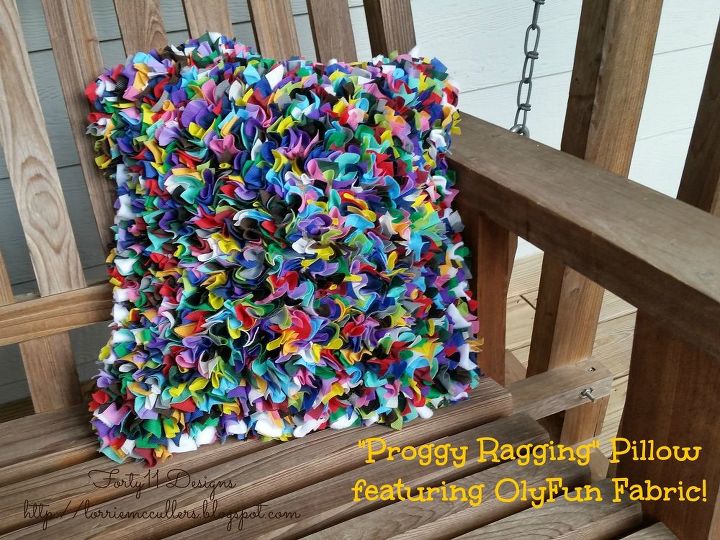
My favorite part about this pillow is that it is completely NO-SEW! Yep, not one single thing is sewn on this pillow, making it perfect for non-sewers (like me!) and older children!
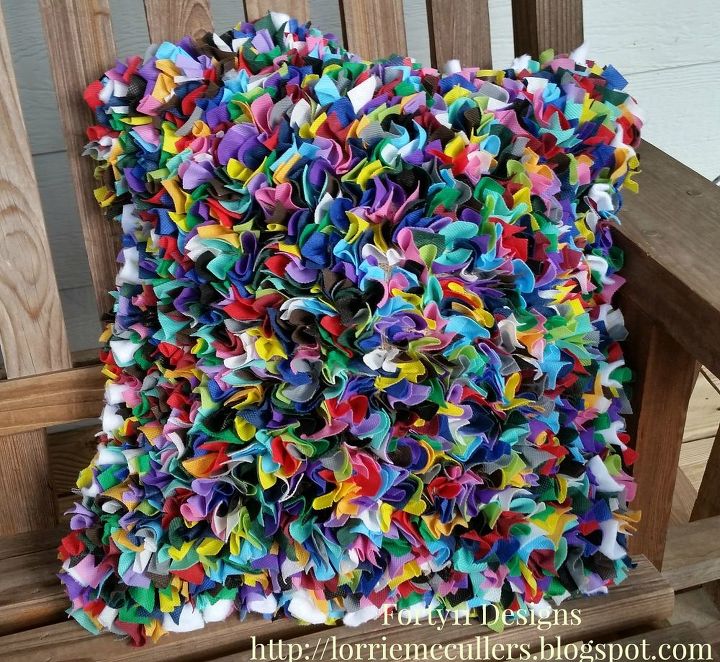
You may ask, "Then what is 'proggy' rugging?" Proggy (or proddy, depending on what area of Great Britain you are from) is a style of rug-making that uses small strips of fabric, a pointy-tipped tool called a proddy, and burlap (or "hessian" as the Brits call it!). Now, while this technique is mostly used for rugs, you can use it to make wreaths, stuffed toys, and more projects like this cool pillow!
Materials needed:


fabric (You can use old t-shirts, fleece, or any other fabric. I used Oly*Fun fabric by Fairfield) -- one large piece for backing and pieces to be cut up


PolyFil polyester fiberfill by Fairfield


proggy tool by Craft Yourself Silly


Burlap


Scissors


1. Cut fabric into strips of approximately 1/2" wide and 2-3" long. You need enough fabric for about three times the area of your finished piece.


2. Get a piece of loose weave burlap. It needs a more loose weave so that the proggy tool will go through the holes more easily. Size of the burlap depends on how large you want your pillow.


3. Fold one edge of the burlap over about 2 inches. Always work from the back of the project (the front will be the fluffy side).


4. Starting in the middle of the row, poke a hole through the burlap with the proggy tool. Use the proggy to poke the fabric through the hole. Then move over three strands of burlap and poke another hole, weaving your fabric into this hole.


5. Move over three more strands of burlap and repeat the process until you get to approx. 2 inches from the ends. Fold over the ends and repeat steps 4 and 5. You will fold over all 4 sides of your burlap until all sides are finished and you have a square.


6. Once your borders are done, continue filling in the middle. You can work in rows or just random -- its up to you!


7. After the burlap is filled in, take a piece of fabric and cut it approx. 2 inches larger on all sides than your burlap square (so if your burlap square is 12x12, then your fabric should be 16x16).


8. Cut fringe into the backing fabric's edge with each fringe strip measuring 2 inches by 1/2".


9. To attach the backing, use your proggy tool to poke the backing fabric's fringes through already established holes once(the backing fringe and the fabric strips of the front will share holes). Repeat until 3 edges are complete. Leave the 4th edge open so you can stuff the pillow.


10. Stuff the pillow with polyester filling.


11. Finish last edge.


Thanks for checking out my project. Stop by my blog anytime for new craft ideas!
Lorrie Greenway McCullers
Want more details about this and other DIY projects? Check out my blog post!
Go
Frequently asked questions
Have a question about this project?
3 of 4 questions
  • Mona Mona on Apr 12, 2021

    IS IT Possible to show instructions with pictures. Sometimes it gets confusing.

  • Dew51029452 Dew51029452 on Apr 23, 2022

    Do you have an image if the proddy so I get the right tool. I love all the colors in your pillow

  • Jodi Jodi on Sep 09, 2022

    Love your colorful project, but need pics so I can visualise how to do this. I'm assuming the prod thing is like a hook needle?Thanks for sharing.

Comments
Join the conversation
2 of 18 comments
  • Heather Heather on Mar 06, 2022

    Love this idea, but a throw rug instead. Do agree tho that it would be easier to have pic instructions to do so, please.

  • Teri Teri on Dec 20, 2022

    I will if I can get instructions to view

Next