


Create a Unique Basket From an Old Sauce Pot

Using sisal twine and a thrift store pot I created a unique "basket" with a rustic farmhouse feel. It is an easy and inexpensive way to DIY a place to decoratively store just about anything!
There are days when I want to create, but feel overwhelmed by the amount of stuff that I have purchased to DIY....too many choices to work on with no clue what to do with anything. Normally during those times, I go shop for more so that I can feel inspired by something new. And yes, this just makes the problem worse!
Rather than going to my local Goodwill to find something to create, though, I went to the pile of stuff in my basement that I was going to be donating to Goodwill. I got to "shop" through things that I wasn't seeing any value in anymore. Not only did this avoid adding more finds to my stock, but it was free!

I chose a sauce pot out of the pile and brought it upstairs to figure out something to make.
Believe it or not, choosing a random item and forcing yourself to figure out something to do with it is wonderful for developing a little creativity. It focuses your attention on just one item and allows your mind to really ponder what could be made out of the item in front of you.
I thought for awhile about how I could transform this into something useful while sticking with my style.
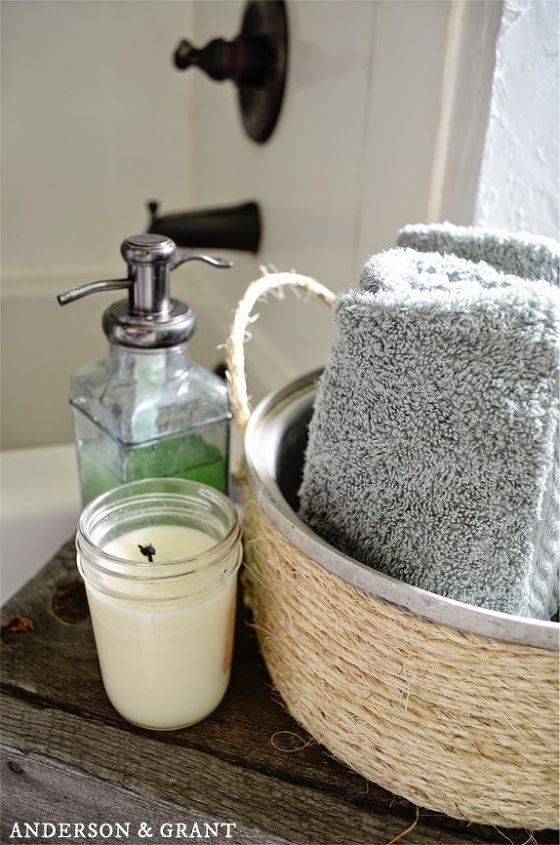
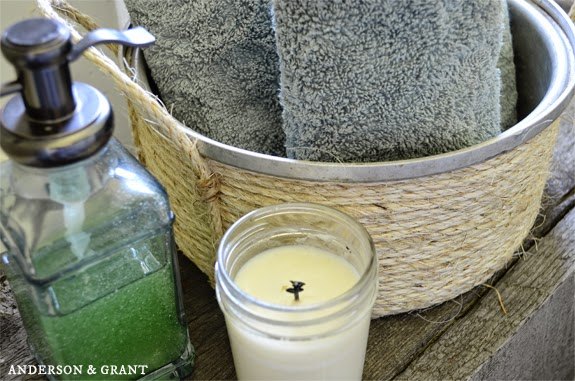
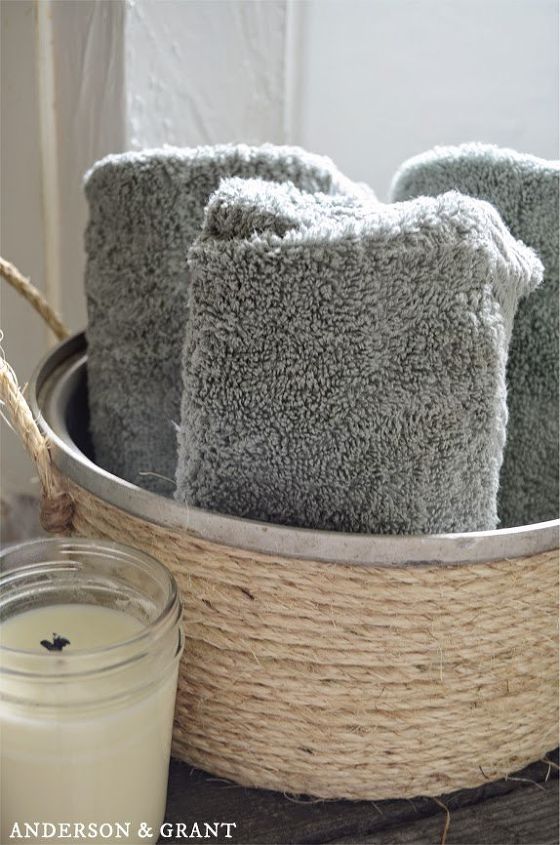
What I decided to do with my old pot was to turn it into a storage "basket" using hot glue and sisal . Can I just say that this project took maybe 15 minutes and I am totally in love with the result? The simple DIY project created a container to decoratively store just about anything from towels in the bathroom as I'm showing here to mail in an entryway or magazines or toys on a shelf. Imagine what you need to store and it could probably go into this pot!
The handles needed to be removed from the sides of the pot. There were metal pieces attached to the pot that went inside the handles, but I just folded these over against the pot with a hammer.
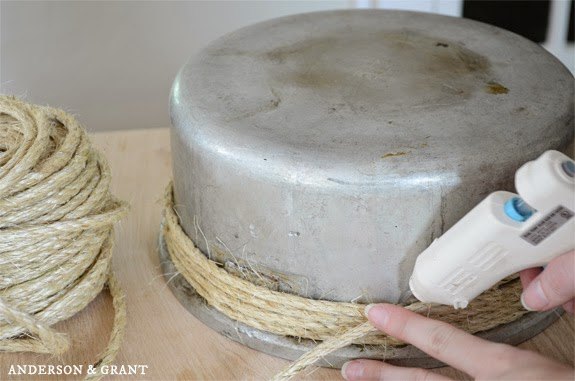
Using a glue gun, wrap the sisal around the pot, gluing every so often to secure it to the metal. The pot I was using had a lip around the top, so I started gluing the sisal on just under it.
Take the sisal down to the bottom of the pot, and then cut it wherever your want the back to be.
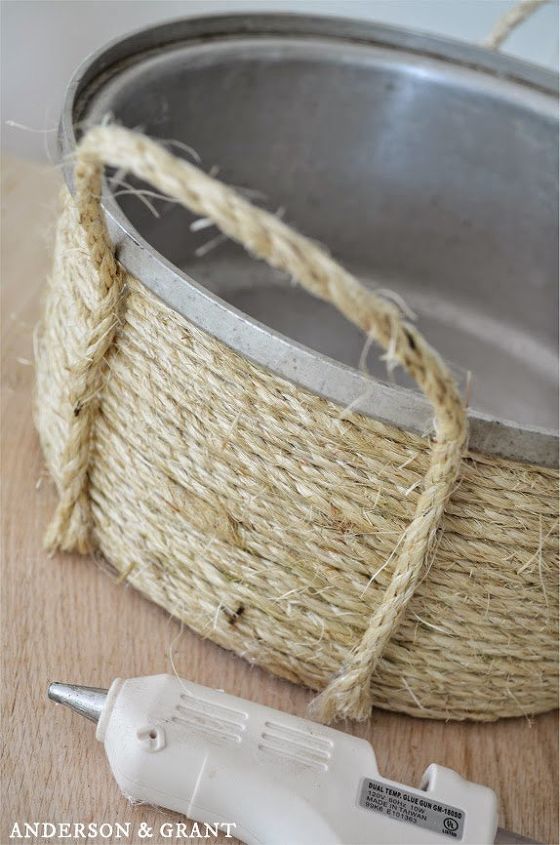
It looked a little plain to me, so I decided to add two basket "handles" as well.
I glued on two sisal loops, but again it was missing something, so I wrapped jute twine around the handles so that they looked like they were sewn onto the basket. This is easier to do before the handles are glued onto the pot.
And about 15 minutes later your project is complete! This is such an easy project that anyone can do with a random pot or baking pan you might find (or have on hand!).
I really love the texture of the sisal and think it pairs perfectly with the metal band around the top of the pan.
Resources for this project:


Comments
Join the conversation
-
I was just about to throw some old pots out or use them on my patio. I love this idea for storage anywhere.
-
Love it! We have a thrift store lically called Operation Shoebox that has lots of donated items that could be repurposed like this. And best of all is that all the proceeds from the sales of the donations go to support our American Veterans!


Frequently asked questions
Have a question about this project?
Thanks, good idea. I have some old pots which I had planned to use them for planting. But this is another great idea. Did you put anything in the inside so it wouldn’t get rusty or moldy?
Why not paint the inside of pot a pretty bright color???💡💡😃
I like the look! How could you keep the handles yet cover them?