


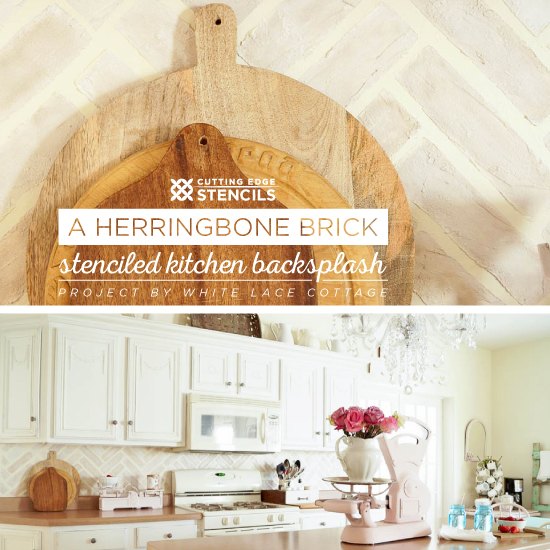
A Herringbone Brick Stenciled Kitchen Backsplash

We both know that a kitchen renovation can be a huge expensive project. Sometimes all your kitchen needs is a little pick-me-up to go from drab to fab. A small stencil enhancement can go a long way in terms of decor. Today we're going to inspire you with a gorgeous kitchen backsplash makeover using one of our favorite herringbone wall patterns.
We'd like to welcome back Anne, the creative DIYer behind the blog White Lace Cottage. Not too long ago Anne stenciled her master bedroom and it looks like she's back at it again! For years now she has been wanting to add a backsplash to her kitchen.
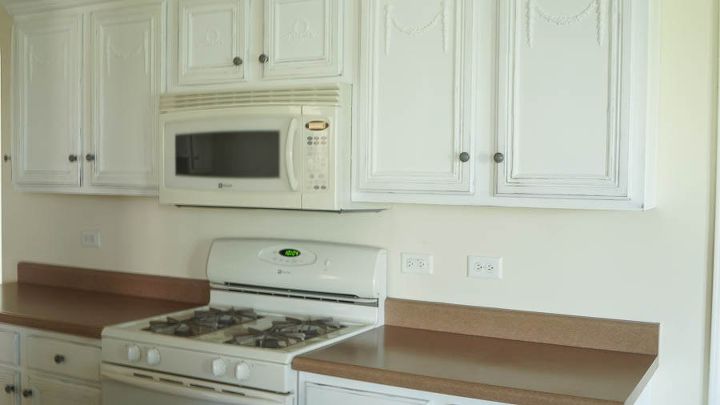
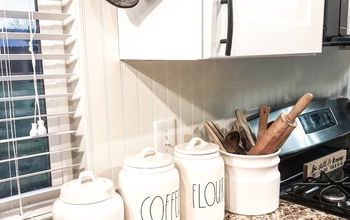
This is what the kitchen looked like before:
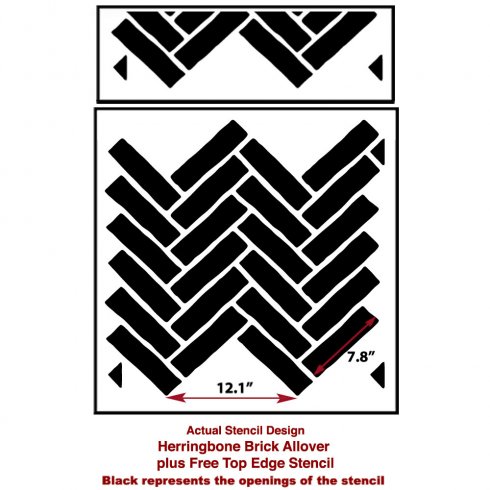
Then Anne stumbled upon our Herringbone Brick Allover Stencil while browsing our website and it was stencil love at first sight. She knew it was the perfect pattern for her backsplash.
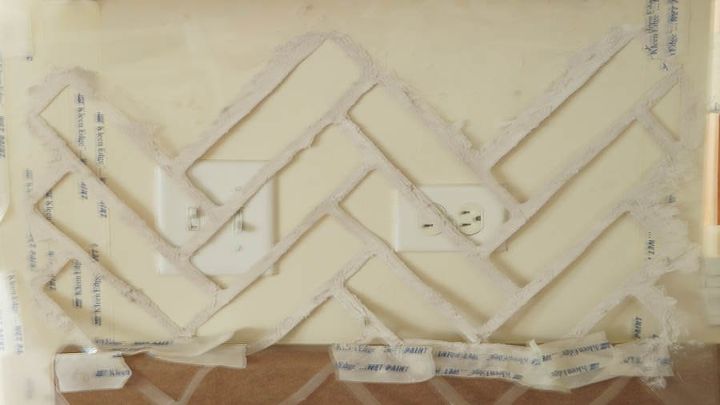
With her new stencil in hand, Anne was ready to start stenciling! She used blue painter's tape to hold the stencil in place and she painted the pattern in Heirloom Traditions Paint-Mocha and White Lace Paint. To give the stencil more dimension, Anne mixed in a Venetian texture medium.
After each section was complete, she would untape the stencil and reposition to finish the pattern on the wall. Anne commented, "I tried to make sure that they weren’t all the same color, as real bricks are all slightly a different color."
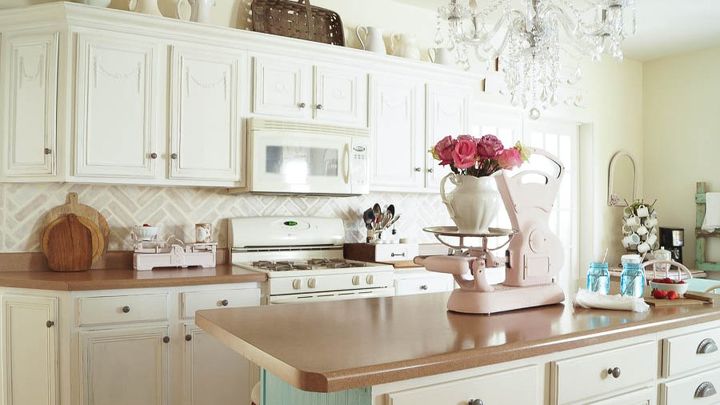
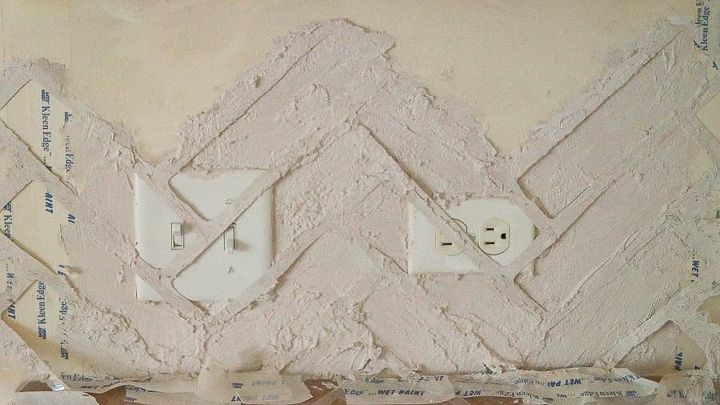
Once the stencil was complete, Anne added two coats of Aqua Clear Matte top coat to seal it. Ready to see how her kitchen backsplash turned out? Here is her newly stenciled kitchen.
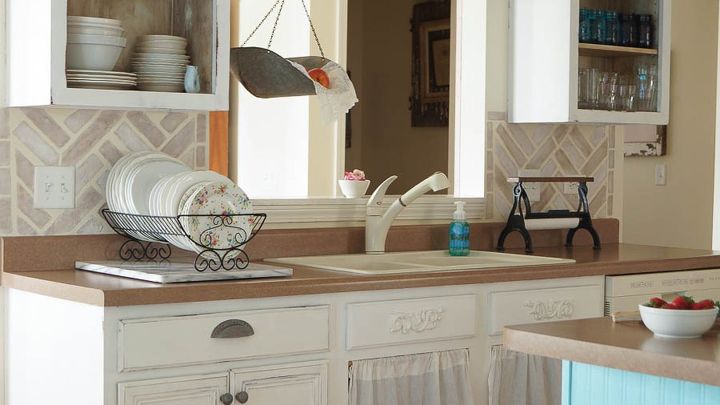
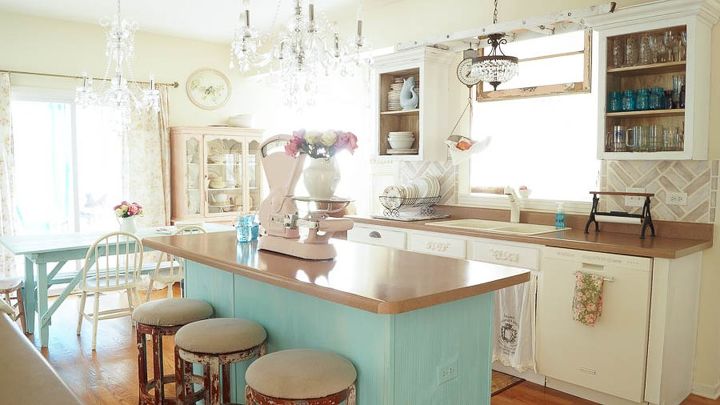
Anne had this to say about using a stencil for a backsplash, "This is a great alternative to using real brick or tile and cost much less to do!"
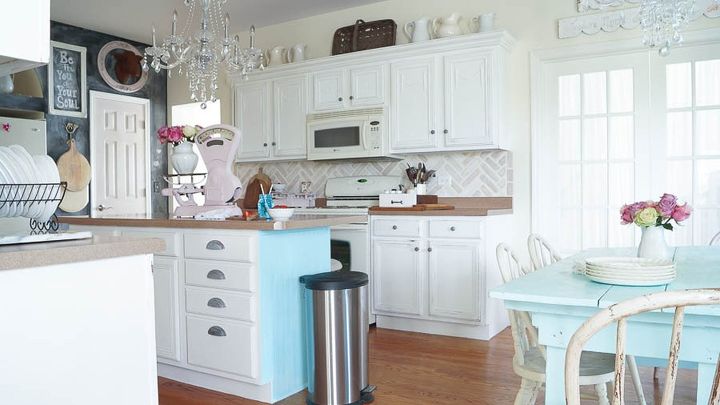
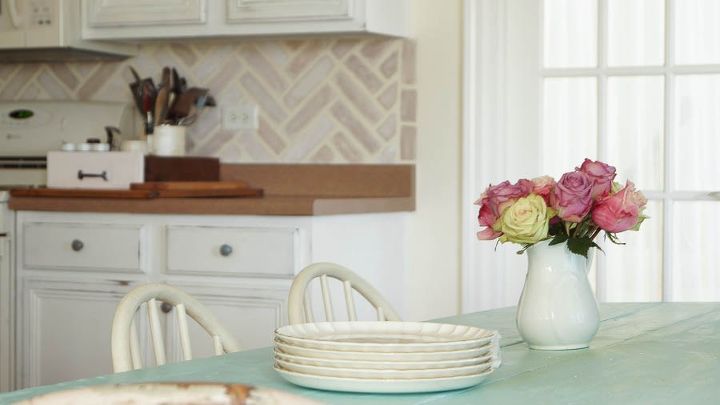
Anne confesses that she loves the new look by saying, " I love the texture that I created, it really looks and feels like real brick! I love the imperfect shape of some of these bricks, and that was due to the venetian texture medium that I used."
For information about this space, please visit http://blog.cuttingedgestencils.com/?p=20012
Has this project inspired you to transform your home with a designer touch?
Comments
Join the conversation
-
- how did you get the single straight vertical bricks on the ends?
- how did you get the stencil all the way to the top (just under the cabinets)?
- I bought the supplies. LOVE the look. can't figure out these technicalities. Please help...anxious to get started
-
Your kitchen is absolutely beautiful, I just love it!


Frequently asked questions
Have a question about this project?
Sure it looks pretty. How easy is it to clean though?
Do you have a video of this project? More in depth instructions? It’s beautiful.
Can the above stencil be done over a current ceramicbackflash!