


Easy Floating Book, Bookshelf Diy
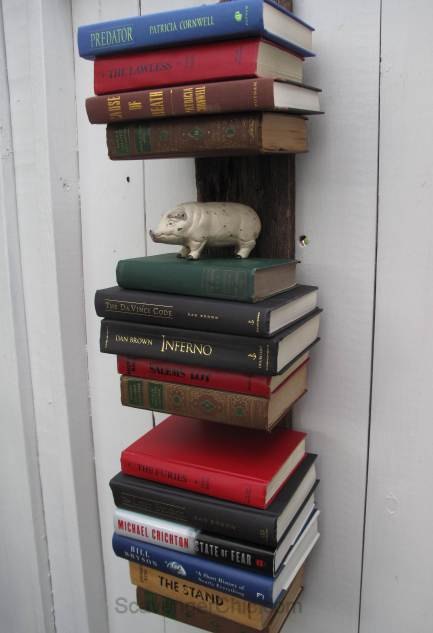
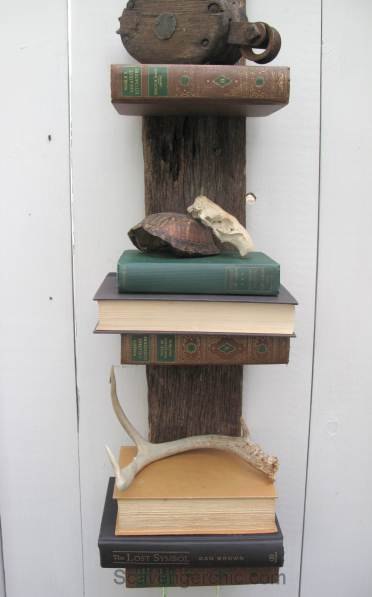
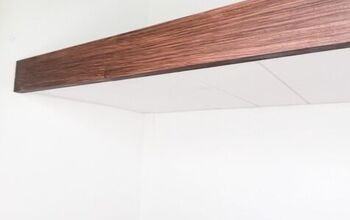
Floating bookshelves seem to be everywhere. They appear to be floating by making use of a bracket attached to the wall. In order to hide the bracket you simply stack your books up.
This is my rendition of the same concept. I varied my bookshelf so that the bracket is hidden so that it can be a shelf for not only books but for any other knickknacks you may want to display.
This is my rendition of the same concept. I varied my bookshelf so that the bracket is hidden so that it can be a shelf for not only books but for any other knickknacks you may want to display.
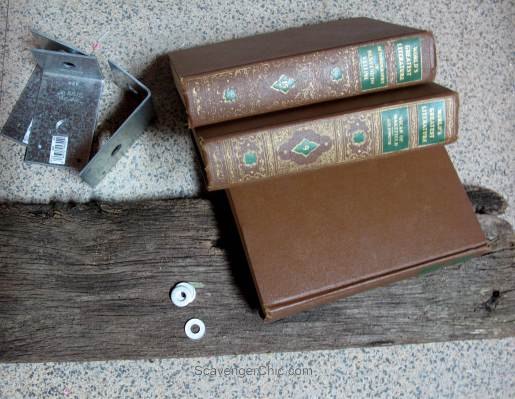
First thing, as always, is to gather your supplies. A fence board from an abandoned farm, a few books, could use more or less depending on how many shelves you want, the same number of brackets as you have books and washers. The brackets were from Home Depot in their deck hardware section.
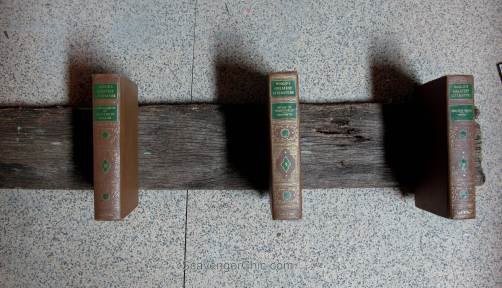
Lay out your books on your piece of wood as far or as close to each other as you wish. Mine were about a foot apart. Leave a couple inches of wood at the bottom and another 6 to 8 inches of wood at the top. With chalk, mark where the books will be located and based on the number of books you use, the length of your board. Cut the board where you marked.
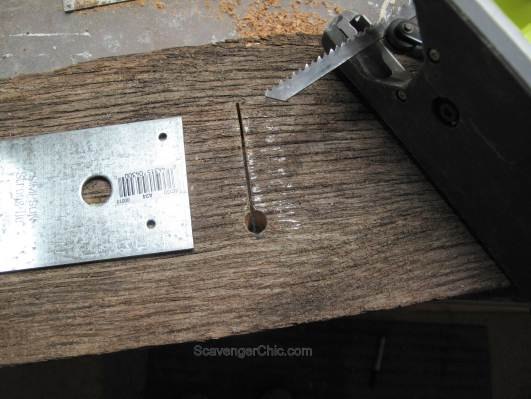
Where you marked the book locations, drill a hole at one end wide enough to insert a jigsaw blade.
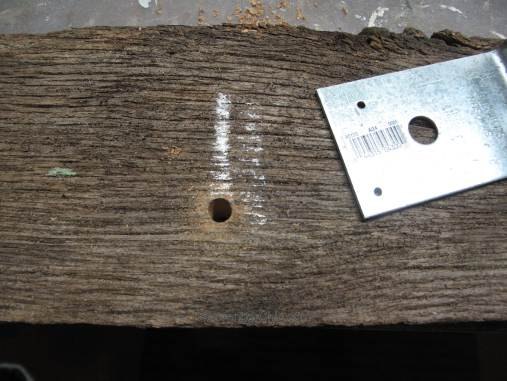
Cut the line you just marked. You will have to go over it a couple of times to get it wide enough. The drilled hole will be covered up by the book.
Screw the bracket into your wood from the back.

The back cover can now be glued into place. I had builders adhesive but you could probably just use a bit of hot glue.
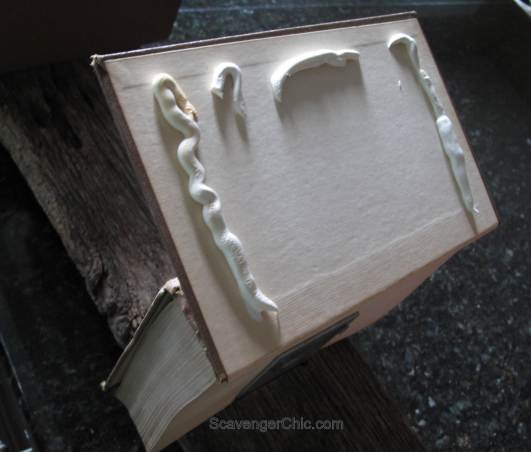
With finishing nails tack down the top cover and your new bookshelf is complete.
Need more pictures, more instruction...I hope you get a chance to stop by.

Want more details about this and other DIY projects? Check out my blog post!


Frequently asked questions
Have a question about this project?