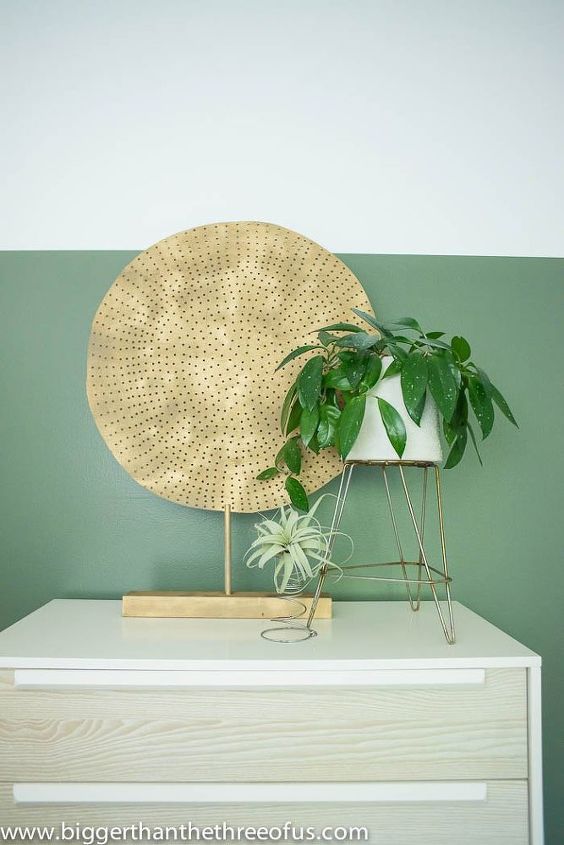
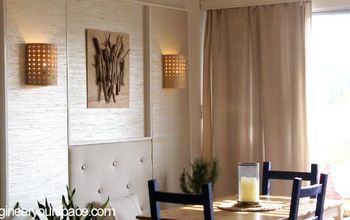
DIY Round Medallion Art

$5
2 Hours
Easy
I loved a Round Medallion piece at Crate and Barrel, but didn't want to spend $79 for it. Instead of buying it, I decided to try my hand at making one myself. Mine came in at under $5 and I love it!
Let's get to the tutorial!
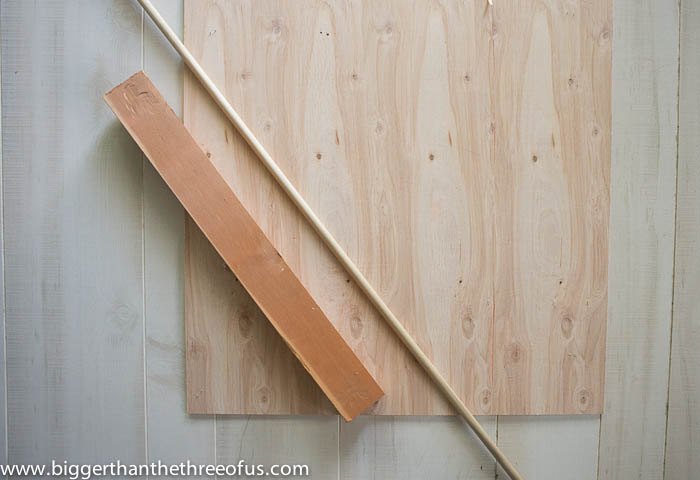
Step 1: Gather Supplies and Tools


The first thing you need to do is to gather your supplies and tools.


You will need:


Cheap plywood ( I used lauan plywood 5.2 mm x 2 x 2) - $3.35


2 x 4 scrap piece of wood


Dowel Rod 1/2 inch - under $2


Tools needed:


Miter Saw (or some other saw to cut your scrap wood to size)


Pen and string


Jigsaw


Wood Glue


Clamps


Drill and bits


Sanding pad or orbital sander


Coping Saw
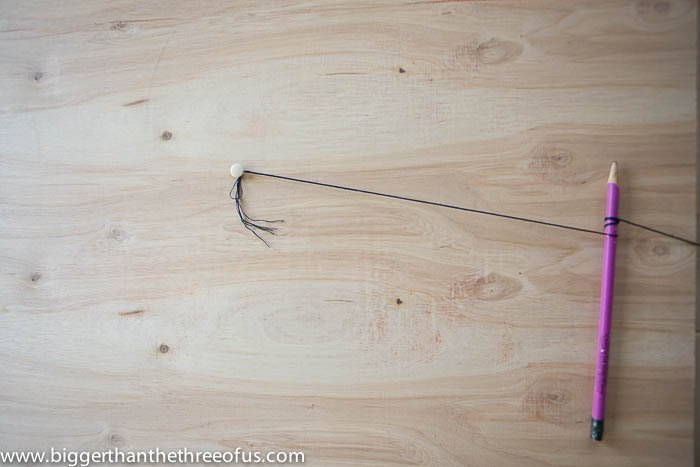
Step 2: Make your Circle


Decide how big you want your circle to be. Once you have decided, use a push pin, pencil and string to make your circle.
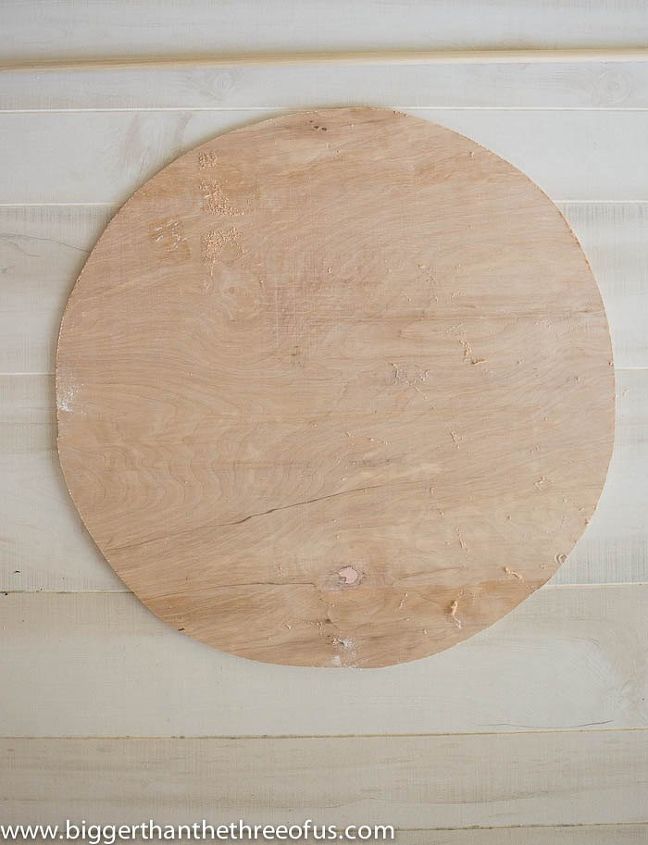
Step 3: Cut your Circle


Use your jigsaw to cut your circle.
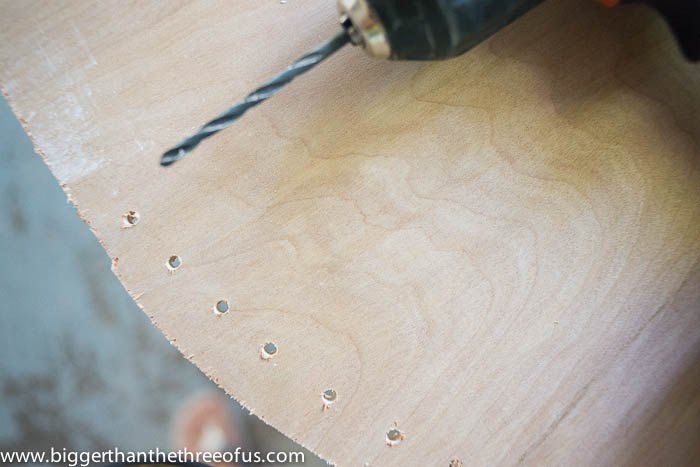
Step 4: Drill Your Holes


*Tip: Using a scrap piece of your plywood, figure out what is the largest drill bit you can use without splintering the plywood all over the place. The larger size you use, the less time you will have invested in drilling the holes.


Around the outside of the circle, I was able to line up the holes as I got around. Once I got to the inside of the circle, I had so skip every other hole or merge them. The inspiration piece showed the same pattern.


Step 5: Sand
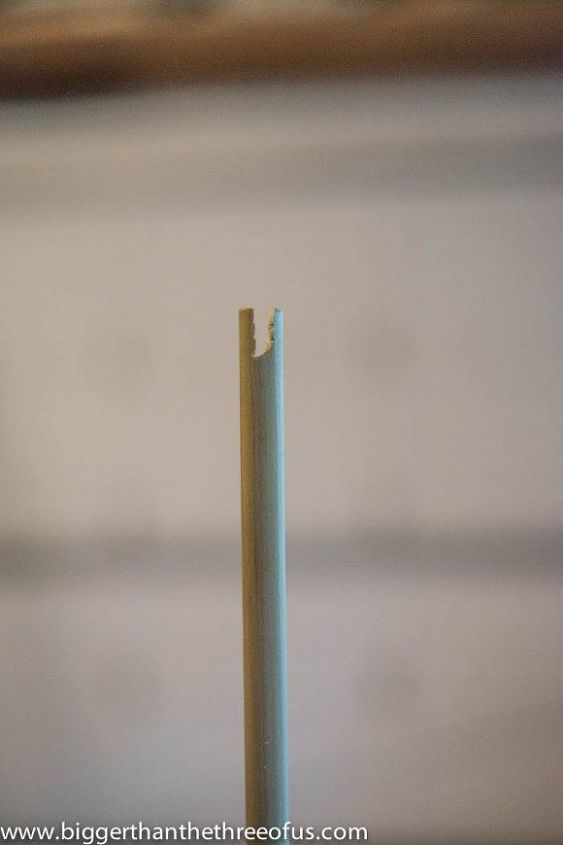
Step 6: Prep and Cut your Dowel


Using a coping saw, notch out your dowel stick.


You are notching out enough so that the circle can sit in the middle of the dowel rod.


It doesn't have to be perfect! Test to make sure the circle fits in it and if it doesn't, keep notching. If it does, go ahead and stop.


At this point, you need to decide how tall you want your circle to stand. Once you decide, cut your dowel rod to size but make sure you allow a few inches of the rod to go inside the base (see next step). Our rod ended up being about a foot in length.


Next, apply wood glue in the notch to attach the circle.
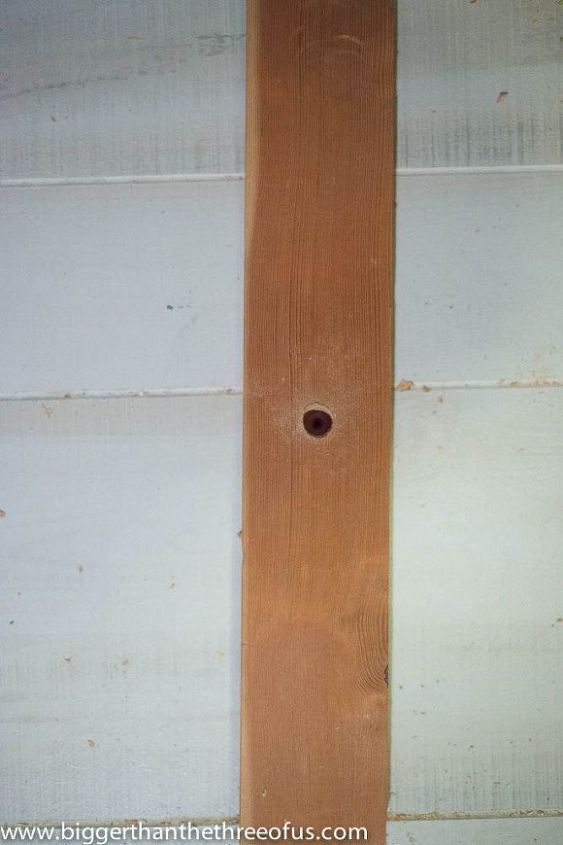
Step 7: Make Your Base


Get our your 24.


Measure the center of your board both ways. From there, grab your dowel rod and find a drill bit about the same diameter as your stick.


Using your drill bit, drill in to the 24.


Test to make sure your dowel rod fits. If it does, stop and if it doesn't, readjust.
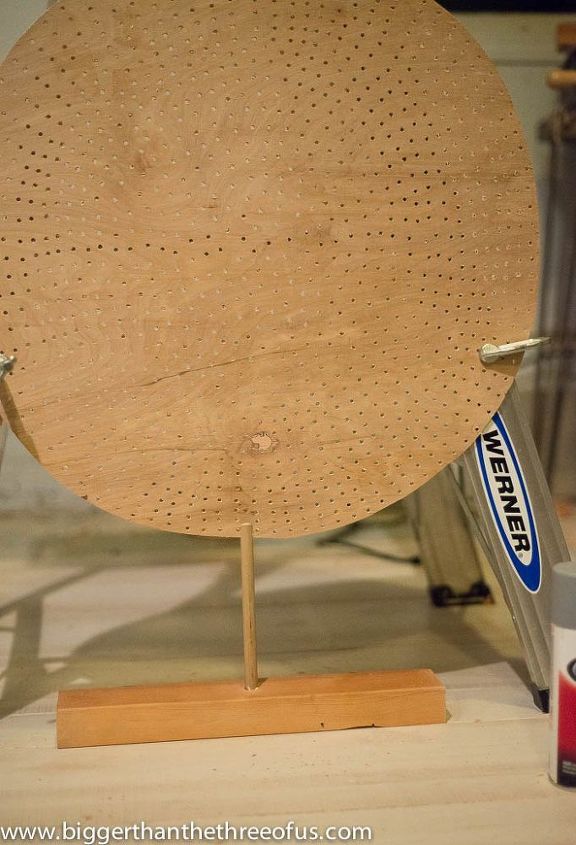
Step 8: Attach and Clamp


Apply glue inside your 24 and stick your dowel rod in it. Clamp until the wood glue is dried.


Step 9: Prime and Paint


I sprayed on primer and paint. It needed quite a few coats to coat.


*My top coat did not go on smoothly. I kept reapplying using the guidelines and eventually gave up. Overall, I really like how uneven the gold looks. Just wanted to be upfront by saying that it is not one constant color.
Enjoy your $5 home decor item!


Feel free to stop by my blog if you would like to see more pictures of each step!
Ashley@Biggerthanthethreeofus
Want more details about this and other DIY projects? Check out my blog post!
Go
Frequently asked questions
Have a question about this project?
Comments
Join the conversation
2 of 6 comments
  • SANDY SANDY on Nov 22, 2016
    Beautiful!
  • Heje Heje on Oct 17, 2019

    Sometimes things work out without that result being thought of ahead of time. I love the illusion that the paint and the holes present. It looks like a round plate or platter. Thanks for sharing.

Next