


DIY Wall Art With Paint Sticks
Hey everyone! Didn't the weekend go by too fast? Well over the weekend we were busy repainting our guest room and I did a few extra little projects! One really fun one I worked on was re-creating and adding my own twist to Shabby Grace Blog's DIY Wall Art. Remember about a month ago when I participated in a DIY Wall Art Blog Hop and I created a DIY Canvas Gallery Wall?
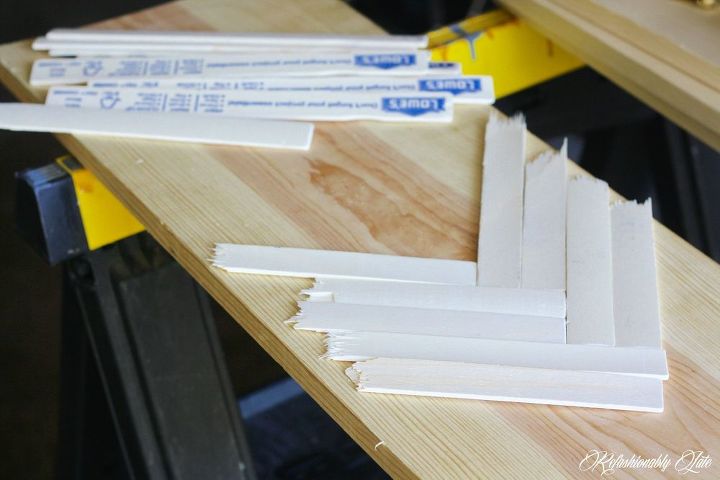
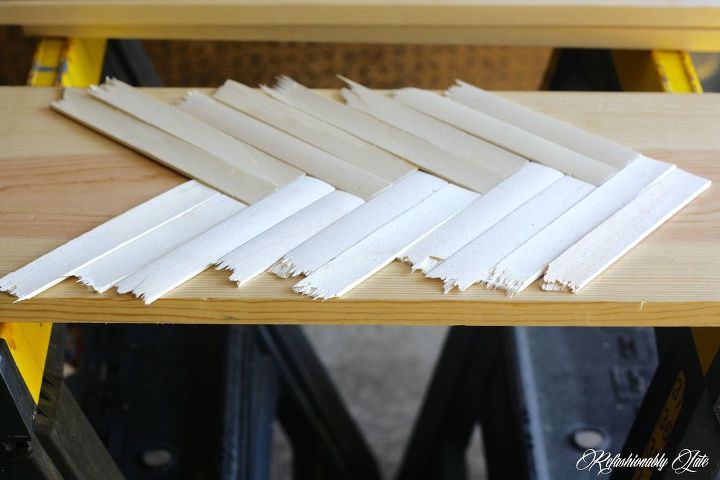
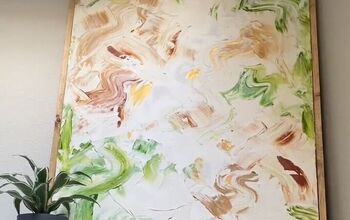
A few of us decided to take this one step further and create someone else's DIY Wall Art and put our own twist on it! Hence, the DIY Wall Art Flip Flop! As I said earlier I wanted to recreate Sara from Shabby Grace Blog's DIY Wall Art. She made this adorable shim wood arrow wall art. I loved how she broke the shim wood in half and it created point edges. I unfortunately did not have any shim wood so I had to be creative. I decided to make my arrow with paint sticks that I got at Lowes! I broke the ends off of the sticks and arranged them onto a piece of wood I had cut at Lowes. Some pieces had to be shorter than others so I had to break some sticks more than once to make it fit.
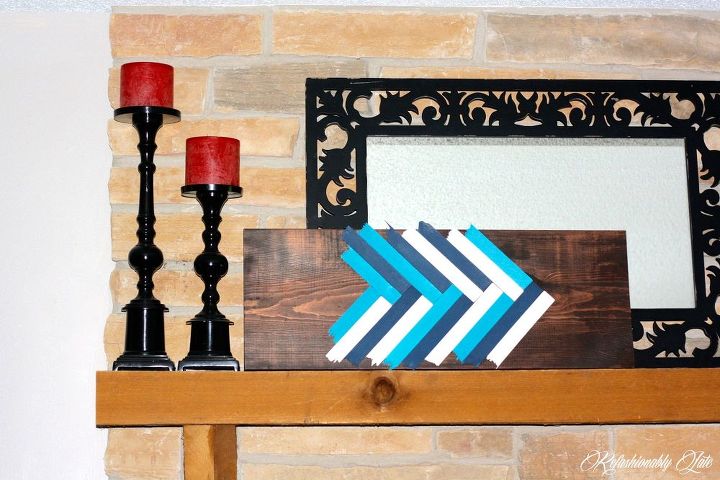
I loved the stained look look that Sara used with the shim wood but I wanted to add a pop of color. I decided to spray paint the paint sticks and I used colors that I already owned. There were 18 sticks so I did 6 of each color. I didn't have any rhyme or reason to what sticks got painted what color. I just decided to paint randomly.

For more details on how I created this DIY wall art head on over to my blog to see the full tutorial!

Want more details about this and other DIY projects? Check out my blog post!
Comments
Join the conversation
4 comments
-
Cool idea!
-
Cute!


Frequently asked questions
Have a question about this project?