


Update Your Doors With Easy Craftsman Trim
Easy
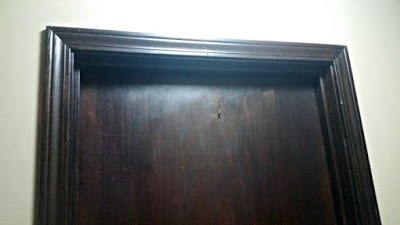
Our house is full of builder grade trim... and I hate it! While remodeling the bathroom, I decided that the plain trim had to go.
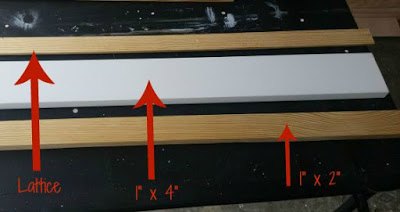
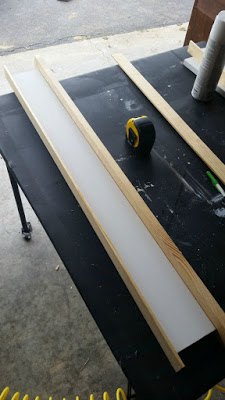
Craftsman trim is the simplest way to take your doors, windows and entryways from builder grade to custom. When I say simple, I mean it. 3 pieces of wood, some finishing nails, caulk, paint and Liquid Nails and you are set!
Step 2:
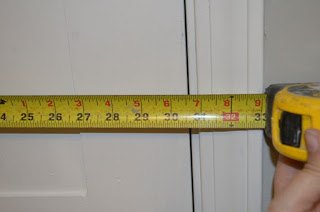
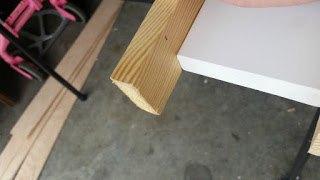
Step 3: Cut It Up
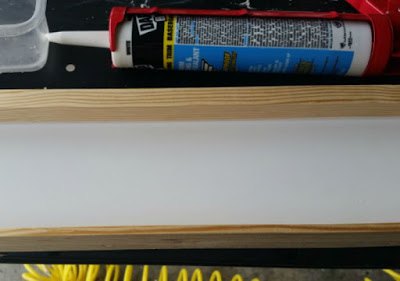
Step 4: Caulk
Step 5: Prime and paint!
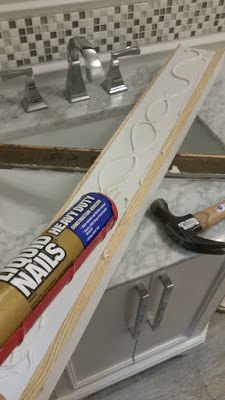
Step 6: I used Liquid Nails to attach my craftsman trim to the wall.
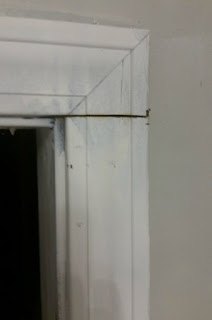
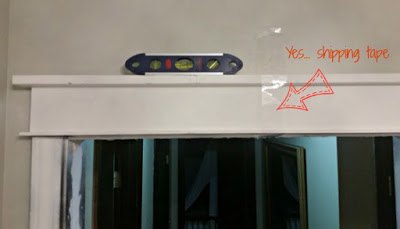
I couldn't find any painter's tape, so as a last resort, I grabbed my husband's packing tape and put a small piece up to secure the trim. I also used my level on top to make sure everything was straight... No fun-house doors please.
Step 7: Caulk AGAIN
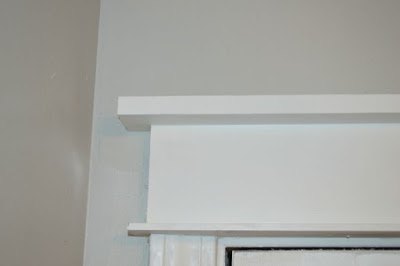
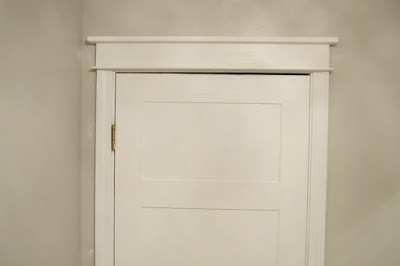
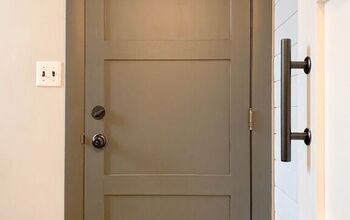
And the after:
Check out the entire tutorial at:

Want more details about this and other DIY projects? Check out my blog post!
Comments
Join the conversation
2 of 42 comments
-
I'm going to do this. I have lots of doors! Will start in the bathroom first.
-
I try to go to your blog post to see a clearer picture of this tutorial but I could never get it to pull up. My question has to do with what you did around the door handle. I’ve been wanting to transform my plain builder grade doors but have been unsure about how to work around the door handles. Any ideas would be very appreciated.


Frequently asked questions
Have a question about this project?
How can you do this if you have oak trim throughout the house? The door would look out of place being white with all the other trim being oak on the floors. Would love to change the basement door to this but not sure with all the oak trim. Thanks!