How To Fix Torn Drywall Paper
We've all been there.
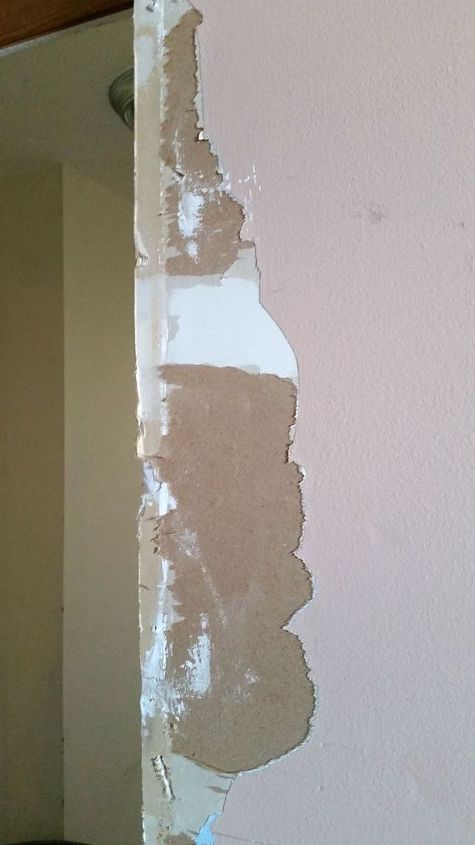
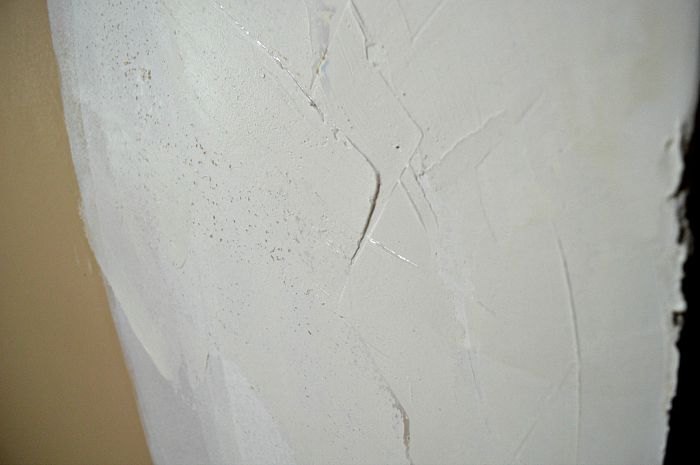
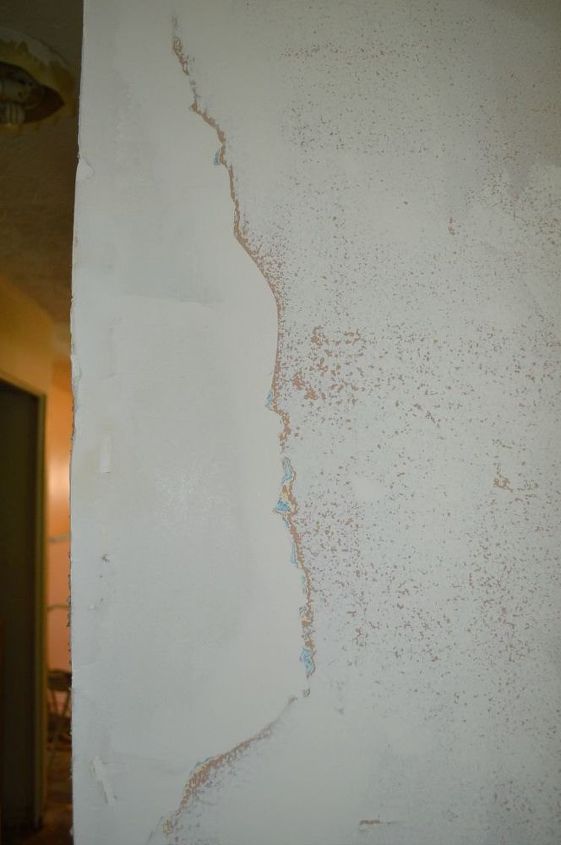
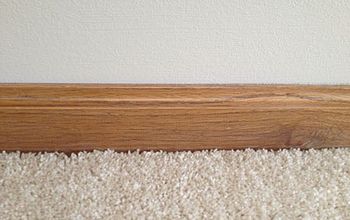
You want to repaint a room in your house. You remove the trim, but maybe you (or your demo hubby) don't score the trim and sure enough... the paint pulls the paper on your drywall right off.
Those days are over, folks!
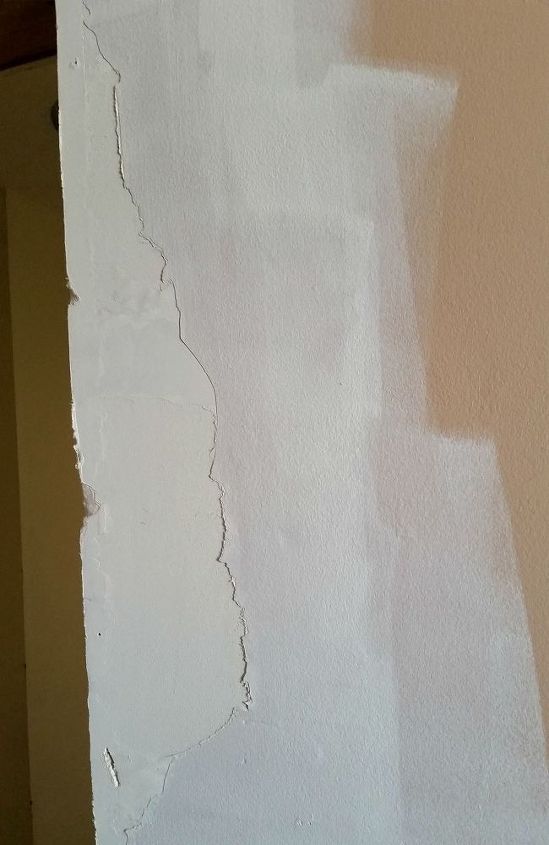
Please note: Obviously, the best thing you could do is to not have this happen. When removing trim, baseboards or anything that has been painted or caulked on a wall, score it with a utility knife. It will save you lots of time.
Step 1 - Clean up the paper
Using a utility knife, remove all loose paper from the wall. You can cut more of the paper off, that's no problem, you just want to have clean lines.
Step 2 - Sand It Down
Step 3 - Prime It
Using a good primer, you'll want to prime the paper. Why? We're going to be filling in this area with joint compound. If you don't primer it first, the paper will basically suck up the moisture from the joint compound.
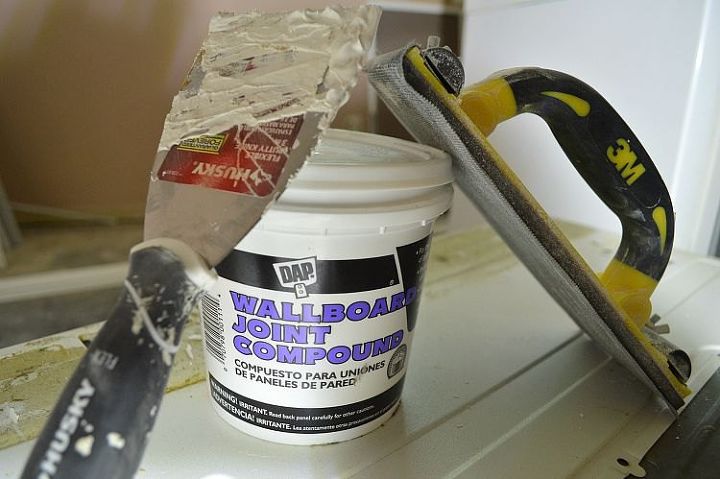
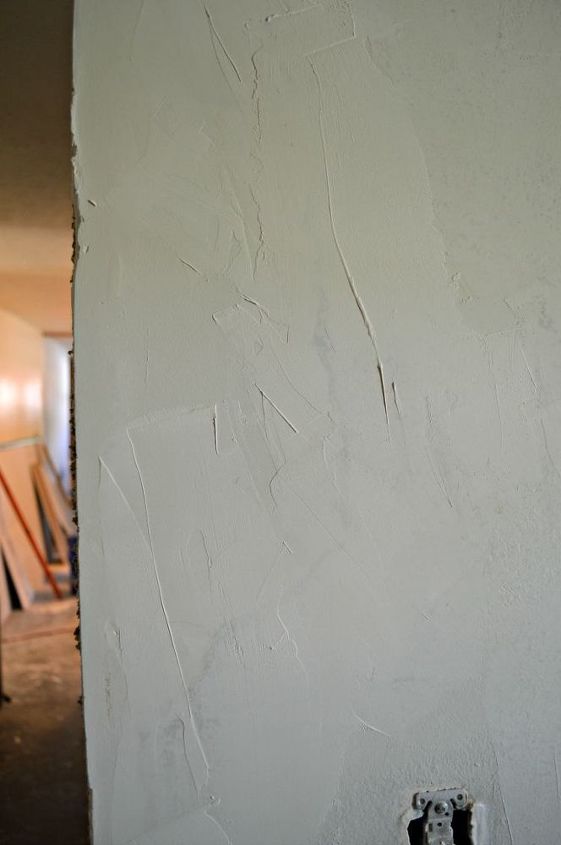
Step 4: Joint Compound
Using your putty knife, slather on a layer of joint compound. Try to feather out the edges of the compound.
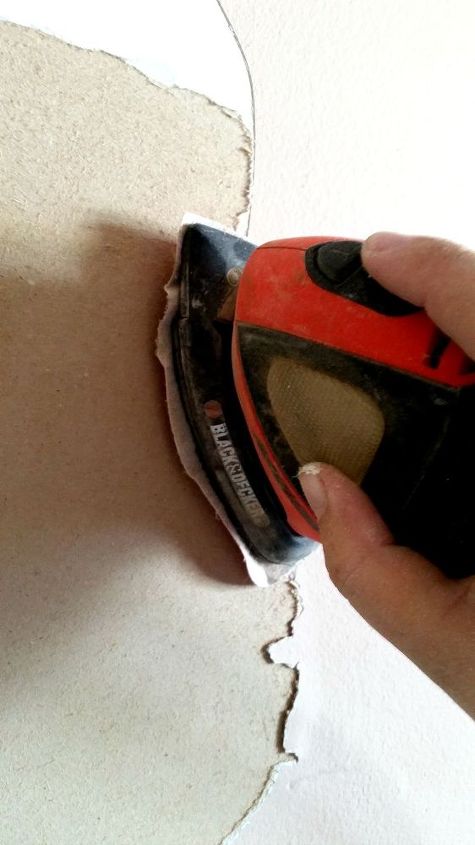
Step 5 - Let It Dry, Then Sand
This joint compound is thin and takes several hours to dry. Resist the urge to flatten out the high points and just let it dry completely. Then you'll sand the wall. Be sure to sand it smooth!
Step 6 - Repeat
My drywall paper tear was pretty bad, so I needed to repeat steps 4 and 5.
Step 7 - Prime Again
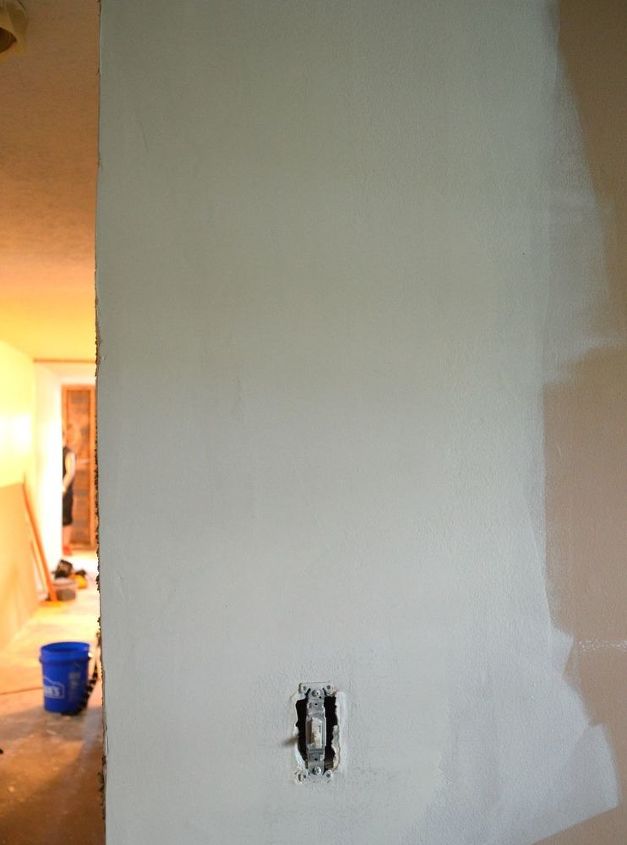
After you have sanded the wall smooth, add a final coat of primer. This seals everything in and makes your wall ready to paint. If you don't primer the joint compound before painting, "flashing" will occur. This is when the sheen from the patch shows up differently from the sheen of the paint.
After the coat of primer, your wall should be ready to paint!
Nice, right?!
For the full tutorial, visit my blog!
Top Hometalk Projects
Popular Project Book
Join the conversation
3 of 36 comments
-
Rosetta Paganoon Sep 23, 2020
We removed the baseboards in order to remove floor. Once floor in replaced, should we do this with the base of the wall, before putting back the baseboards. Thank you for your reply.
- JoAnn Green7 days ago
I sure will. I have 2 walls that need fixing. I’m 77 so hopefully I can do myself. Thanks
Your comment...
Have a question about this project?