


Bathrooms: Chrome Shower Fixture Rescue

2 Hours
Easy
Once upon a time, I had beautiful shiny chrome shower fixtures...then I turned on the water!
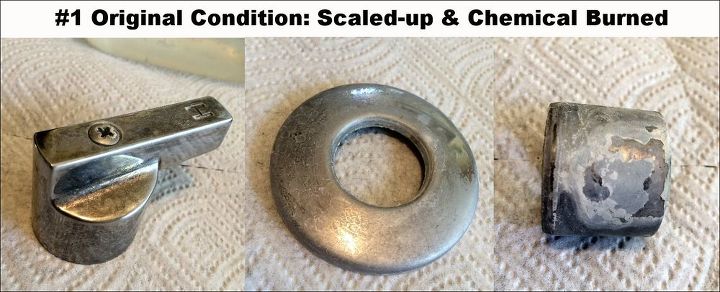
Now, I have old neglected scale crusted shower fixtures with chemical burns and metal stains (photo The latter came from trying to make the shower fixtures shiny again using limescale removers and/or bleach - oops.
Now, I have old neglected scale crusted shower fixtures with chemical burns and metal stains (photo The latter came from trying to make the shower fixtures shiny again using limescale removers and/or bleach - oops.
It's easy enough to go out and buy brand new shower fixtures, but anybody could do it the easy way - so I'm going to share how to Refurb these ugly eye sores back to like-new condition using some straight forward methods. First, I will remove the scum and limescale build-up. Second, I will make the chemical burns and metal stains disappear. Thirdly, I don't want to do this again so I am going to protect my finished fixtures.
Going with a tried and true method, I dropped the scaled-up fixtures into a bath of Distilled White Vinegar and let them soak for over an hour (photo
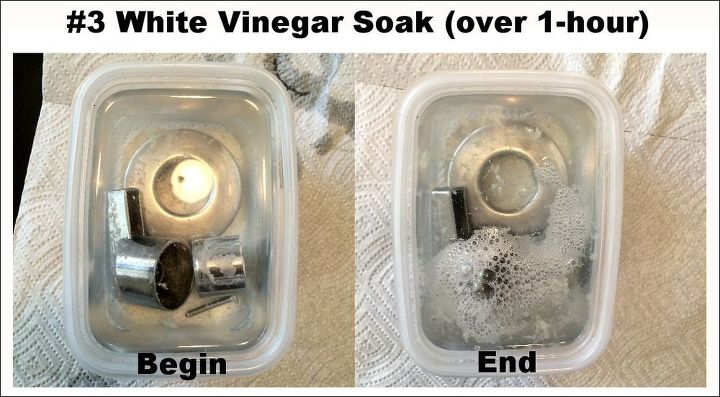
After the soak, I scrubbed the residue off with a scratchless scrub sponge and the results can be seen in photo #4. Note - that the scum and limescale build-up are gone; however, the chemical burns and metal stains are highly visible. Still ugly.

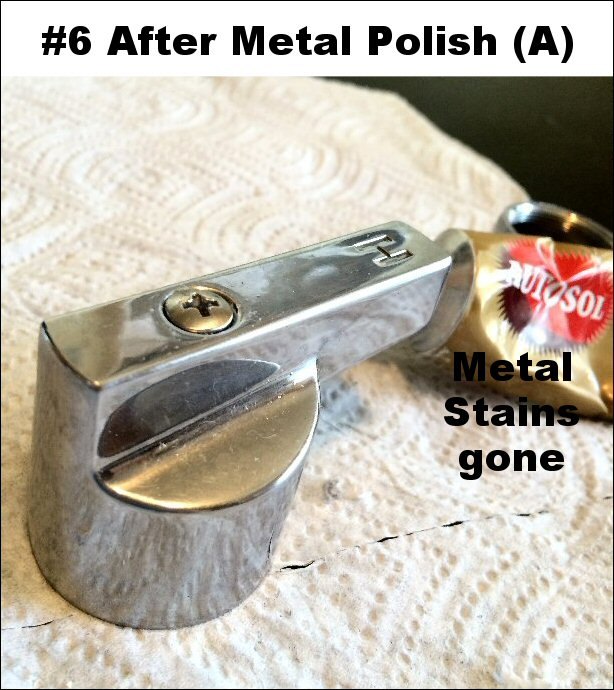
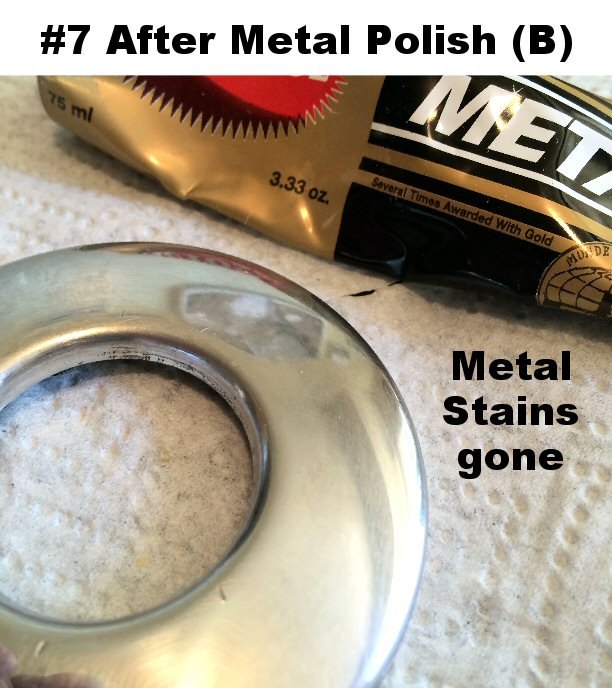
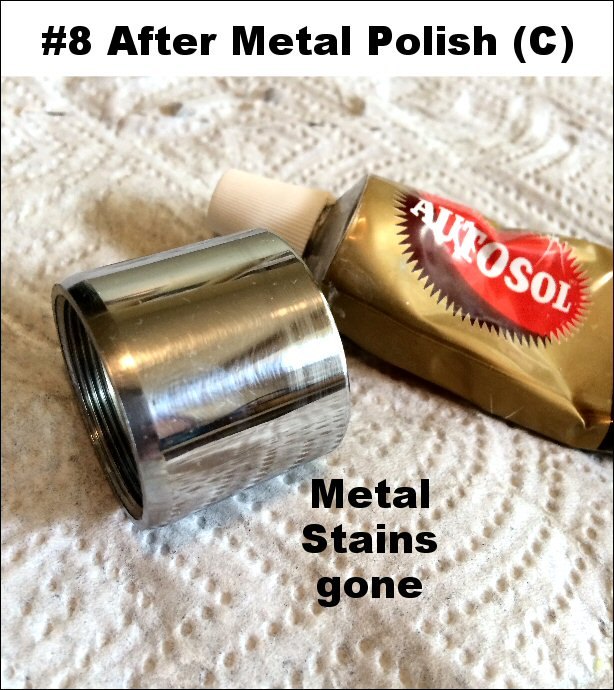
Remove Chemical Burns & Stains
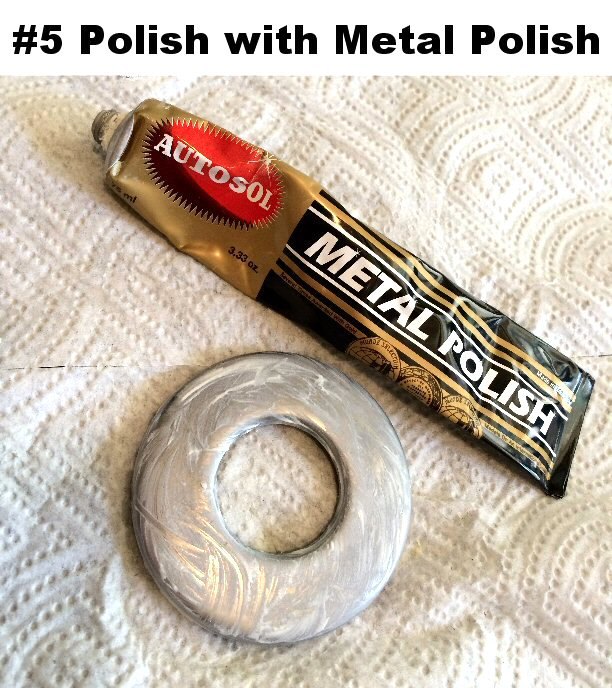
Then rubbed and buffed and polished until the stains were gone and I could see myself in the chrome finish - beautiful (photos
Prevent Future Scale & Chemical Stains
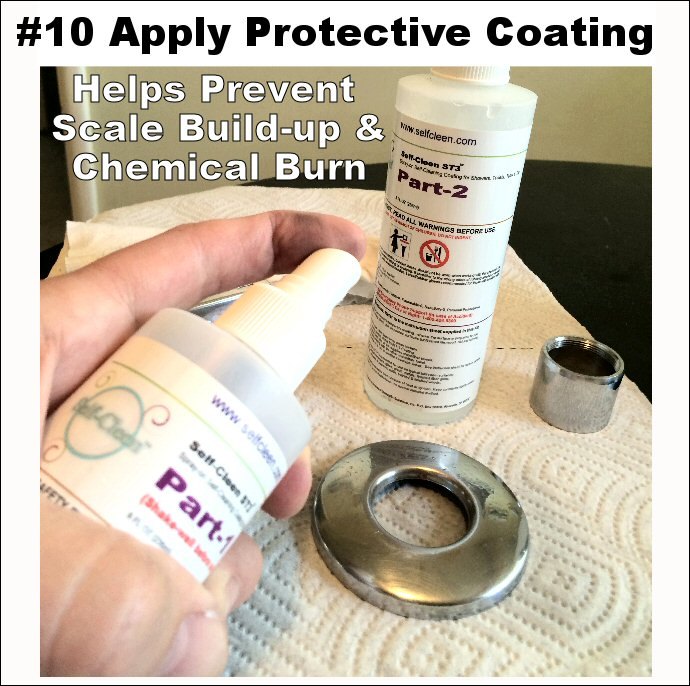
Apply Protective Coating
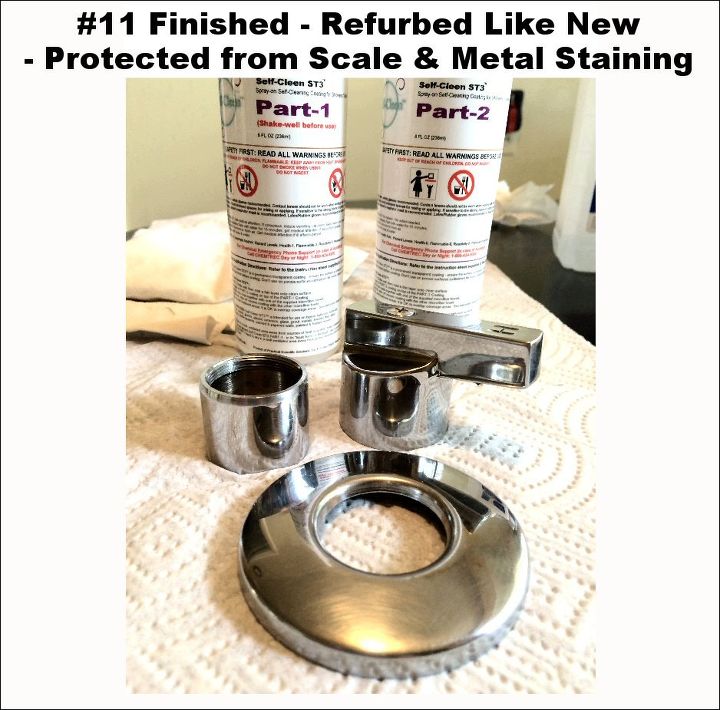
Finished Results
Autosol Metal Polish and Self-Cleen ST3 Bullet-Proof Bathroom Super-Coat are available on Amazon.
Comments
Join the conversation
2 comments
-
I always wipe my fixtures dry when I use them. I have fixtures that look new and they are at least 20 years old. A couple of seconds is all it takes.


Frequently asked questions
Have a question about this project?