


Walmart Bar Cart
This post was transcribed by a member of the Hometalk editorial team from the original HometalkTV episode.
You will want to head to Walmart and grab a cheap rolling cart after you see my bar hack.
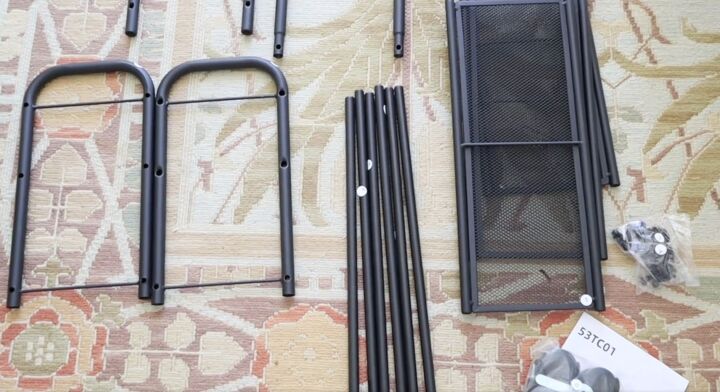
For this project today, we are going to transform a black utility rolling cart I grabbed at Walmart.
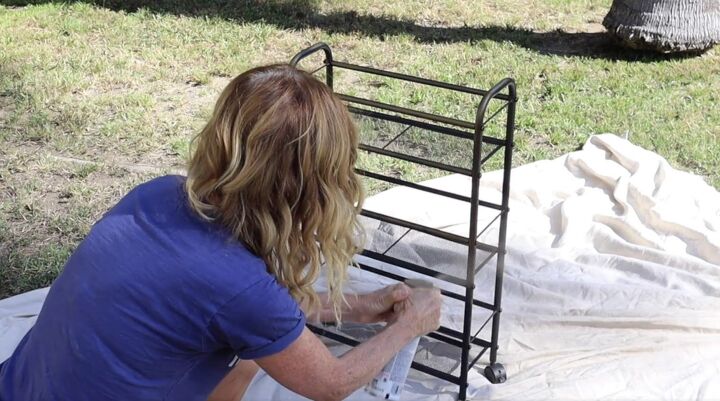
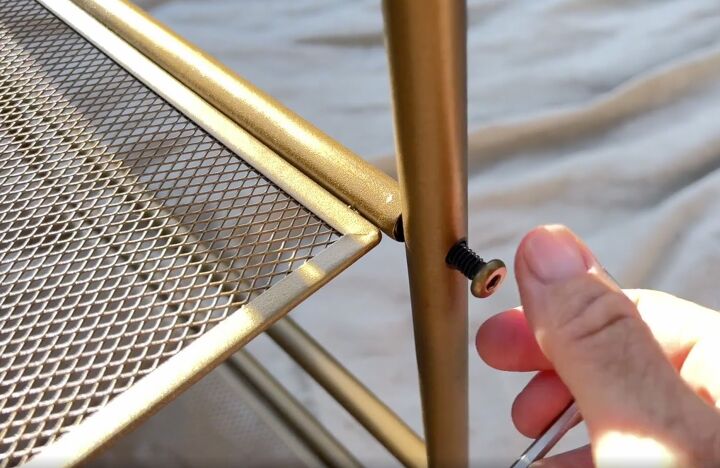
First things first, we have to put together the utility cart and then bring it outside and spray painted it gold. The gold already transformed this utility cart.
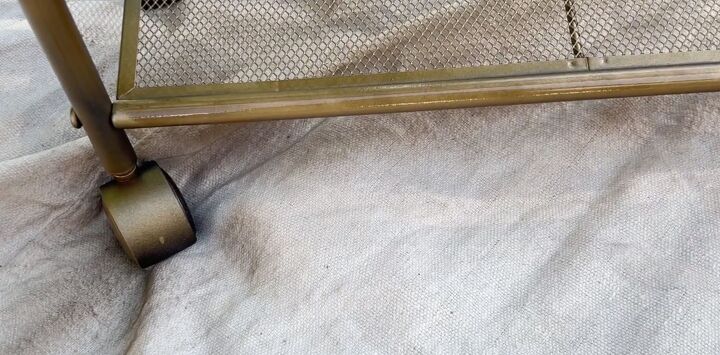
Make sure that you get all the little nooks and crannies with the spray paint. I only needed about one coat, but I did kind of go over a few areas that weren't sprayed all the way.
As this was sitting and drying, I realized I didn't want the middle ledge. So I decided to take off that middle shelf because I wanted to have wine bottles at the bottom. At first, I thought I was going to lay them flat, but then I decided after I was looking at it when it was gold, that I wanted them to stand up straight.
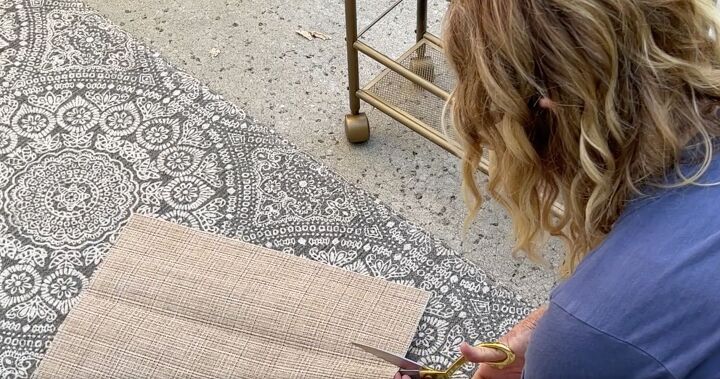
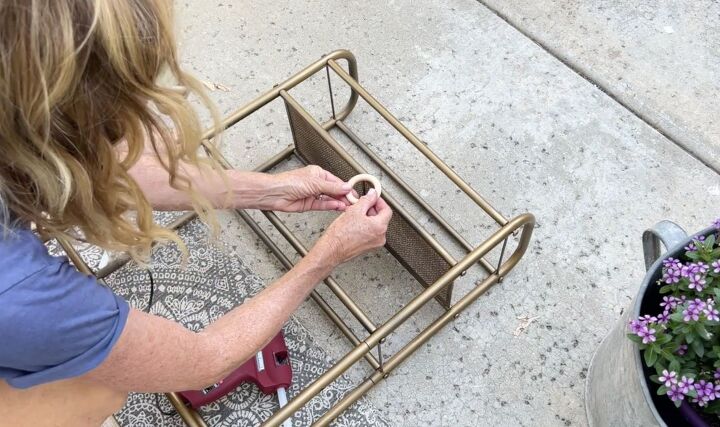
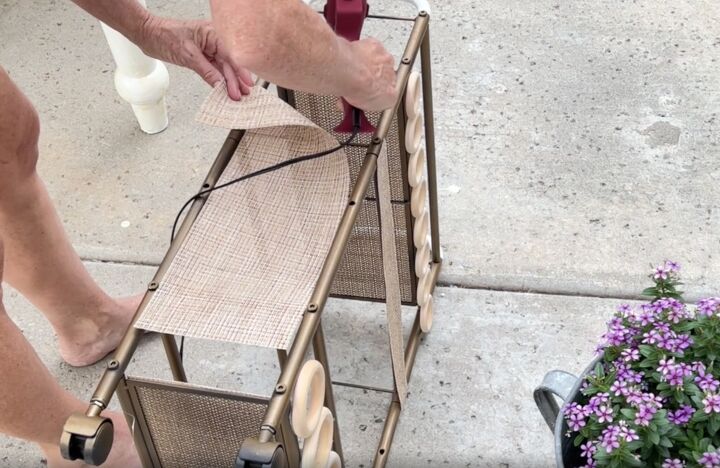
Next, we are going to grab some placemats that I found. These are kind of like a woven placemat. I folded it in half and then cut it.
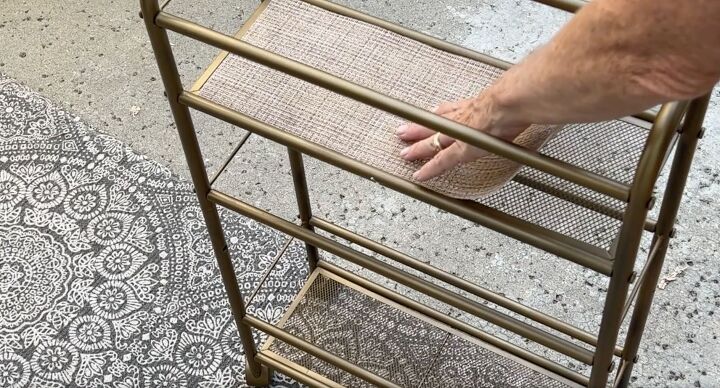
We're going to glue that onto each shelf so that we can disguise the mesh metal that was with the original cart. I secured it in place with some hot glue.
My piece was a little long, so I cut off the end.
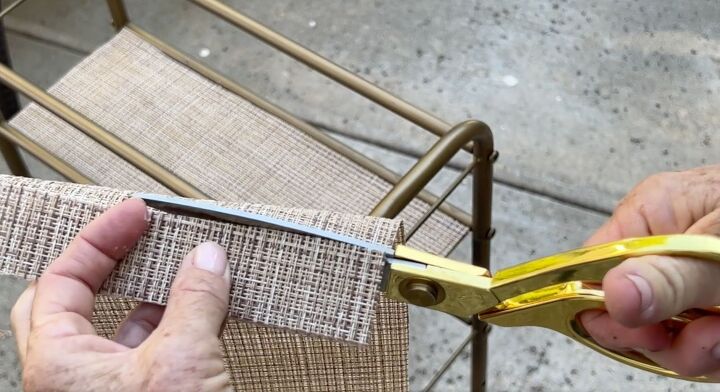
I kept the little piece so that I could use it as a guide to cut other pieces.
I found these wooden rings and I thought, hey, that would look really cute to embellish the cart and transform it and disguise the fact that it was a utility cart. I hotglued those along the top shelf edge.
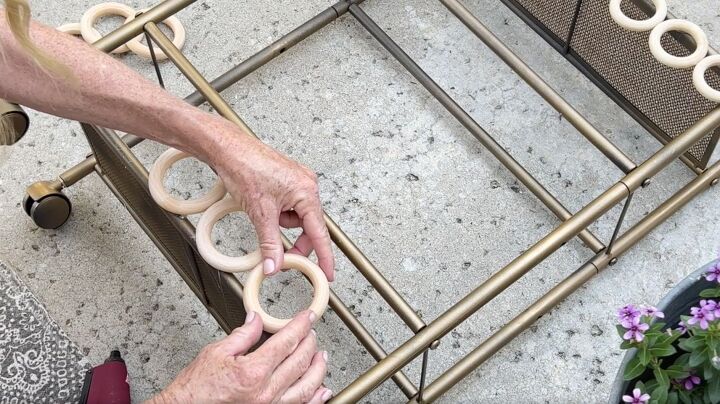
Then I took some larger ones and glued them along the bottom.
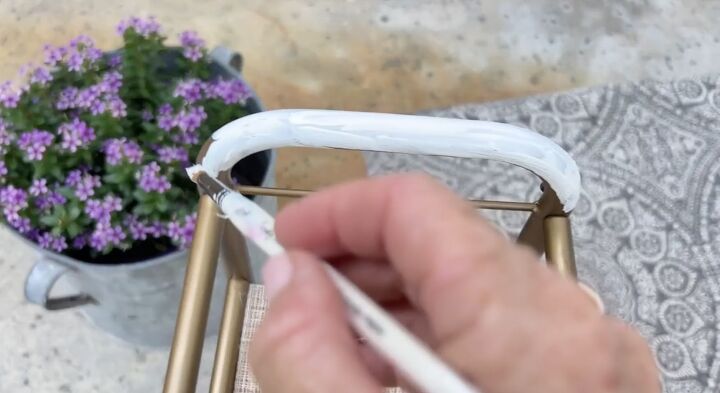
Now we're going to grab some white paint and we are going to put that on thehandles at the top on both sides. I will come back to the handles later.
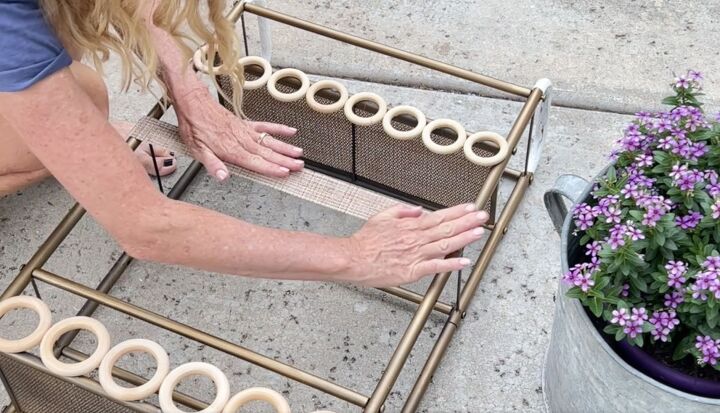
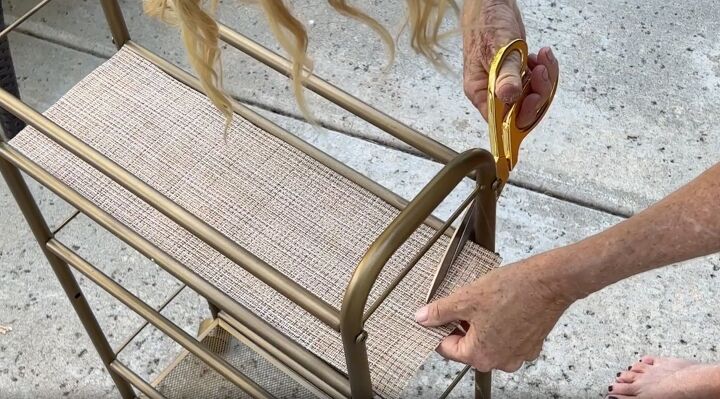
Then I took some more of the placemat and I made it about an inch and a half wide and put it on the middle little metal bar to camouflage that.
Then there's that little piece that I cut off the end and I use that again as a perfect way to measure the width of the mat to put on the side. I used hot glue again to hold it in place.
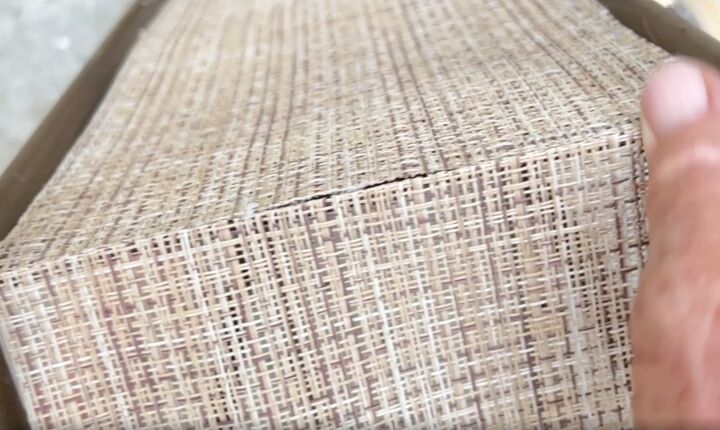
The top will join nicely with the piece on the shelf.
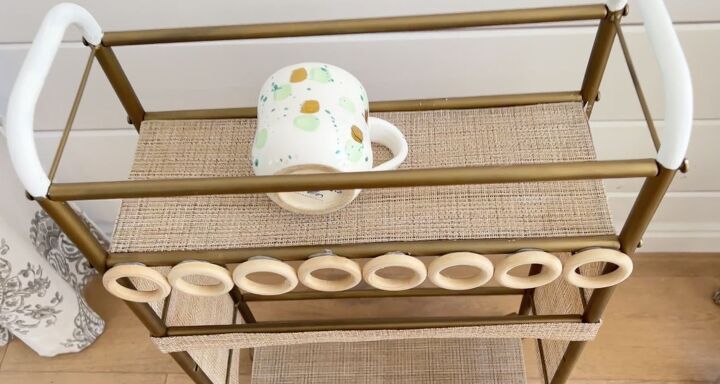
I love this anthropology mug so I used it as my inspiration for the cart.
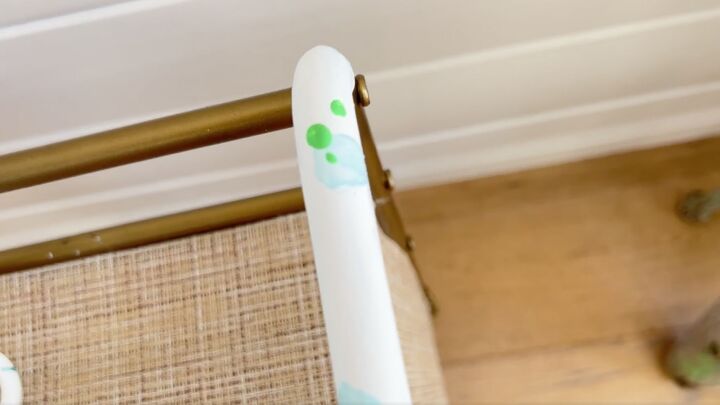
I grabbed some light minty colored paint and put little splotches on the painted handles and added some green dots.
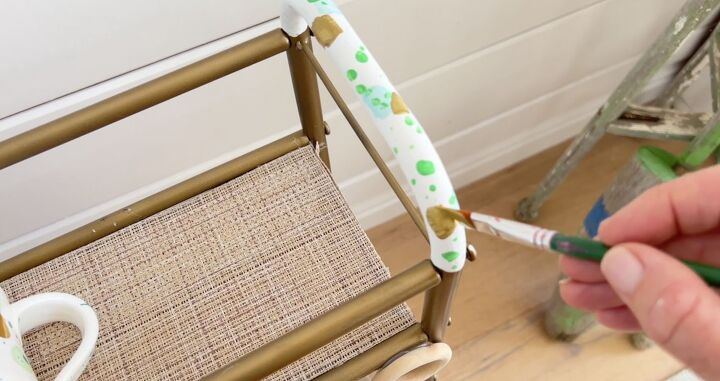
Then I grabbed a flat paintbrush and added some gold.
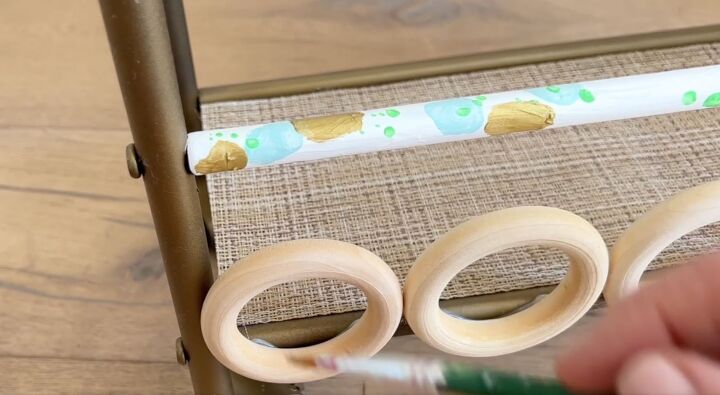
I decided I wanted to carry the pattern down the cart so painted a bar at the bottom as well. I just mimicked the same way that I painted the handles.
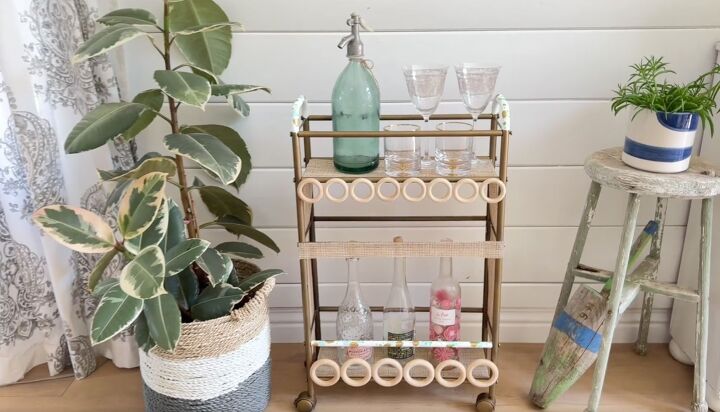
I am loving how beautifully the cart turned out. You would never know it was the same Walmart utility cart. I can also see this as a coffee cart too. There are so many possibilities; whatever suits your style.
Resources for this project:
See all materials


Comments
Join the conversation
-
Very nice job!
-
I have been looking for a narrow cart that is beautiful. My searches came up empty. Thank you for the idea to beautify my ugly narrow cart. I do not like the rings, but can put on small shells. The shells are in a bowl, which I do not like. Thank You!!!!


Frequently asked questions
Have a question about this project?
Is there a supply list for this?
What gold paint did you use please?
Why not paint it before putting it together. One can ensure proper coverage and not be a contortionist to get all the nooks and crannies. Lol