


A DIY Wet Bar Refresh for Only $150!
Our 1972 wet bar has been desperately needing a refresh, but with all the other DIY projects in this fixer upper over the last six years, it’s been on the back burner. Until now! I worked with Dutch Boy® Paints to “Simplify the DIY” and update the wet bar on a small budget and in only a few days.
Ready to see the step-by-step tutorial? Let’s go!
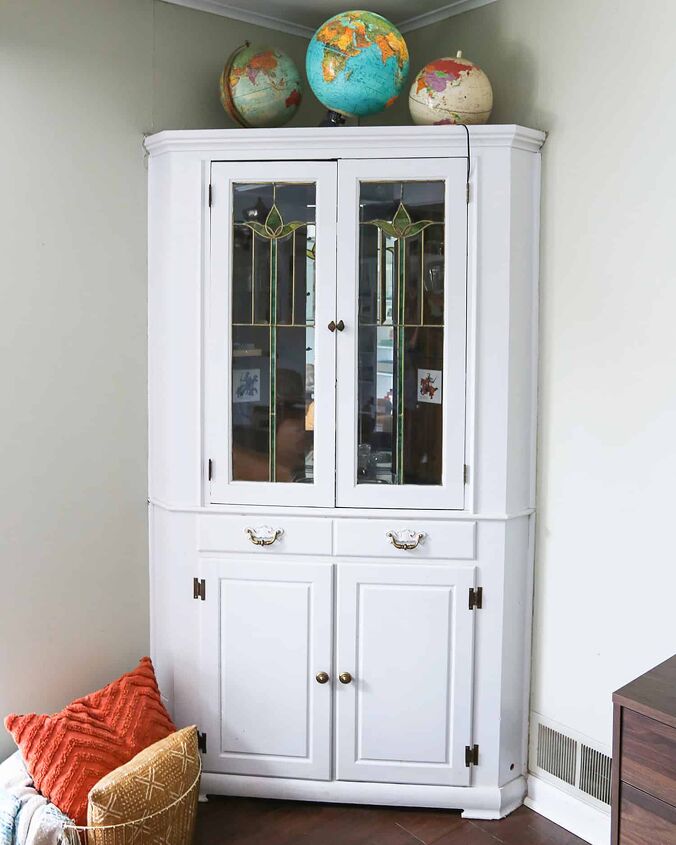
First lemme show you all the before photos of the wet bar. Here’s a look at the bar open. The wood paneled wall is so dated and just not our style.
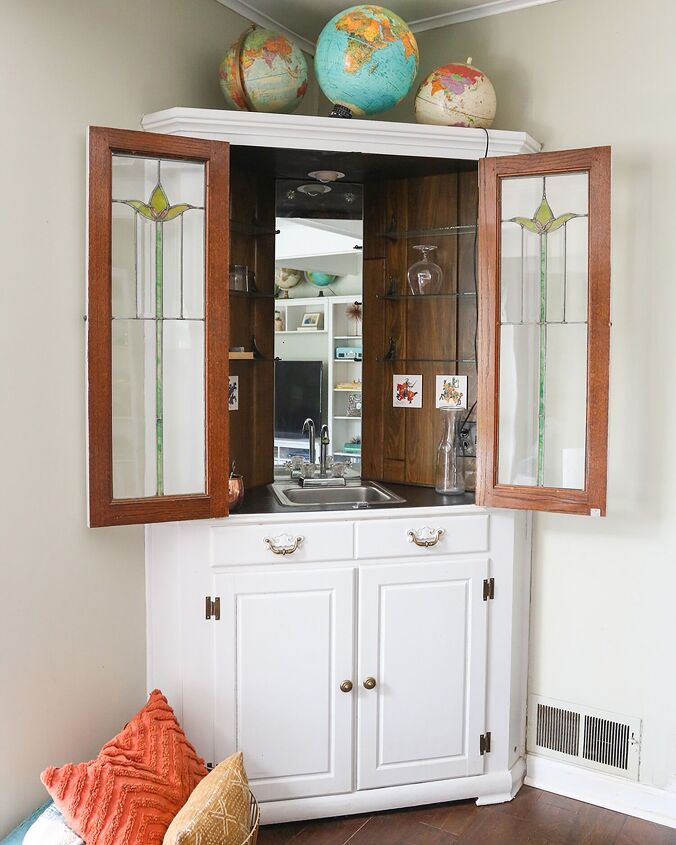
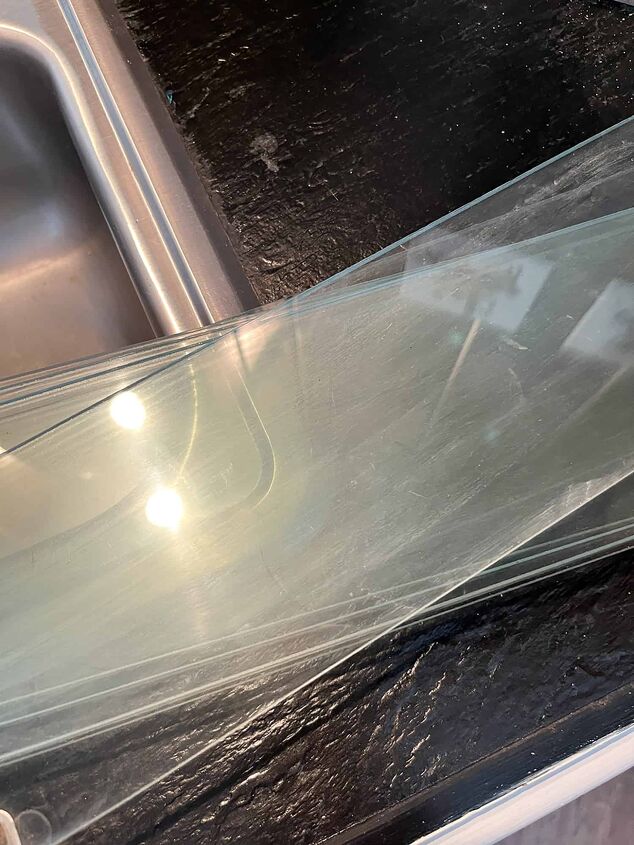
The glass shelves are handy and reusable – that’s a plus! The tiles and mirror will definitely have to go.
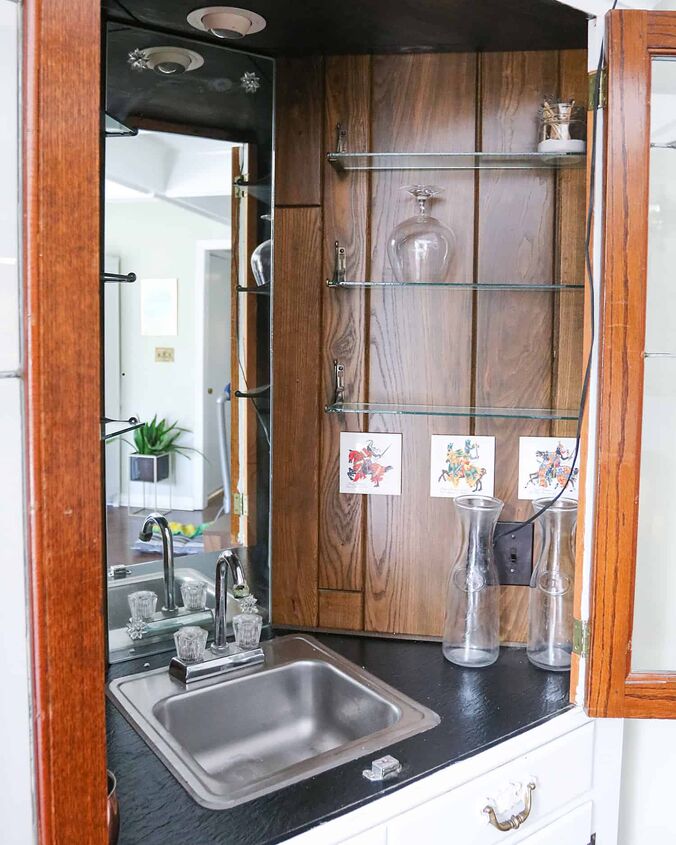
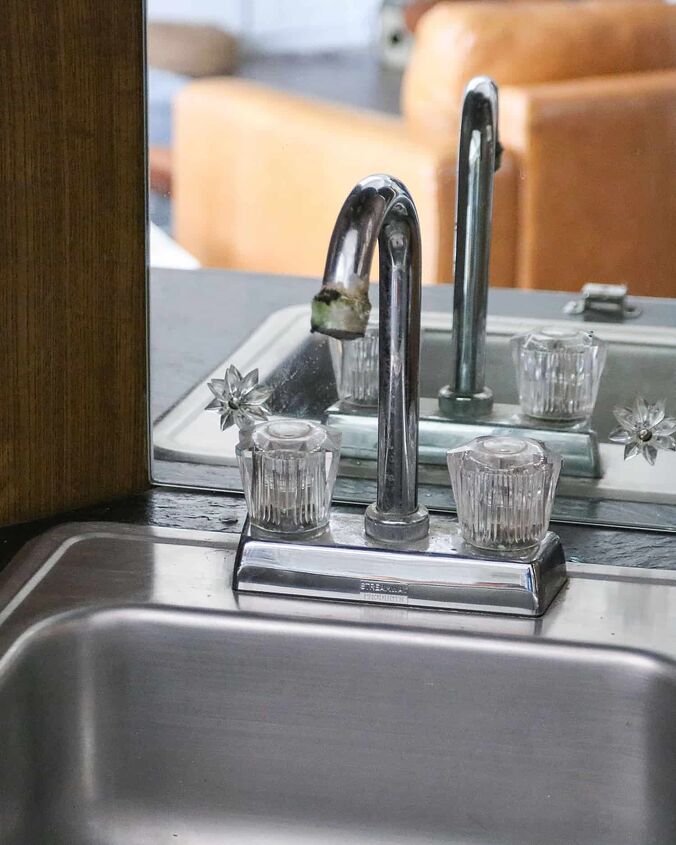
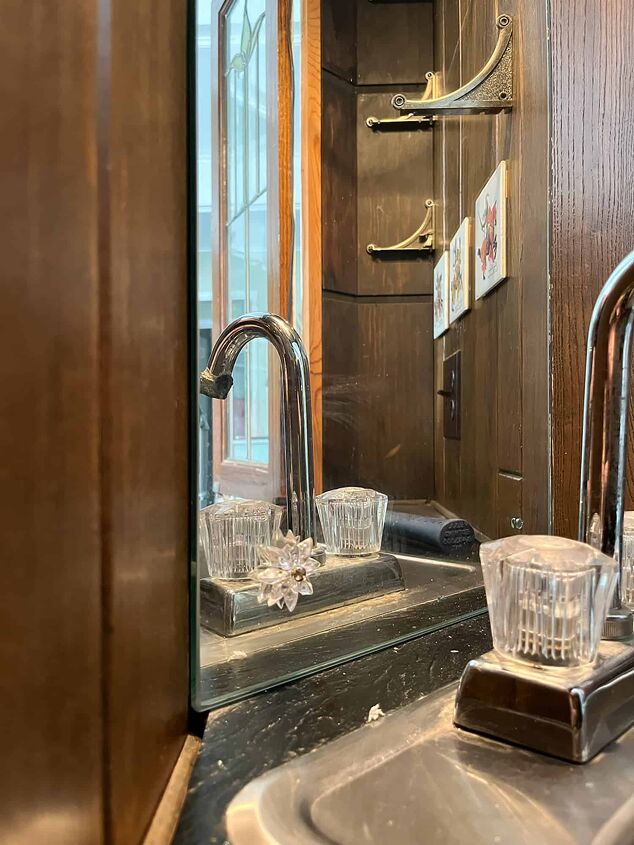
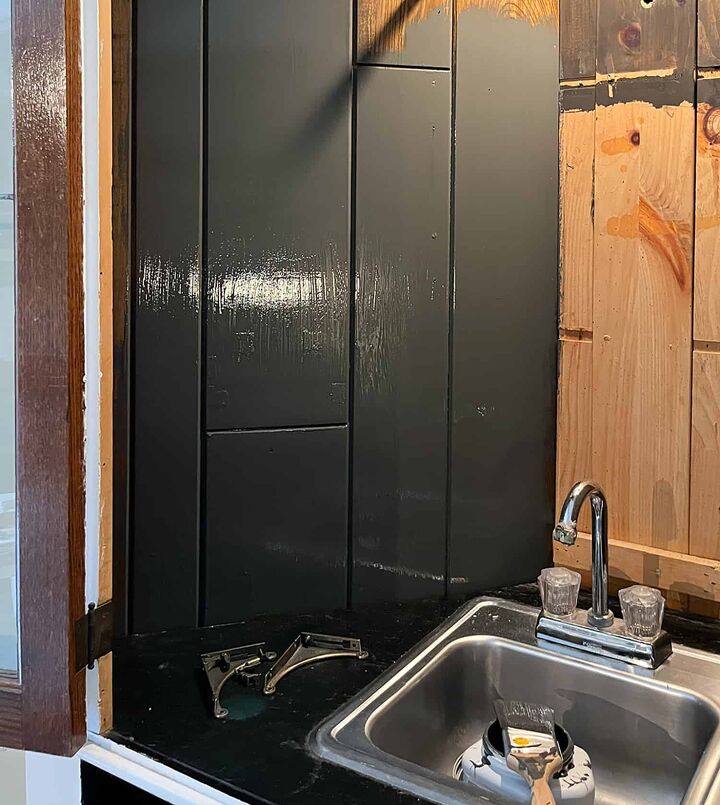
And this poor, old faucet is just so dated, and has 50 years worth of hard water buildup. I’ll be very excited to replace that!
The counter top is in pretty good shape, so that part will stay as well. My goal is a simple refresh on a smaller budget.
And here’s a look at the left side of the bar. Just more shelving and random tiles.
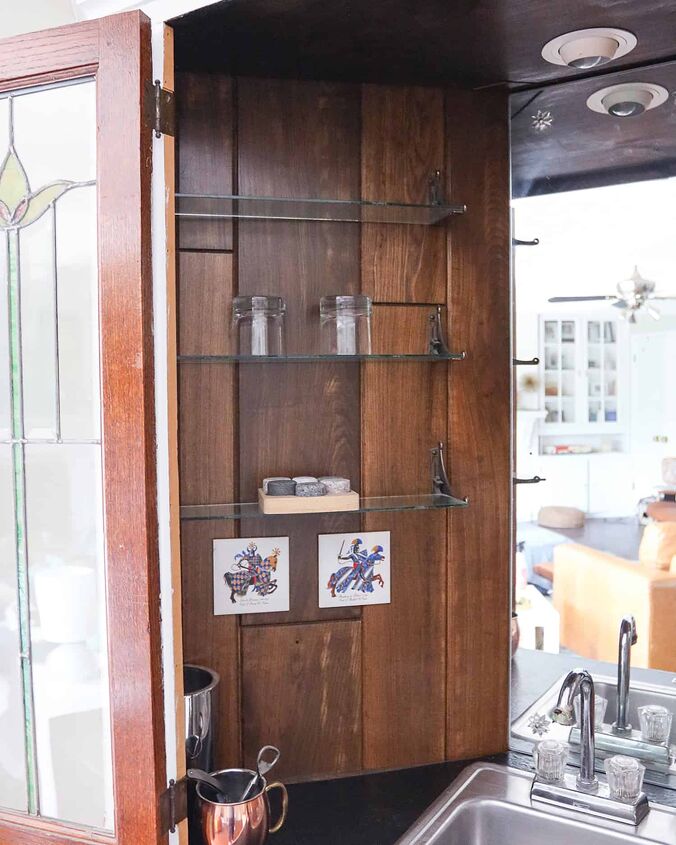
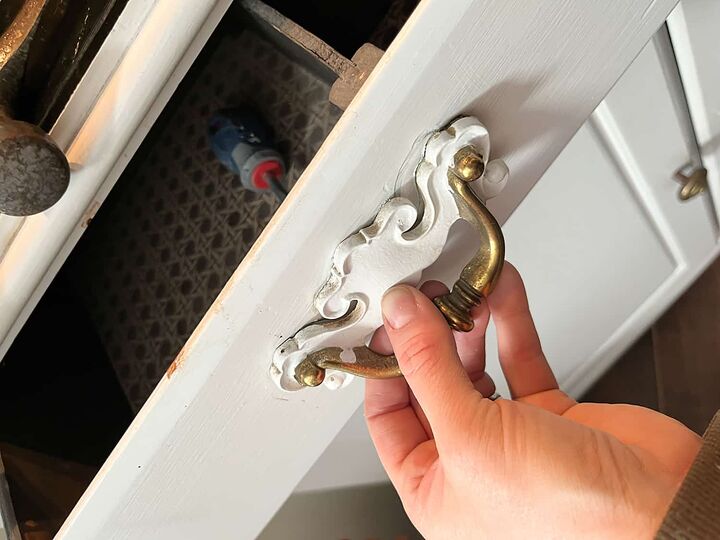
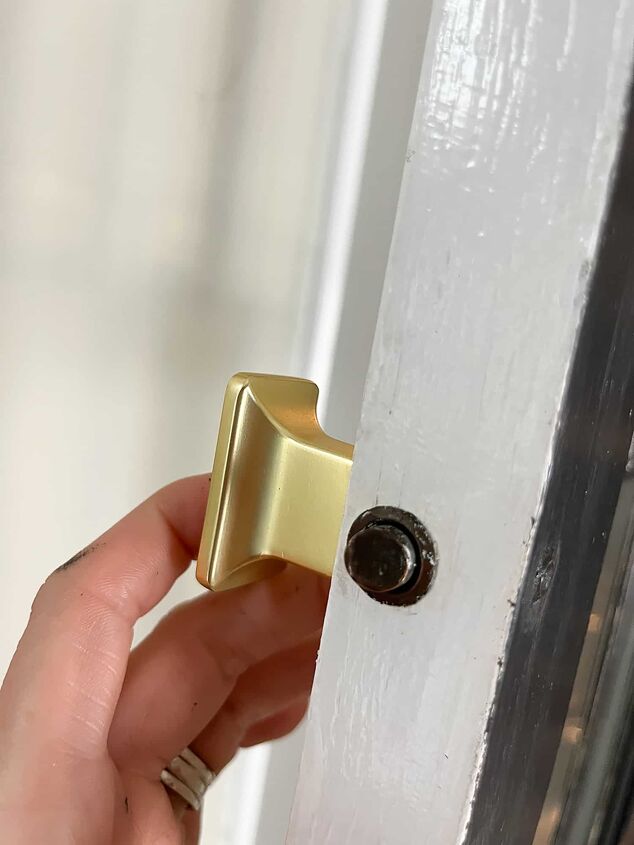
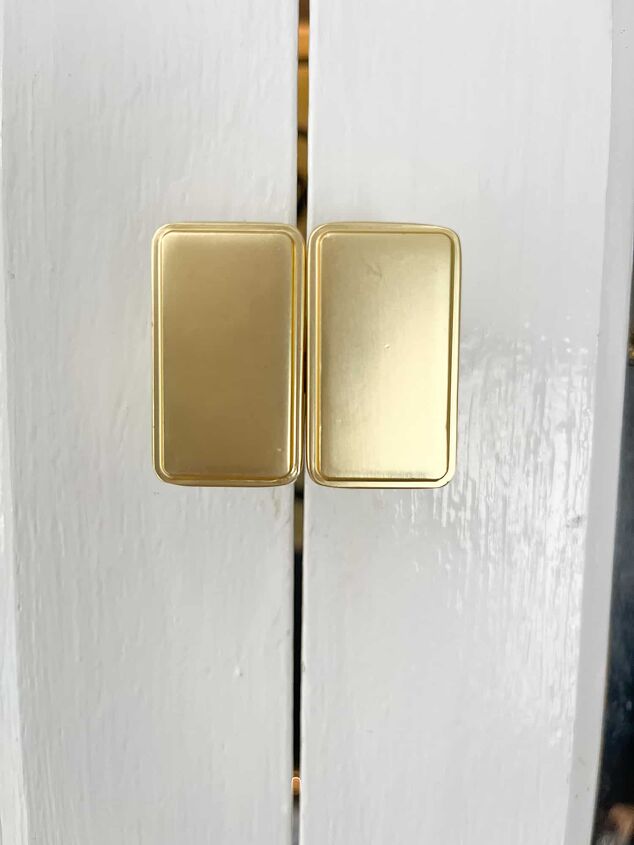
The pulls are one of my least favorite parts, personally – updating them will make a big difference!
Disclaimer: This is a sponsored post. It’s been so fun working with Dutch Boy Paints on this project. All opinions are 100% honest and my own. Thank you for your support!
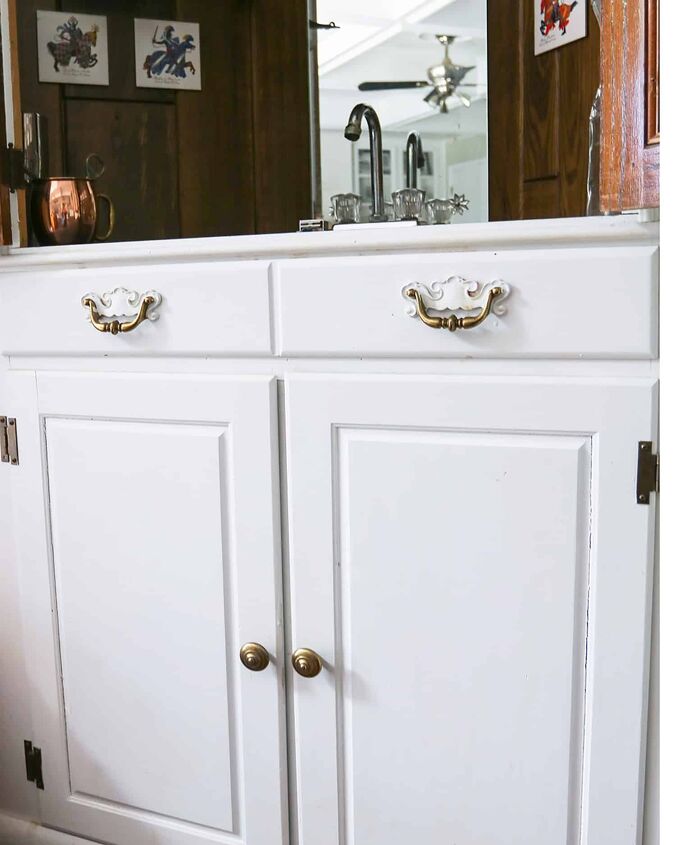
And finally, here is a look at the bar closed. It needs some love.
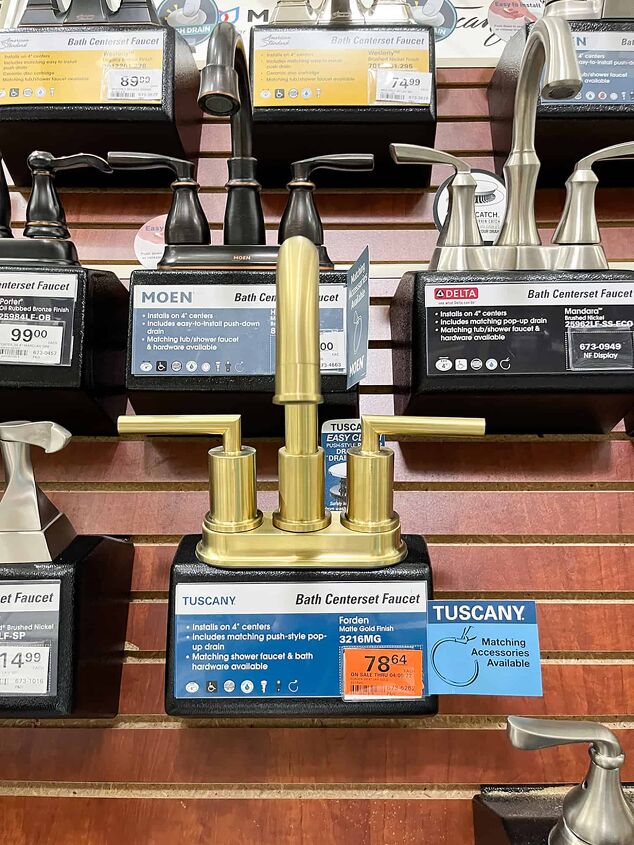
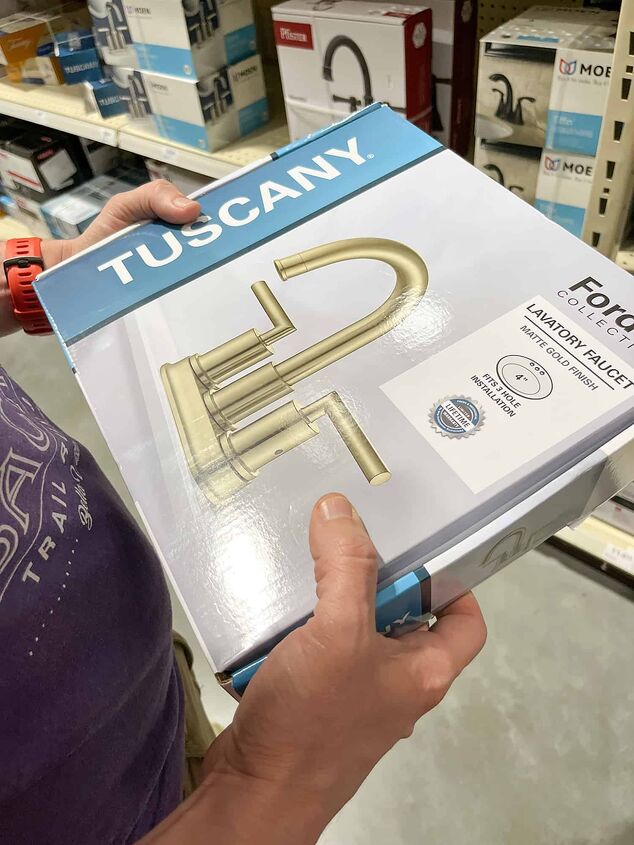
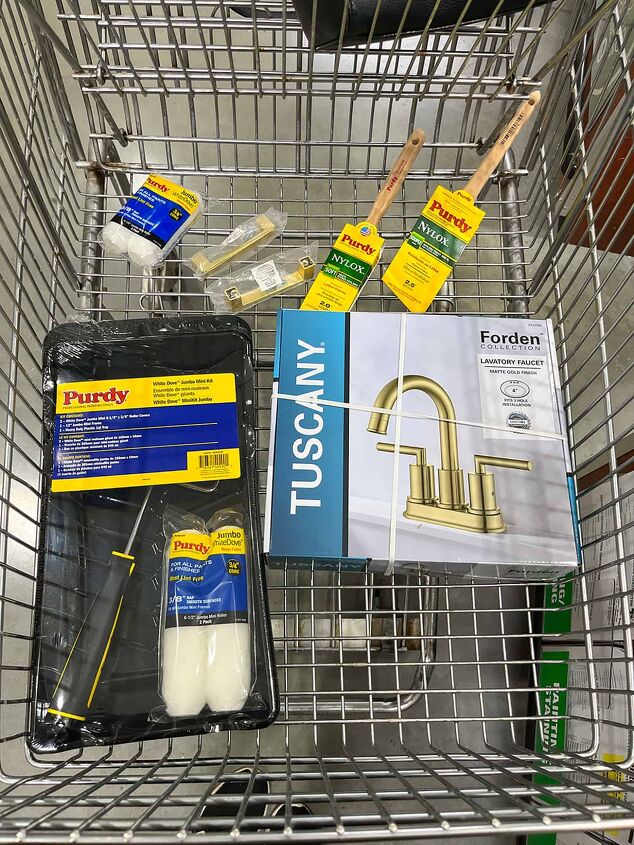
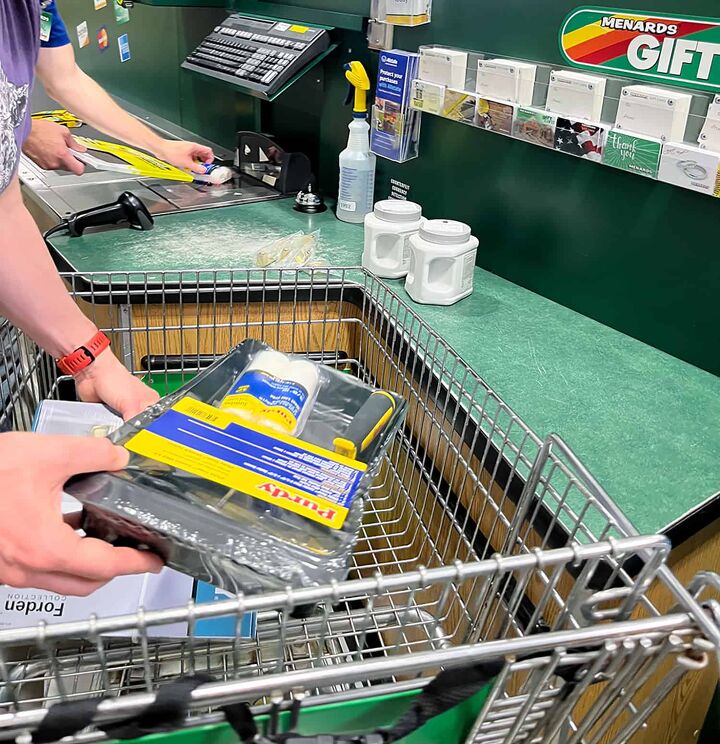
I headed to my local Menards Home improvement Store with Ted to pick out all the wet bar supplies!

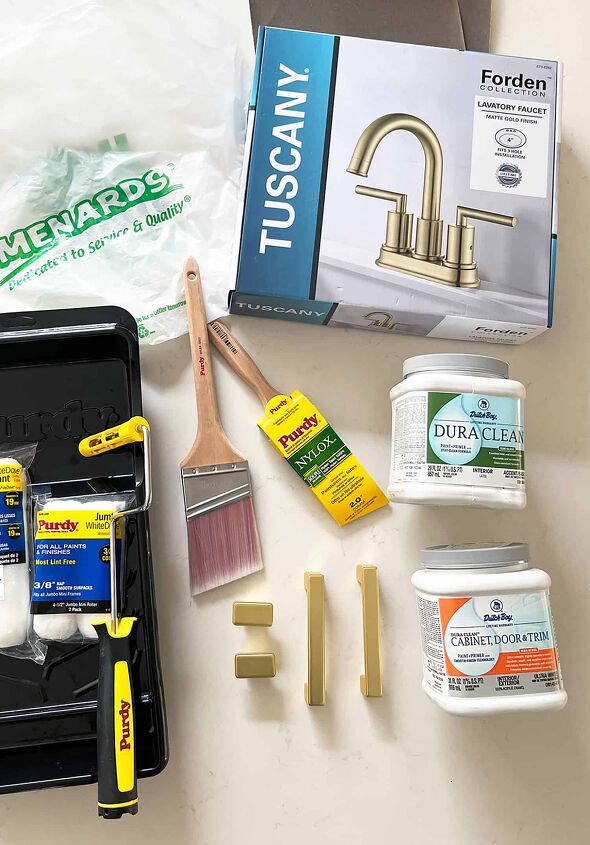
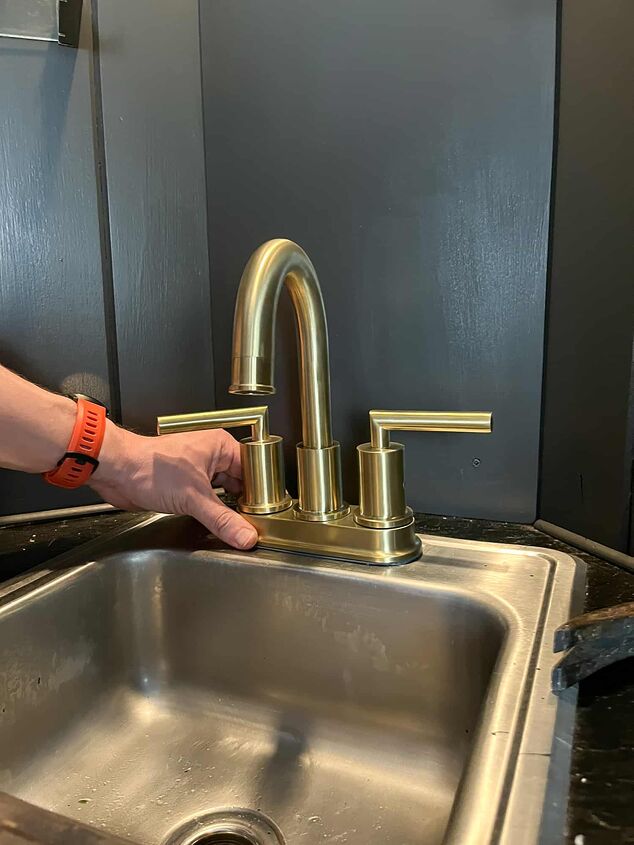
I immediately fell in love with this Tuscany modern brushed brass faucet! It was just the look I was going for less than $80. Whoohoo!
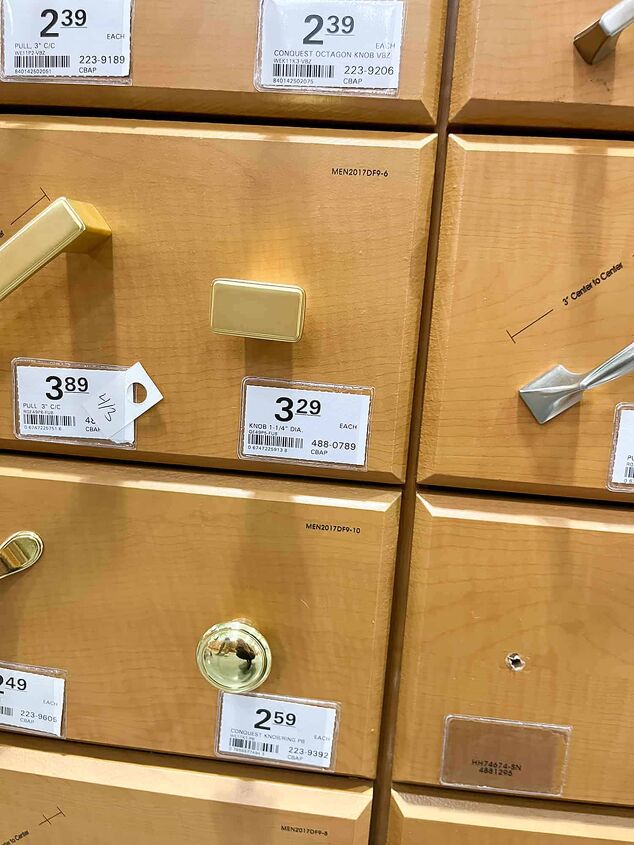
Next up, we headed to the cabinet pulls section and found some modern pulls that coordinate with the faucet. The price points were amazing!
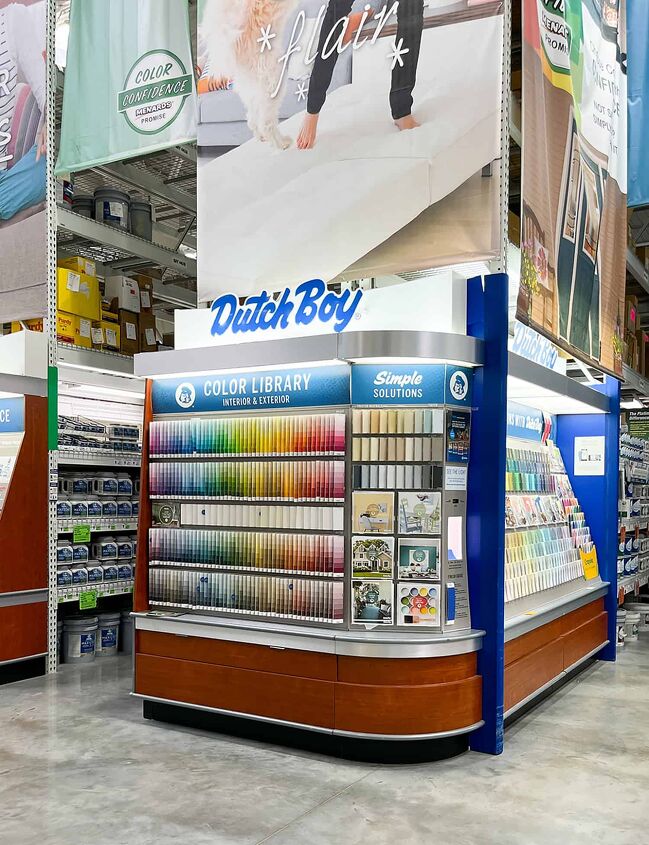
Then we hit the Dutch Boy paint section!
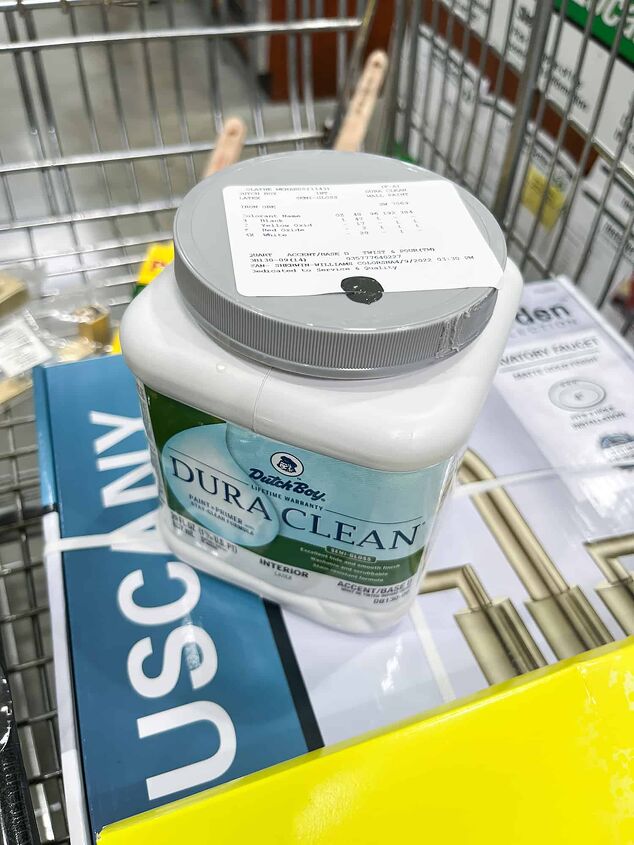
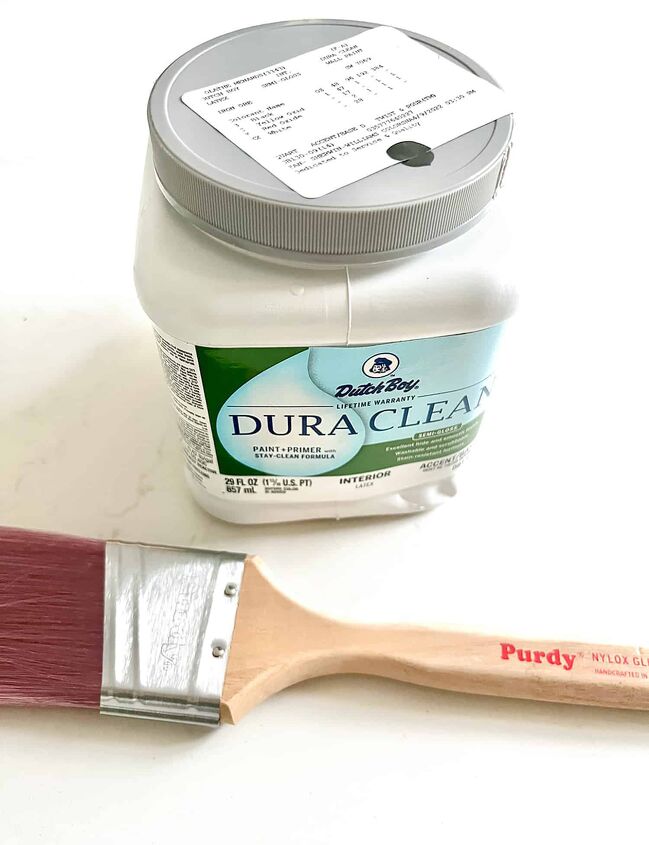
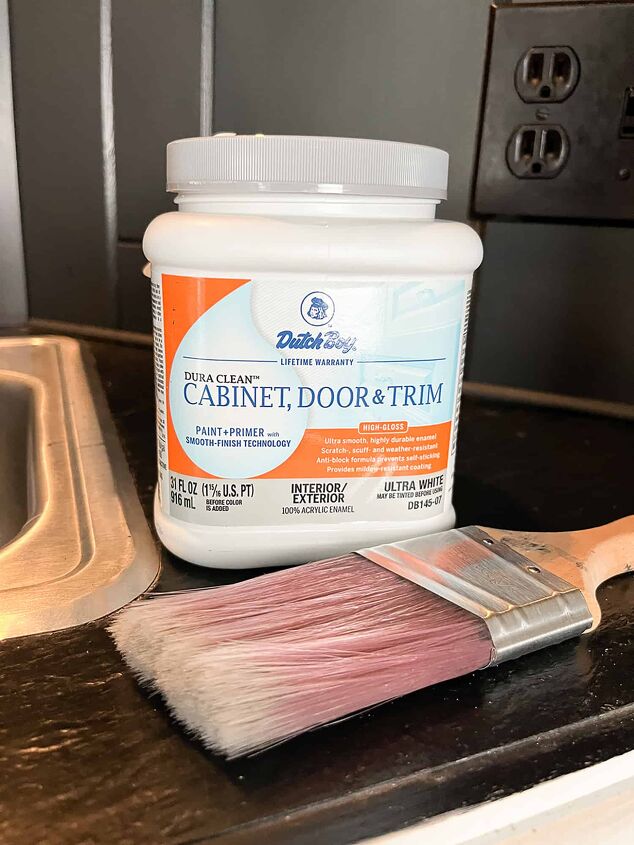
I picked out two paint products. The first one was Dutch Boy Dura Clean Cabinet Door and Trim in a high-gloss finish for the exterior cabinet of the wet bar. And I grabbed some Dura Clean paint and primer in a semi-gloss finish for the interior wood paneled wall.
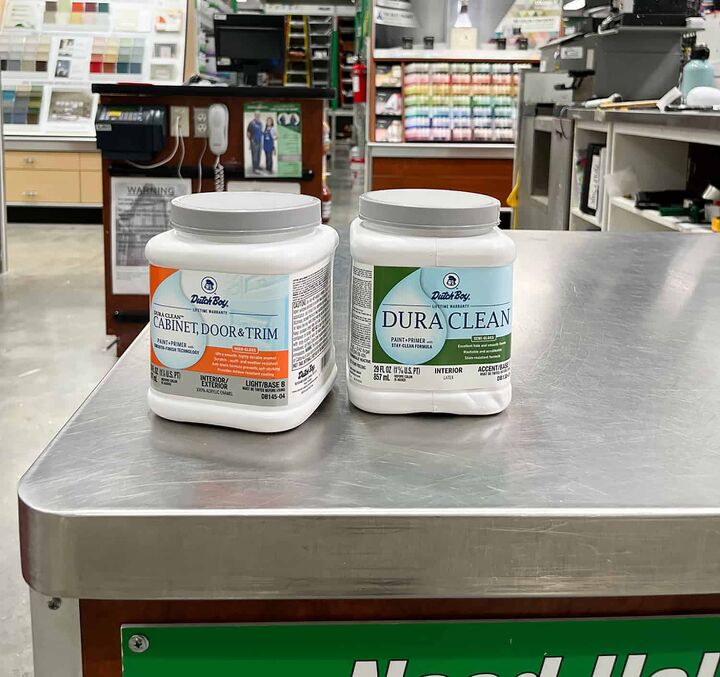
I had the paint experts match two colors for me that we’ve used throughout our house.
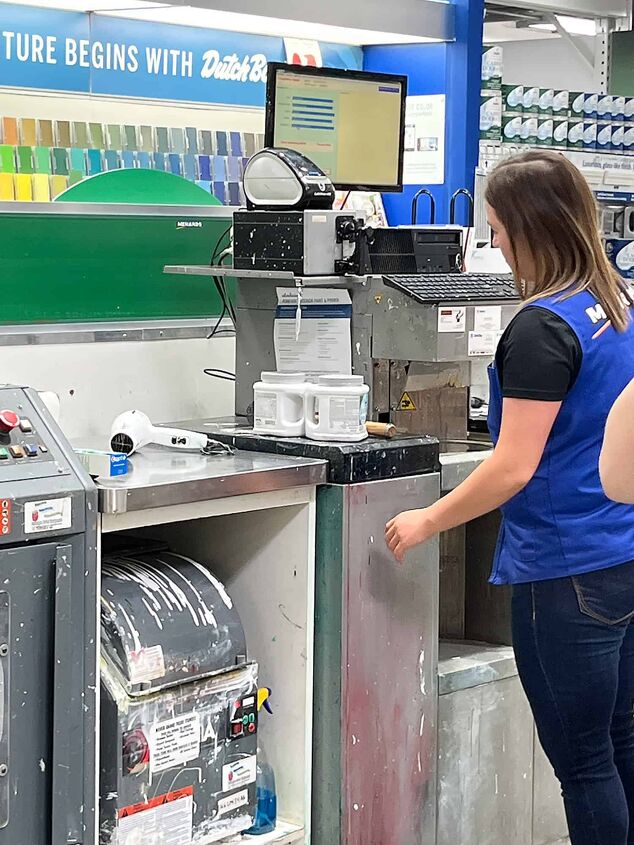
The award-winning Twist & Pour® container, created by Dutch Boy revolutionizes the paint can with:
• Integrated handle that makes it easy to hold and carry
• Screw-on lid that’s easy to open and close and eliminates the need for paint keys
• Built-in spout that makes pouring easy while minimizing spills and messes
• Tight seal that makes it easy to store leftover paint
• The new Platinum Plus 3.5-gallon pail, an alternative to 5-gallon options that’s easier to carry and hold and provides just the right amount of paint for most jobs
• Extensive color portfolio of more than 1,300 colors to suit every style, as well as endless color matching possibilities
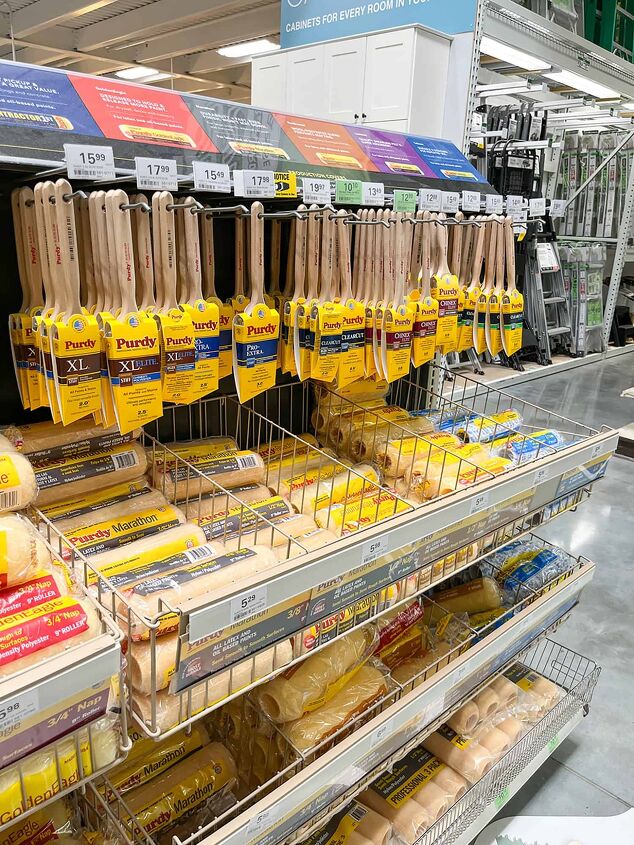
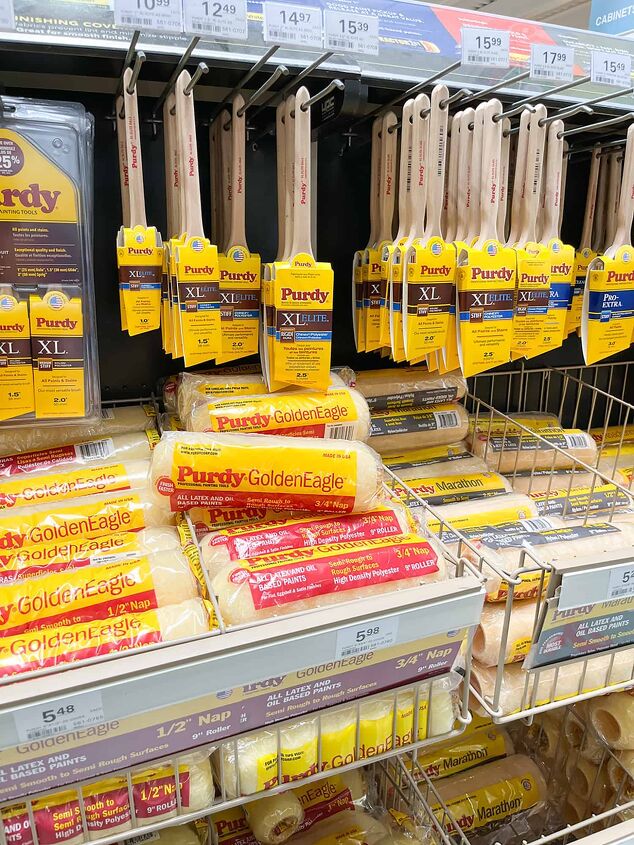
Next we headed over to stock up on Purdy painting supplies.
I grabbed a roller set (which I’ll use for a future project) and a couple of paint brushes.
We found everything we needed in a quick 30-minute trip to Menards, and have an 11% rebate coming back our way soon – score!
Time to officially get the wet bar DIY project started!
I organized all my supplies and got to work.
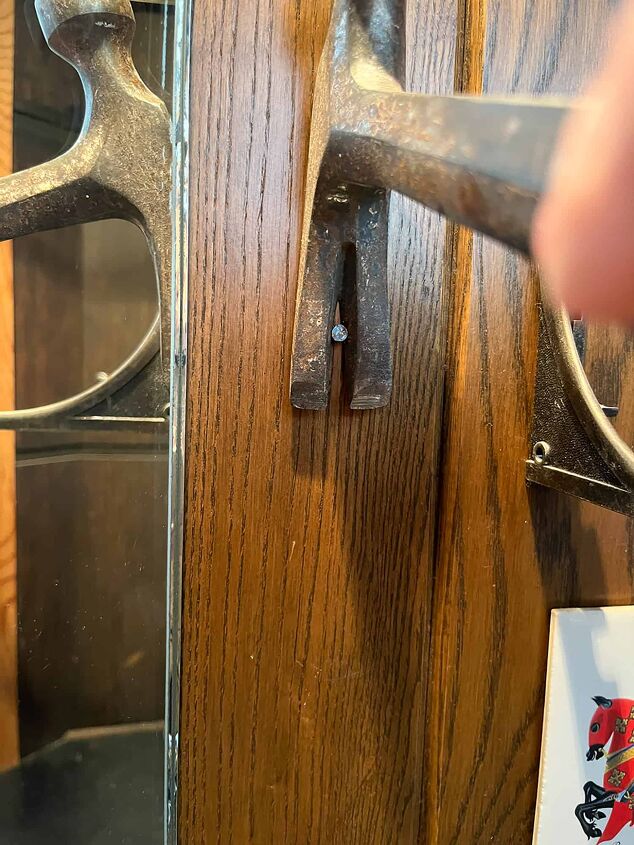
First, I started the light demo by removing old nails, shelf brackets and the glass shelves.
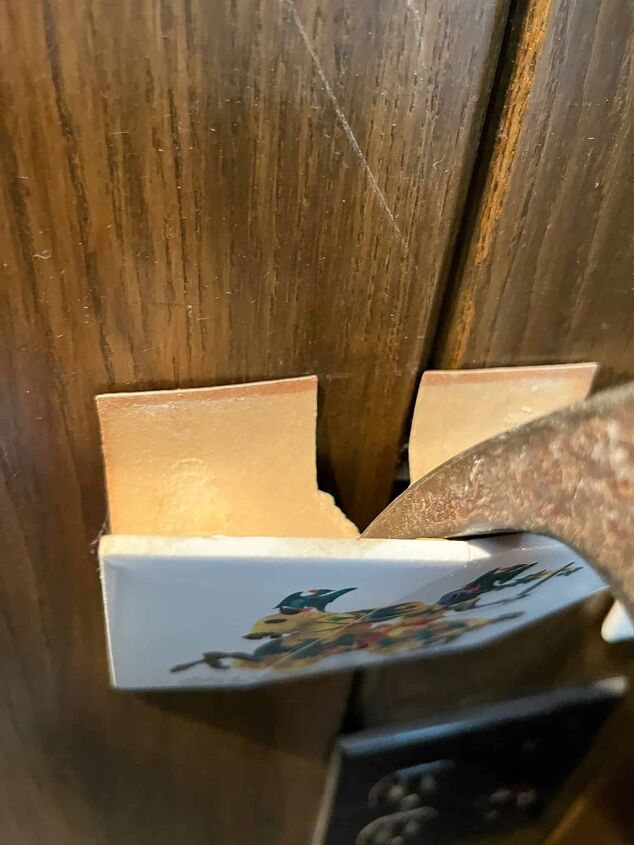
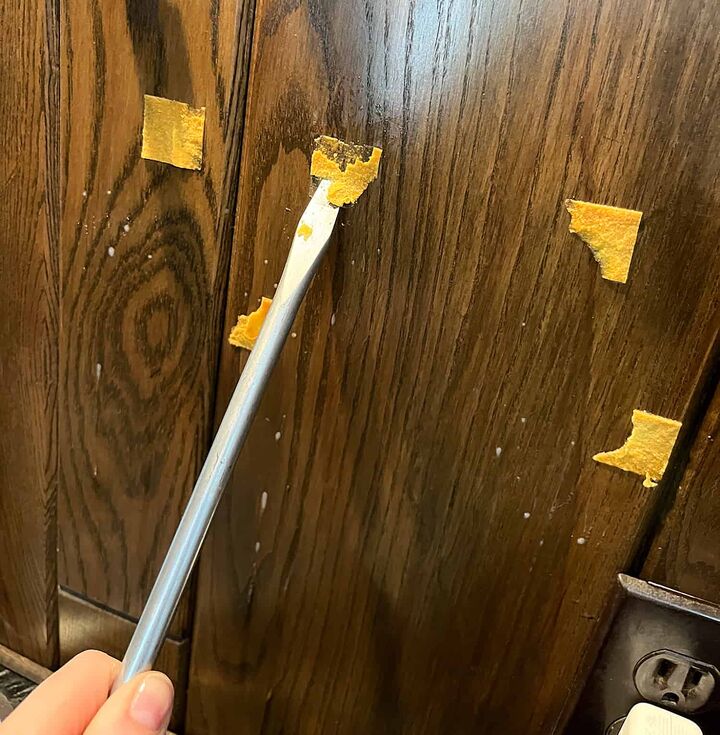
Next, I removed the old tiles and scraped away the residue from the remaining adhesive. I sanded down the adhesive to remove as much as I could.

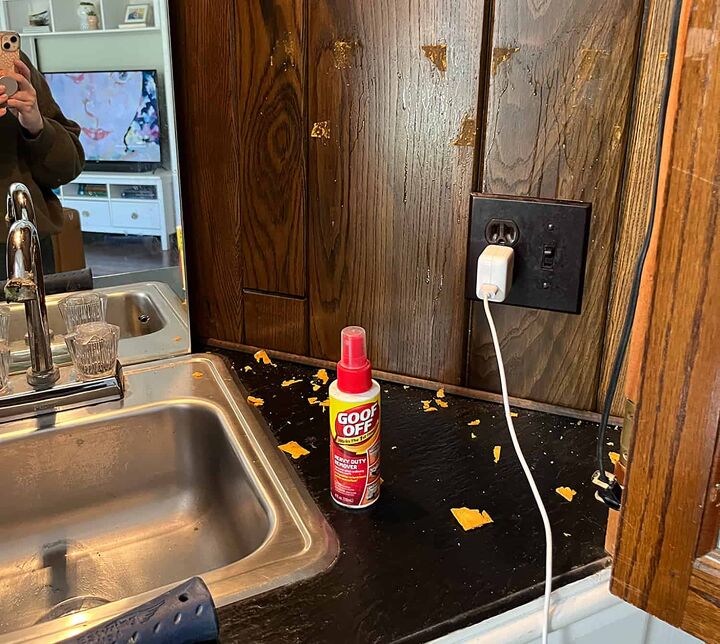
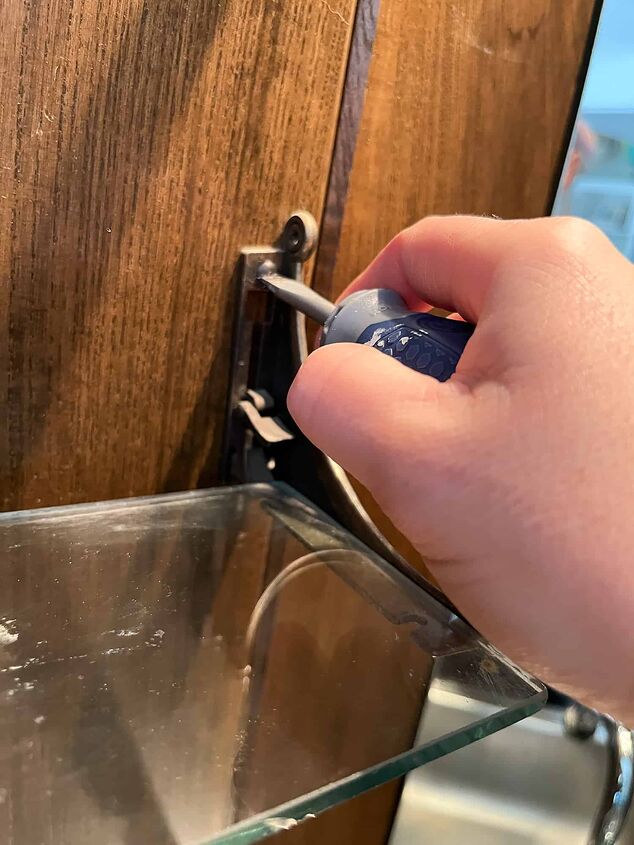
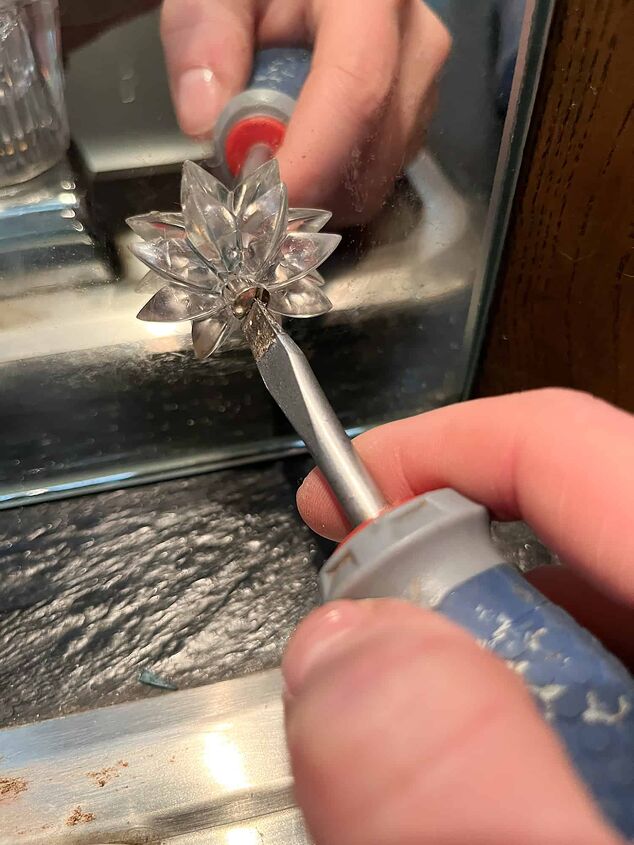
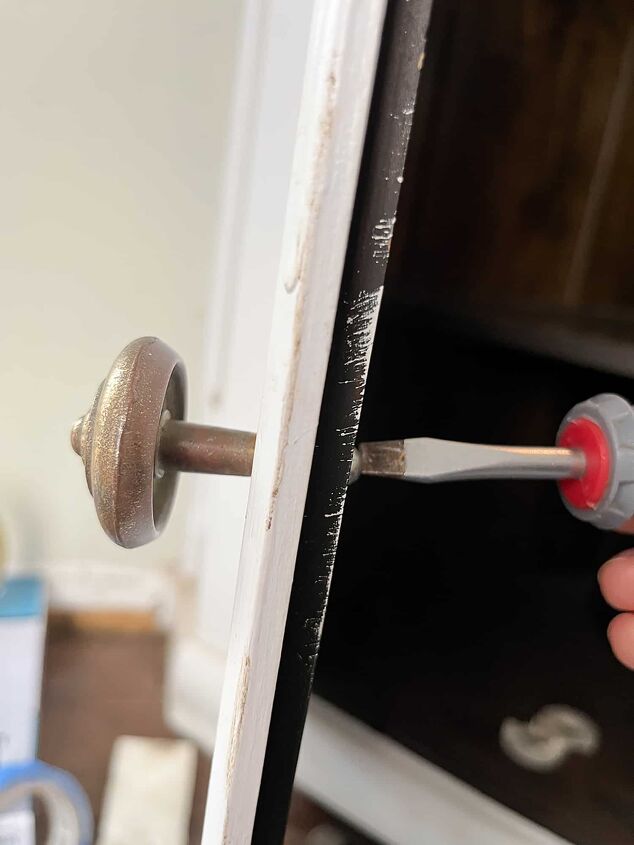
Using a screwdriver, I removed the dated mirror used as the back wall, and of course the wall behind didn’t match the other paneled sides – typical of this fixer upper, ha!
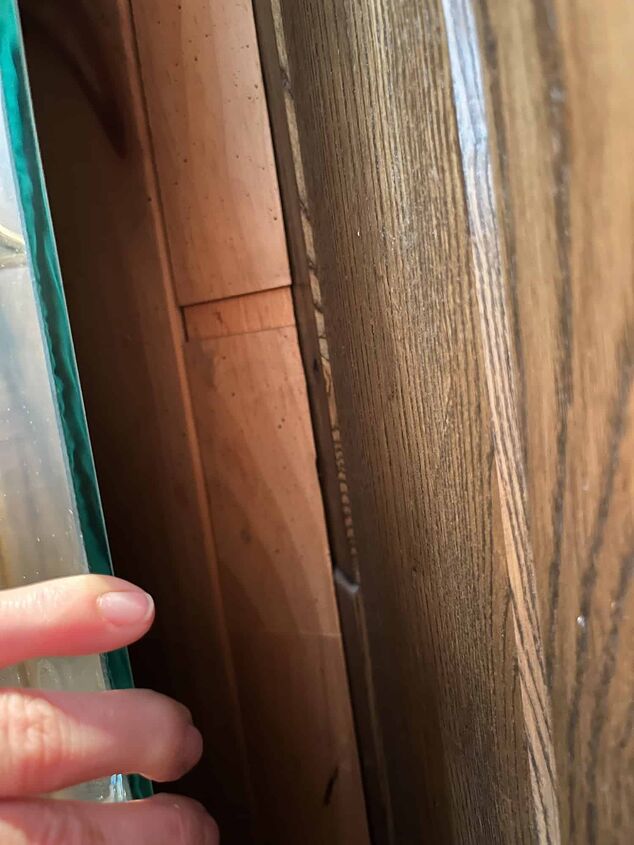
My original idea was to find some scrap wood in our garage to paint and screw onto the wall, but everything we had was too thick to fit the corner angle.
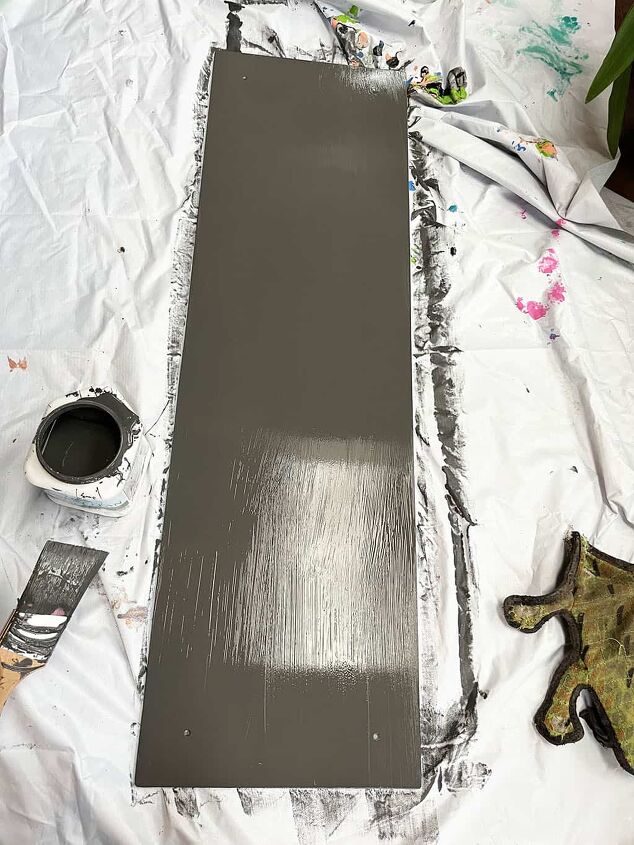
After a lot of trial and error, I decided to just use the backside of the mirror, which was a flat matte and already perfectly sized for the awkward space.
The screw holes were already there too, and it was a quick fix. Down the road I might look for a thin board that I can paint and replace, but for now this solution works for our needs! 🙂
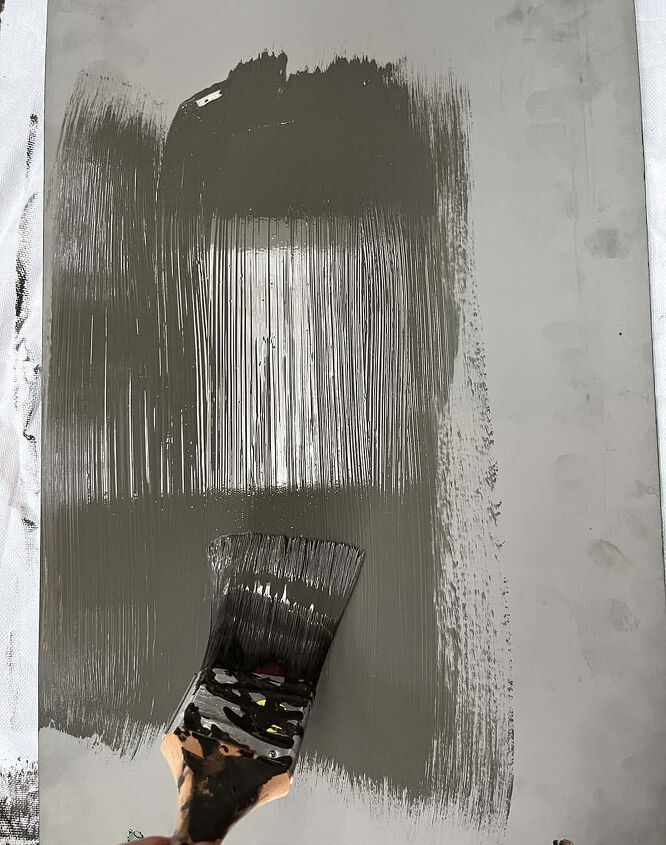
I grabbed the Dura Clean paint and primer and my Purdy brush and started to paint the mirror backside. The paint goes on lighter and dries a nice dark charcoal color. So pretty!
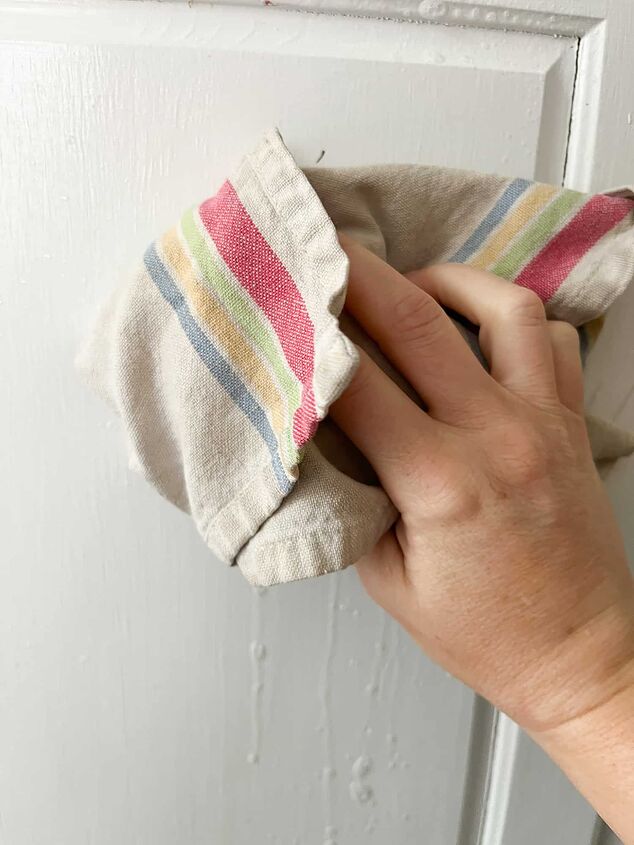
Then, I painted the wet bar paneled wall and ceiling after giving it all a light sanding and deep cleaning.
And I left the wall holes for the shelves since I’l be putting them back up on the wall after the paint dries.
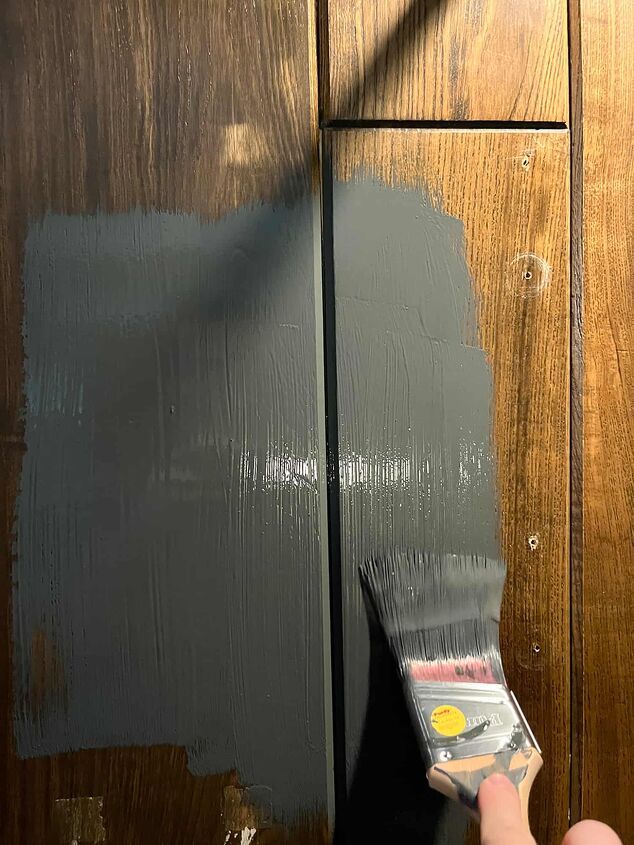

I was really happy that one thick coat of paint was all it needed. This paint feels so durable and I can’t get over how affordable it is. Win-win!
Once it dried, I touched up a few small areas that I missed, and then screwed the painted wall back in.
Next up, I started adding in the shelf brackets and the glass shelves were placed!


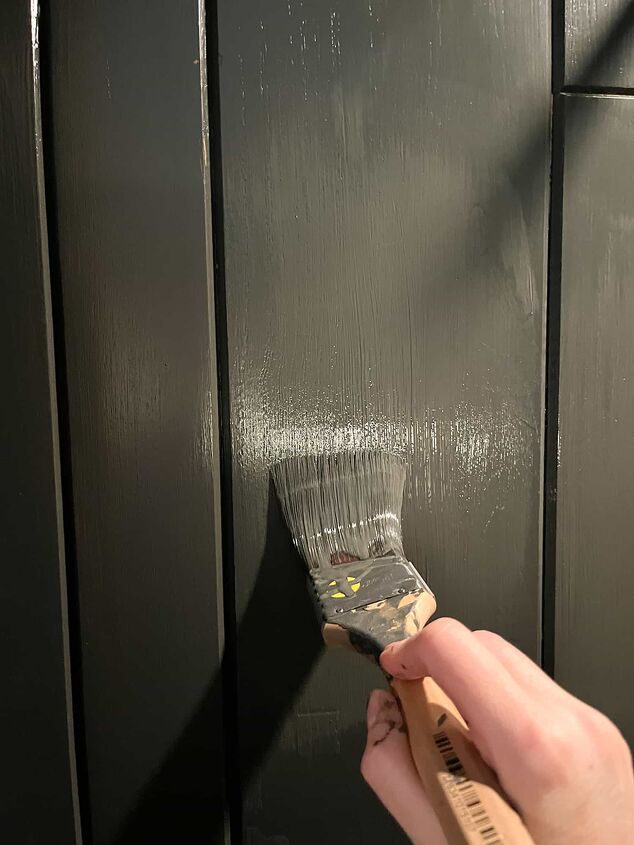
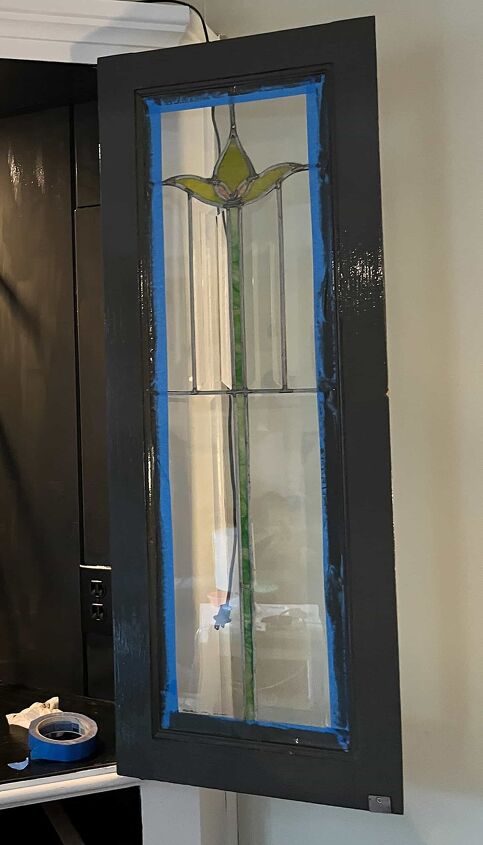
I painted the inside of the cabinet doors the same dark shade, which modernized it much more. I’m sooo happy with this paint color!
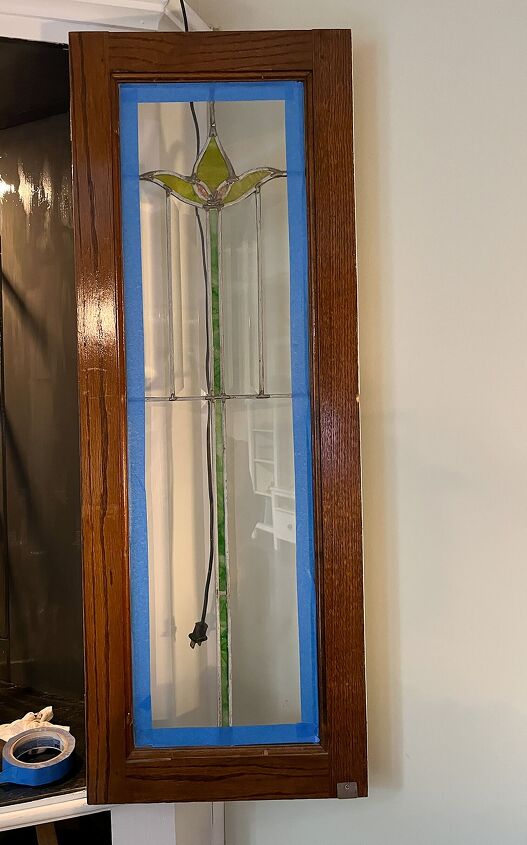
Edit: This part is not shown, but I decided to paint the stained glass a solid color since it wasn't our style. Just a personal preference.
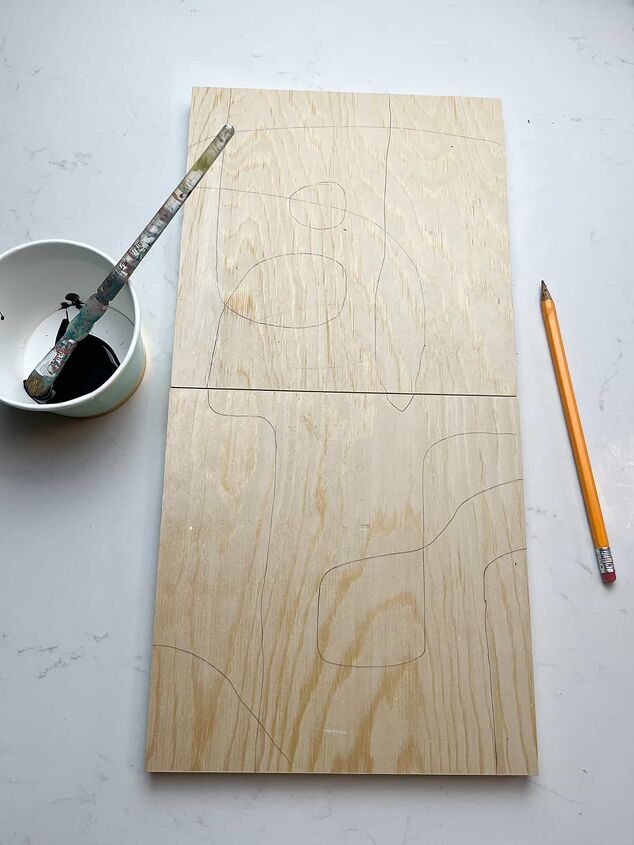
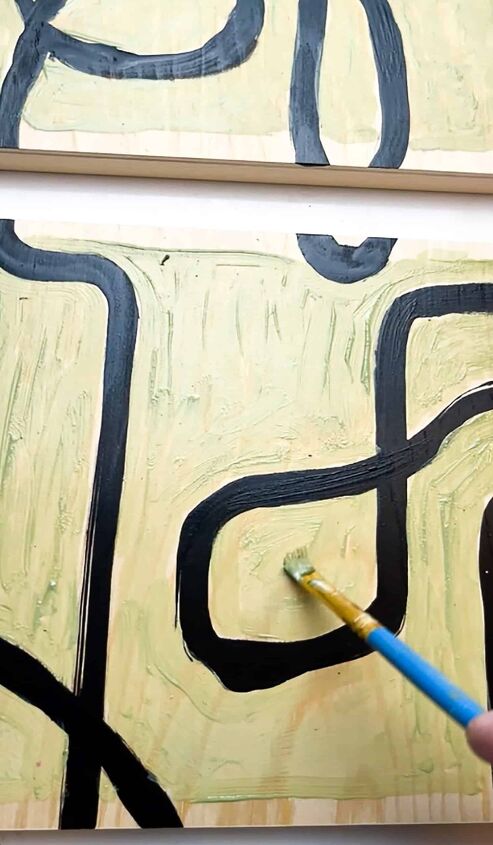
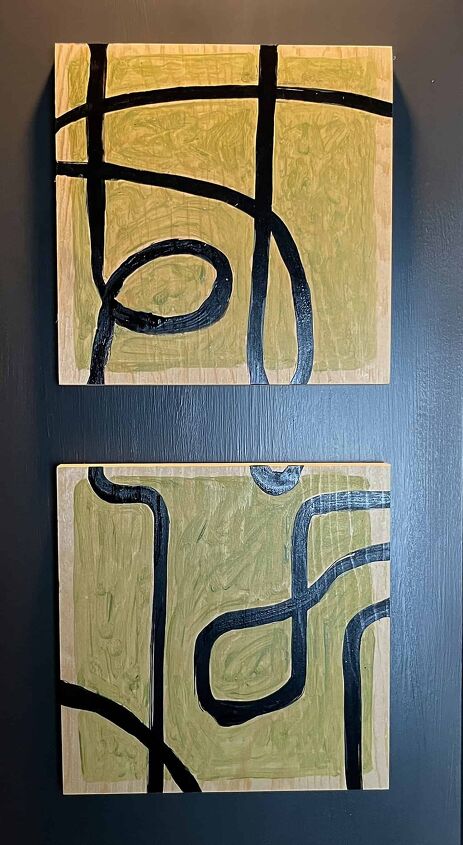
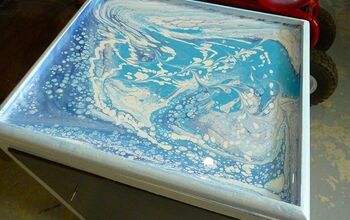
After a long day of DIY I decided to stop for the night and create some DIY art for the back wall of the wet bar.
I grabbed some affordable wood canvases and some acrylic paint I had on hand and sketched out a simple modern linear pattern.
Then I added some paint around the lines for some more depth and texture. Finally, I hung them on the back wall with some command strips.
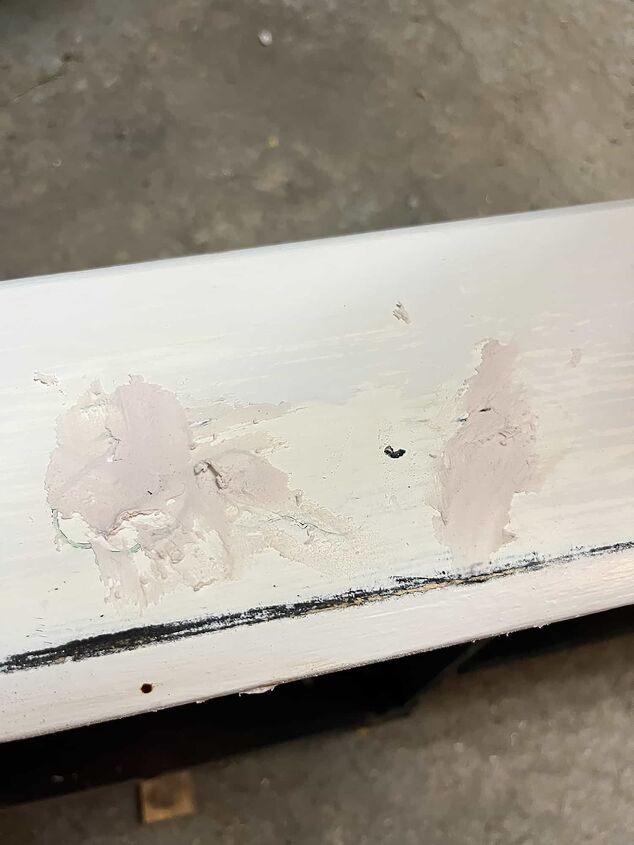
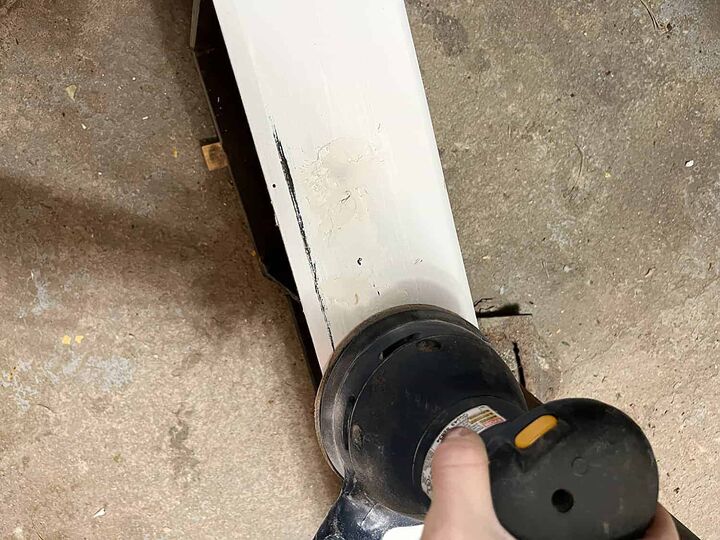
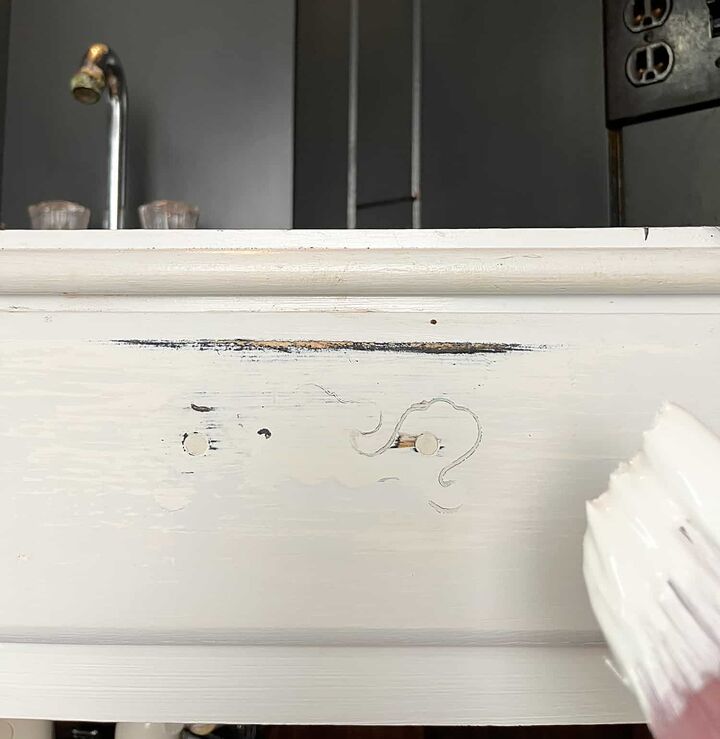
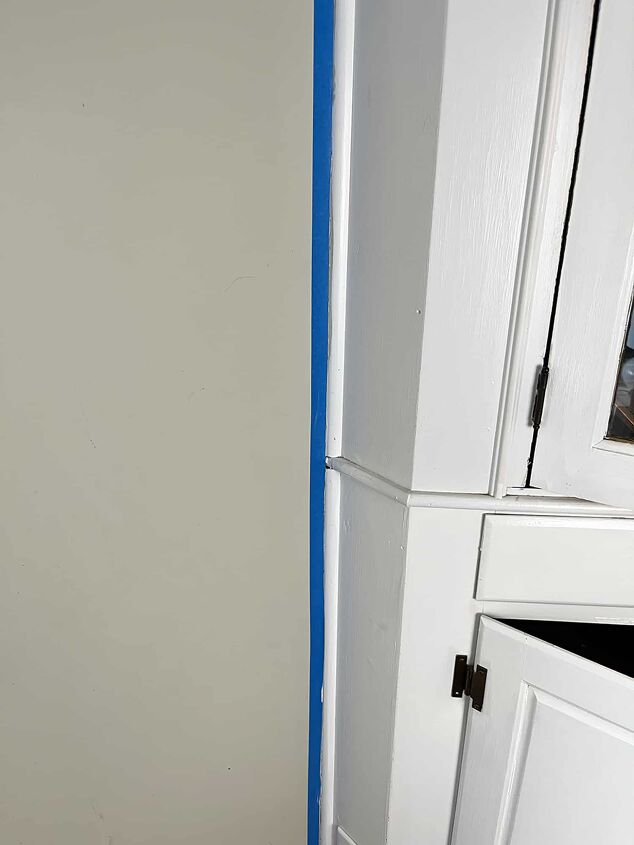
The next day I got back to paint prep – this time the exterior of the wet bar.
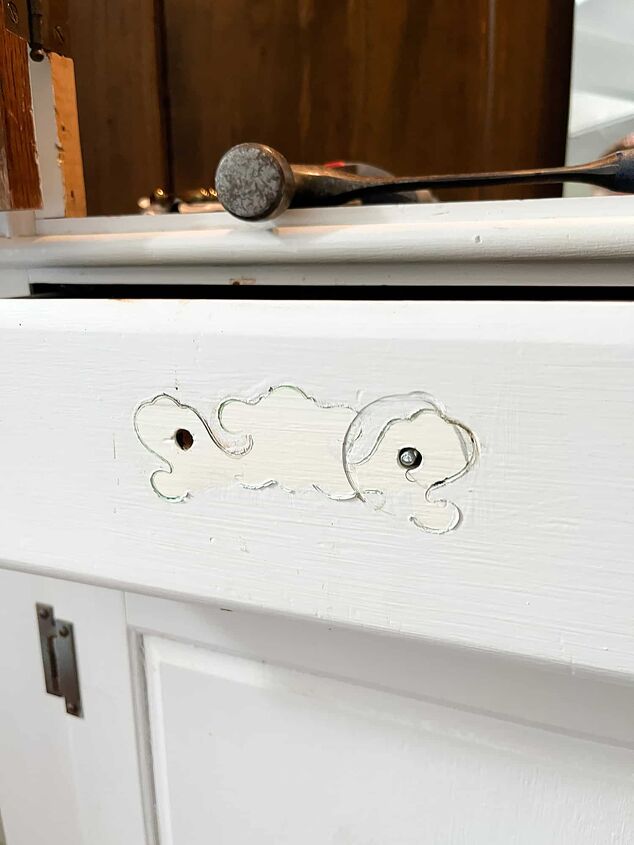
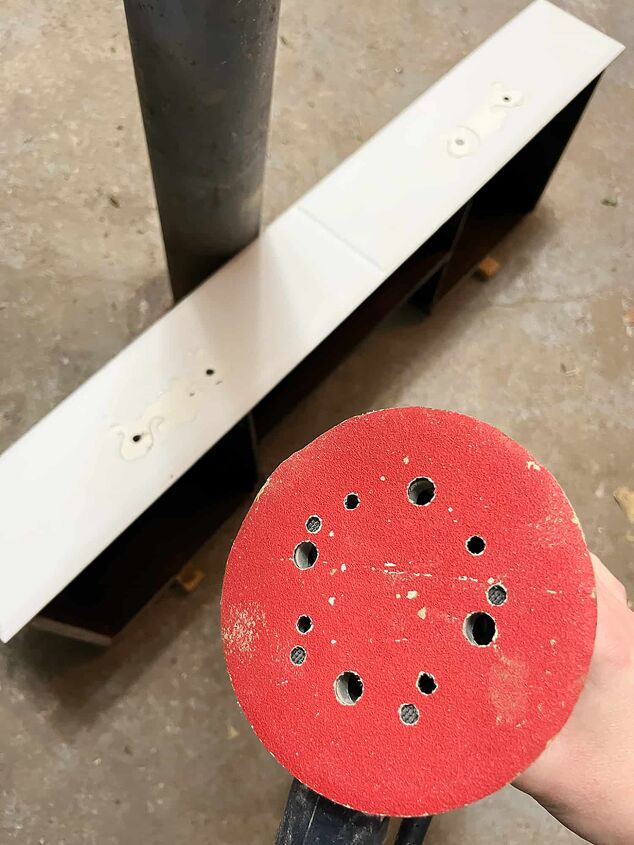
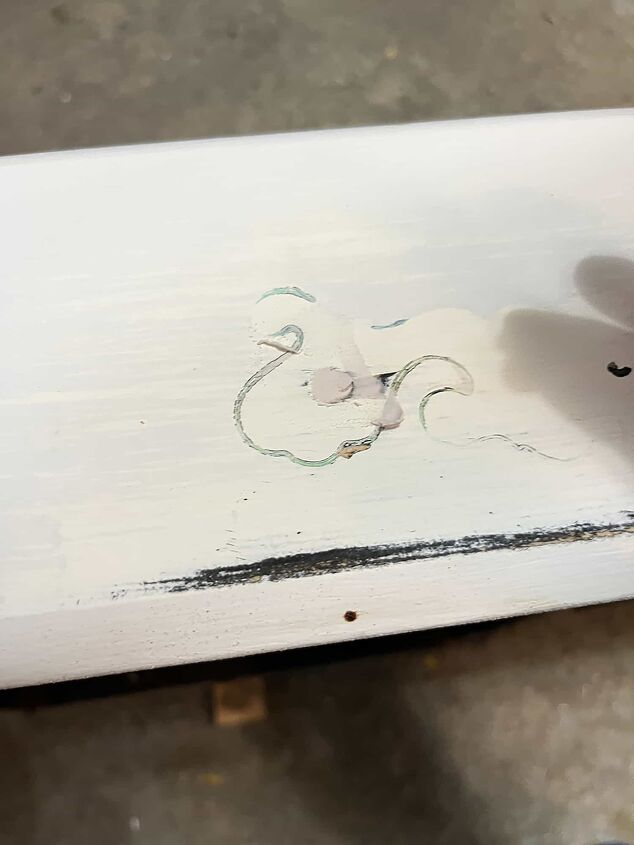
I deep cleaned the cabinets, removed all the hardware, filled unecessary holes, and sanded away some of the damage with an orbital sander.
It was finally time to paint!
I gave the Dutch Boy Dura Clean Cabinet Door and Trim paint a good shake and grabbed my Purdy brush.
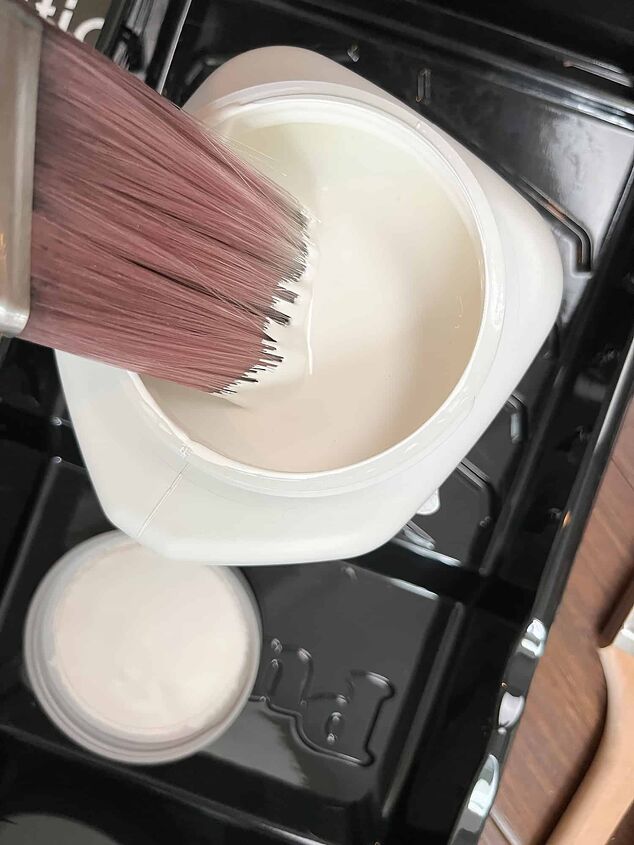
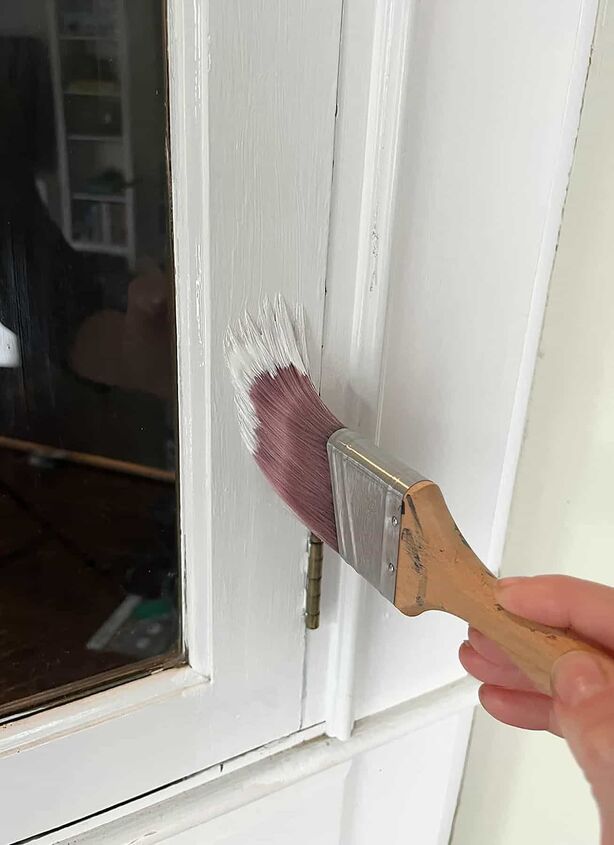


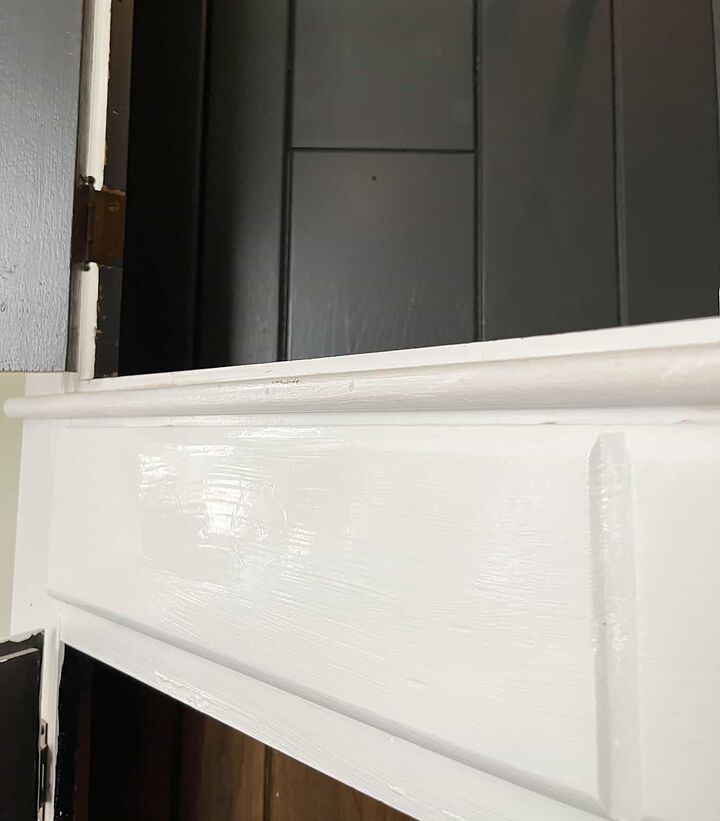
Once again, one thick coat did the trick! I’m seriously so impressed with the quality of this paint!
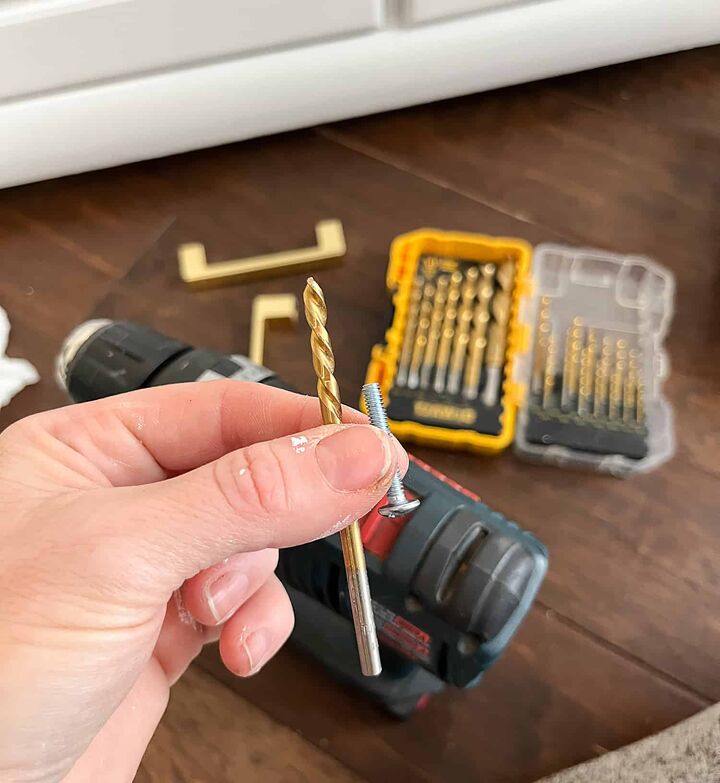
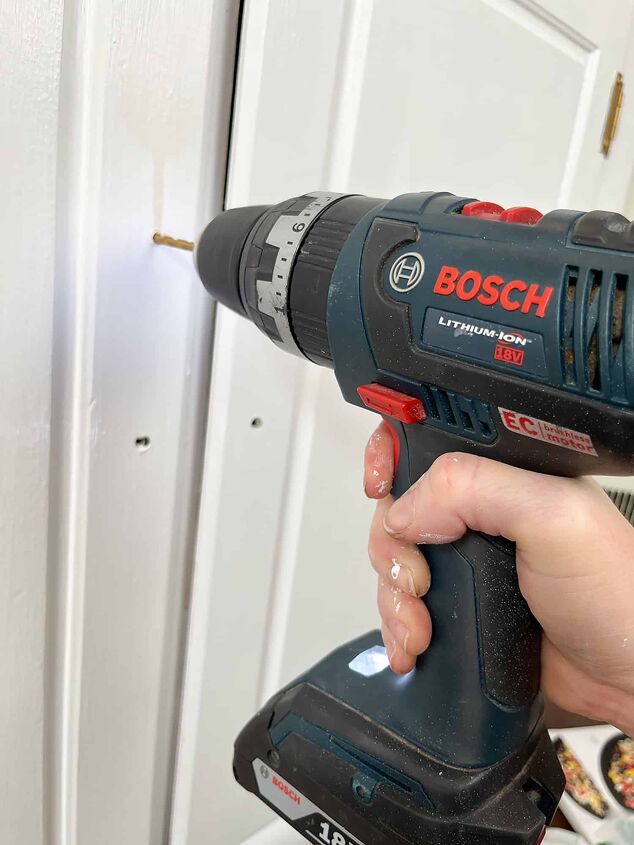
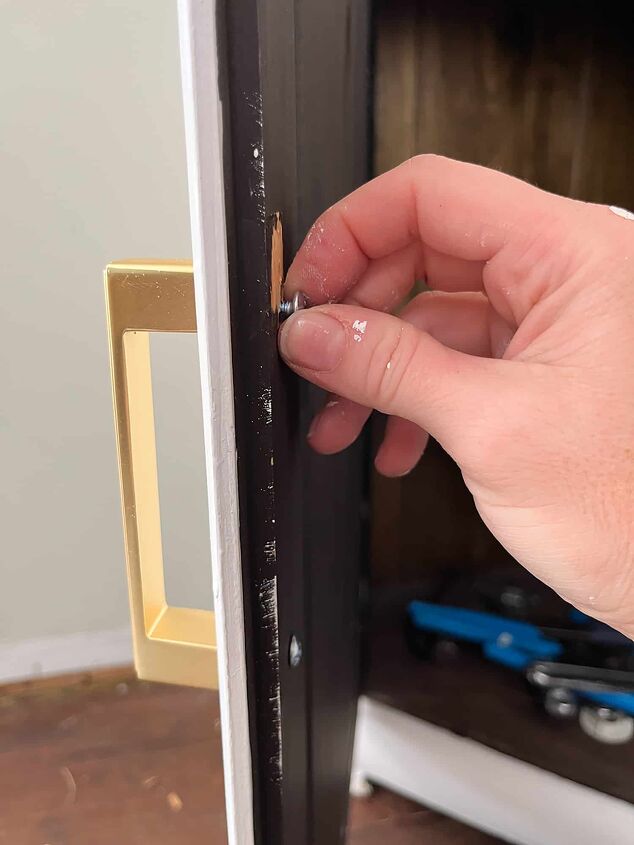
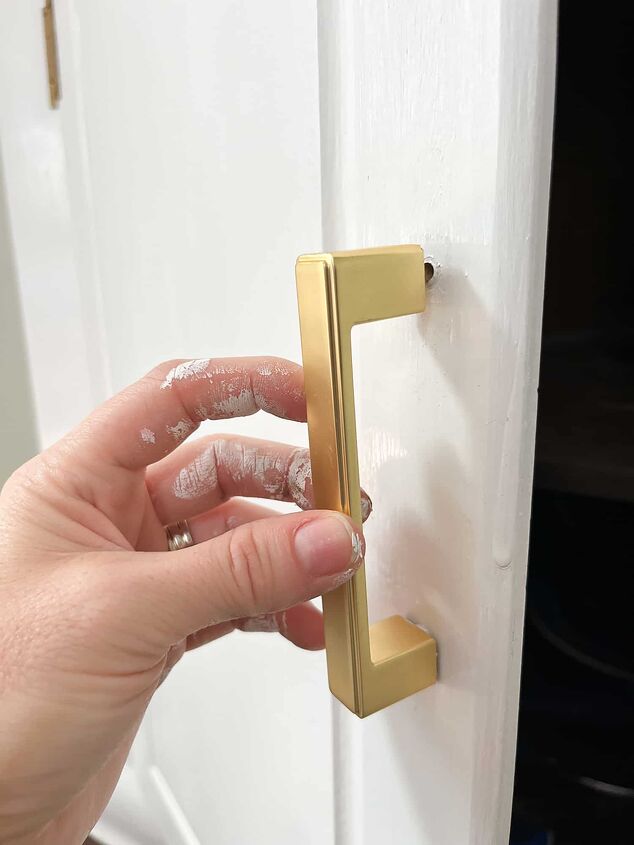
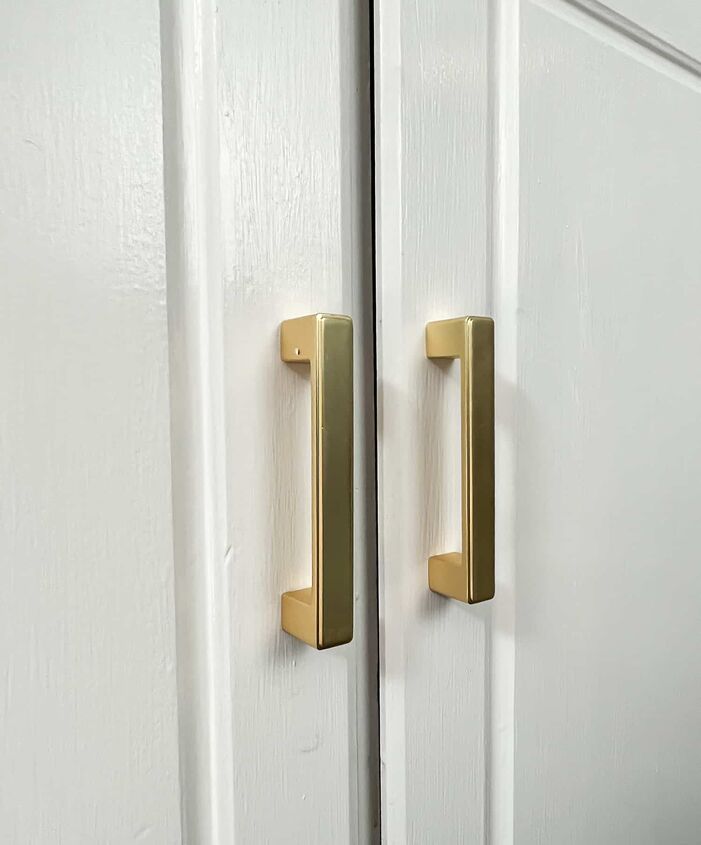
After the paint dried, I added the new cabinet pulls. Using the drill and a bit, I drilled some pilot holes.
I decided not to add pulls on the cabinet directly under the since since it’s just a decorative filler piece.
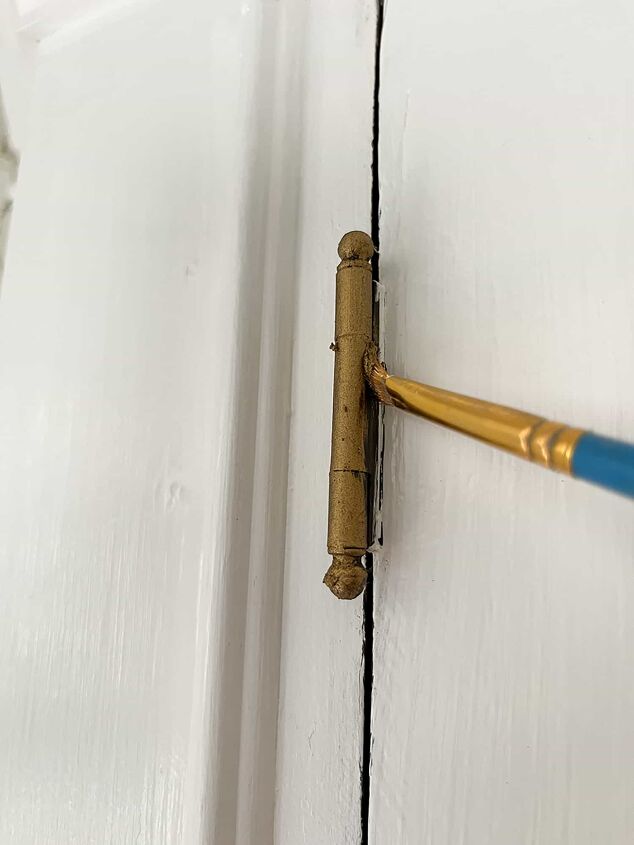
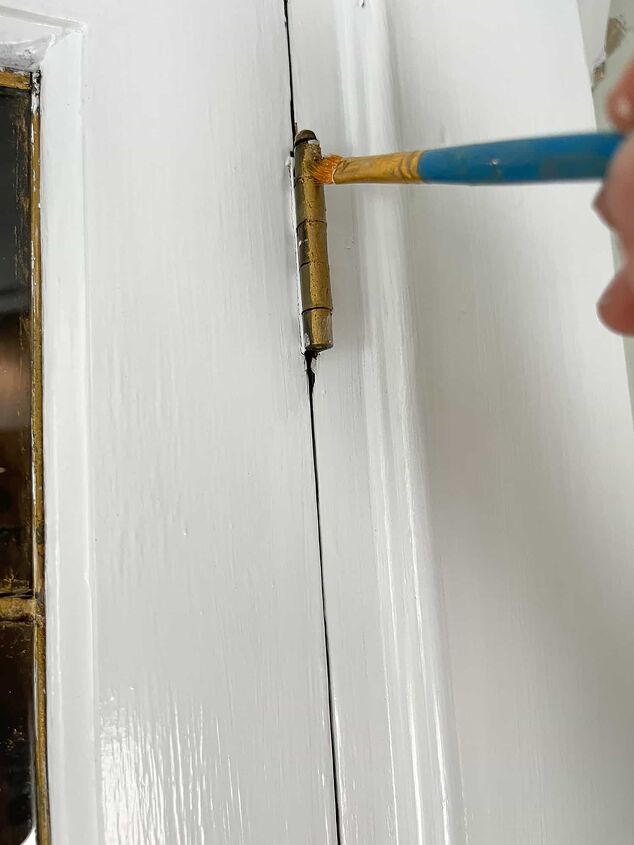
I used my gold wax to turn the hinges to a brushed brass. This stuff works well and has been durable for me on other hardware in the house – a quick and easy solution!
I was so excited to be this far along in only a couple of days!
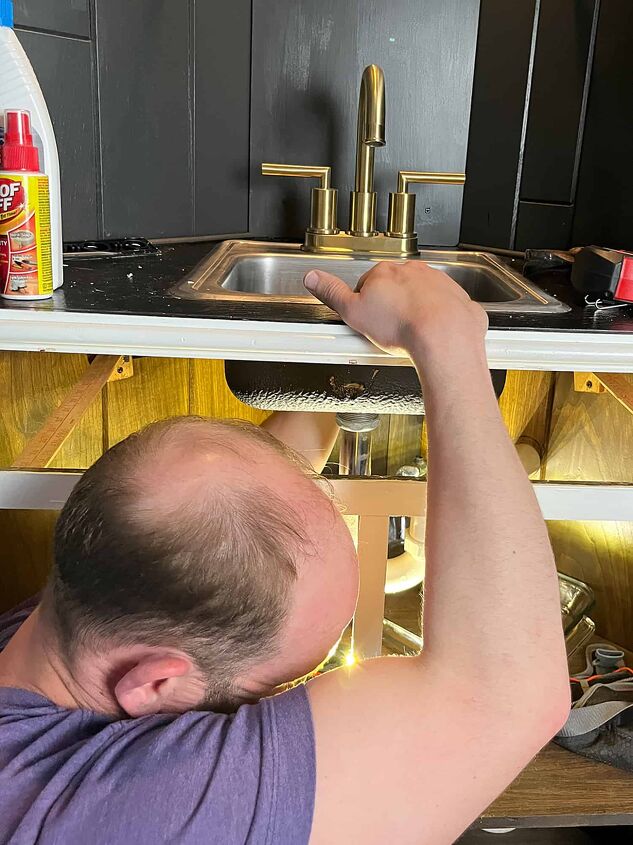
Ted stepped in to assist on the removal of the old faucet and the installation of the beautiful new one. It was a tight space under the cabinet, but he was able to pull it off seamlessly!
As a phase three project, I’ll paint the interior of the cabinet so it matches the rest of the bar. 🙂


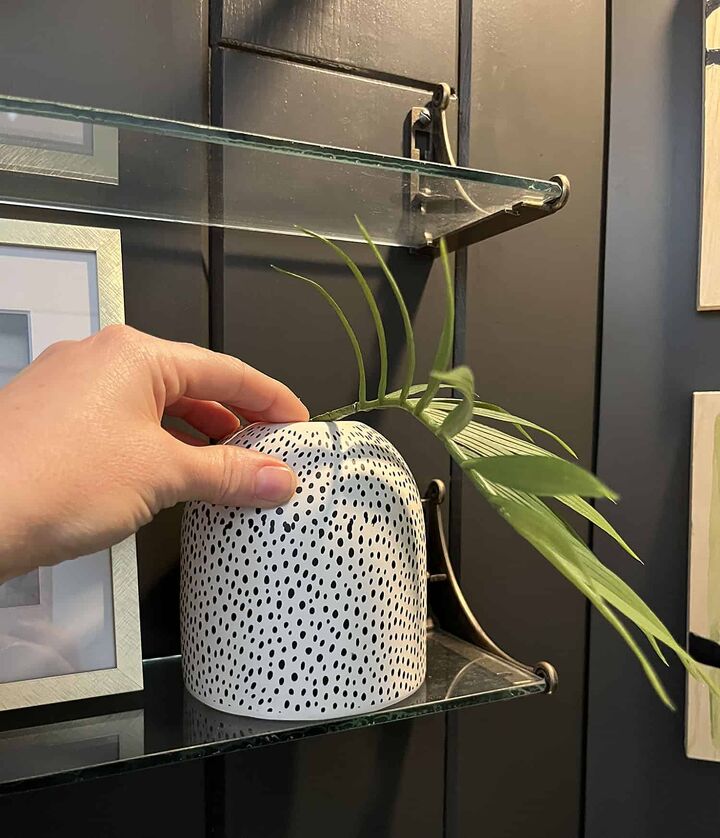
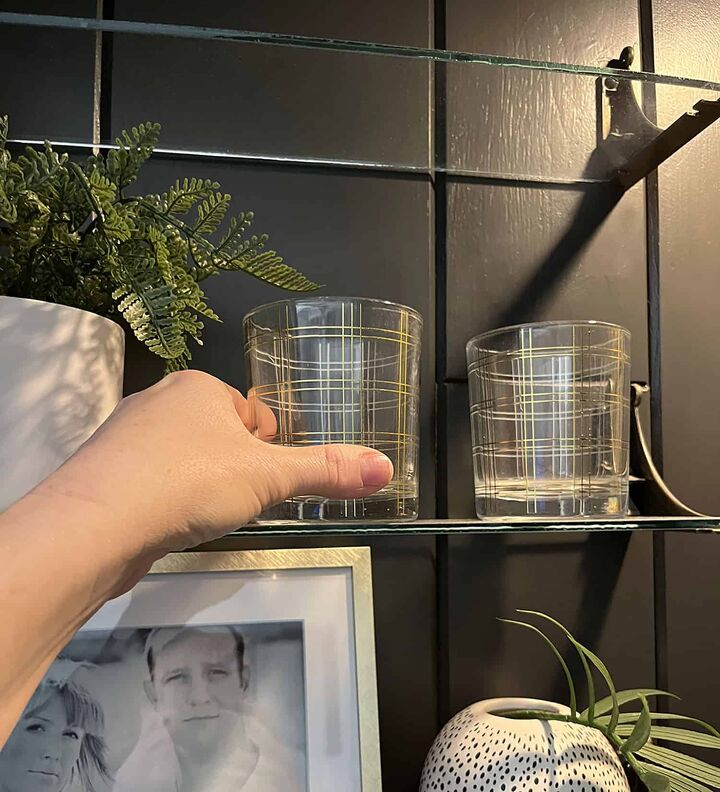
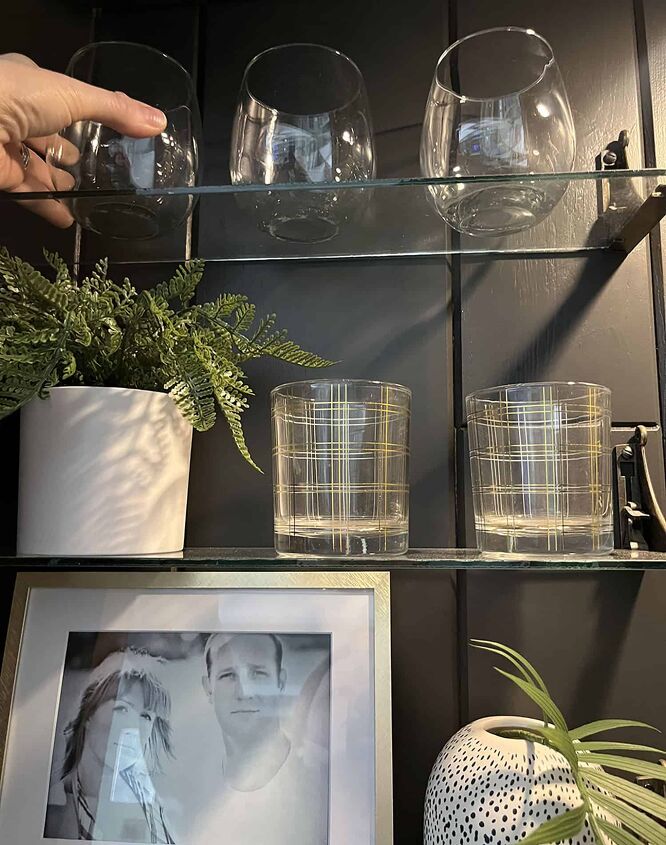
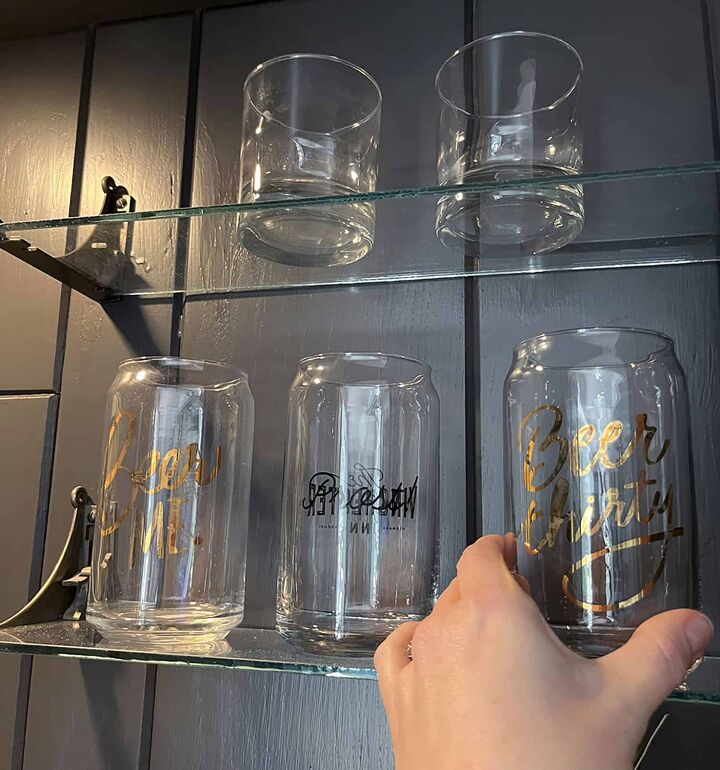
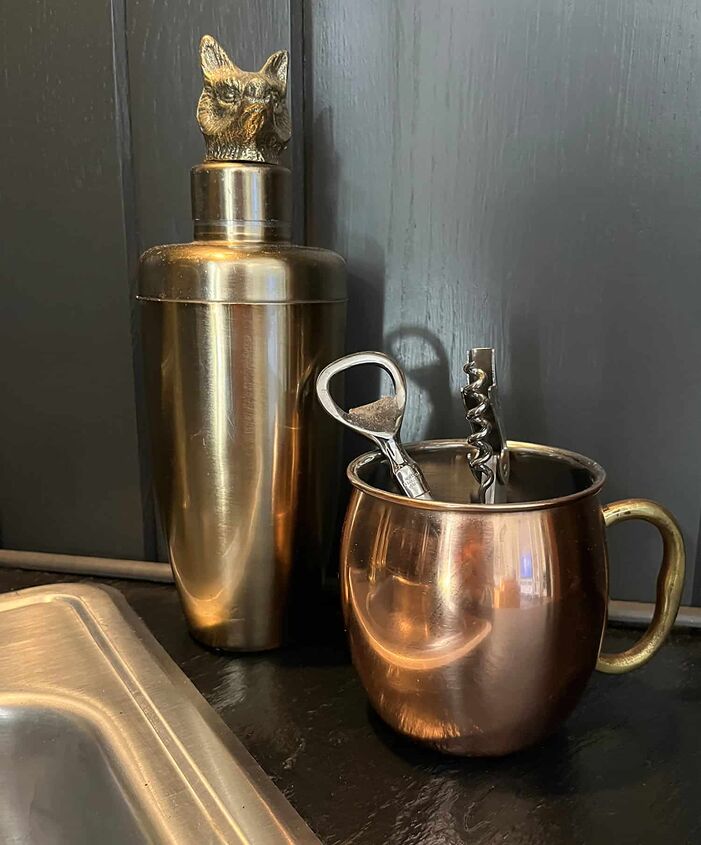
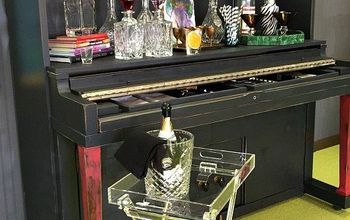
Once the faucet was placed, it was time for the super fun part – styling!
I shopped my house and grabbed everything I needed to stock and style the bar – not a dime was spent!
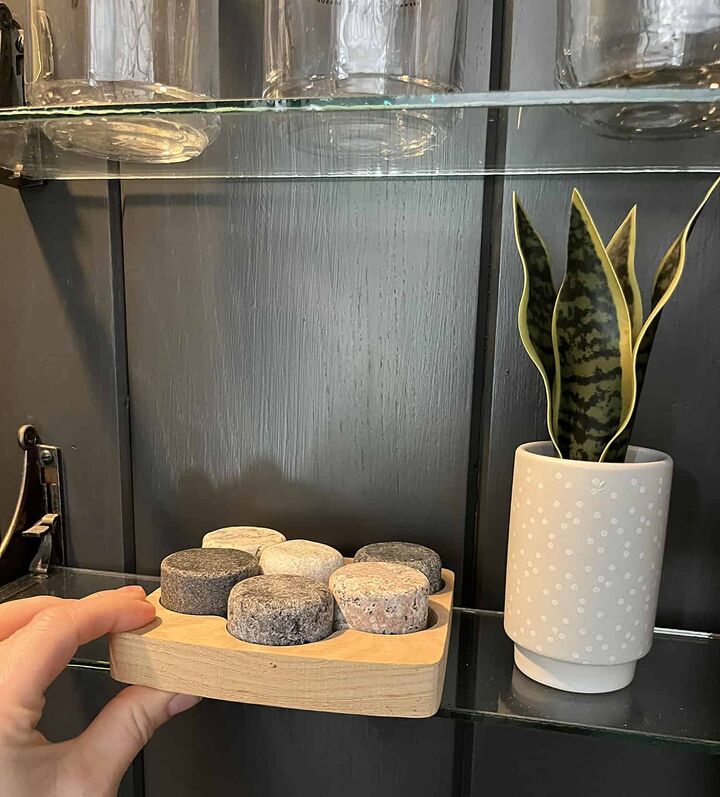
I also decided to remove the three globes form the top and place elsewhere in our home to simplify this new and improved corner.
From start to finish, this project only took me three days! Not too shabby!
I’m in LOVEEEEE and am ready to entertain.
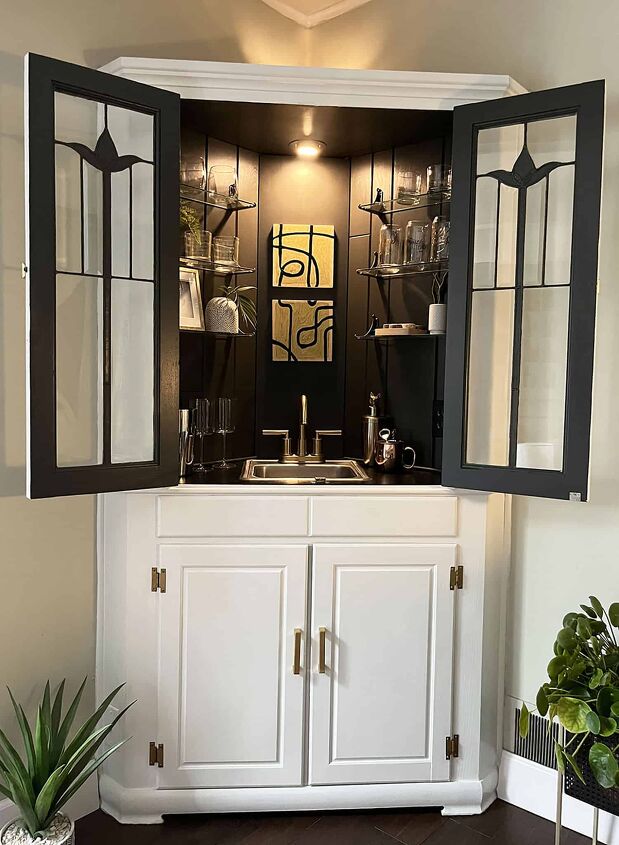
And here’s a look at the wet bar closed. I love it so much I think I’ll leave it open much more often.
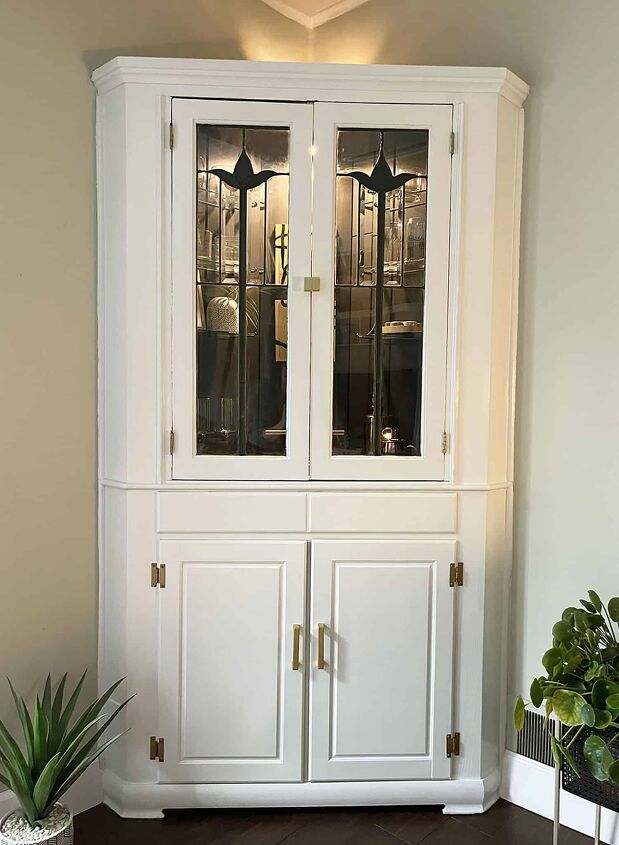
What do you think of my DIY wet bar refresh – I am just so happy with it!
I’m very impressed with the Dutch Boy Paints, and I highly recommend!
More about Dutch Boy Paints
Founded in 1907, Dutch Boy Paints is an industry leader in delivering innovative and high-quality products and packaging solutions and is one of the market’s most recognizable brands. The promise of Simple Solutions has shaped the brand, empowering and inspiring DIYers and paint enthusiasts with products, advice, how-tos, and inspiration that make painting and transforming spaces easier. Their paints are known for performance and unexpectedly affordable price.
Find Dutch Boy at Menards®
- Dutch Boy paints are available exclusively at Menards
- Get in-store support with samples, paint, color, and tool selection
- Take advantage of enhanced options for online ordering and store pickup
- Access complementary products, like high-quality Purdy applicators


Frequently asked questions
Have a question about this project?