


5 Easy Ways to Update Your Bathroom
Happy New Year friends!!
One of my 2021 goals is to be better about posting and sharing what we’re doing over here. We have a lot of fun projects coming up this year and I can’t wait to share!
First up is our recent bathroom update that we completed at the end of 2020.
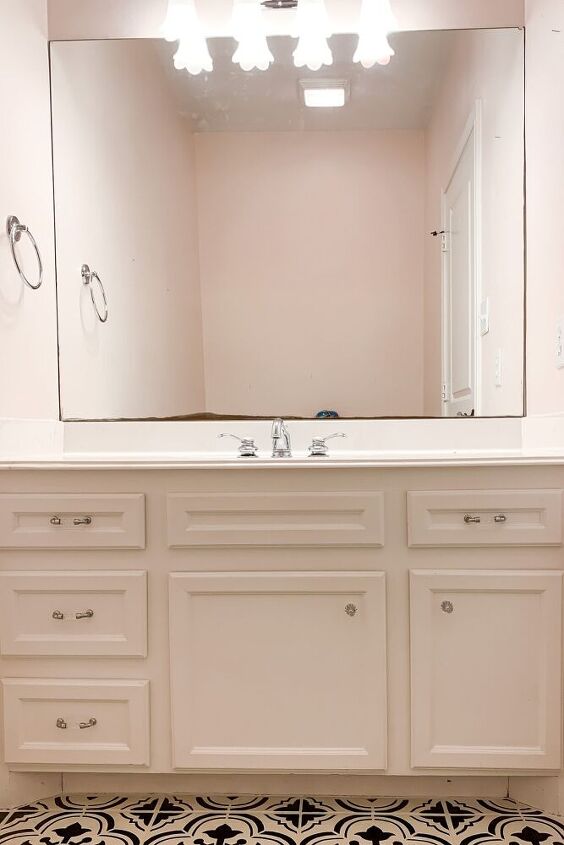
Between the pale pink walls, tulip light fixture, drawer pulls, and the de-silvered mirror, this bathroom was in need of a major refresh!
As much as I would love to completely renovate this bathroom by ripping everything out and starting over, that’s just not in the budget. So…
Here are 5 ways to update your bathroom when on a budget…
Tip 1: Frame the Mirror
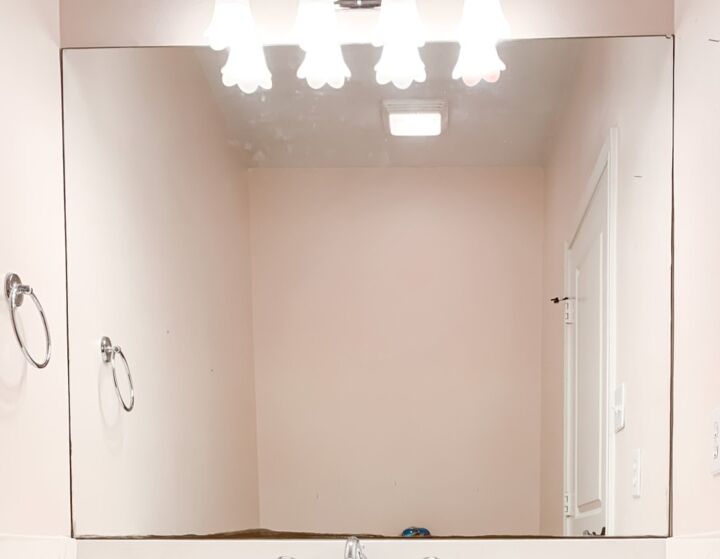
The de-silvered edge on our mirror really made this bathroom feel outdated. In order to save the mirror, we decided to install a DIY mirror frame around the mirror instead. For this, we chose to go with MirrorMate.
MirrorMate has 65 self-adhesive mirror borders and frame colors to choose from! You can choose from colors like: wood, black, gold, silver, etc. We knew we wanted a wood style frame, so we chose the Cherokee French White Oak frame. You can shop our exact frame here.
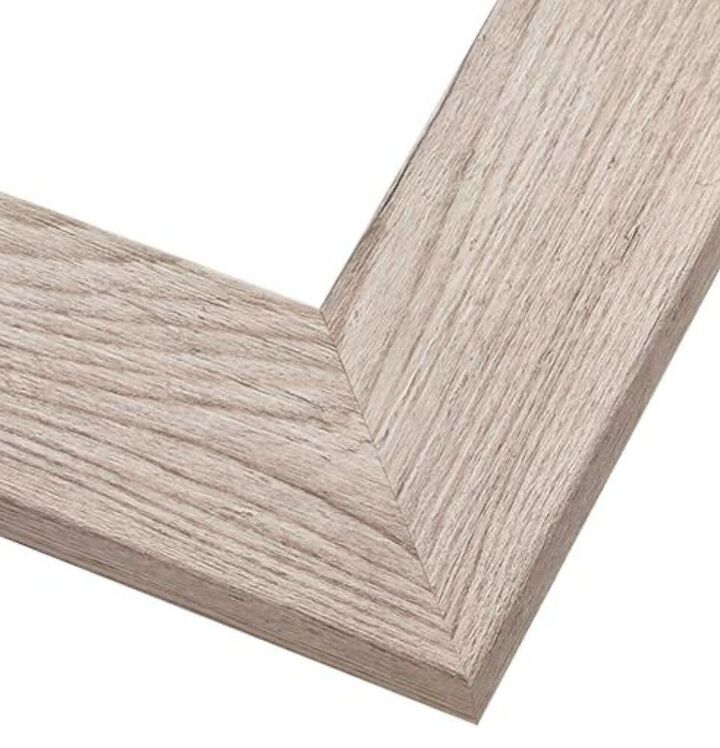
What I love about using MirrorMate is how easy they make it to update your existing mirror! Once our frame arrived, we put it together using the enclosed clips, peeled back the tape that ran along the edges, and adhered it right onto the mirror! It was the perfect fit and completely transformed our mirror!
Check out this side-by-side…
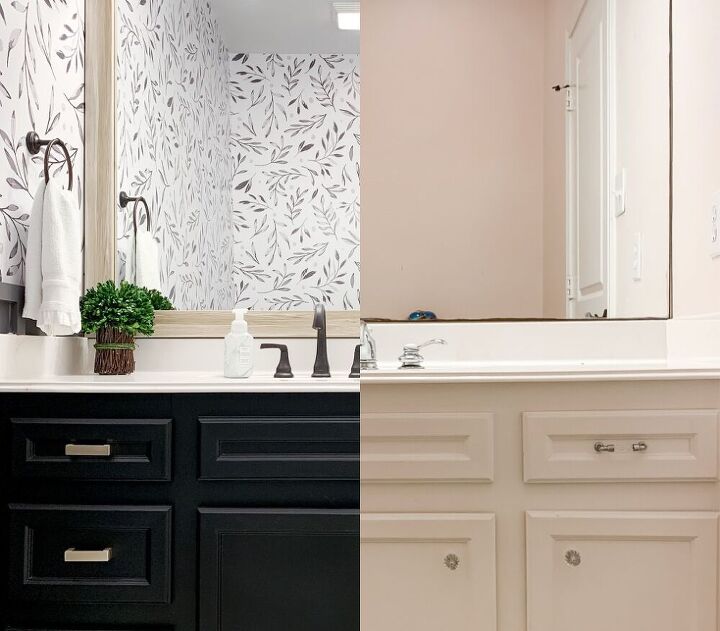
And here is the finished mirror…
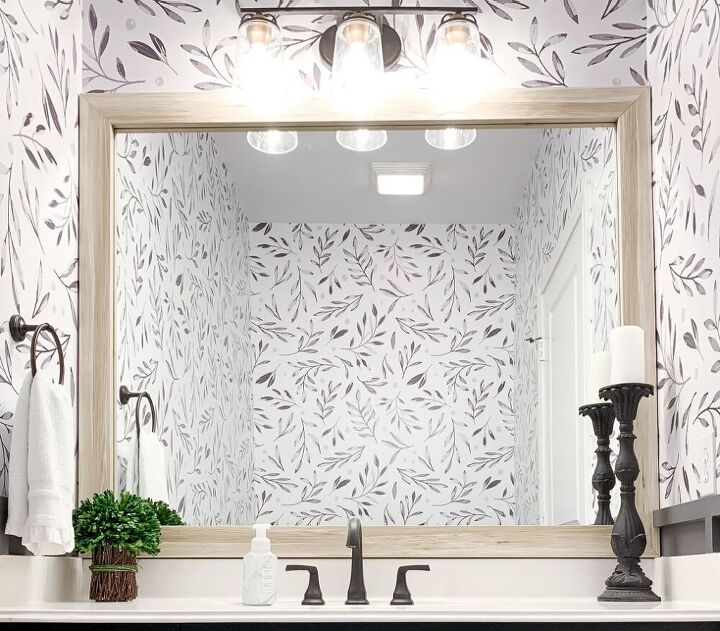
Can you even believe that is the same mirror? Be sure to check out MirrorMate if you are looking to do a quick and easy bathroom refresh!
Tip 2: Paint the floor
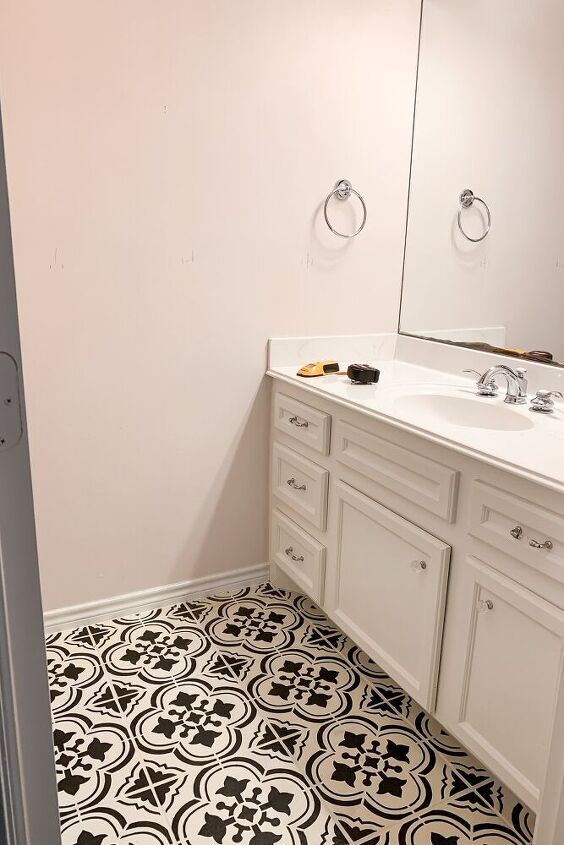
A year ago I painted and stenciled the floors in here, but instead of using a polyacrylic to seal them, I used polyurethane, and over time they yellowed. It’s hard to see in this picture, but take my word for it. It looked like what I imagine a men’s restroom floor to look like. (Grossssss!)
Besides the yellowing, we never had any issues with this painted floor, so I am definitely a believer in this easy, and cheap, way to update your bathroom!
Since paying for all new flooring was not an option, and I wanted a cleaner look this time, I just painted over it. I did 4 coats of primer and 4 coats of white chalk paint. I sealed it with a polyacrylic and it looks as good as new!
Tip 3: Paint the Vanity
Another super quick and easy update is to paint the vanity.
I am still amazed how something as simple as paint can transform a space!
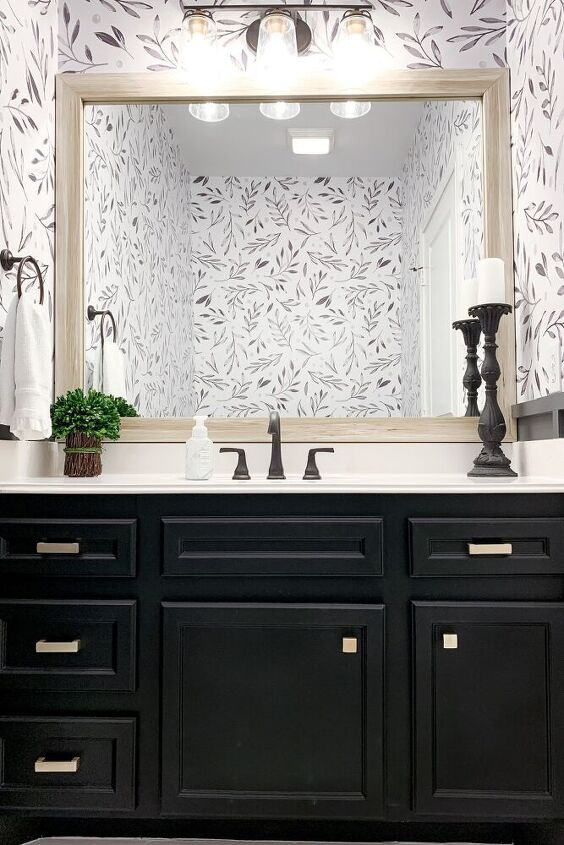
For this vanity, we wanted to go bold, so we chose the color Coal Black by Fusion Mineral Paint. I have used all kinds of paints to paint furniture and cabinets, and Fusion Mineral Paint is by far the best! It goes on smooth and doesn’t leave behind paint strokes like so many other paints do.
For the hardware, I went with gold pulls and knobs from Home Depot that had a more modern feel. We love it!
Tip 4: Install Board & Batten
Installing board & batten was super easy (after we got off our baseboards) and made a pretty big difference as well! This is our second time to install board & batten in a space. Our first time was when we renovated our camper. You can read about that here.
For this part, we used pre-primed 1x4s and 1x2s.
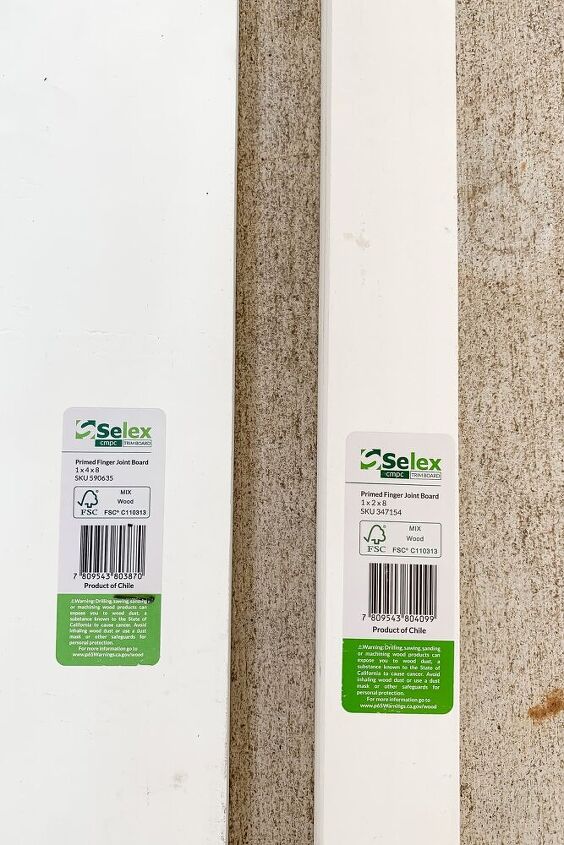
We used the 1x4s for our baseboards and the 1x2s for the uprights and the top horizontal piece. We marked the studs and installed the uprights where each stud was marked. Once installed, I caulked and painted it.
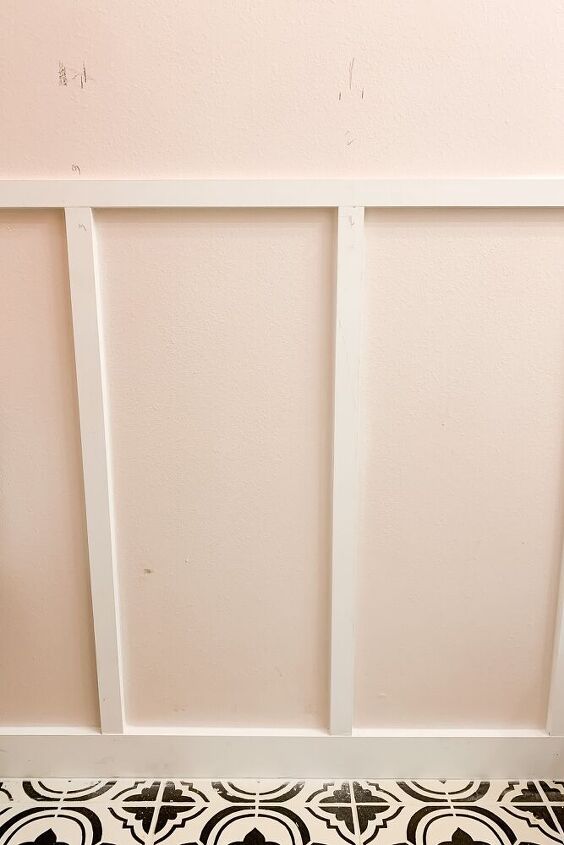
For the paint, I used Sherwin Williams Peppercorn.
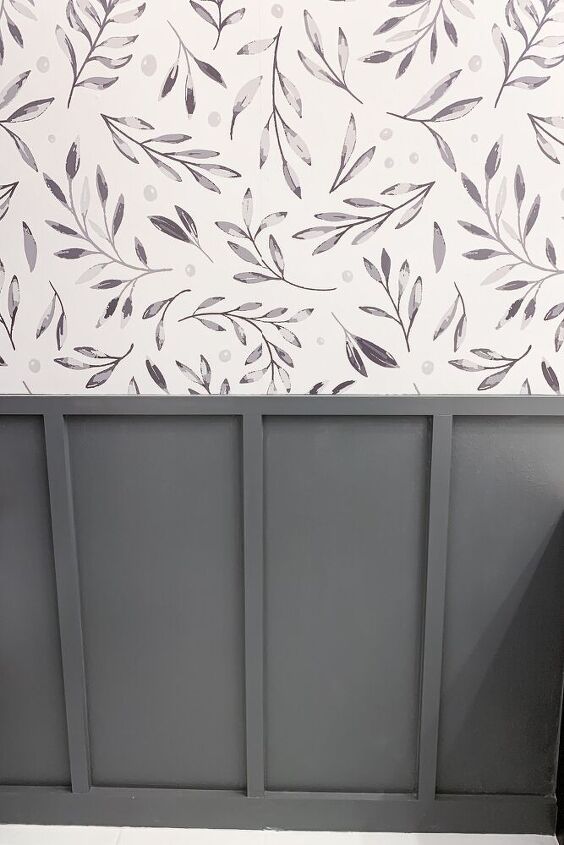
Tip 5: Add Self-Adhesive Wallpaper
Finally, I wanted to give the part above the board and batten something different besides paint. I decided to use WunderWall self-adhesive wallpaper.
This wallpaper is like one giant sticker! The nice thing about this is that when I decide I want to change things up a bit, all I have to do is peel it off the wall. I used the Leaves and Berries design. You can shop my paper here.
And here’s the finished bathroom….
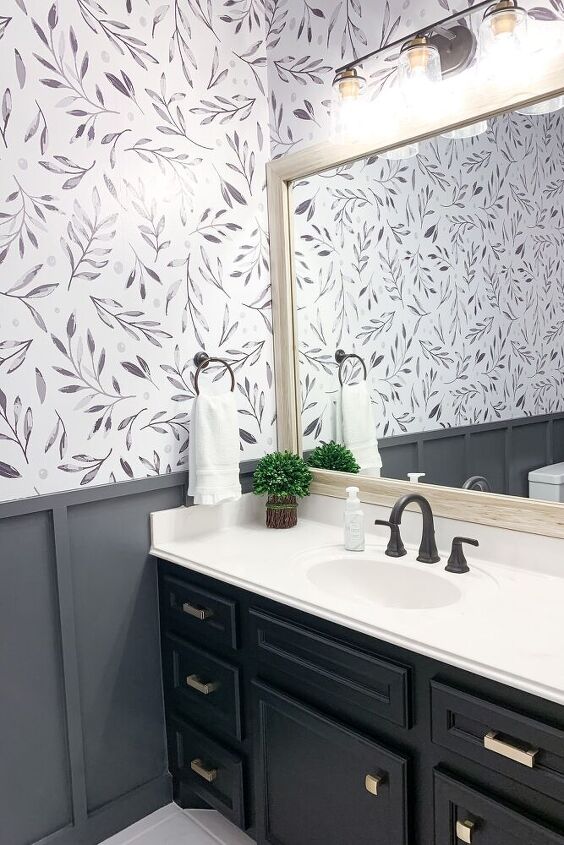
Of course we updated the faucet and light fixture as well.

What do you think of our bathroom update? Do you have a favorite part? Let me know in the comments!

Comments
Join the conversation
-
Stunning bathroom reno! Got my creative juices flowing with ideas for ours. Thanks so much for the easy links!
-
Usually not a fan of black and white decor, but the bathroom is BEAUTIFUL. Your combination of black with the light and delicate leaf wallpaper is perfect! A little bit masculine and feminine together. Bet you could get the same "leafy" look with stencils too! Great job!


Frequently asked questions
Have a question about this project?
Oh my goodness! You don’t ever need to rip out and do a Reno! You’ve just done one. It’s beautiful. PLEASE tell me where you bought your black/pewter taps. Thanks for sharing xx