


Chalk Painting Bathroom Cabinets for Master Bathroom Makeover
We have been in our house for over 8 years and I have wanted to paint this vanity since the day we moved in! So today I am sharing how we updated our master bathroom on a budget with chalk paint and lighting.
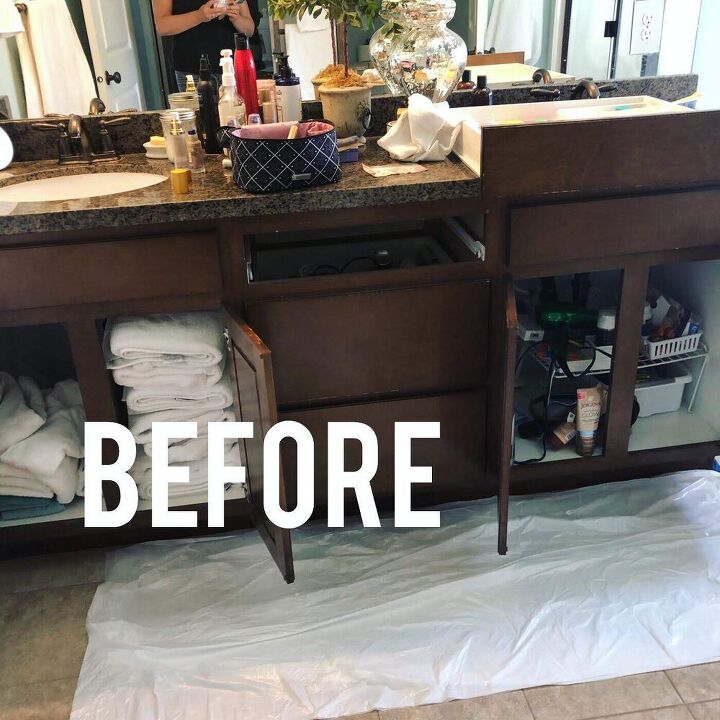
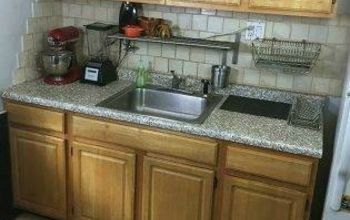
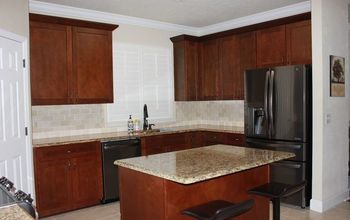
We started with dark cabinetry mixed with dark granite countertops that I have never been too fond of. In order to lighten up these cupboards we decided to chalk paint them! Maybe you remember our Entertainment Center that we chalk painted? Or even our old master bathroom where we painted everything including the faucets? I loved how these projects all turned out and knew that this vanity would look amazing with a little elbow grease on our part.
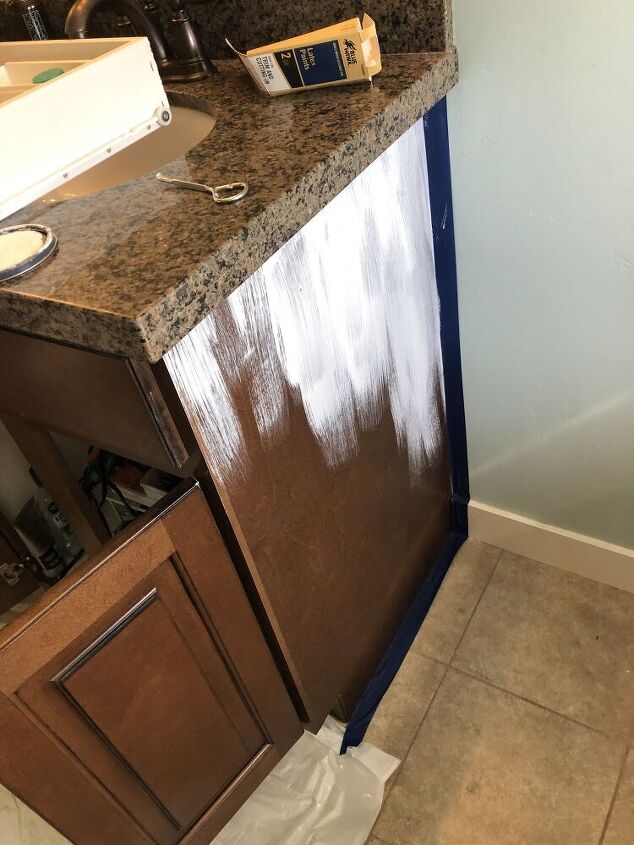
We simply taped off the edge of the vanity where it meets with the wall and down on the tile floor. Then we opened up the can of Annie Sloan pure white and started painting. Chalk paint is seriously the way to go because there is literally no prep work! I love to get instant results with just a little bit of work (yes I am a little bit impatient but I also want it to look good and this did it for me).
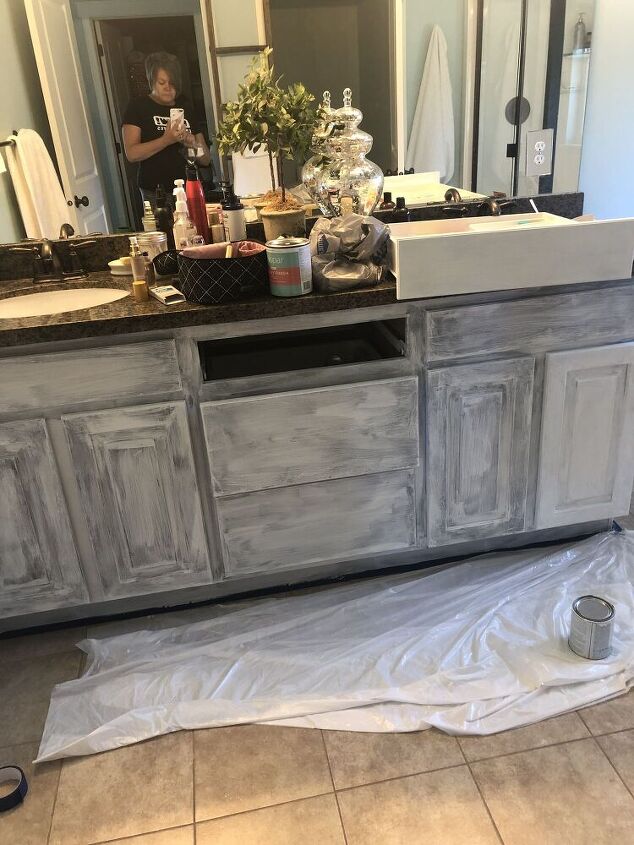
This was after the second coat. I wanted it to cover better so we did a third coat. It went pretty fast with two of us painting. At first I wasn’t too sure if I was going to like it. My hubby just kept saying it is going to look amazing and he was right. I just needed to be a little bit more patient during updating our Master Bathroom on a budget.
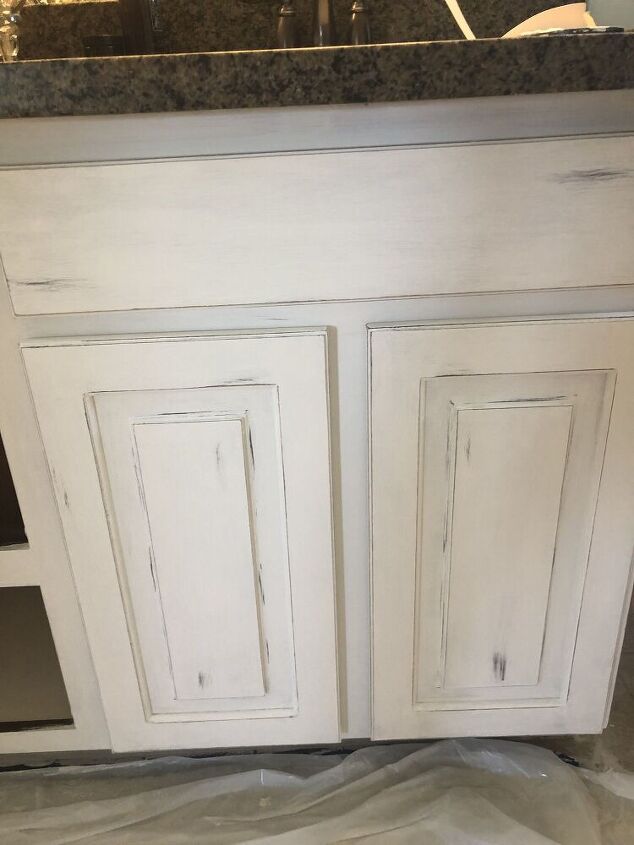
After everything was painted and dry, we decided to try out some distressing to give it more of an old cottage lake house look and feel. We just used a little bit of sand paper we had laying around in the garage. It didn’t need a lot of distressing to get the look we wanted. Then we waxed the whole piece with Annie Sloan wax and buffed it a little bit. We really love how it turned out! Another great thing about chalk paint is that even after you wax and or distress it, if you don’t like it you can simply chalk paint right over it and try a different look.

Adding black knobs really completed the look of our vanity. For the drawers we just measured to get the middle of each drawer and counter sunk them in from the back. I really like the contrast of the distressed white cabinets against the black knobs.
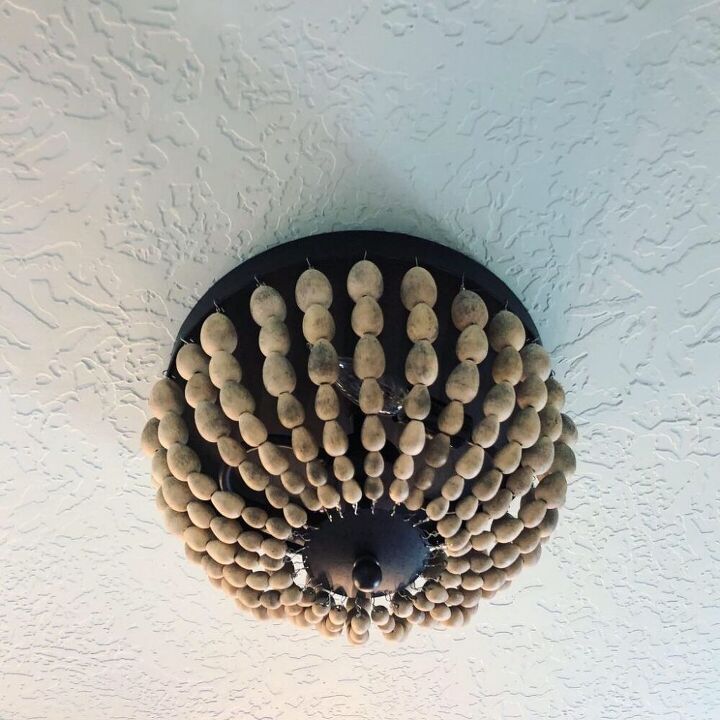
Changing out the builders basic lighting to this fun wooden beaded ceiling light really helps with our Lake cottage theme going on. We found this one at Lowes for under $100 I love that the wooden beads have a little distressing going on as well.
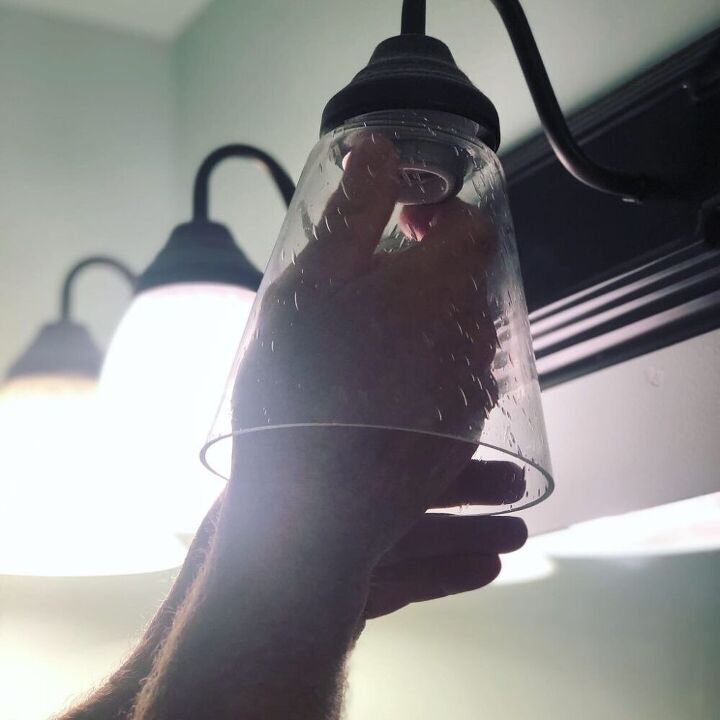
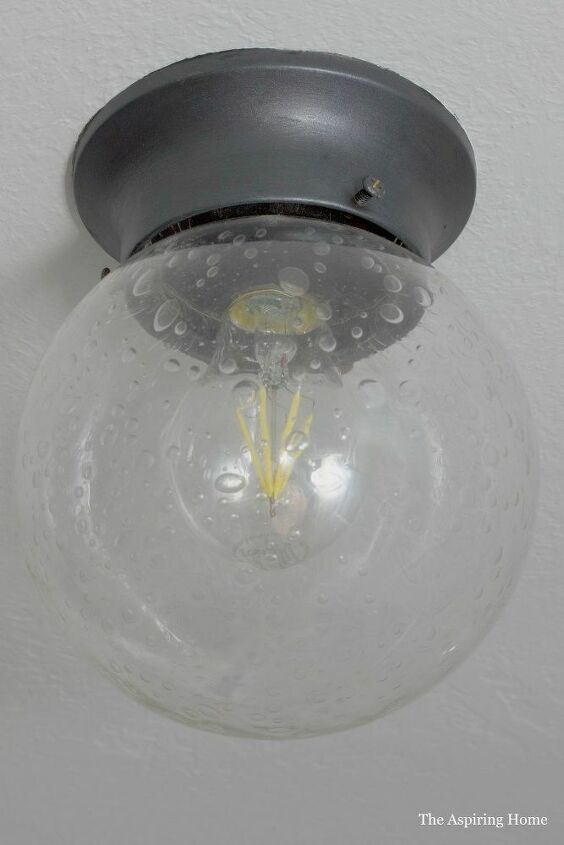
These bubble glass light covers are seriously the bomb! We found these at Lowes for only $4.98 each! Changing out the builder grade frosted light covers to these made such a HUGE difference, not only in how they look but also the amount of light it allows.
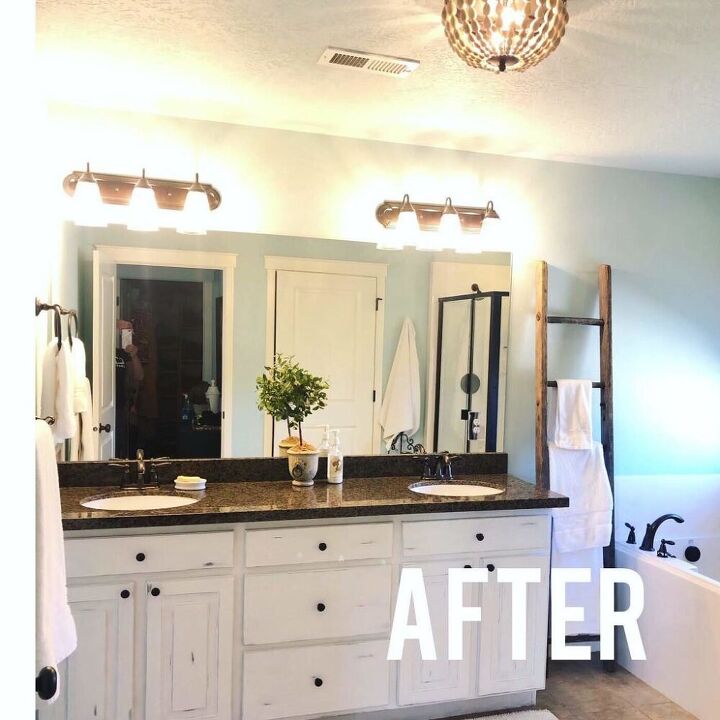
Here is the completed master bath and we could not be happier with how it turned out. Everything we did made such a huge difference! WE hardly spend any money too! What do you think? AMAZING right!
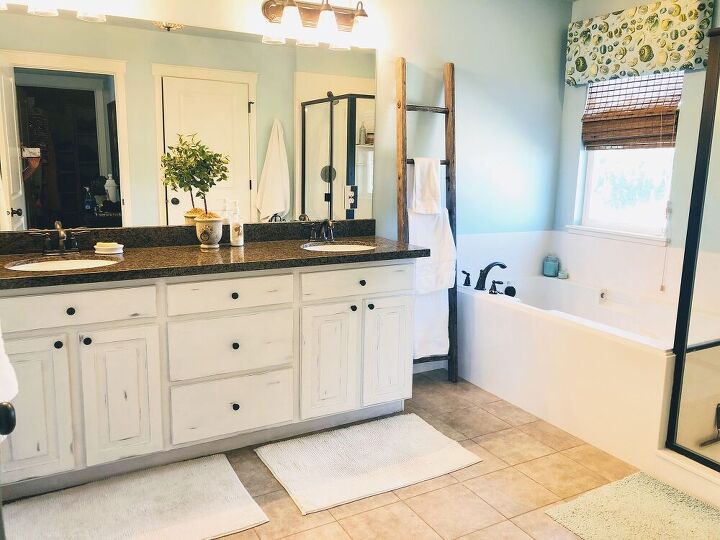
Seriously I could not stop going in the bathroom and just admiring the changes. Just by painting, distressing, adding knobs and a new light fixture made a world of difference. The valance above the tub is one I made using foam board! You will have to stop by and see how I make these. Super Easy and cheap!
Resources for this project:


Comments
Join the conversation
-
Nicely done, thanks for sharing the process.


Frequently asked questions
Have a question about this project?
Did you paint inside doors? I’m ready to tackle.
Did you have to prime the cabinets by sanding them down first? Love the finished look, exactly what I want to do to my bathroom.
Can a gloss paint be used over the chalk paint ? Have tried regular paint on cabinets before but it does not stick to the gloss finish of the cabinet. Thanks in advance and the project looks great.