


Low-Cost Main Bathroom Update
It has been many years and now it is time to update our main bathroom for a fresh clean look. We still loved our cabinets so we decided to do some minimal cost updating. Read on to find out how we transformed our main bathroom with minimal cost for maximum effect!
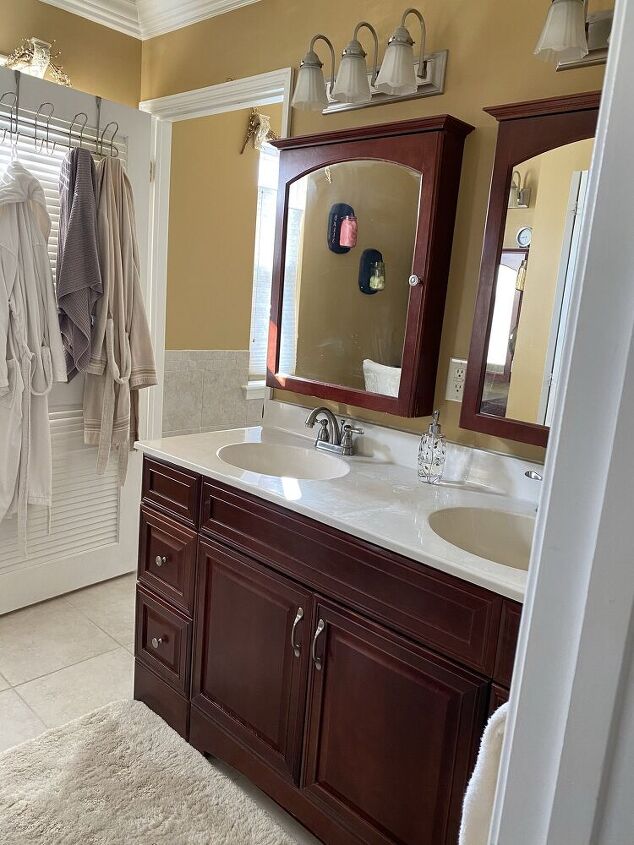
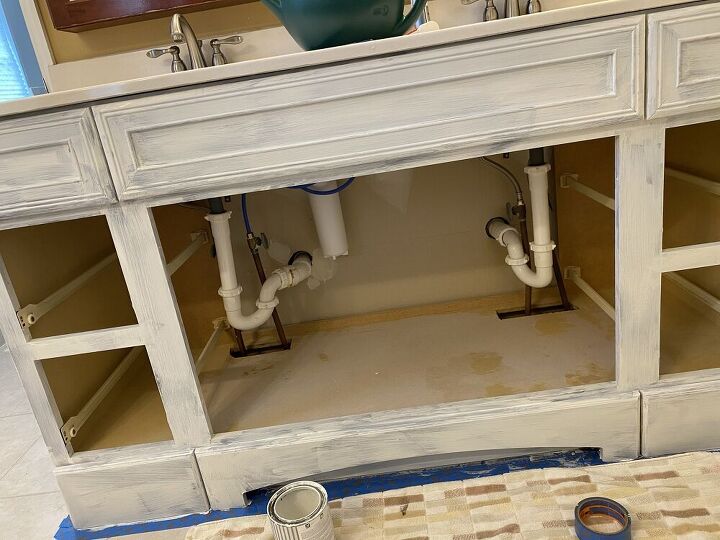
BEFORE Main bathroom transformation.
Before upper cabinet above toilet.
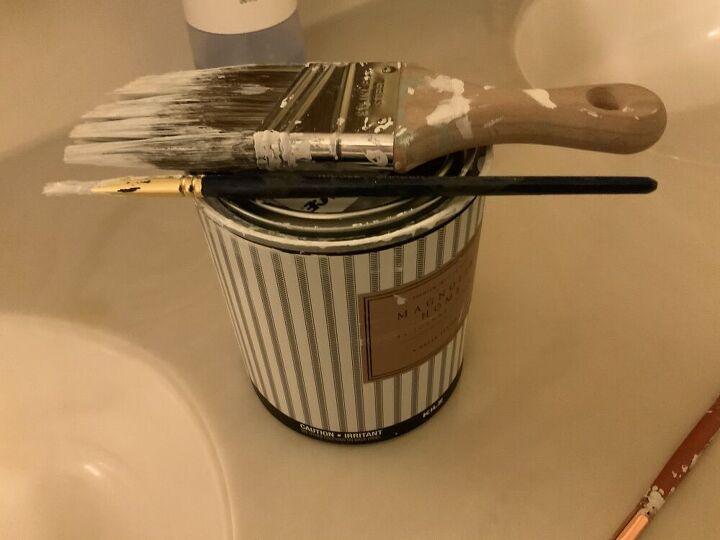
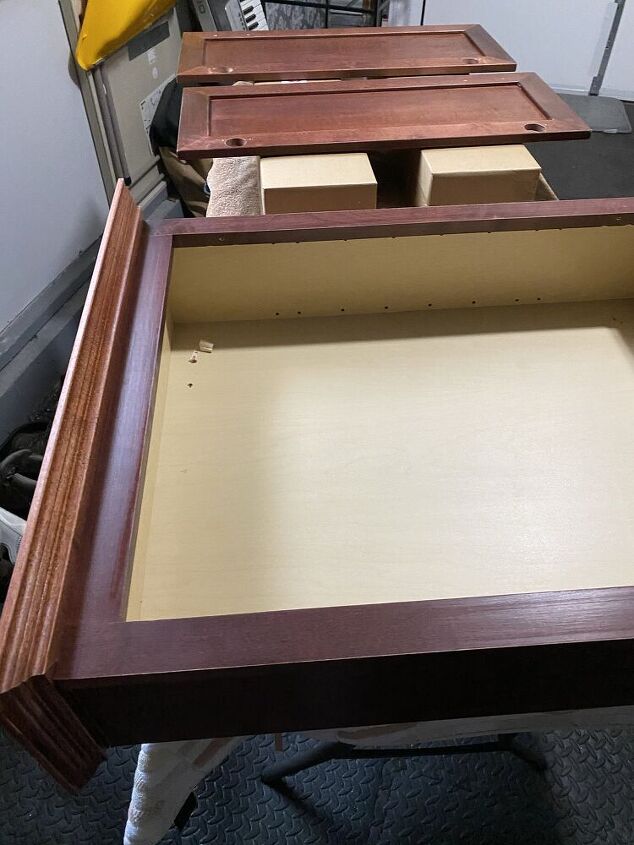
Supplies used for furniture.
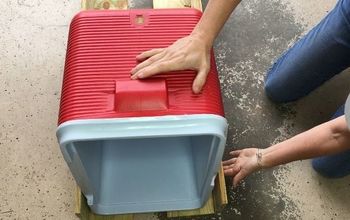
I took off the cabinet and painted it. It took some time because I needed to clean the cabinet, I removed the doors to make it easier to paint.
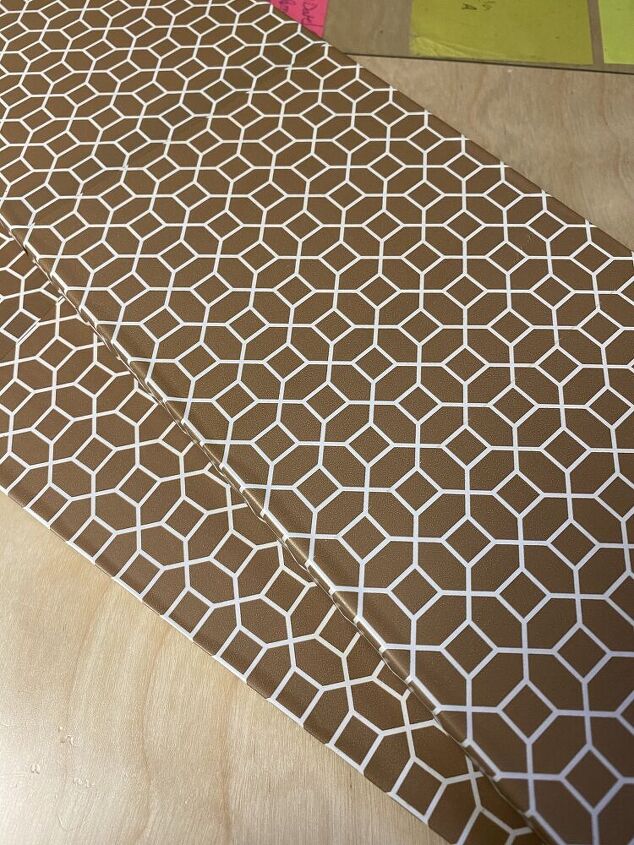
The shelved look a little shabby so I covered it with a decorative liner that I had. I used it in other cabinets and vanity to make them look uniform and cohesive with one another.
While I was doing this, my husband removed the mirrors and washed and painted the walls.
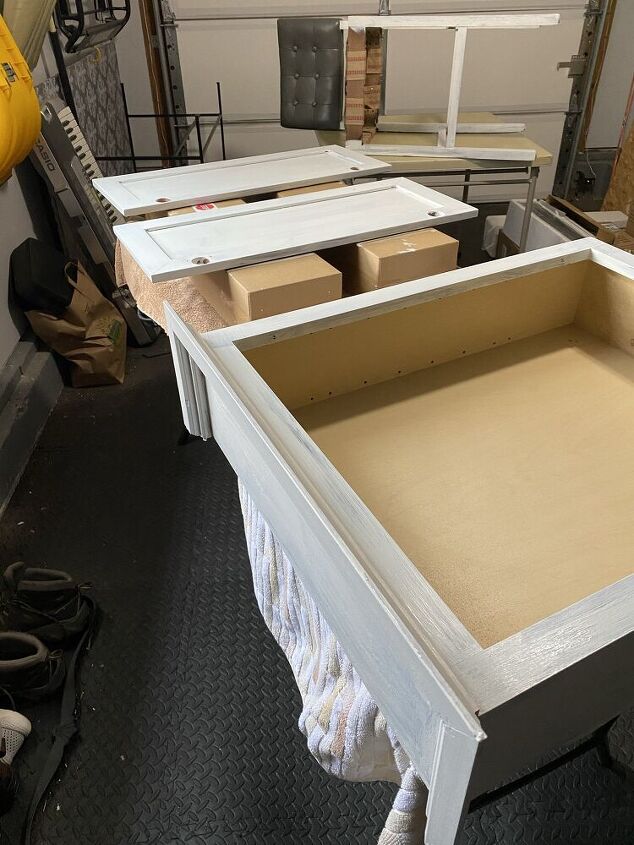
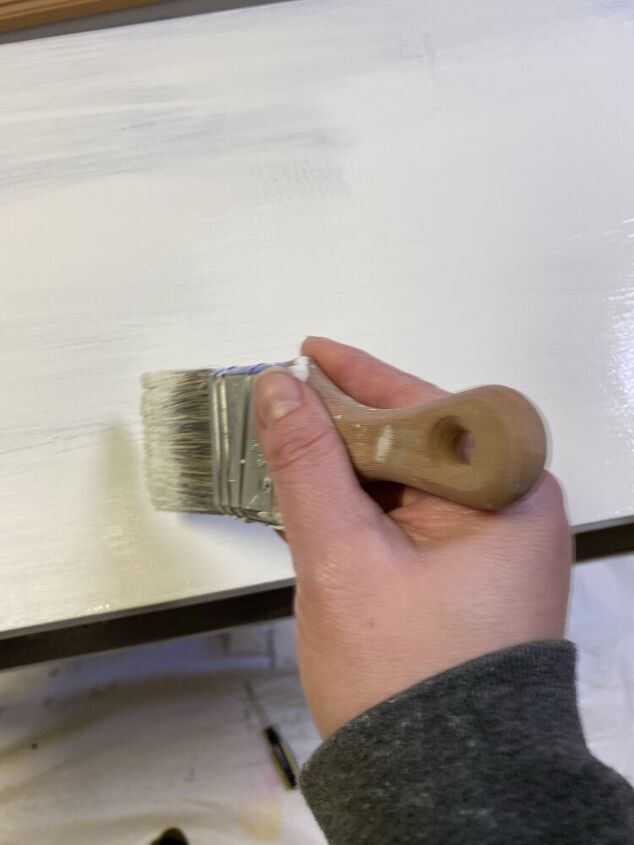
I removed the doors and brought them to another room to paint them on a flat surface. Because I was going lighter in color, it took me about 2-3 coats on each door with plenty of drying time in between.
I did not want to remove the cabinet from the bathroom, so I painted it in its spot. I taped up the floor and the top sink so I wouldn’t accidentally paint those items. And, I went to town and painted the cabinet. I did two coats on the cabinet.
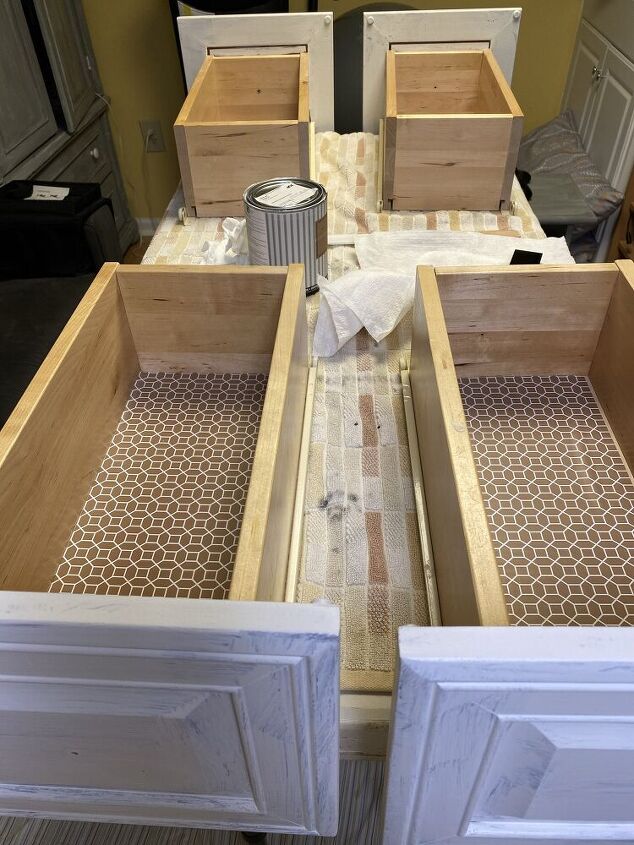
I then moved on to my vanity desk and painted that white as well. I added the same liner paper to the front of the drawers to give the desk some color.
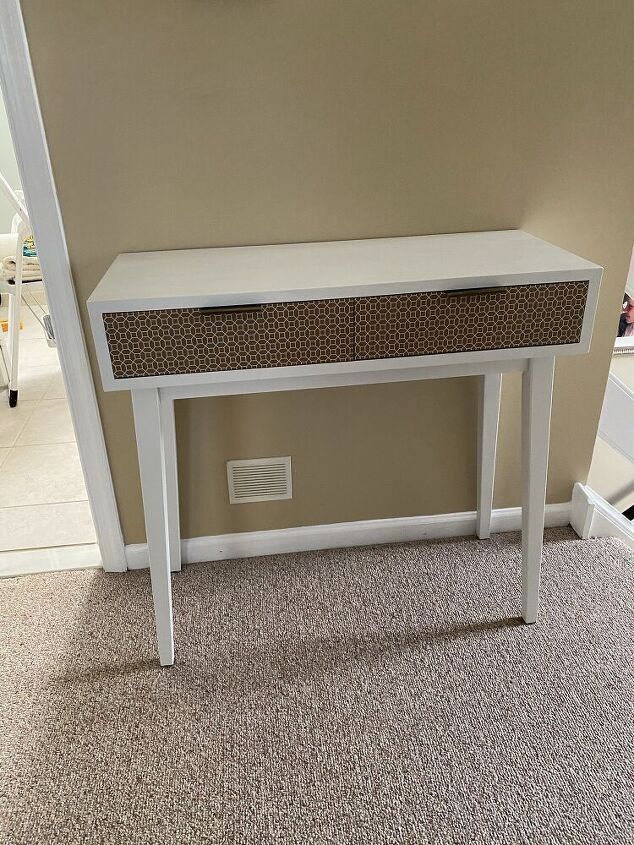
Here's the finished desk waiting to be placed in its home.
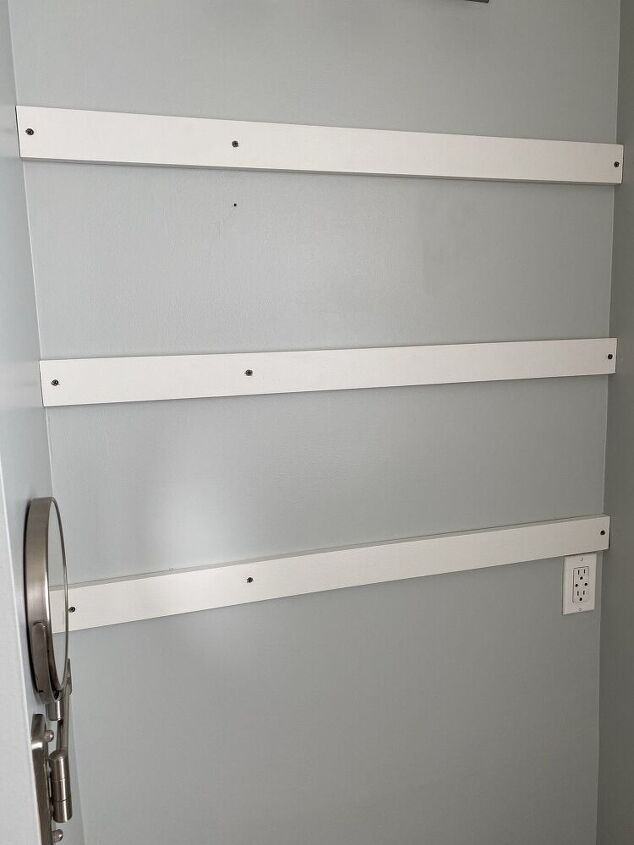
The wall where I would hang my vanity mirror did not have a stud in the middle so to help support the heavier mirror, we added three horizontal 1 x 2” wood painted in white. Then we screwed into the wood when we added the vanity. We patched up the screw with caulk and then repainted them while on the wall.
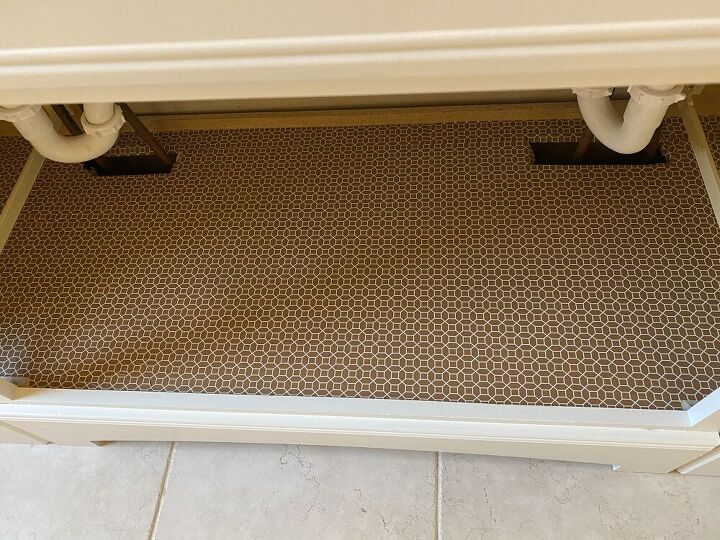
I purchased new bins for under the sink and lined the cabinet and drawer insides with the same self-stick liner paper as the front of the vanity doors.
I added the liner to the drawers also. Then added the cabinet doors to the double sink.
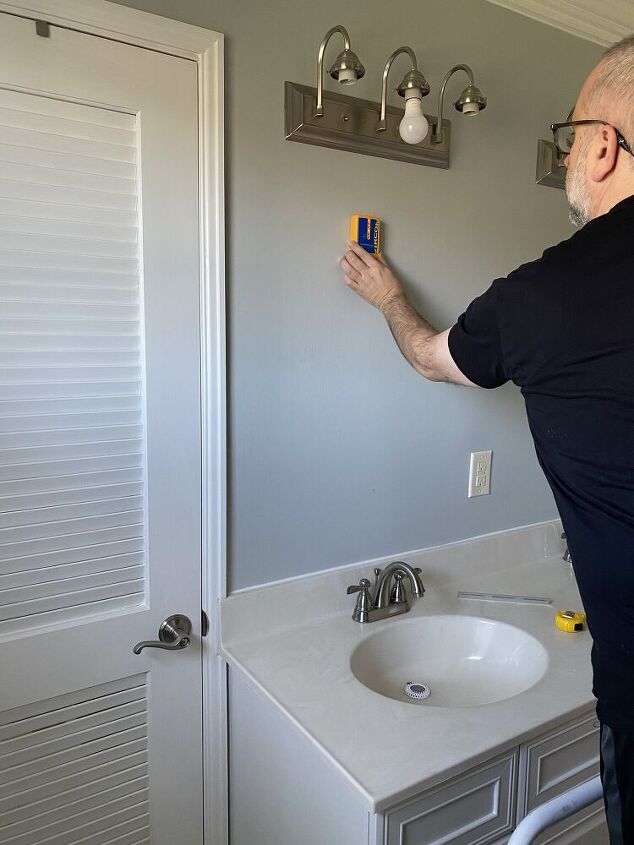
After we finished the walls, it was time to add the mirrors. We did not replace the light fixtures because they matched perfectly fine. I found that since we bought a little smaller mirror cabinets, they actually fit better on the wall and allowed more light to fall on the sink.
We had an issue and broke the blinds and had to replace them. Bummer. They were expensive to replace. =(
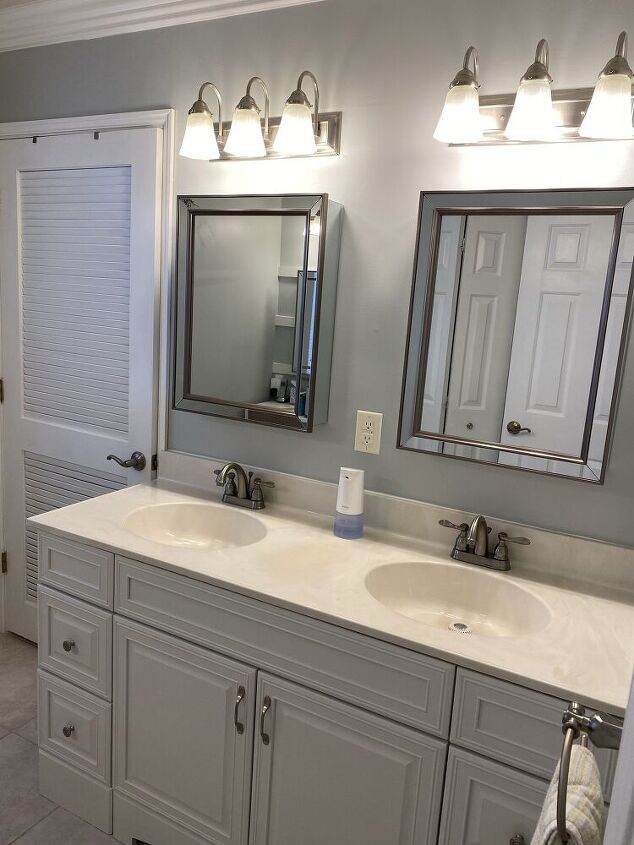
Here's the finished sink area.
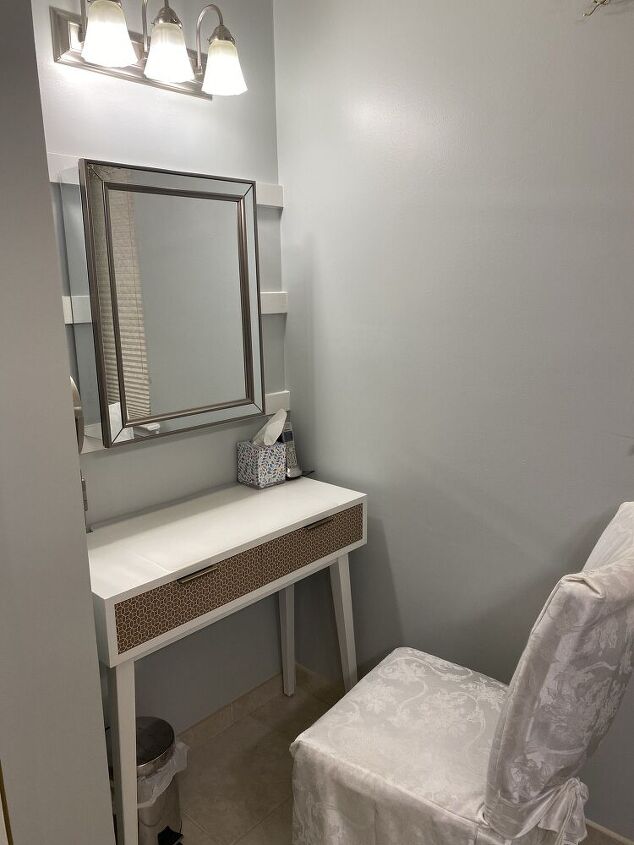
Here's the finished vanity area.
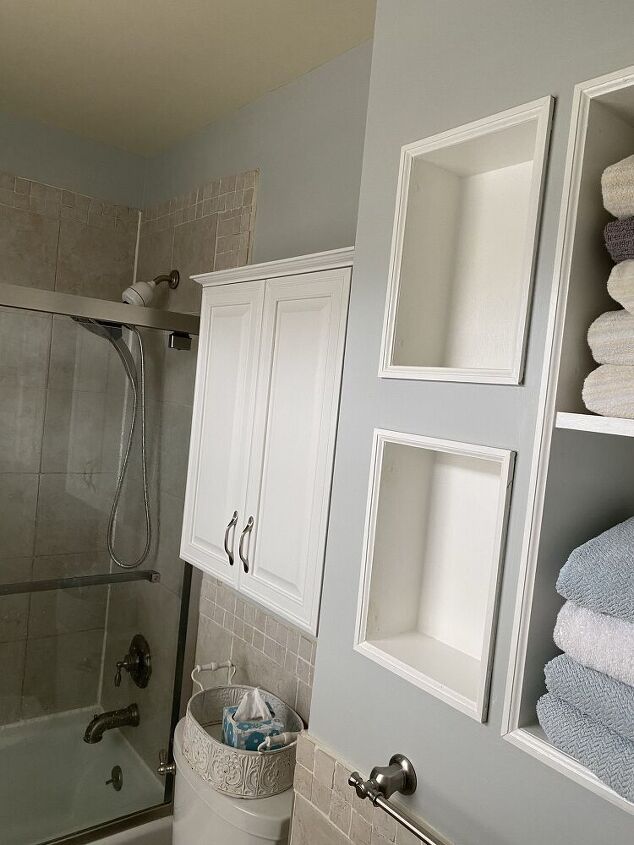
Here is the finished cabinet above the toilet area.
Visit our YouTube Channel to watch the video and subscribe.
Resources for this project:
See all materials


Comments
Join the conversation
-
This bathroom update is amazing! I can't believe it's the same space.


Frequently asked questions
Have a question about this project?
Were the towel cubbies there before this update, or did you build them in?