


Budget Friendly Bathroom Upgrade and Recessed Cabinet Install!

My bathrooms were... OK, not on the top of my reno list. Those funds were being directed to my kitchen! But I still wanted to give the bathrooms a budget friendly upgrade.
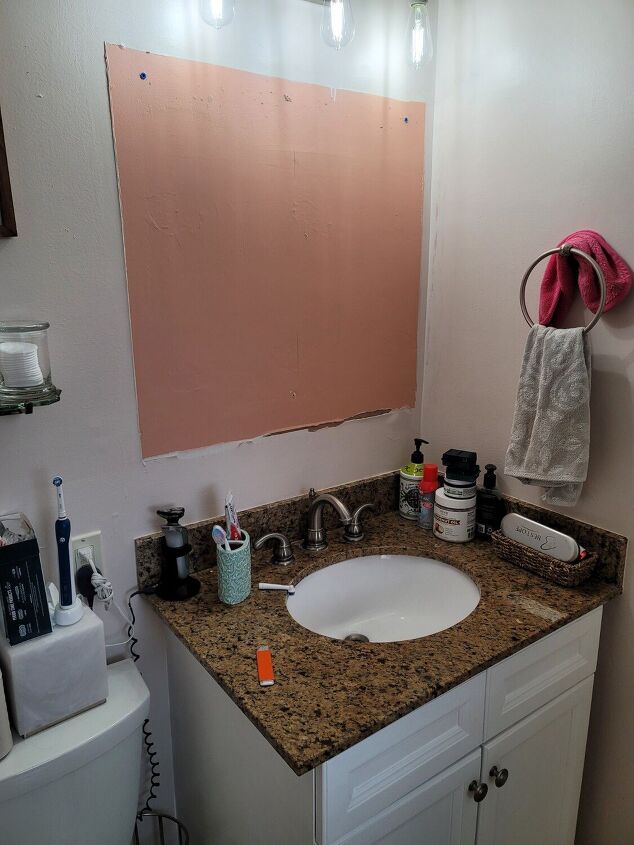
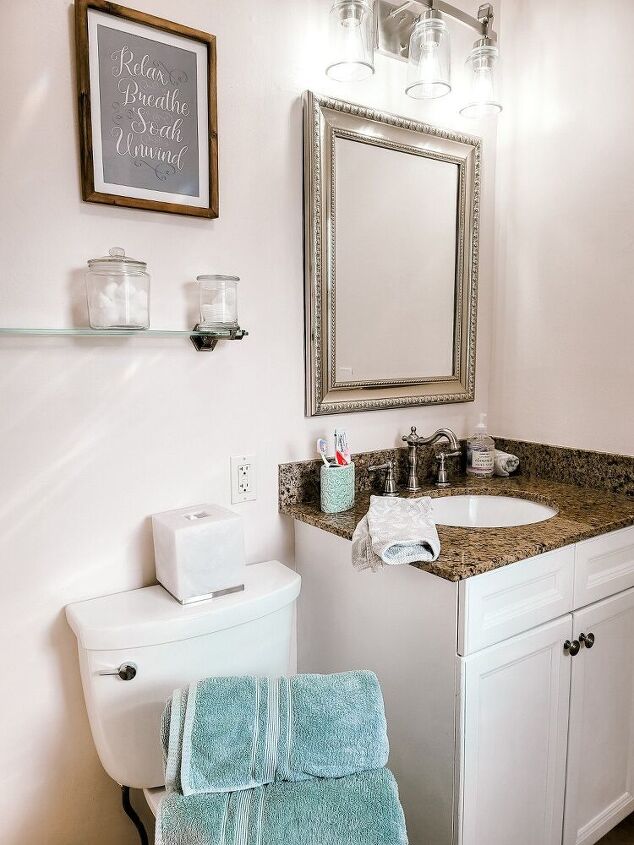
Here is the before. I actually had already painted the vanity just because it was looking a little dingy and I thought a fresh coat of paint would be a good face lift.
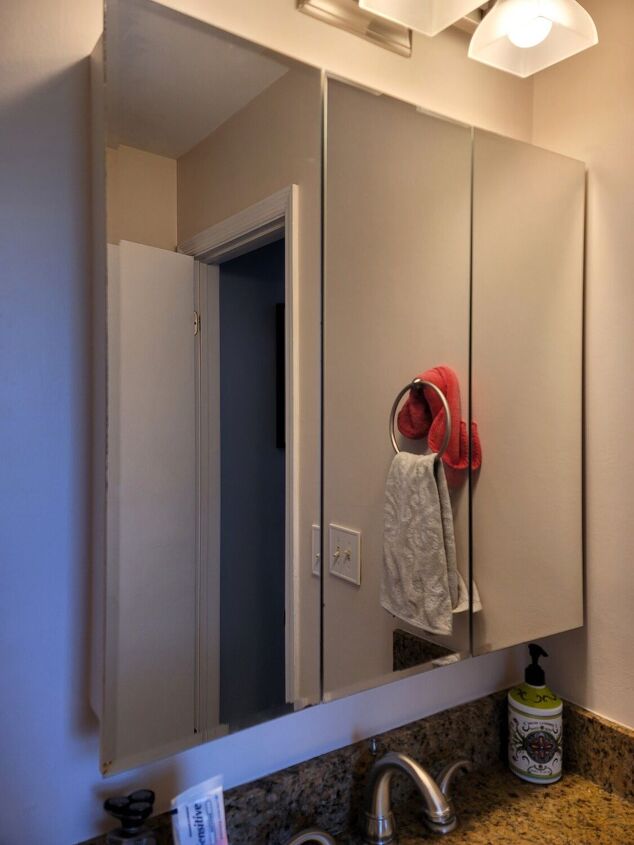
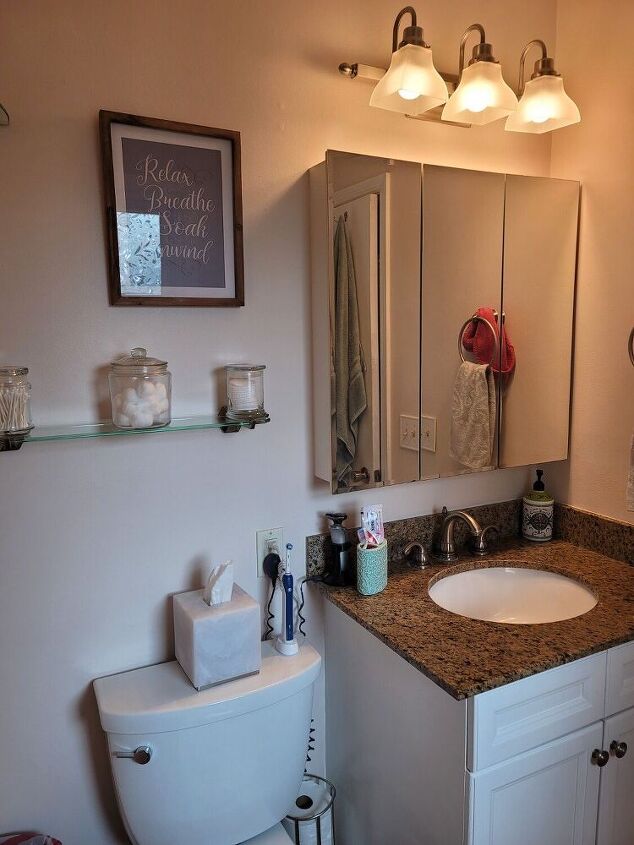
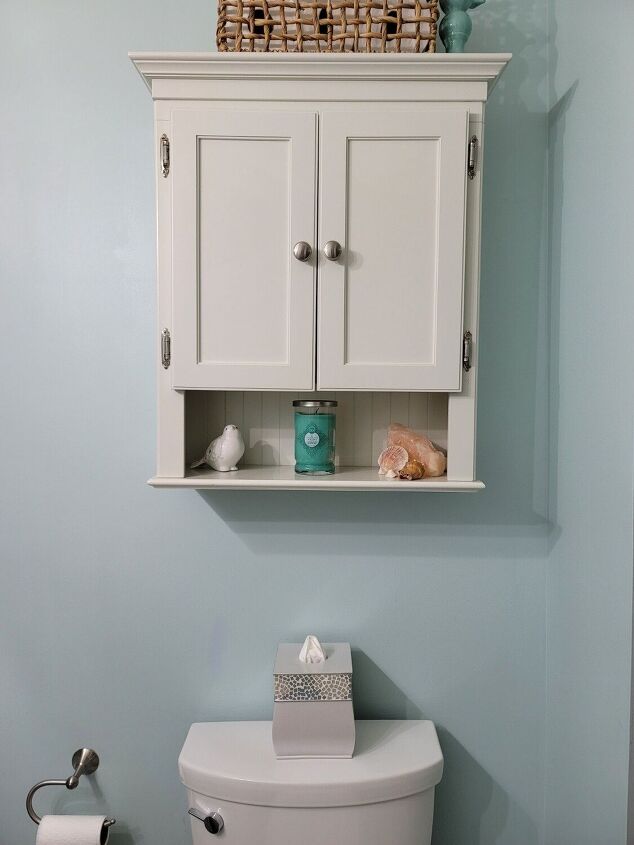
My biggest issue with the bathrooms were the medicine cabinets! I absolutely hate these giant cabinets that jut out about 5 inches.
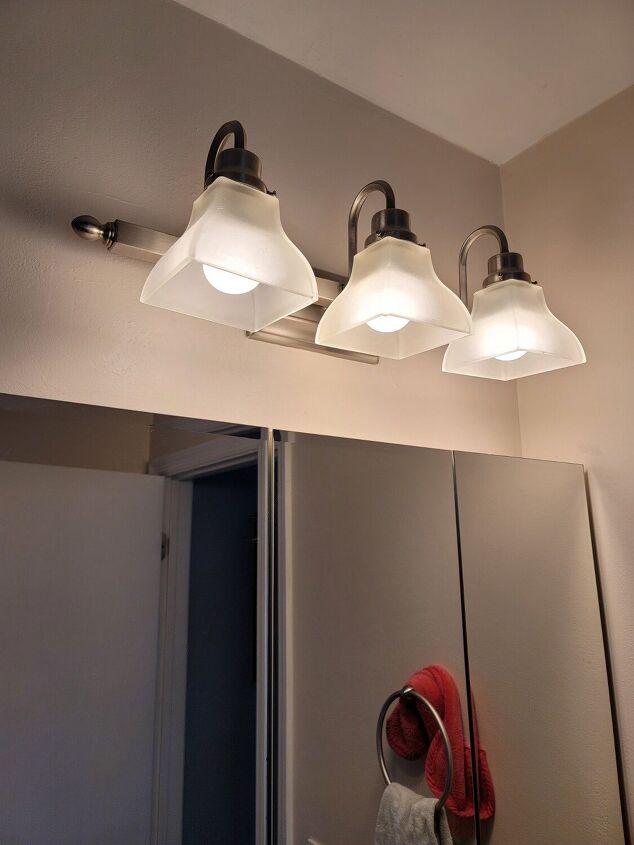
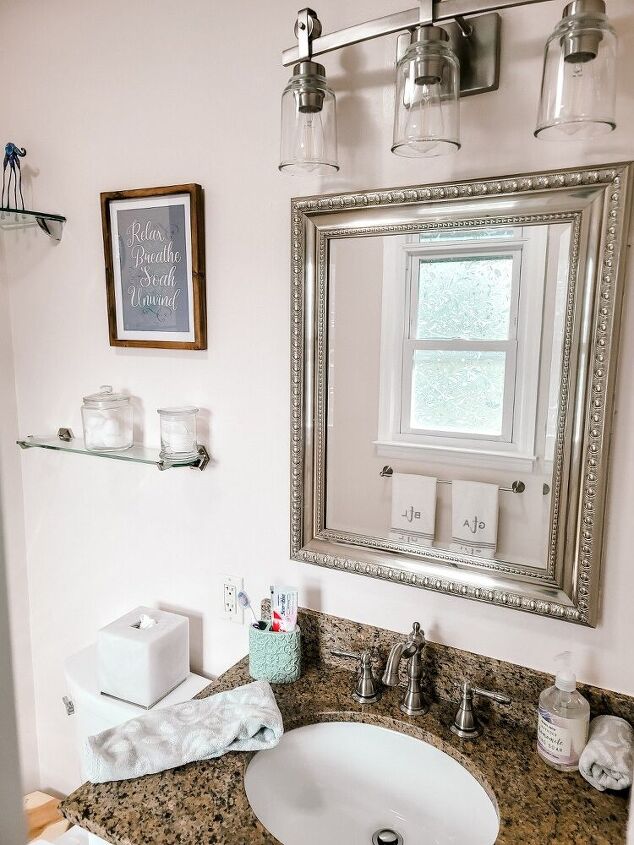
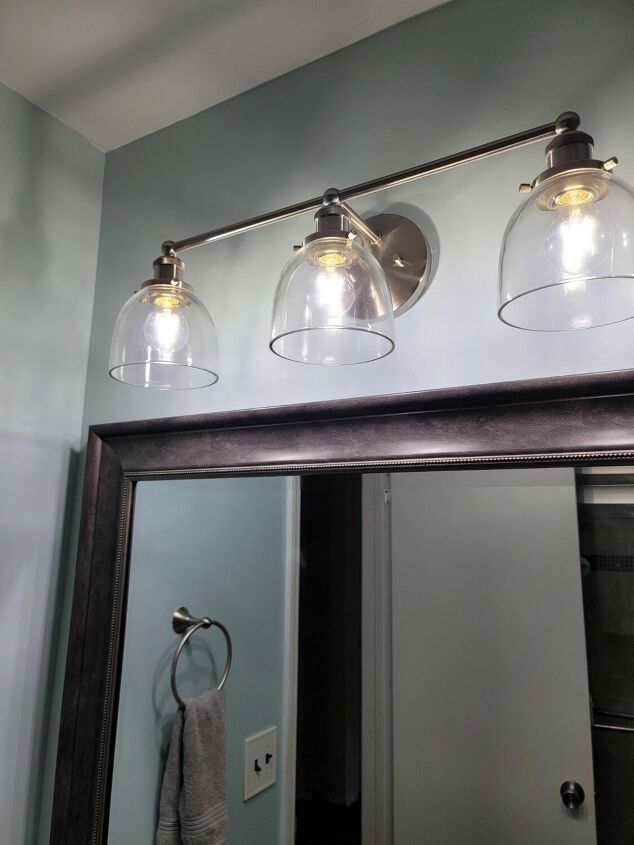
I also was not a fan of the the rusty dated light fixtures.
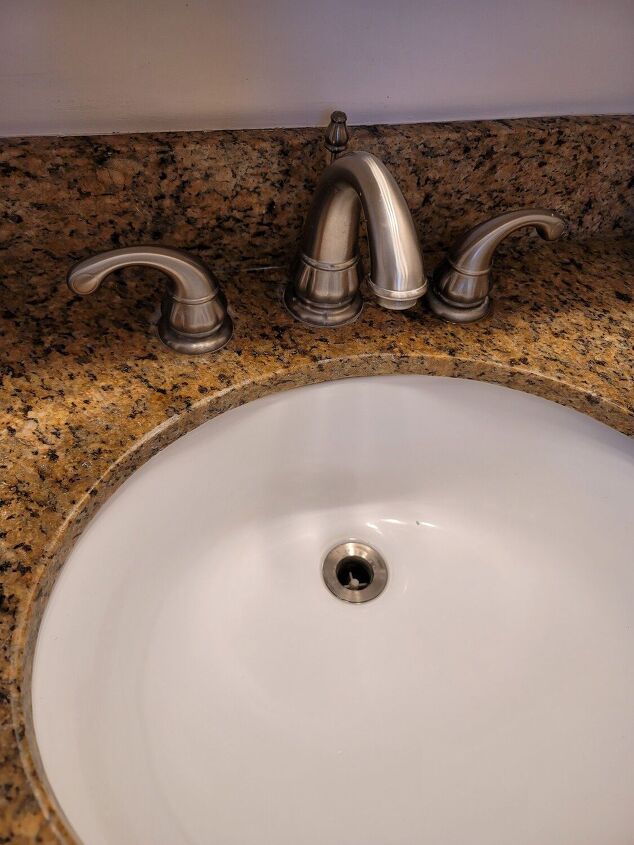
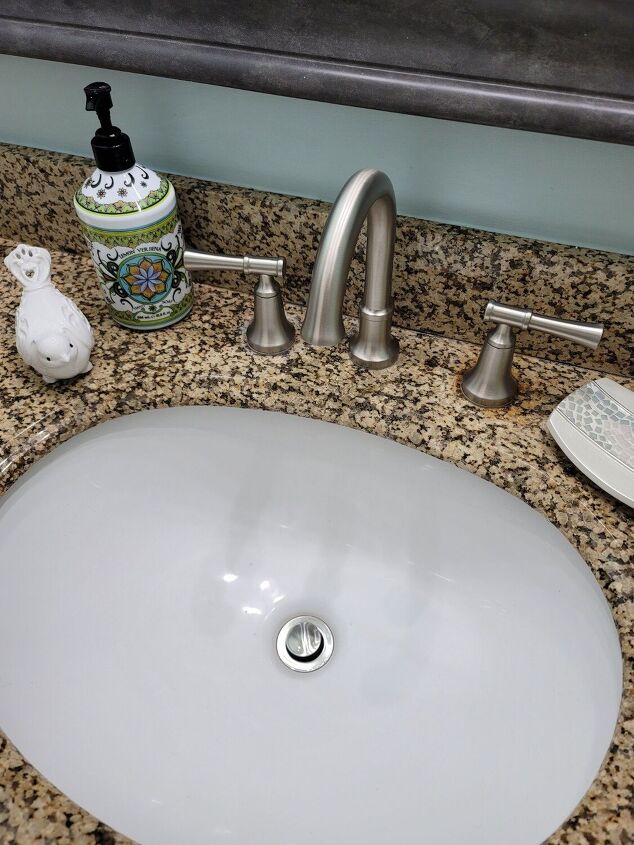
What really sparked this reno, was the sink in my daughters bathroom was leaking into the cabinet underneath. When I started investigating, the right facet handle was rusted on the inside. I replaced that first then turned my attention to my master bath since it was the same facet. Sure enough this one was also rusted in the same spot and I am sure a leak was imminent.
I started by taking the the old light, cabinet & facet off and throwing them out.
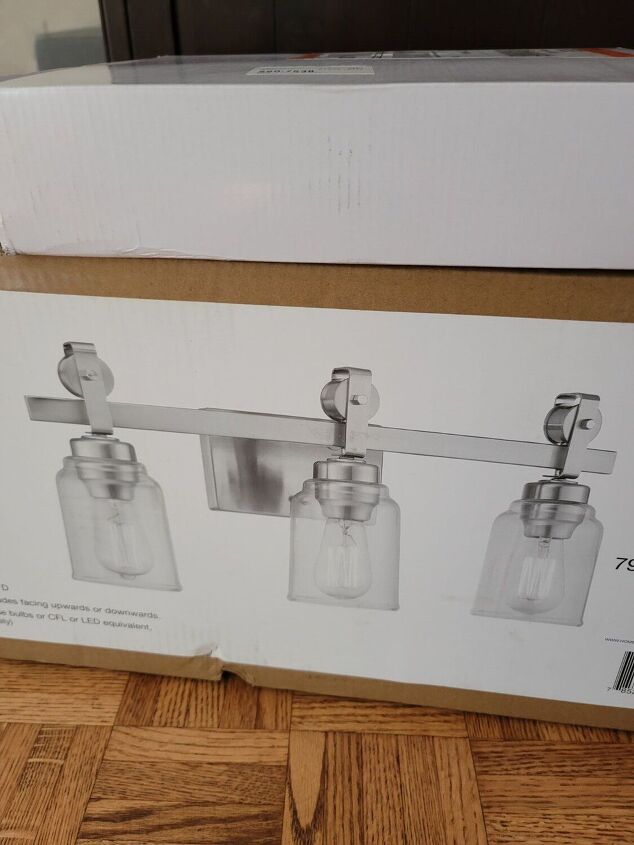
We replaced the light fixture and facet first but it doesn't really matter what order you go in.
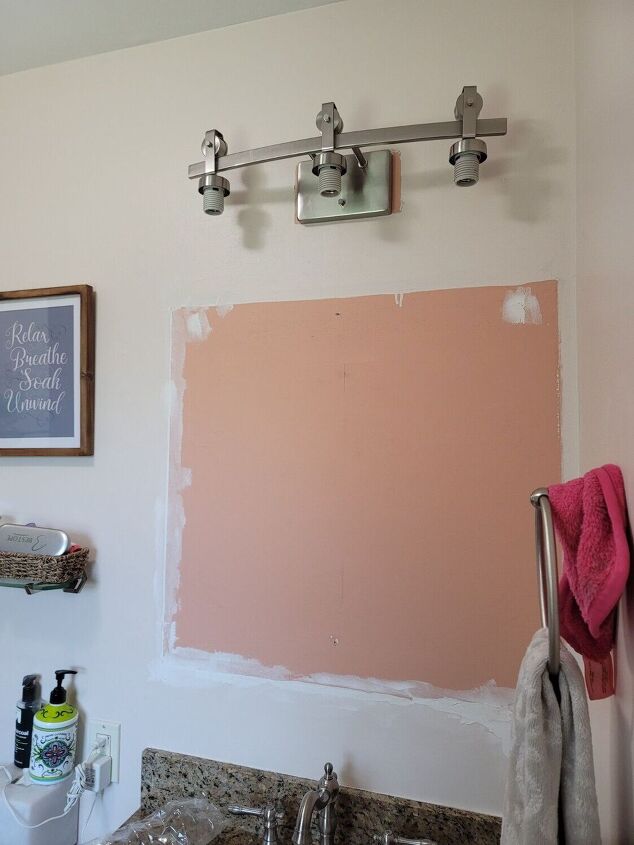
I wont go into how we replaced the light fixture and facet but I did not hire professionals. There are a lot of youtube videos you can watch. I luckily know a hand guy (my pops) and he always helps me out :)
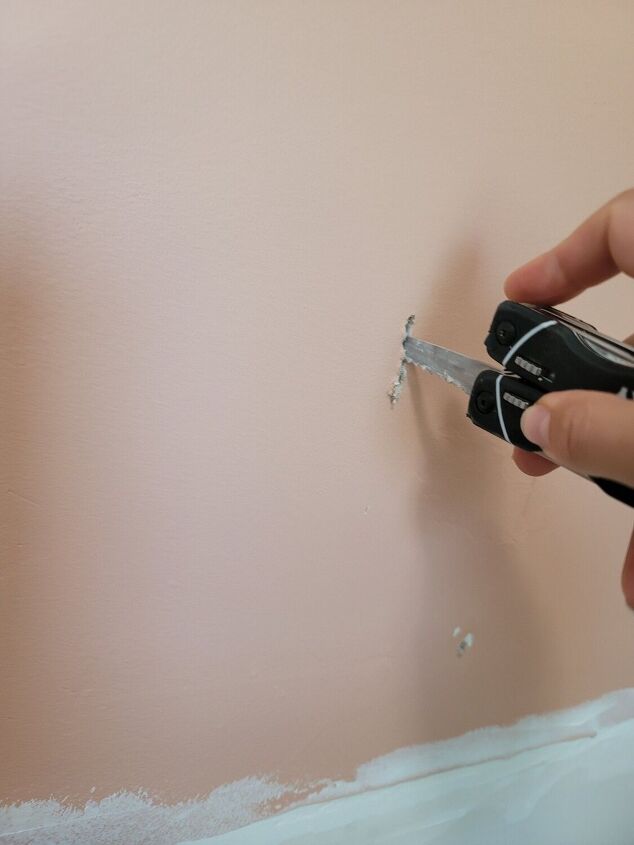
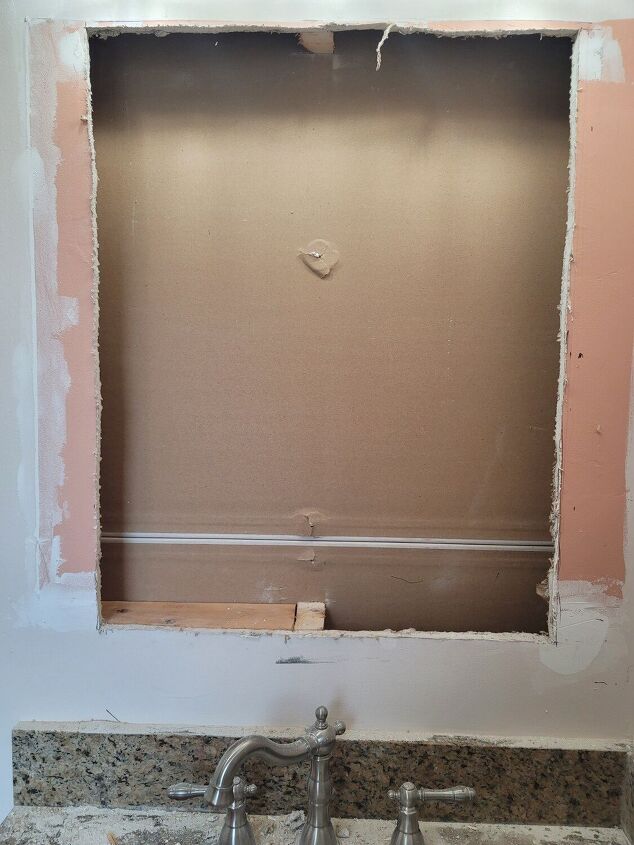
Ok now the fun stuff. I used a stud finder to locate where the beams were behind the cabinet, there was only one I would need to cut. I used a dry wall saw to cut a whole to make sure there was no plumbing or electrical. MAKE SURE TO TURN OFF YOUR POWER INCASE YOU HIT A WIRE! you don't want to electrocute yourself.
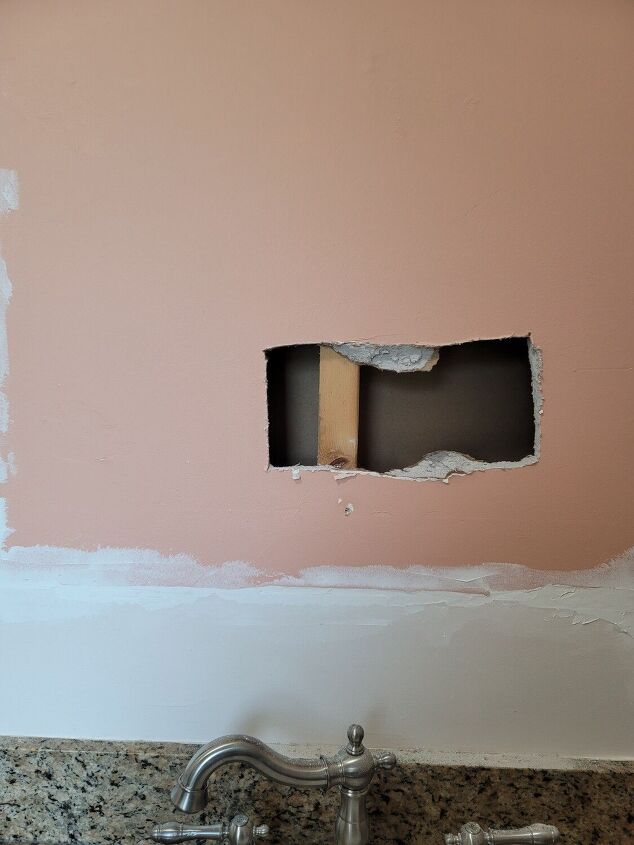
I then used a flash light to peak inside. Fortunately, it was completely empty!
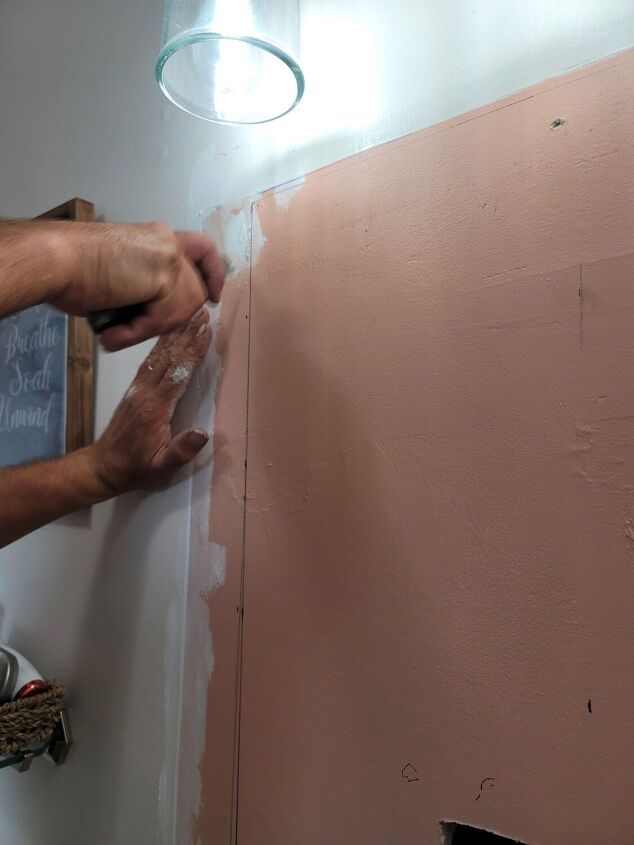
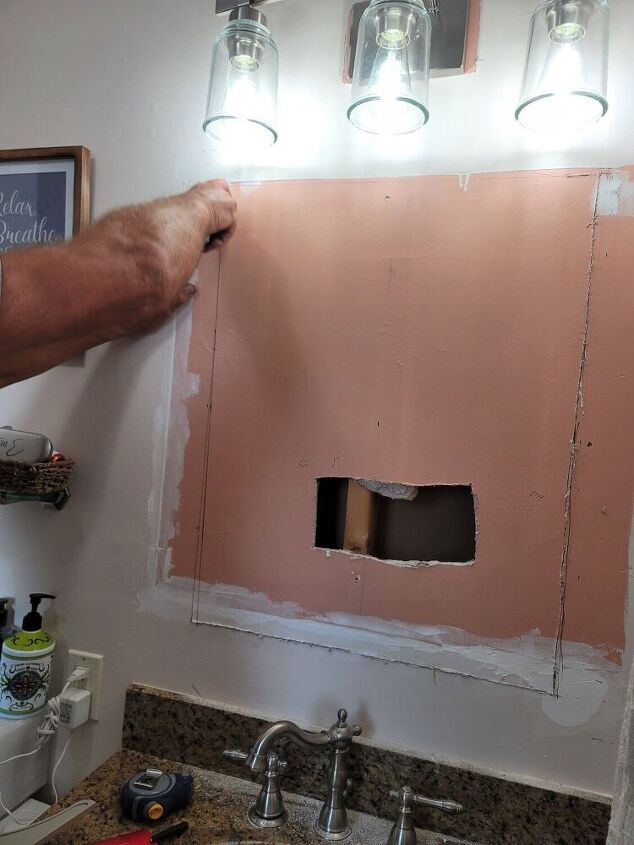
Using a card board cut out of the cabinet, I traced the shape and cut along with the drywall saw.
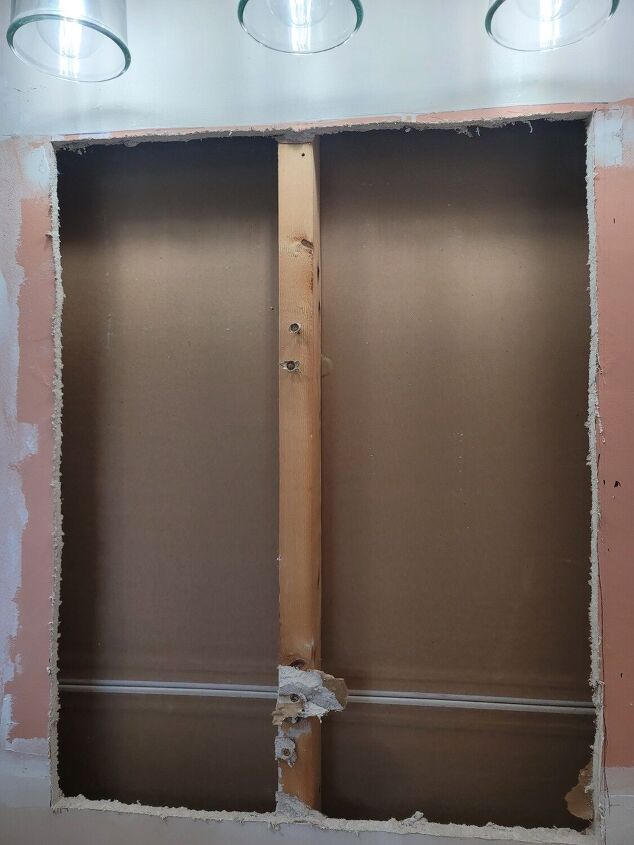
Using a jig saw, we cut the beam. BE CAREFUL NOT TO CUT TO THE OTHER SIDE OF THE WALL! Take a look prior to see what is on the opposite wall just incase you slip and need to patch some holes. ALSO MAKE SURE ITS NOT A LOAD BEARING WALL!
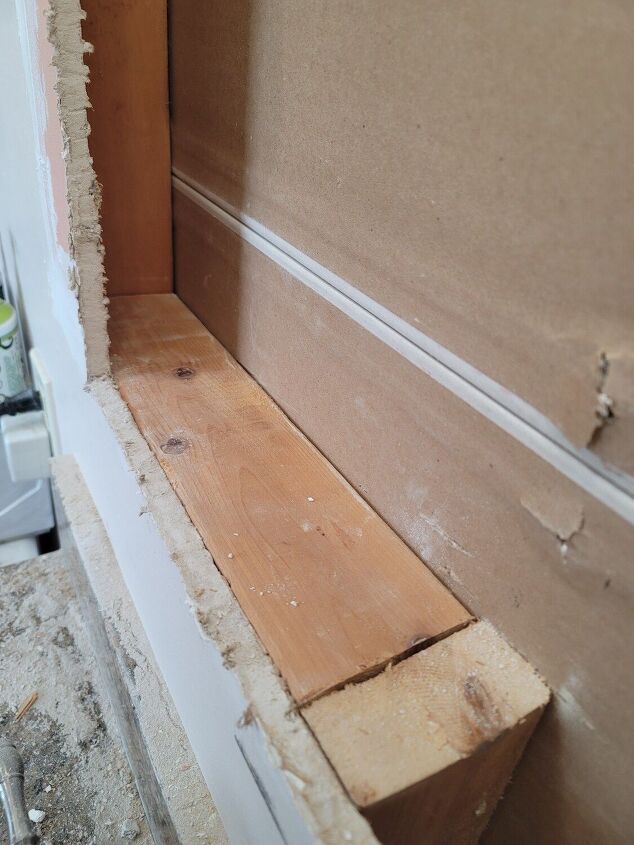
We used the cut piece of bean and secured it between the cut piece and the next beam on either side to start the frame.
You will need an extra 2x4 for this part to create the frame on either side of the cabinet.
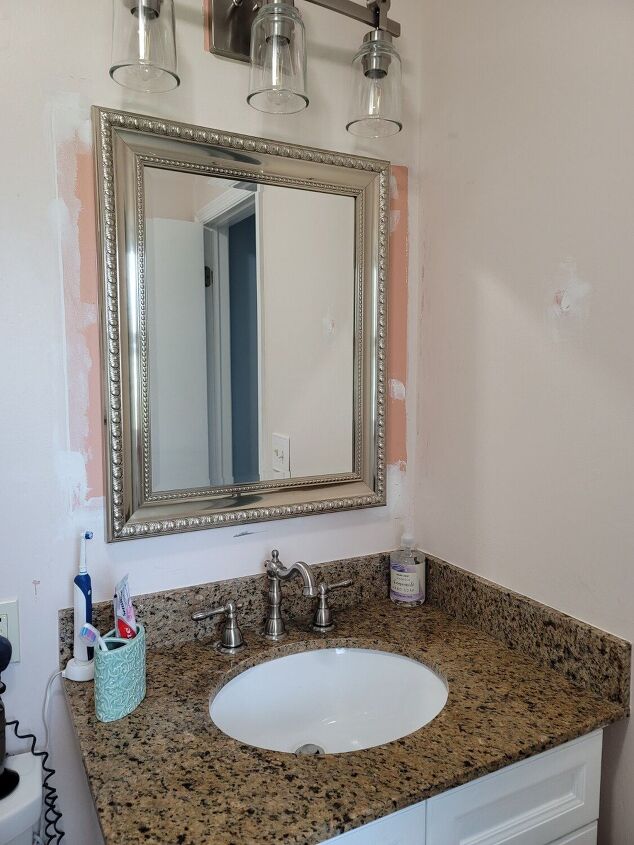
Then we carefully placed the cabinet in the cavity we created and secured using screws to either side of the frame we built! I painted over the areas and that was that!
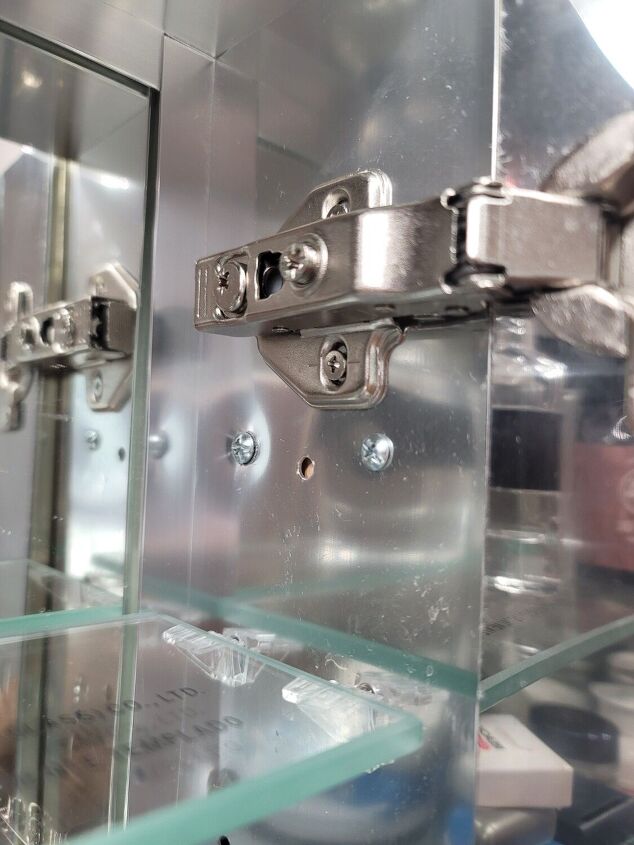
The cabinet comes with pre drilled holes, that is what I used to secure to the 2x4 frame.
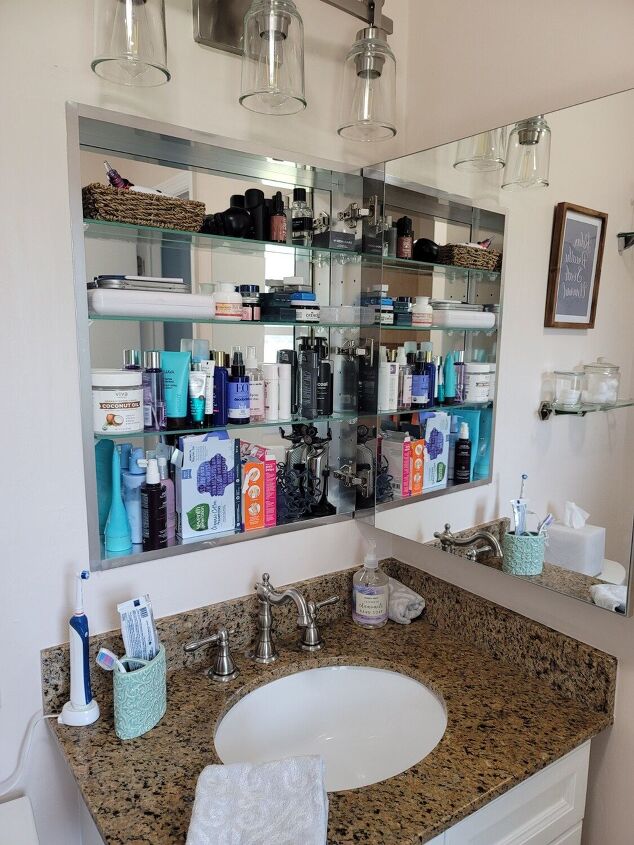
Here is inside the cabinet, not bad on storage! Also the door has a mirror on the inside too which is nice.
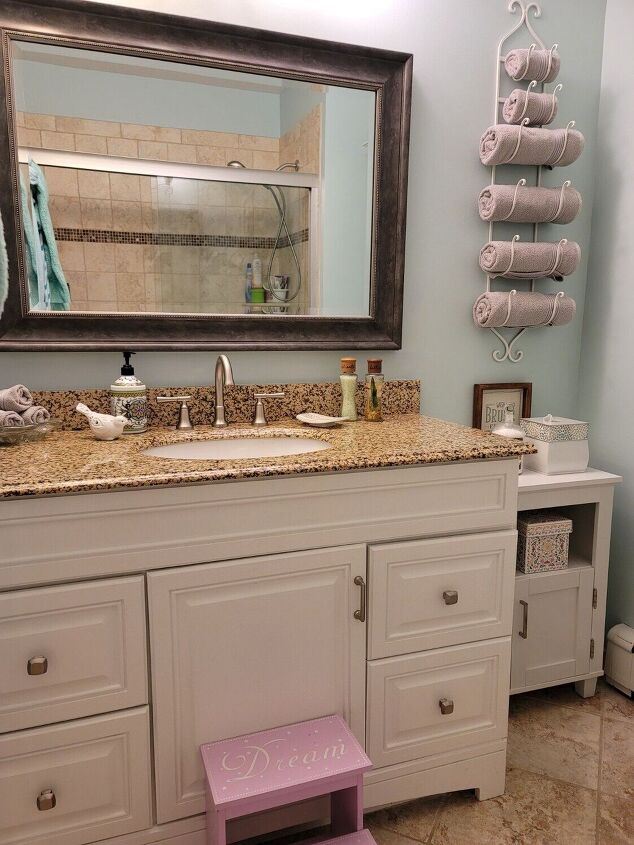
Like I mentioned, I have my daughters bathroom a similar upgrade.
It started with the sink since it was rusted and leaking.
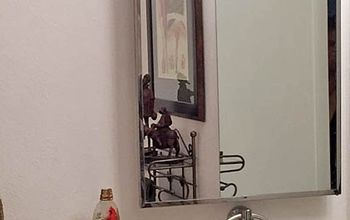
We also upgraded the bathroom light since that was also rusty and horrible. But for her bathroom, I just hung a mirror instead of a medicine cabinet. She also had that bulk cabinet but there is plenty of other storage already so this was a little easier since I just added screws to the beams using a stud finder and hung the mirror.
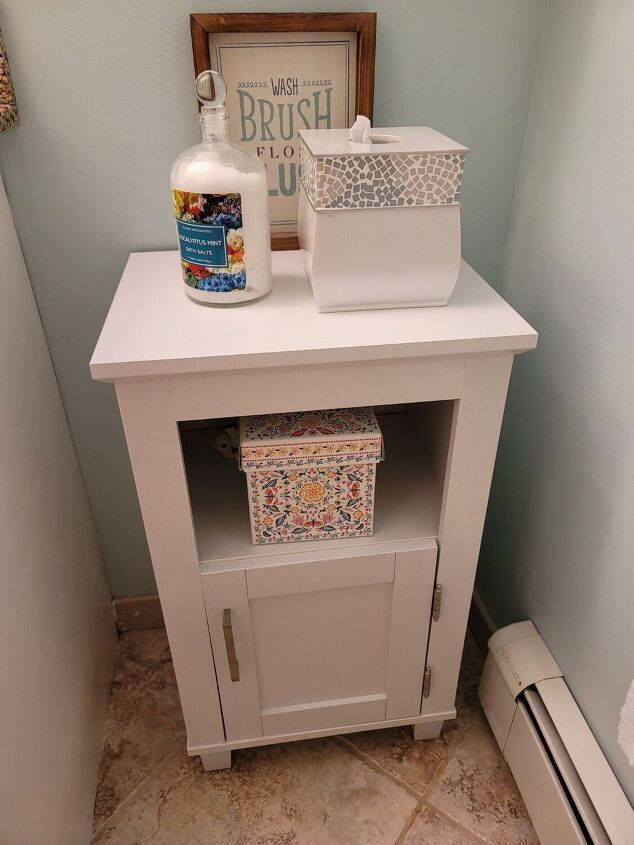
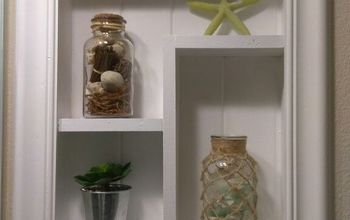
She already had this cabinet over the toilet and I added the little one next to the sink since there was an odd opening there to begin with.
Comments
Join the conversation
-
Nice upgrade. I also have a tri mirror cabinet like you had. I planned to insert into the wall but after inspection it's acually a chase for plumbing and electrical to the second floor. So I just ended hanging it back up after my remodel.
-
Your daughter sure has a bigger bathroom than yours.


Frequently asked questions
Have a question about this project?
Could you please add a picture of what your medicine cabinet looks like while open? I'm trying to understand how you hinged the mirror.
Where did you get the little square cabinet you placed beside the sink?
When you made the frame for the cabinet, how did you secure it? What was the wood nailed or screwed into? Nice job!