


A Tisket, A Tasket , a Really Cool DIY Basket!

4 Materials
$24
1 Day
Easy
I haven't posted a project for a while... boo me. I have been extremely busy at work and at home and well...just plain tired. I was itching for a new project and happened upon this really, old, rickety and cool basket! This was one of the items that my hubby had picked up long ago "just because" he thought I'd like it (what a guy!). It has been just sorta hangin around and every once in a while I'd pull it out and put it on display for one reason or another, but he's been hiding in my basement for a while now. It was high time for a makeover! I already knew where I'd put him. I needed something to hold the brand new towels that I had purchased for my guest bathroom (yes that's right , the one that Hobart and Penelope live in and yes Hobart had to come down and check out the new addition to give his seal of approval......which he did, thank goodness. I really did not want to hear the whining that may have ensued if he did not.)
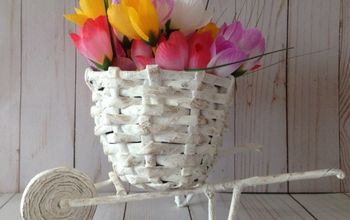
So here it is, and I really love it! 
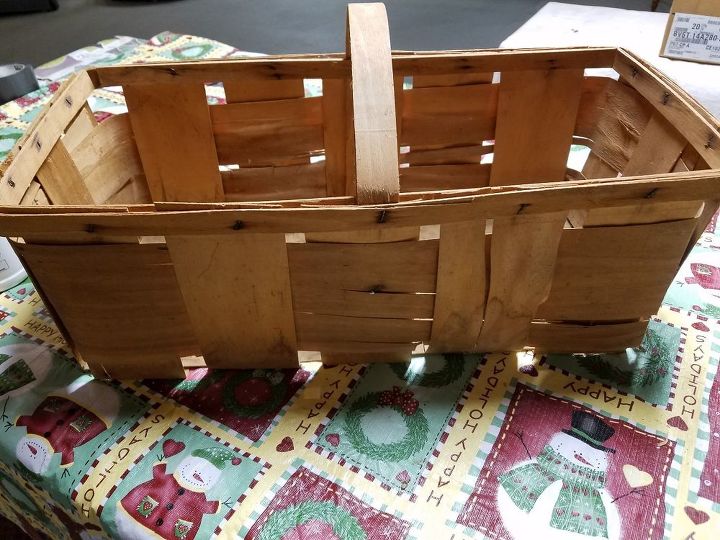
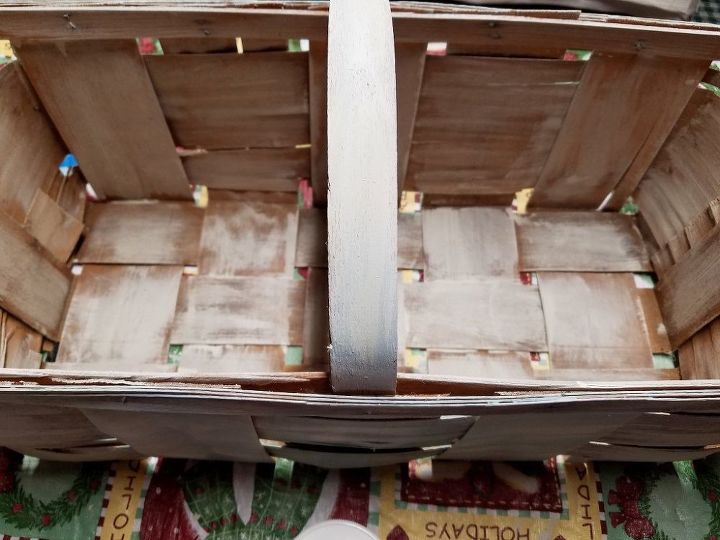
Well , here's how he started out... a plain, uninteresting 'pickin' basket' as my southern, hillbilly hubby calls it! : ) Not very stellar in it's present condition.....
So, I got out the paint...........
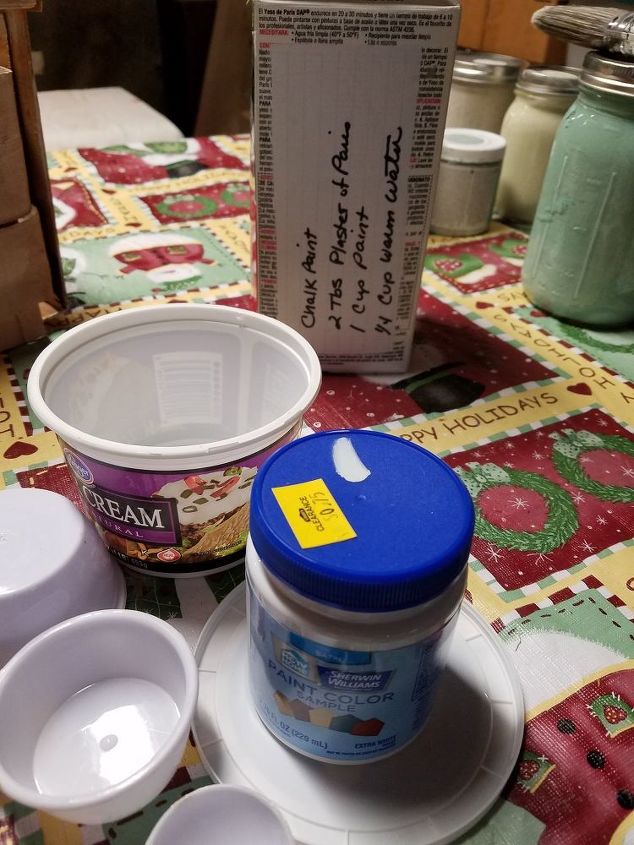
I began by choosing my colors, one was a very pretty light blue sample that I made into chalk paint (you can see the recipe I use on the plaster of paris carton in the background).
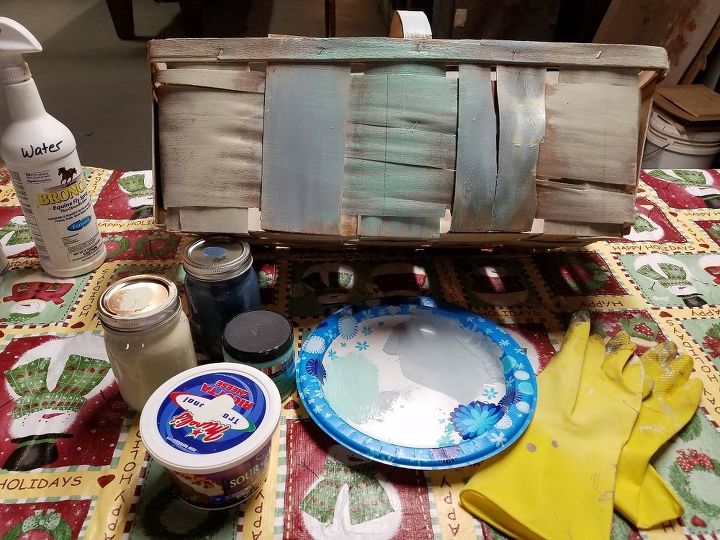
All in all I used three colors for the base: a light yellow, a light blue and a light aqua green all of which were created by me out of samples.
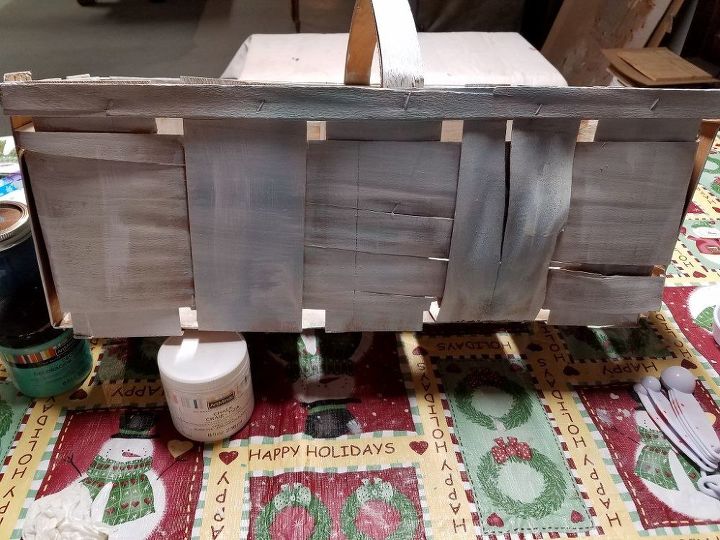
I then watered down Art Minds 'Simply White' and used that to white wash the entire basket.
The inside of the basket just got a random coat of white wash.

I had just purchased this product , Amy Howard's Transfer Medium (from local hardware) and wanted to use it. So I printed out this free picture and reversed the image and words. I know that for this sort of thing, a laser printer is supposed to be the best... but I didn't have one... and I'm impatient (I think I've mentioned that before). So I used my ink jet. Printed 3 copies. One for each side and one for the bottom of the basket on the board that my hubby cut for me : ) The basket was very light and I wanted to add weight and stability to it. The board is just placed inside the basket. As the directions say, I used the medium and painted it on the basket where I was going to put the label, then I coated the right side of the label itself and slapped it on the basket. Now we wait..(insert your favorite on hold music here...).

Once the label was dry, I used a damp cloth, water and my fingers to gently rub off the paper. This was a very rough and uneven surface, so it took a bit of finesse to get it off without tearing the label apart. Since I was looking for a very faded and worn or old look, I didn't worry too much about the image and wording being perfect. After both sides were complete, I sprayed on a matt clear coat to protect it. And here it is!! It's perfect : )
Here's the white washed board with just the dog part of the label transferred on to it.
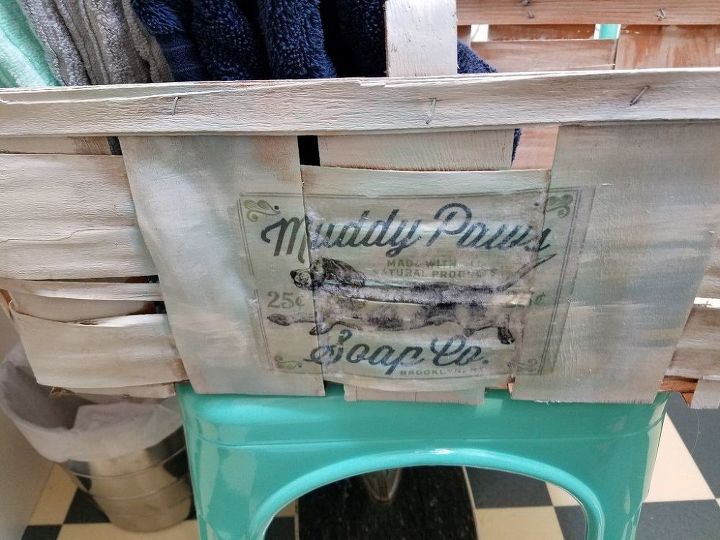
Up close and personal on the label. I'm not sure I'd recommend this transfer product.. I'm thinking there are others out there that may be better at this..
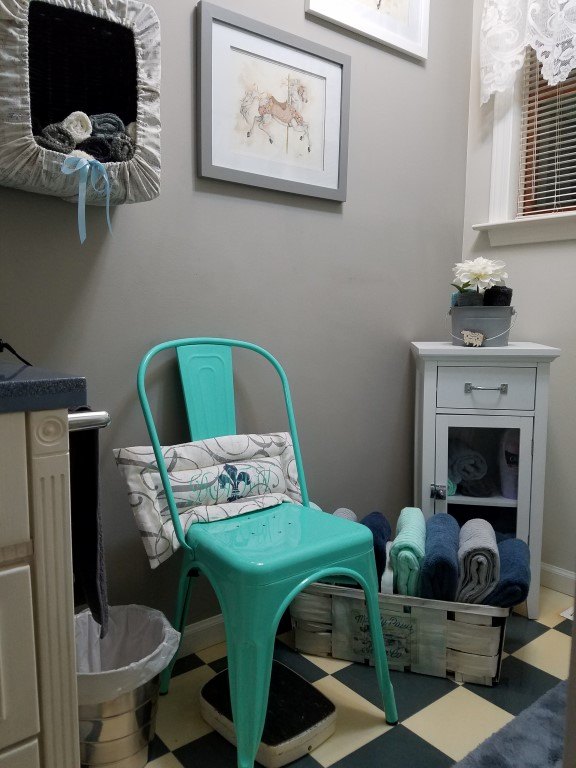
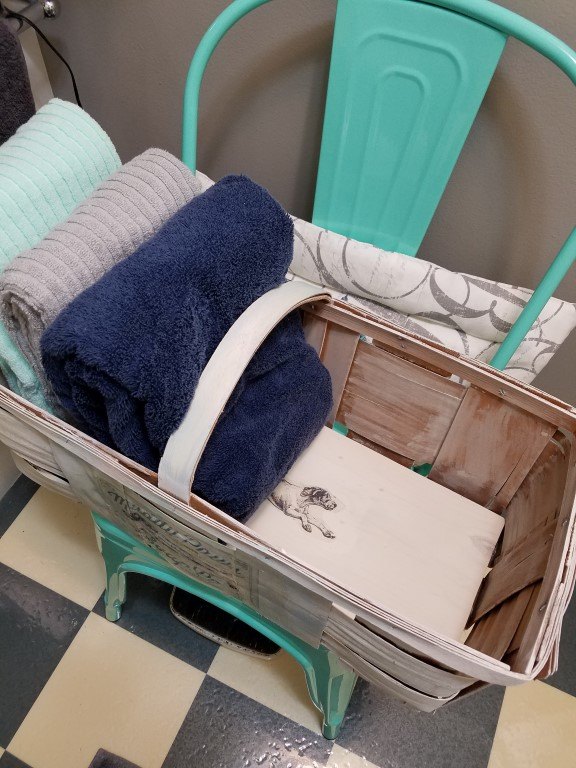
Here it is in it's rightful place in the guest bathroom! Love......it. 
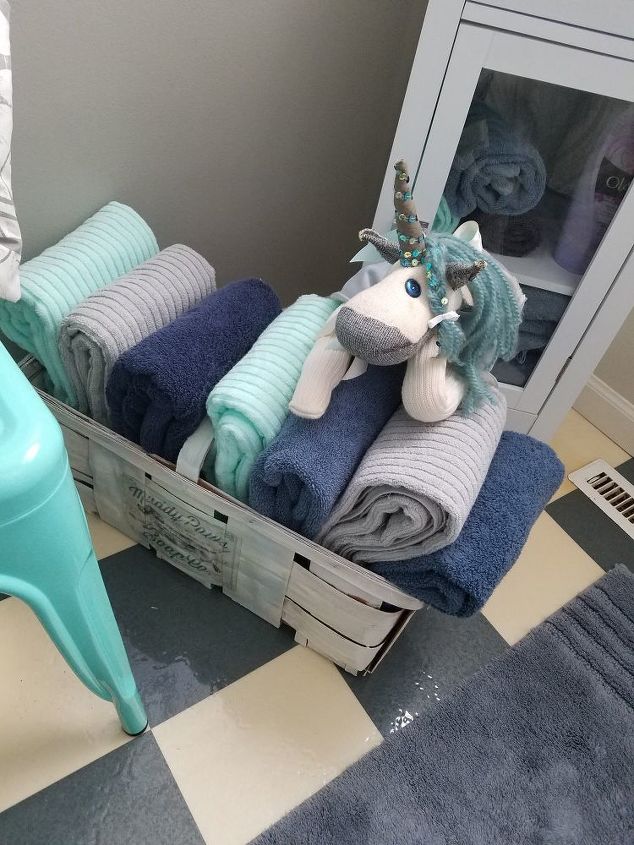
and.........pesky Hobart at it again, (thinking that his opinion really counts..) saying "hey mom, this is reeeaaally soft, I think maybe I might have to stay here.." ................nice try Hobart, nice try.
Comments
Join the conversation
5 comments
-
Oh how cute!! Love the whole thing!
- See 1 previous
-
Chalk paint


Frequently asked questions
Have a question about this project?