


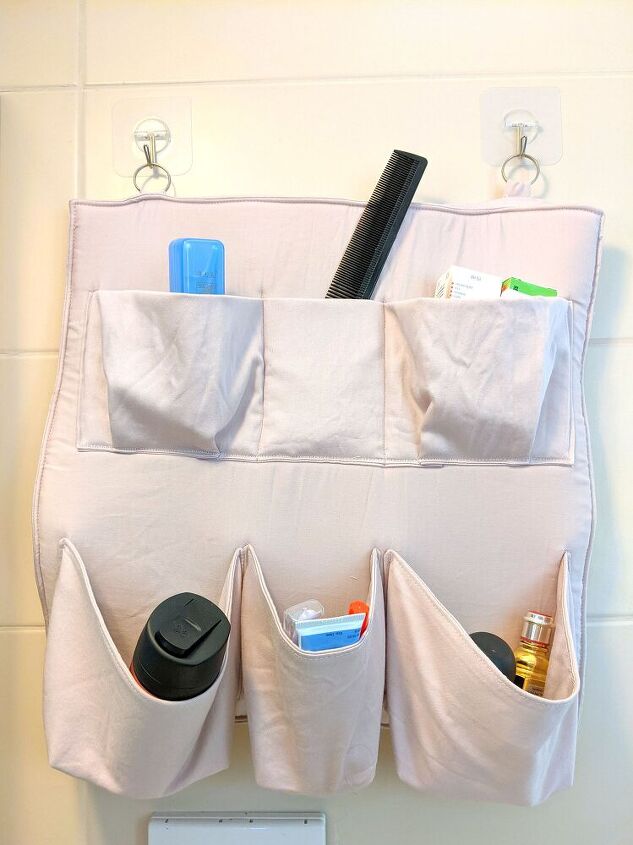
Bathroom Pocket Organizer

In the bathroom of our rented apartment, we do not have enough counter space. I sewed a pocket organizer to help me get organized quickly in the morning and have everything in sight.
NOTE: SA is 1/4” unless mentioned differently.
Measurements are always width by the length. Length is the grainline of the fabric.
The first step is Cuttin
1.Fabric
- For the front and the back cut 2 pieces 16” by 16”
- For the wide pockets:
Cut 4 11.25” by 8” pieces
Cut 2 9.5” by 8” pieces
- For the upper pockets cut 1 piece 18” by 9.5”
2.Interfacing
- For the wide pockets
Cut 2 11.25” by 8”
Cut 1 9.5” by 8”
- For the upper pocket cut 17.5” by 4”
- For the hanging straps cut 2 1.5” by 1.5”
Preparing the fabric
- Fuse the interfacing to the wide pocket pieces.
- Center the upper pocket interfacing to the bottom of the pocket piece and fuse in place.
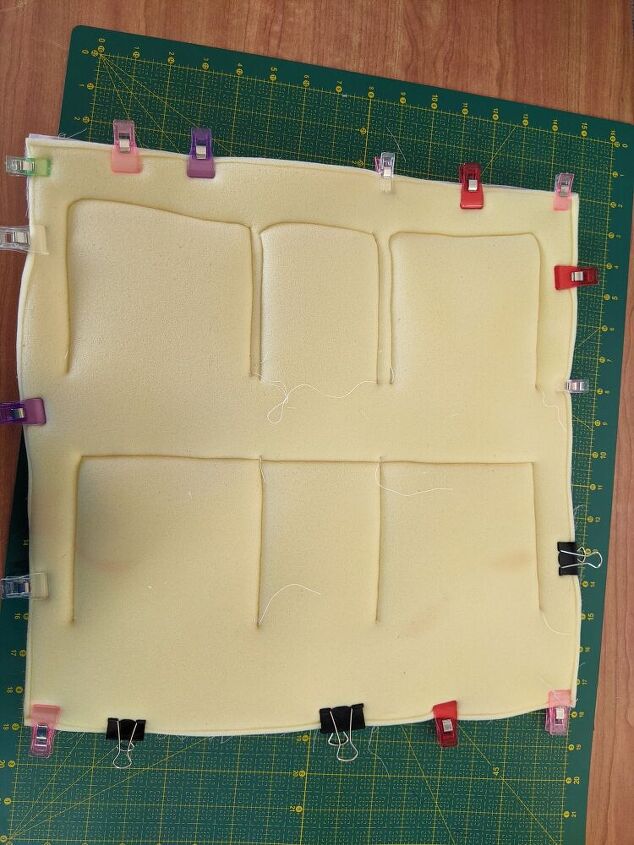
- Using 1/8” SA baste the foam to the back of the front piece. Trim any hanging foam pieces.
Sewing the wide pockets
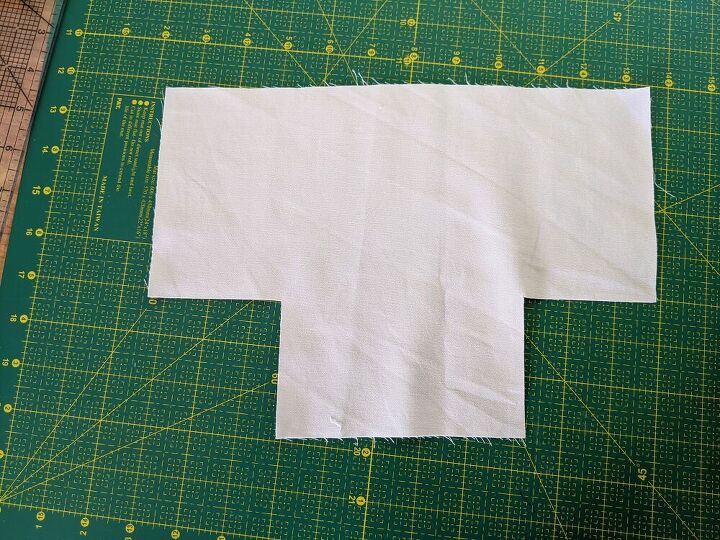
- Cut a 3” by 3” square from the bottom of each pocket piece (there are 6 pocket pieces). We would use two of these squares, later on, so don’t throw them away.
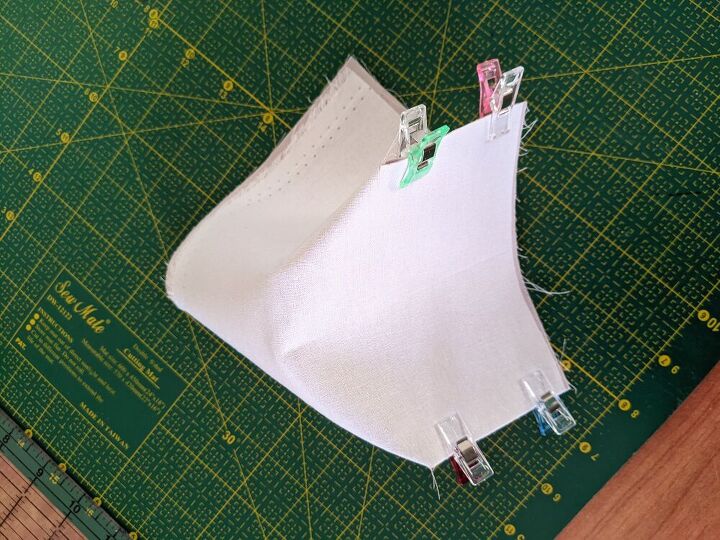
- For each pocket piece, match the edges of the cut square and sew to create a 3D piece.
- Take two pieces – one with interfacing and one without interfacing and put RST. Pin in place and sew around leaving an opening at the bottom.
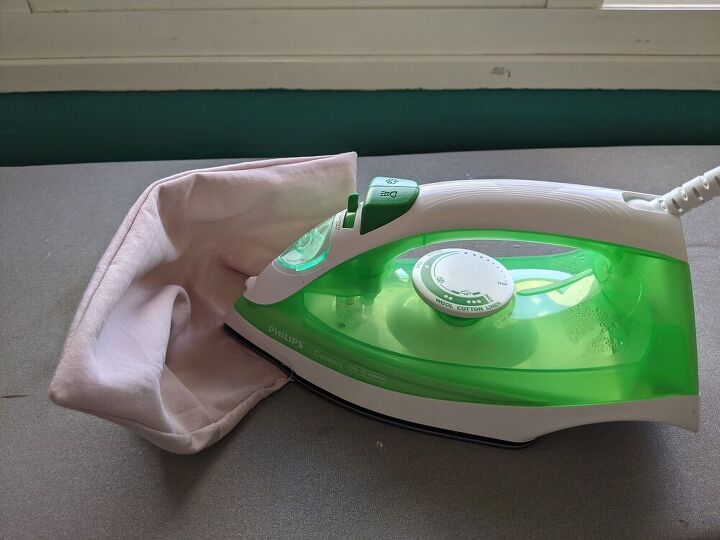
- Turn inside out, press well while tucking the opening inside.
- Topstitch 1/8” from the edge all around, which will close the opening.
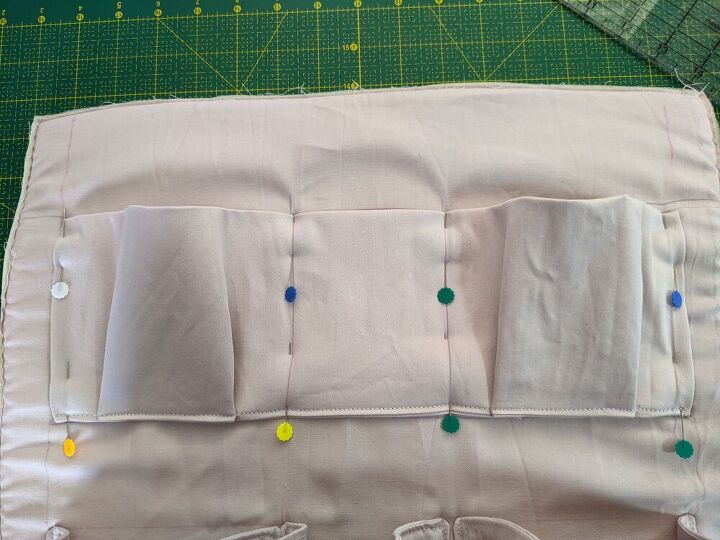
- Take your front piece and mark some lines for positioning of the pockets –
- 1” from each side edge
- 1” from the bottom
- 5” from each side edge
- 4.5” from the bottom
- Pin pockets in place according to the markings and sews using 1/8” SA
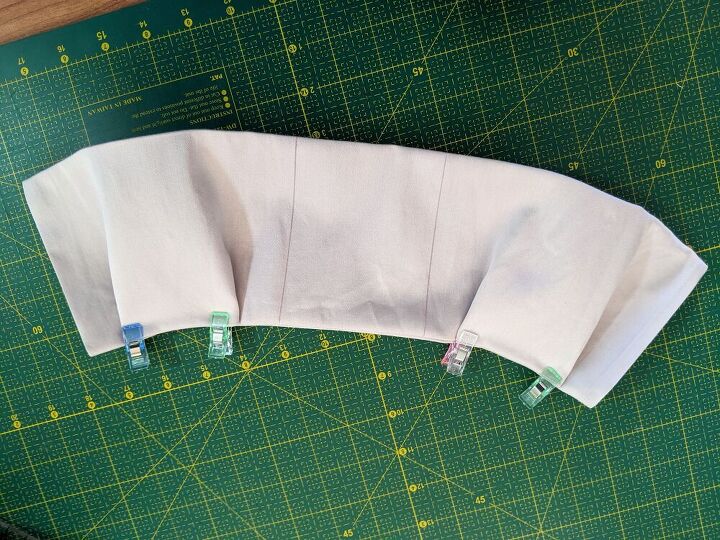
Sewing the upper pockets
- Fold the side edges of the upper pocket piece ¼” to the WS and press
- With RST fold the piece in half so the top and bottom edges align and sew in place
- Turn piece inside out. It should look like a tube.
- Make a mark 7” from each side edge
- On the bottom edge measure and mark 1” and 2” from each edge, and also from the marks you made in previous step
- Pleat the fabric between the marks you made in previous step and sew in place using 1/8” SA
- On the front piece, mark the positioning of the upper pocket -
- Mark a horizontal line 3” from the top
- Mark another horizontal line 4.5” beneath the previous line
- Mark a vertical line 1” and 5” from each side
- Place the pocket piece on the markings, and sew in place using 1/8” SA
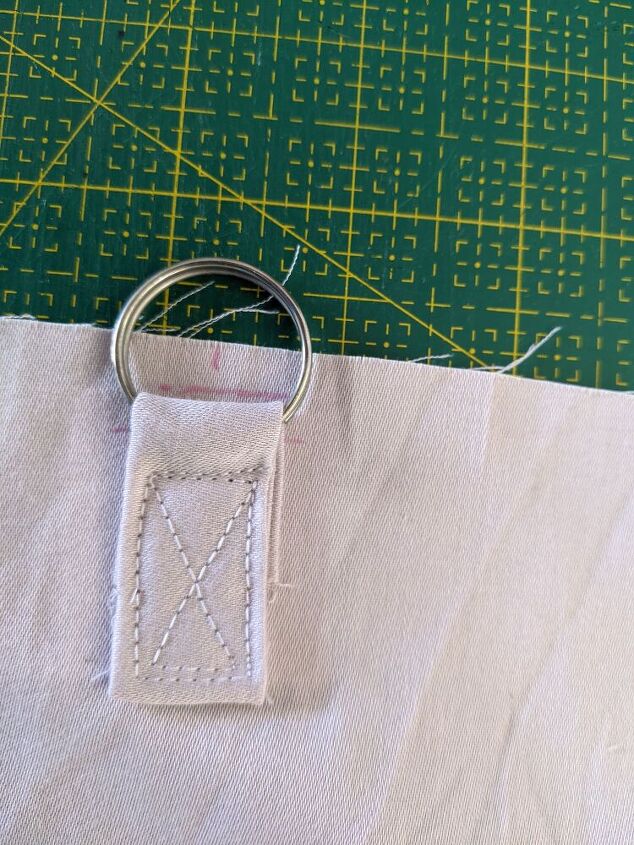
Sewing the hanging straps
- Take two of the 3” by 3” squares you cut from the wide pockets. Fold in half and press
- Open the fold and now fold each edge to that mark and then fold again. You should have a strap 3” long and ¾” wide
- Slid an O-ring on each strap and fold the strap in half, enclosing the ring
- Take the back piece, find the center and mark where you want your straps. Mark the position of the straps on the RS and the WS of the fabric
- Mark ¼” down from the top and fuse the 1.5” by 1.5” interfacing pieces to the WS of the back piece.
- On the RS, pin the straps ¼” down from the top and sew in place. I like to make an X for extra reinforcement. In order to get as close to the O ring as possible, I use the zipper foot on my sewing machine
- Don’t bother to make it look perfect, this piece is going to be facing the wall…
Finishing
- Press well the front piece and the back piece.
- Erase all the markings. I’m using heat erasable markers, so the markings are erased while I press.
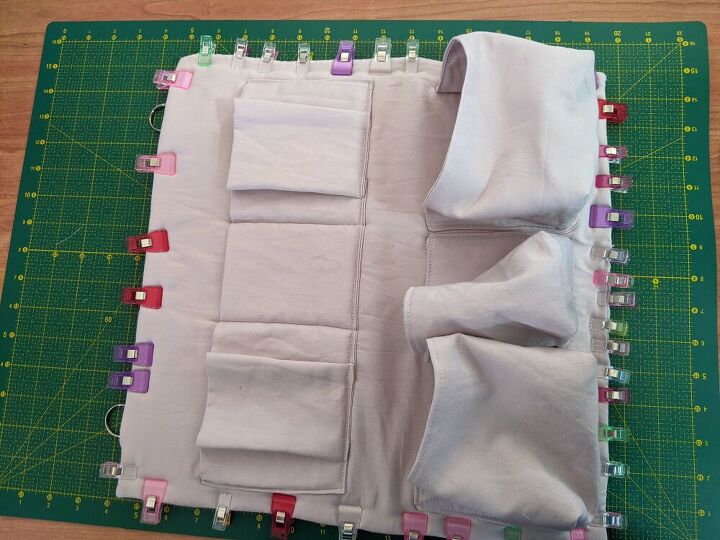
- Pin both pieces RST and sew around leaving an opening of about 5” at the bottom.
- Clip the corners and turn inside out, make sure you pop out the corners
- With your fingers, smooth out the seam and clip all around. I like to let the fabric relax for at least an hour before I topstitch
- Topstitch around while closing the opening using 1/8” SA
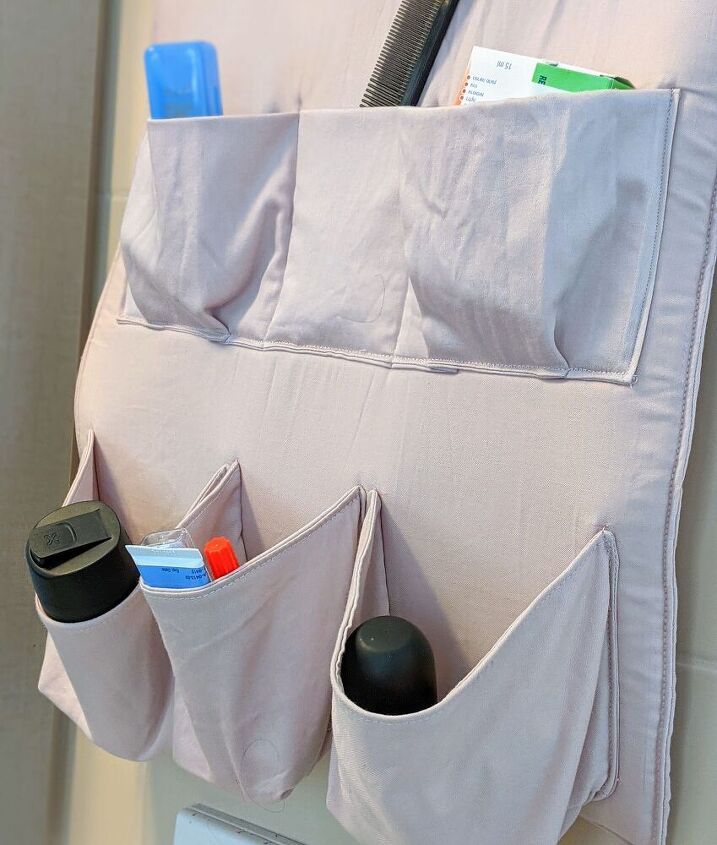
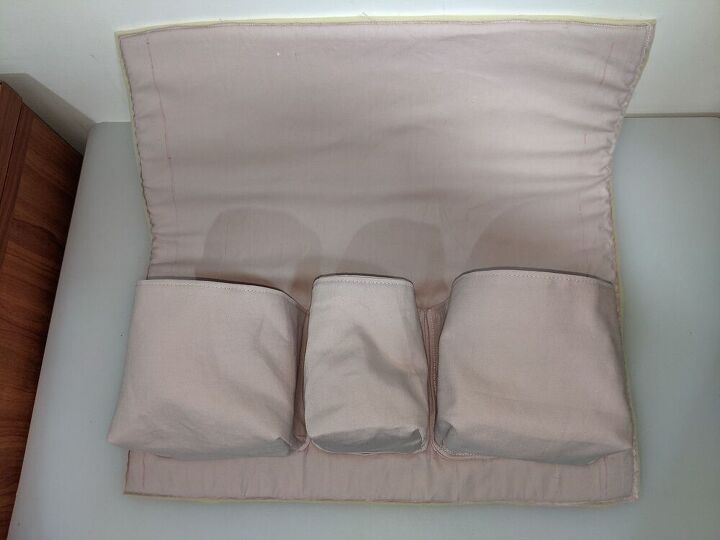
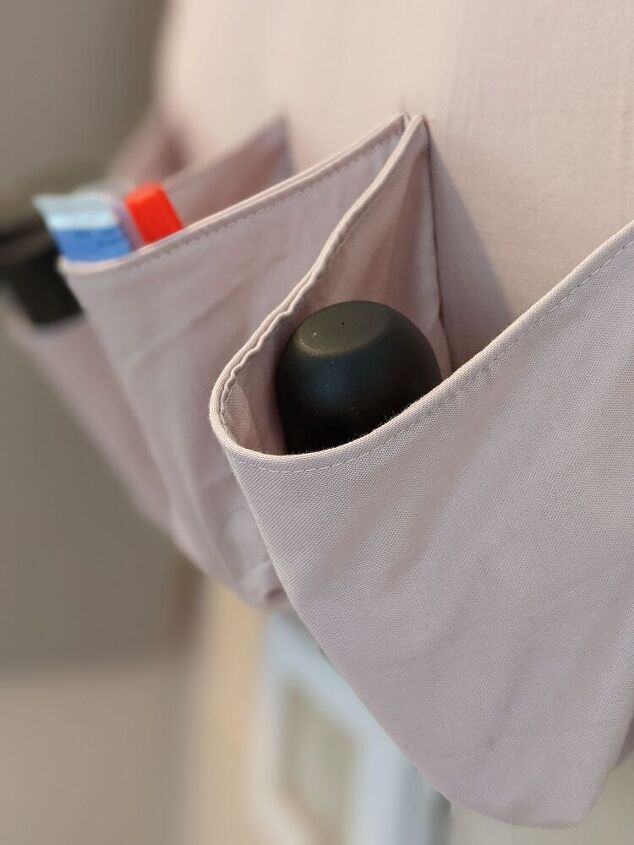
The organizer is ready, now hang it in place and fill it with your stuff …
Resources for this project:
See all materials


Comments
Join the conversation
-
'So nice to see a fabric project that uses proper techniques such as pressing, and top stitching, instead of just slap-dash hot glueing.


Frequently asked questions
Have a question about this project?
Is your fabric 100% cotton, and did you pre-shrink it?