


Soup Can To DIY Makeup Brush Holder
Cleaned metal soup cans are great to repurpose to help you organize your home. Making them an easy and cost-effective way to organize any cluttered space. Doing this DIY makeup brush holder will clear up your vanity and make your makeup area more attractive to others who use the bathroom. They can easily be stored in a deep drawer if you do not want them out.
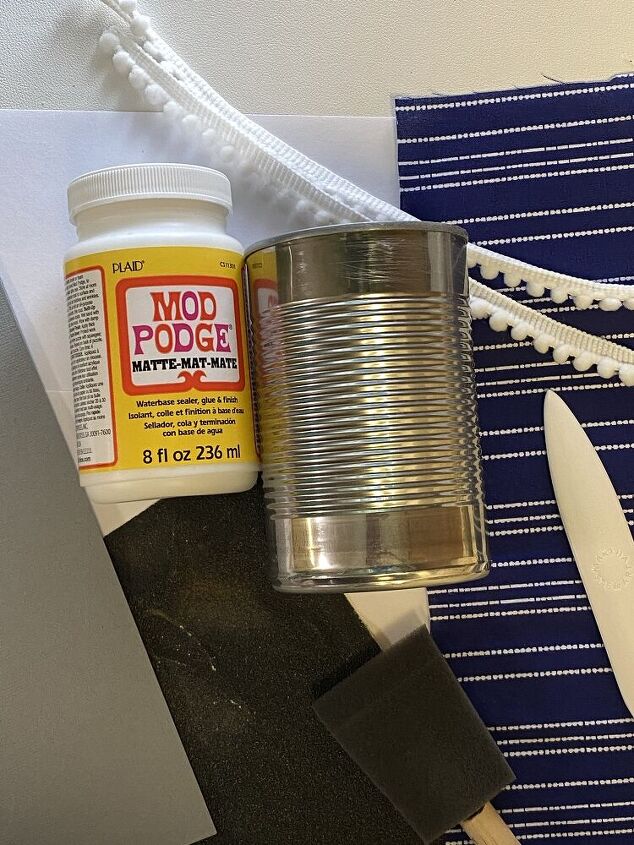
Here are the supplies needed for this upcycling project. This is the before picture.
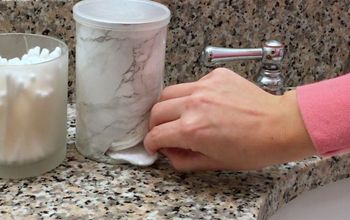
Remove the label around the outside of the can. Make sure you remove as much of the paper as possible. The glue still works if there is a little left on the can.
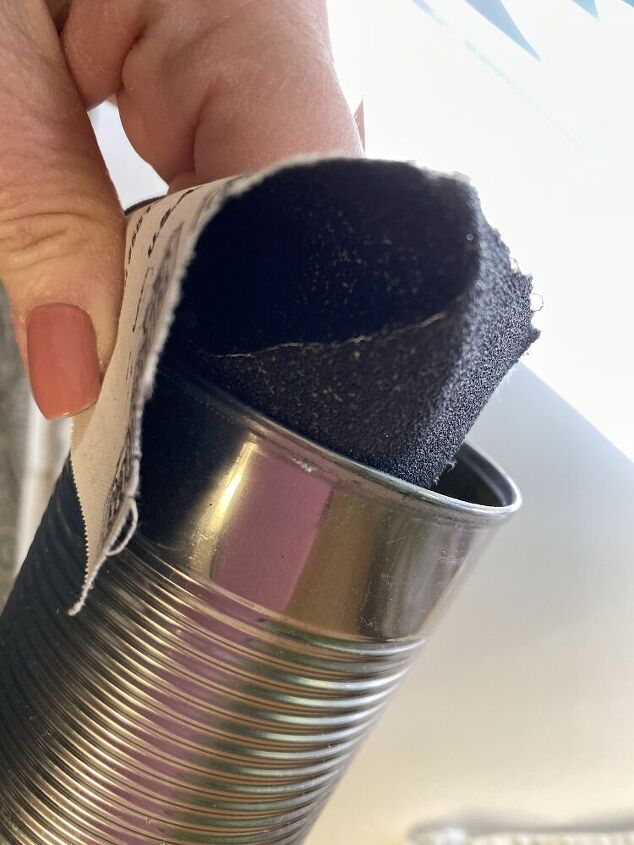
Clean can and let dry completely. Then, start by using a heavy-duty emery cloth that removes any metals inside around the edges to help smooth the bumps of the torn metal that was pulled when opening by a can opener. Rub hard and smooth out the inside edge.
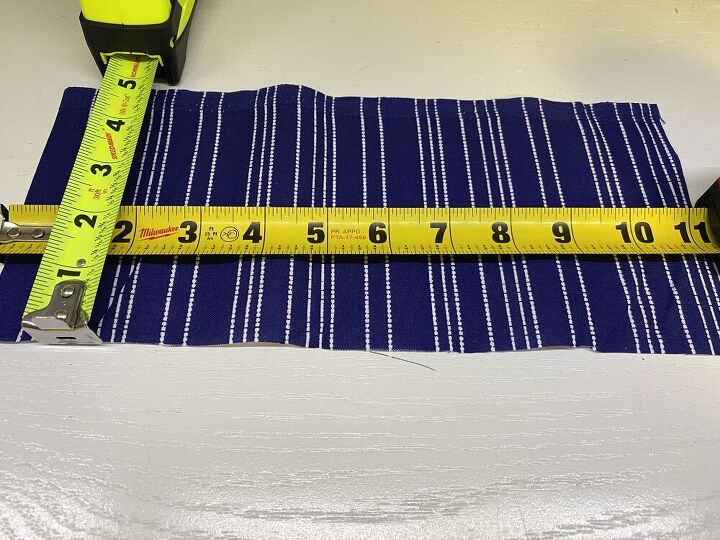
Cut the fabric to size and add extra fabric about ¼ inch on the top and bottom so you can bend the fabric into the can’s top and bottom.
Using the Mod Podge and a disposable brush, add the glue to the outside of the can. Make sure you allow ¼ inch into the top and ¼ inch to the bottom so you can glue that later. Paint the glue on the soup can and add the fabric. (watch the video for this part)
Place the fabric evenly on the glue. For the top and bottom, be sure to add enough glue so it will sit and lay flat inside and bottom of the soup can. Cut slits into the fabric to help it lay flat on the edge of the metal and will help the can stand level. Let sit for 1 hour on a raised surface.
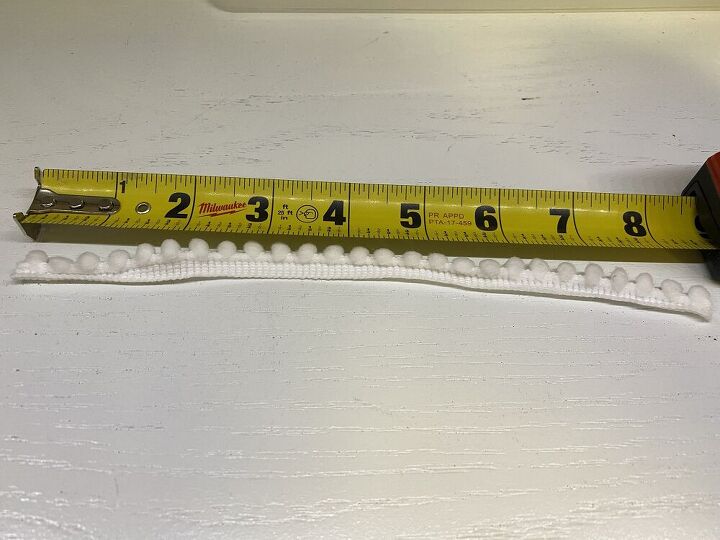
The next day, cut the ribbon fabric with cotton balls to 9 ½ inches long. Using the hot glue gun, add it to the top edge of the can over the folded blue fabric.
Now add more Mod Podge glue to the outside of the fabric and ribbon. Fully cover it to make a fine layer over the fabric. Add a bit to the top of the ribbon inside the soup can, too, for extra support. Let sit to dry on a few sticks, so it doesn’t stick to the table when drying.
Cut out the rectangle gray cardstock (Rectangle card-stock paper in gray for inside size 10 in long x 4 ¼ in high) and card-stock paper circle 2 ⅜ in diameter for the bottom. I used the Cricut Maker to do this; you can use your own method. These are for the inside and the bottom of the DIY makeup brush holder. Set aside.
Add extra Mod Podge with a disposable brush to the inside and bottom of the can, and add the gray cardstock rectangle and gray circle bottom. Let dry overnight.
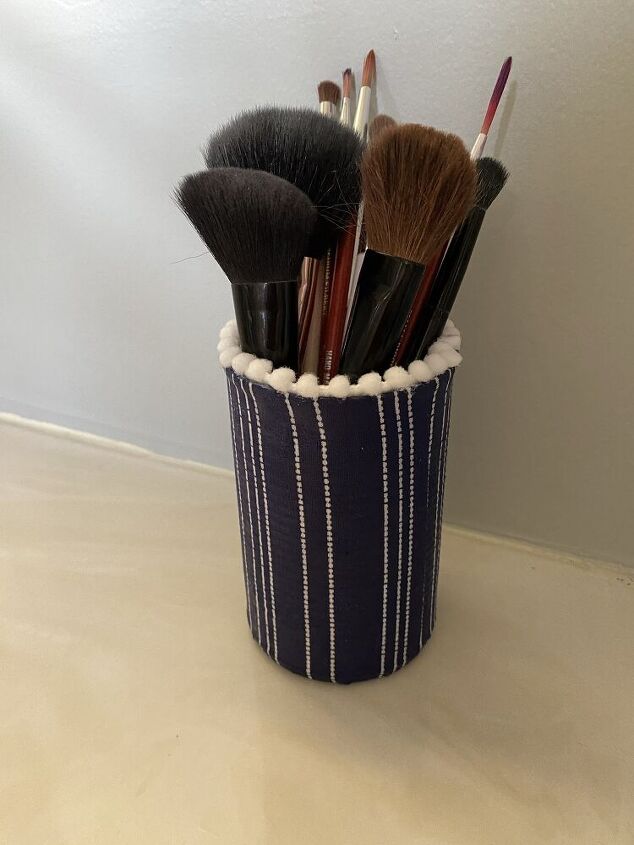
That’s it! Here’s the finished DIY Makeup Brush Holder. What do you think? It is very stiff, and the fabric held up well. If you find that your makeup brushes are short in this can, you can easily add paper towels to the inside of the can, and it will prop up the brushes so you can grab them easily.
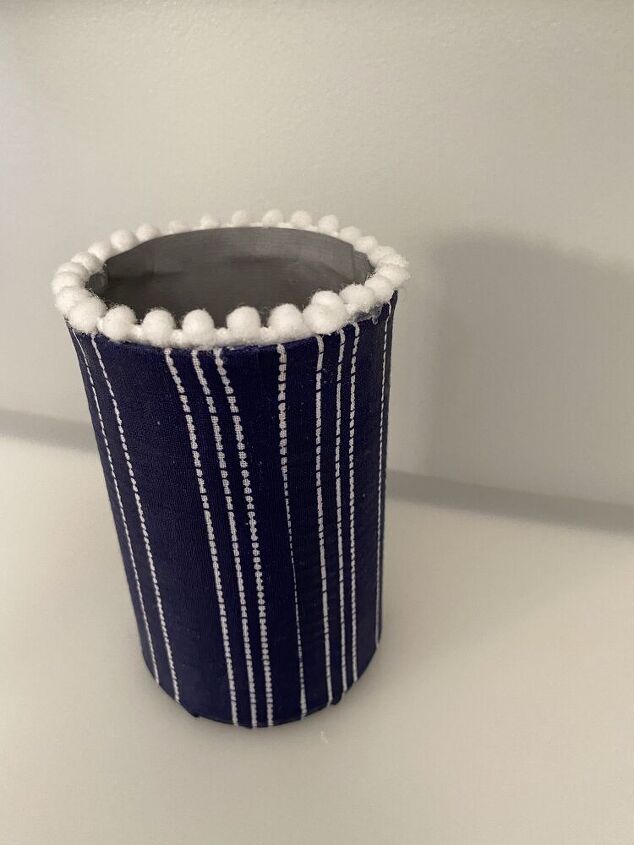
Here's a photo without anything in it.
OTHER WAYS TO REPURPOSE SOUP CANS?
Kitchen utensil organizer
Make luminaries
Plant herbs and flowers in them
Use them to make holiday bins for gifts
Pen holders
Dried paintbrush holder
Scissors holder
Resources for this project:
See all materials


Comments
Join the conversation
-
I also did this with a large tomato juice can to match the soup cans. I use the large juice can to store my curling iron when not In use Or to place hot curling to cool and store.
-
Great video tutorial!! Years ago I used to recover cans with wallpaper from wallpaper sample books. You gave me new ideas! Thanks! Now all I need is time to make them!


Frequently asked questions
Have a question about this project?