


Painting Bathroom Cabinets and New Hardware for a Major Facelift!
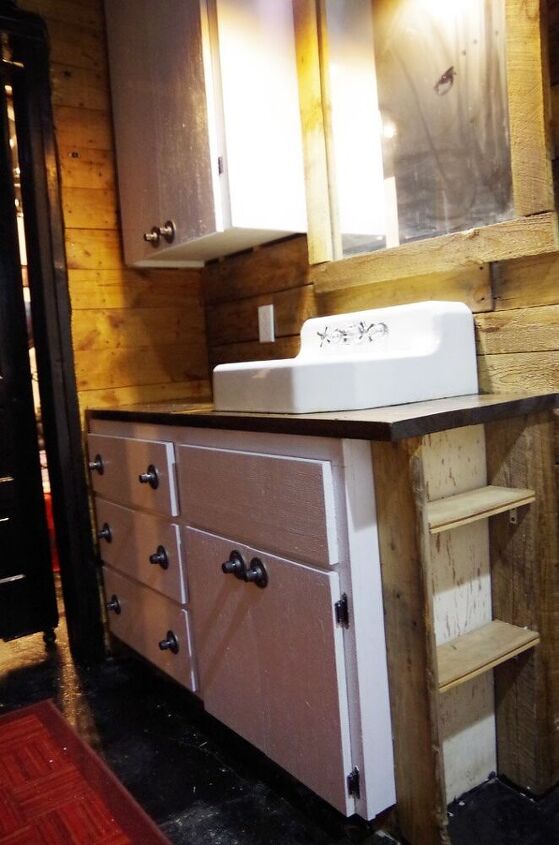
My Grandpa built these bathroom cabinets for their main floor bathroom back in the 1950s when they first got REAL indoor plumbing. (Yes I even have a picture of their old bathroom!) He really built furniture to last! I was only able to save about half of the kitchen he and my Grandma built and cussed the entire time… Those kitchen cabinets would have HELD this house up during a tornado lol. Lucky for me though I was able to save some of them for the kitchen down here and these bathroom cabinets too. I installed them a few years back and built an oak countertop too.
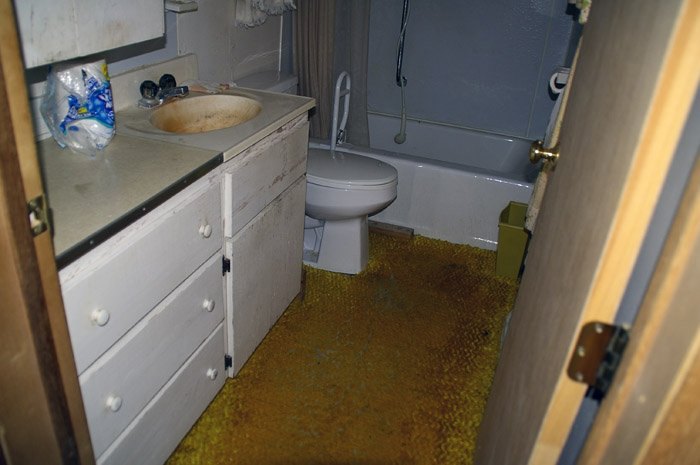
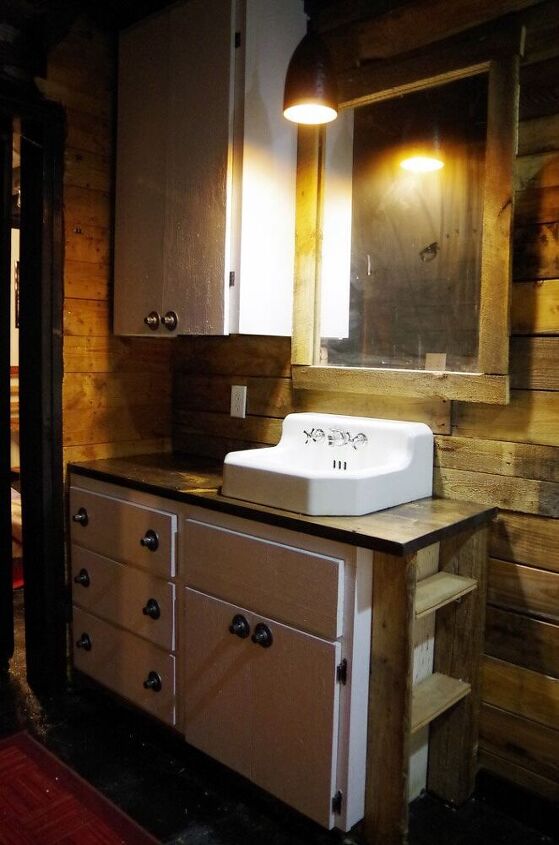
The cool old sink I found out in a shed on the property and am still just totally in love with it. With our progress down here the last job for this bathroom was to give these old bathroom cabinets a facelift.
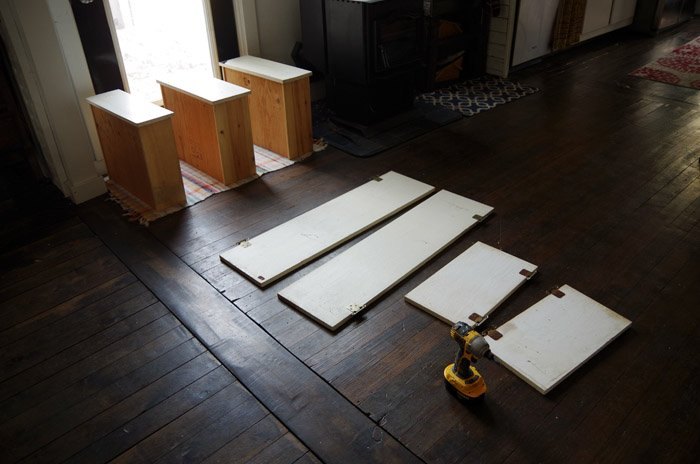
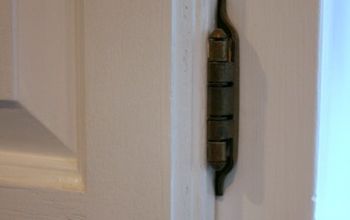
I uninstalled the doors, removed the drawers and removed the old hinges on two of the doors and all of the old hardware.
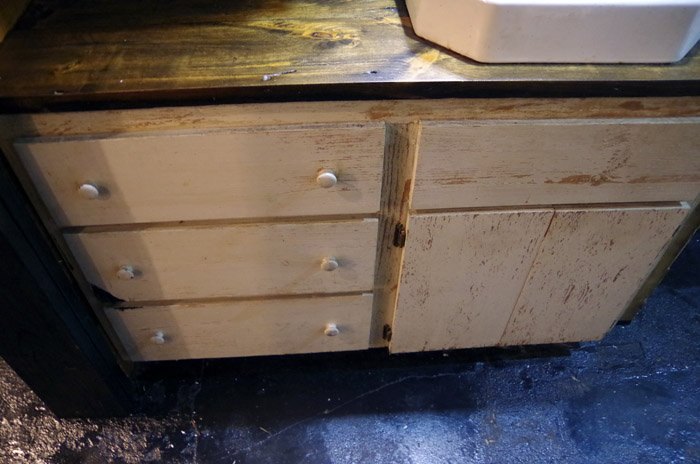
The old hinges on the doors beneath the sink were REALLY rusted on… SO, instead of taking an angle grinder to them (because they still worked fine) I decided to leave them be.
Now, moving on to painting the bathroom cabinets.
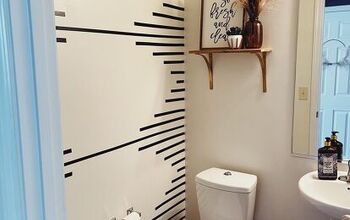
I have some very different plans for our kitchen cabinets down here but with the pallet walls in this bathroom I decided white was the best choice to help keep this room as bright as possible. (It is a windowless, basement, bathroom after all.)
The doors, drawer fronts and boxes I scraped down and cleaned thoroughly but with my paint choice I didn’t feel I needed to strip them. (I have no shame in spending extra money for something that will last.)
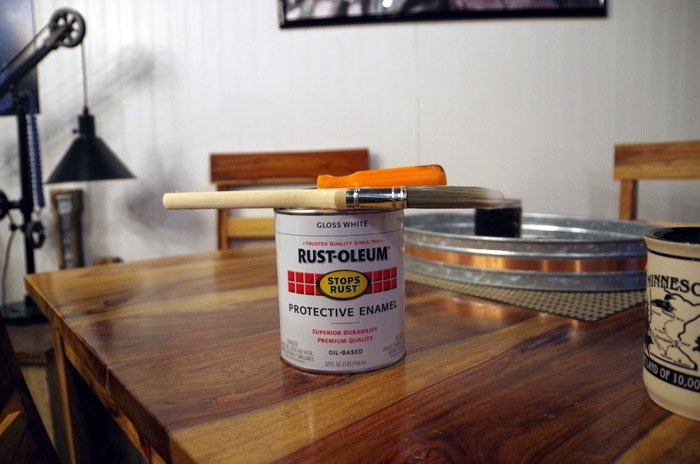
Rustoleum is my favorite paint for this type of situation.
I purchased a quart of high gloss in white and got to work.

Rustoleum (like any oil based paint) takes some getting used to.
Its best used at room temperature and with some patience. Two coats (at least) is best and trying not to put too much on is also best for getting a smooth finish.
Because of how thick oil based paints are they’re a bit like painting with glue… But they have a way of also self leveling themselves which helps!
And they also don’t require a sealer of any kind so I love them for wet environments like bathroom cabinets. And with this dark bathroom I won’t have to worry about the white paint yellowing from sunlight…
Do these cabinets still look old and rough?
Yes.They.Do.Could I have totally avoided that by completely sanding them down smooth? Absolutely and I almost did that but I’m glad I didn’t.
I didn’t want these cabinets to look brand new.
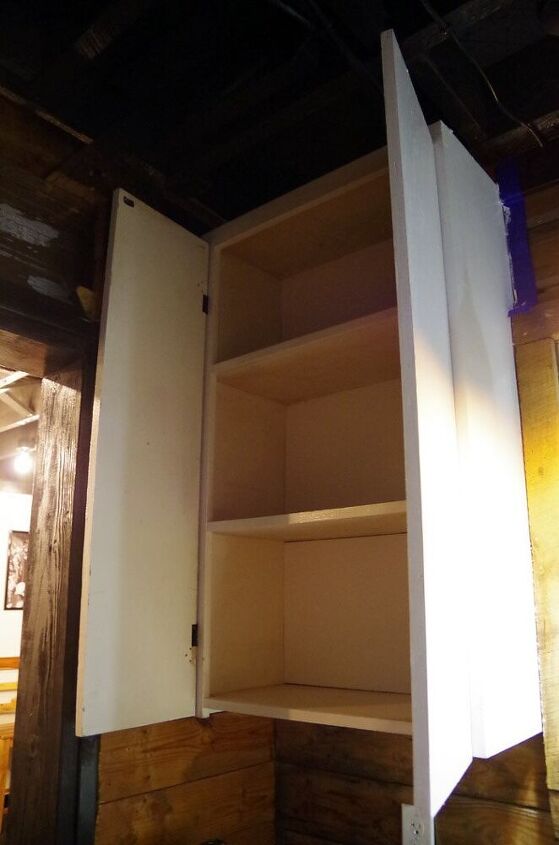
When I went to put the new hinges on the two big doors I stayed well away from where the old hinges had been. For the first time in years, the cabinet doors are level and even! I also cheated with little door magnets too to keep them closed because: Why not?
I had one last thing to do before we could start using the bathroom cabinets again.
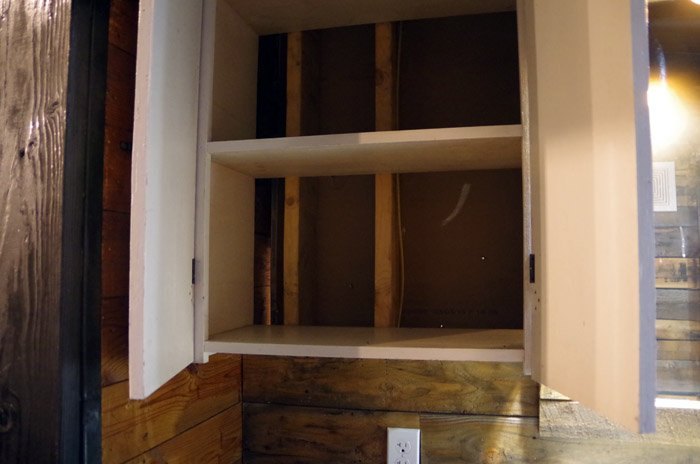
New cabinet boxes nowadays come with backs lol but my Grandpa built his cabinets in place like I did with my own kitchen cabinets which means there’s no reason to add a back when there’s a wall behind them!
Well there is no wall behind these cabinets…
Unfortunately I installed them BEFORE I covered these bathroom walls with pallet wood.
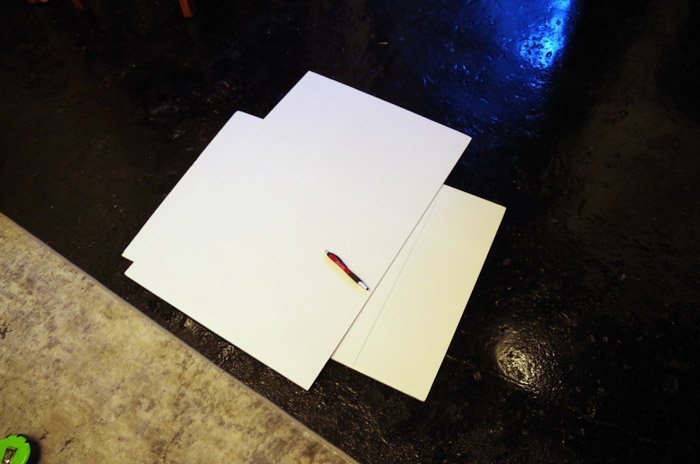
I ran to Walmart and grabbed some thick poster board. It made a nice (and very easy) solution to the problem. I simply cut it out with a utility knife and put them in place with double sided tape.
At first I felt lazy for using poster board…
What I “should” have done was climb up into our garage rafters, find a piece of scrap board and carefully cut my cabinet backs with a jigsaw, sand them down and then tack them into place with screws… Then fill the screw holes with wood putty, sand them down again and then paint them.
That sounds like a lot of work when poster board will work just fine lol.
The poster board also has the added benefit of being removable which I totally plan to do someday so I can mod podge a pretty fun fabric to them to give some life to the inside of these old bathroom cabinets!
Just one more thing: Door and drawer hardware.
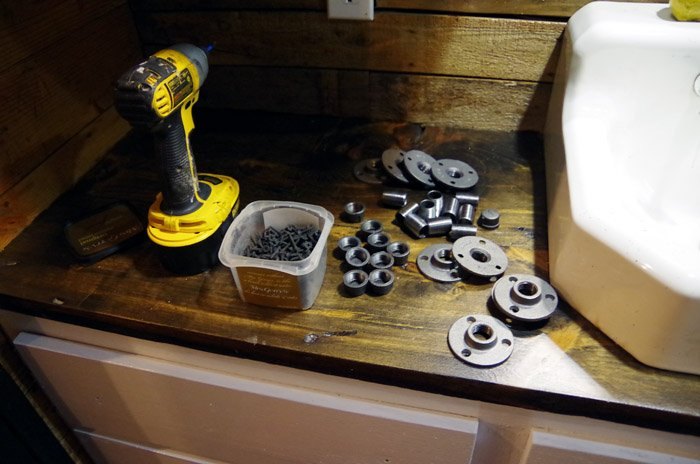
With the running theme of using black plumbing pipe in every possible way throughout the basement it just made sense to me to make little pulls out of it too.
I purchased 20 packs of 1/2″ caps, nipples and floor flanges on Amazon because we’re planning on using them on the kitchen cabinets too.
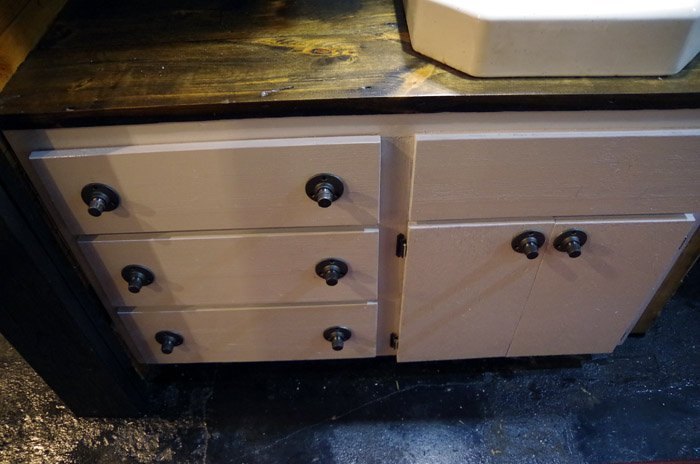
I put all the floor flanges on first and then just screwed on all the nipples and caps… I am not oblivious to how dirty the above sentence just sounded… I swear twelve year old boys named plumbing parts lol
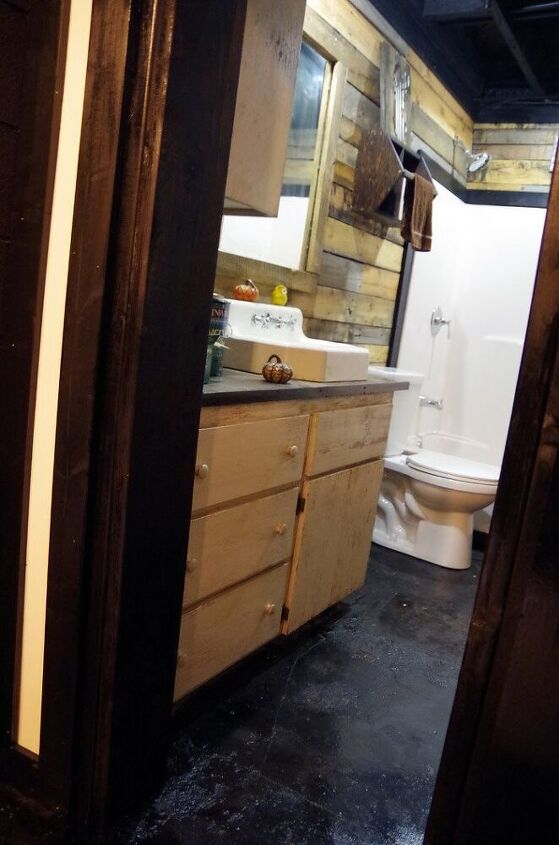
I think our bathroom cabinets look so great! And they work great too!
Up Next: Accessories and The Reveal!
Resources for this project:


Comments
Join the conversation
-
wow I LOVE THIS I found a sink like that at the dump and put it in my she shed . It was longer with a drainboard and backsplash and I know it had to be for a kitchen ,so used it in my tiny kitchen in my she shed . I had 1 like it but bigger in my first house and sink basin is shallow , but love it , old is all new again and you proved it GREAT JOB
-
Even though this posting is a year old, the principle is very basic & the outcome is so cute! It’s so nice when DIY projects like this are shared so the possibilities of using what you have shows how you can give things a second life & be proud because you also were saving some cherished memories in the hard work your grandfather did! Kudos to job well done! 👍️♥️


Frequently asked questions
Have a question about this project?