


Diva Vanity Makeover

This one is for the Hollywood Lovers and those of us who are still drawn to the original Hollywood Starlets.
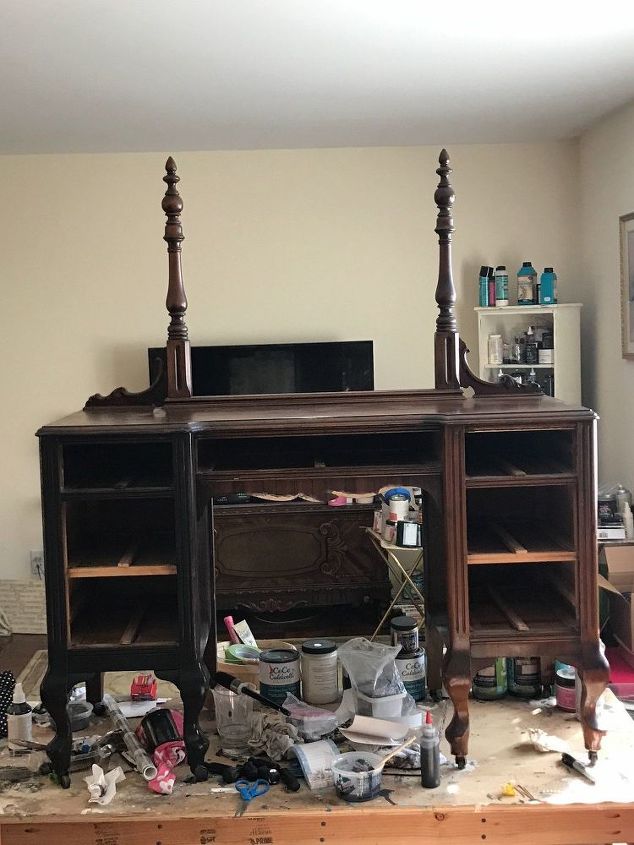
I forgot to take a true "before" shot.. so this is as good as it gets. It was screaming for glam.
❤️
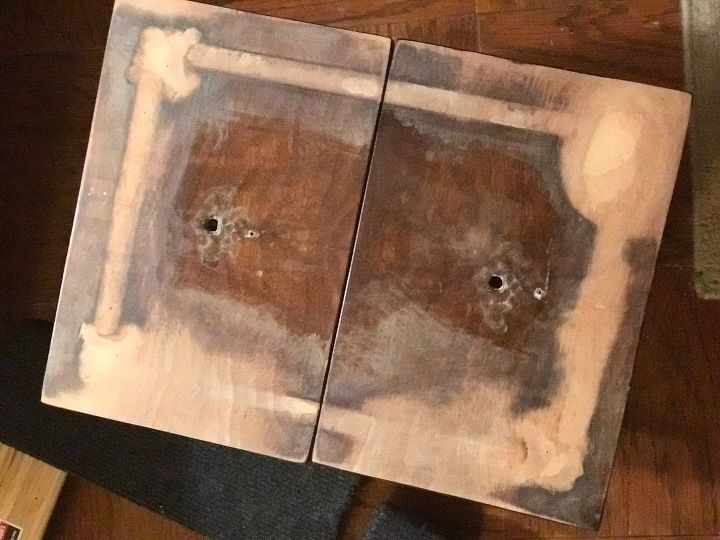
In order to get a smooth, flat surface, I fill the gaps and creases with a simple wood putty and sand it down with my mouse sander. This gets it ready for my decoupaging step. I love the 1gel from this product line because it doesn't give me bubbles and troubles
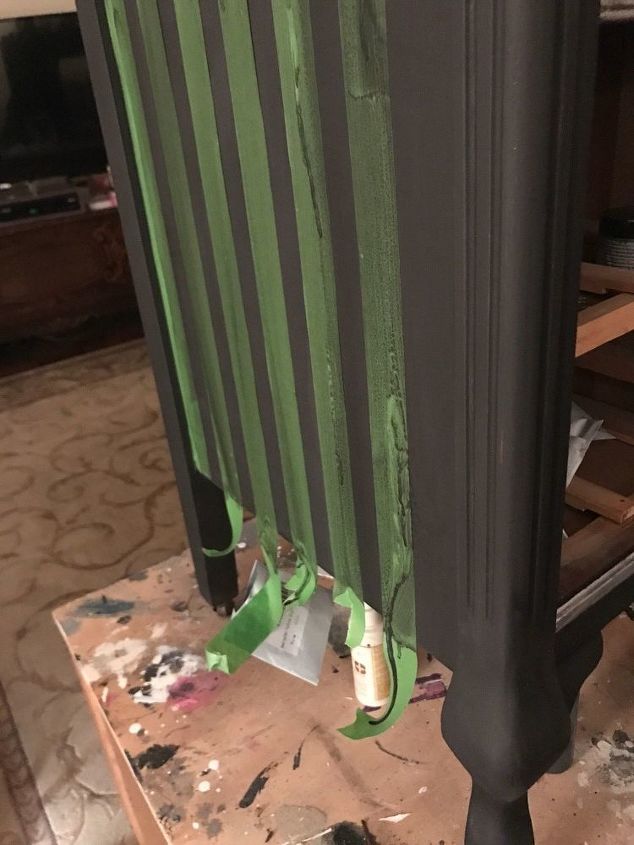
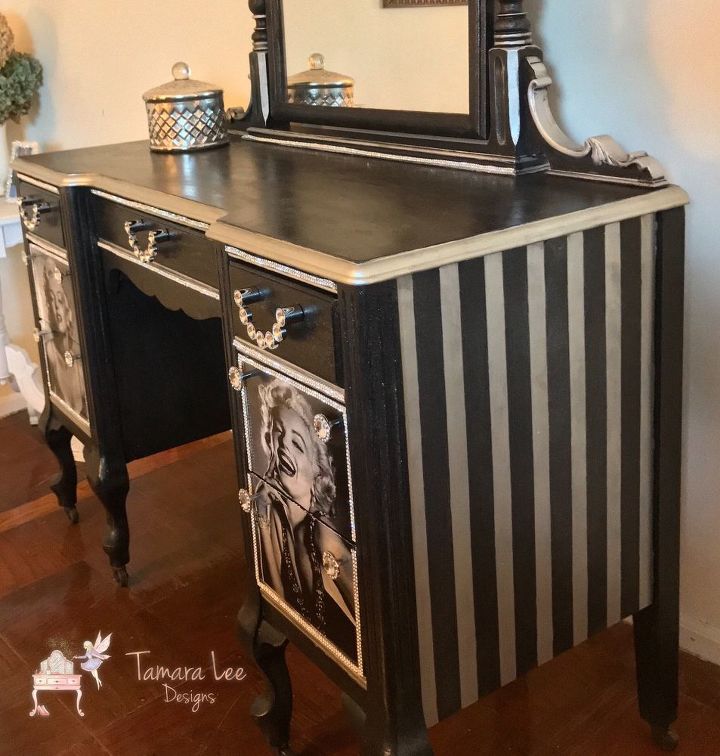
Here's my striping step. Frog Tape is my best friend. Dont forget to seal your lines before you stripe!
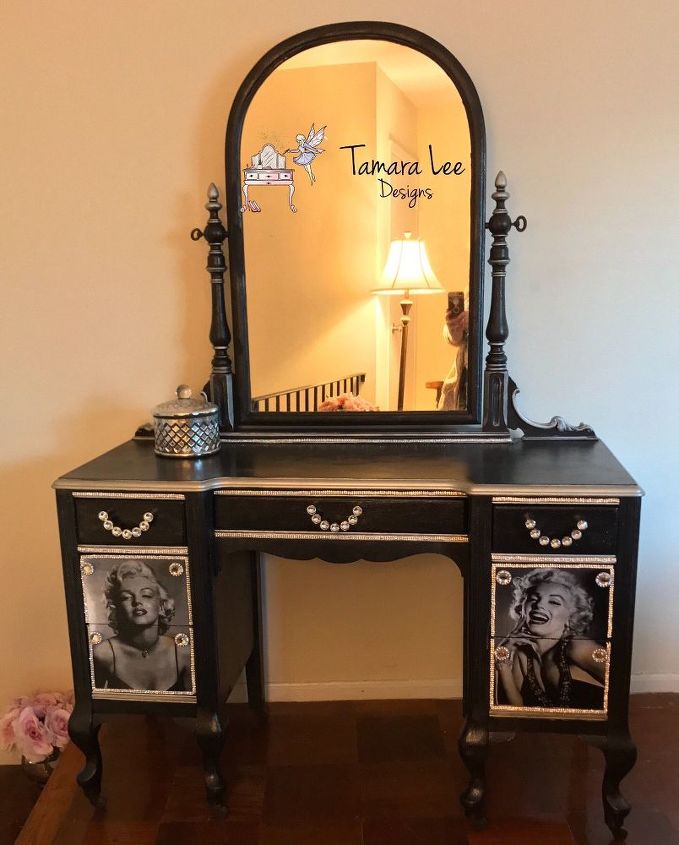
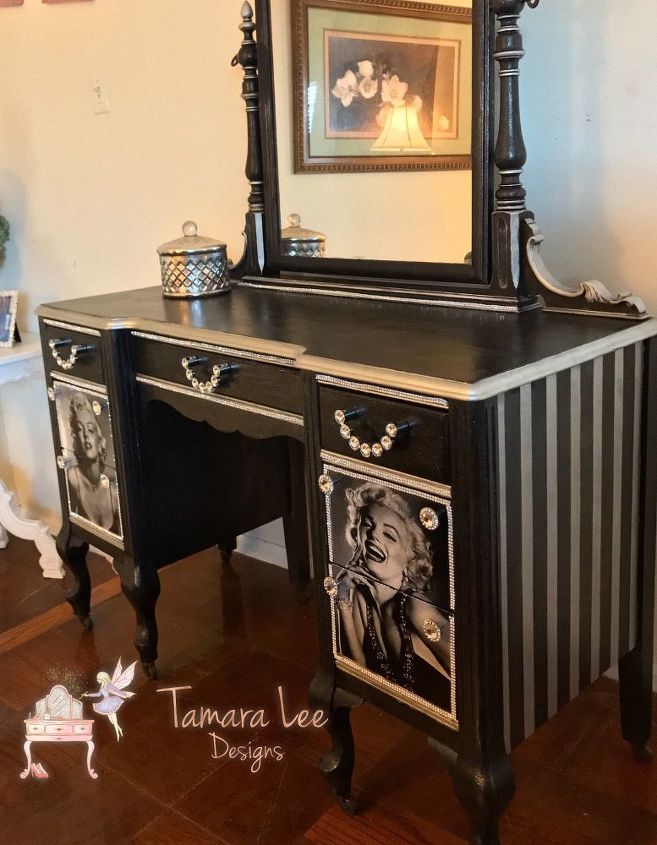
And here are some shots of her all glammed and blinged.
I added some silver sprinkles to my clear coat- so when you see her up close she shimmers.
Here are a few diffrent angles. You can see some of her shimmer in this shot.
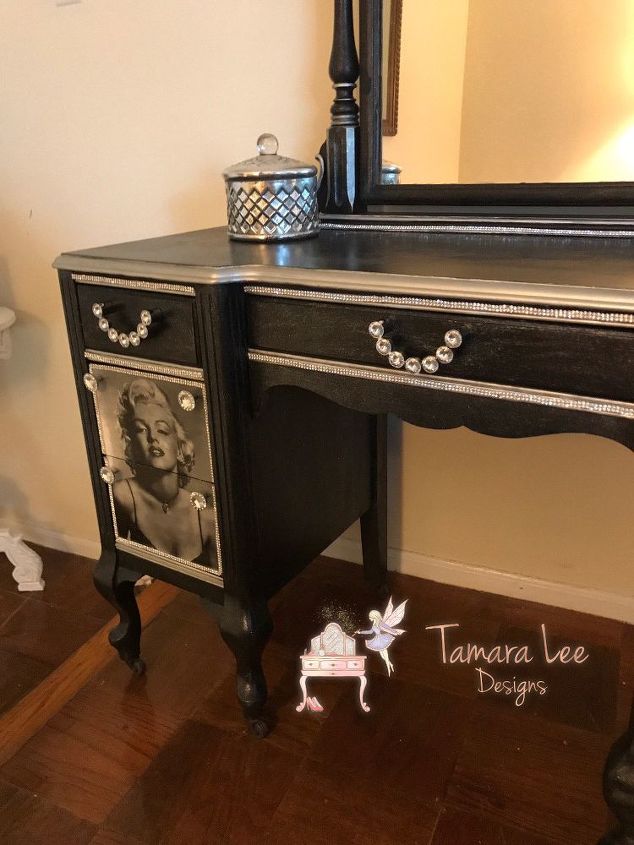
The Bling knobs really made the drawers POP and scream "I am soooo glamorous!!!"

There are rows of crystals around marilyn and at the base of the mirror. Can you see them?
Thanks for following. You can find more shots of my work on my Facebook Page: Tamara Lee Designs. Give me a like And follow!! I'm also on Instagram, Twitter and Etsy. Hope to see you soon. Cheers to the divas and glam gals out there!
Tammy
Comments
Join the conversation
-
Who doesn't like vintage Hollywood! The glitz, the glamour, the sparkle, the glimmer. And you got it all. Great job. Love the drawer pulls.
-
Very glam!! It looks totally different now and I love it


Frequently asked questions
Have a question about this project?