


Old Barn Milk Paint + Antique Vanity

2 Materials
It's easy to give new life to worn antique pieces with the right products! I mixed up a new color just for this piece and loved it! Keep reading and follow me for more projects and upcycles!

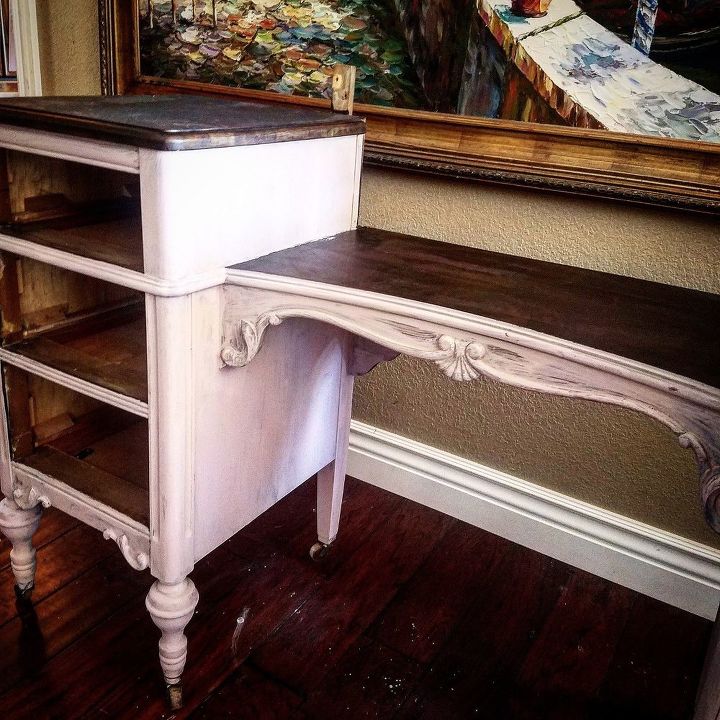
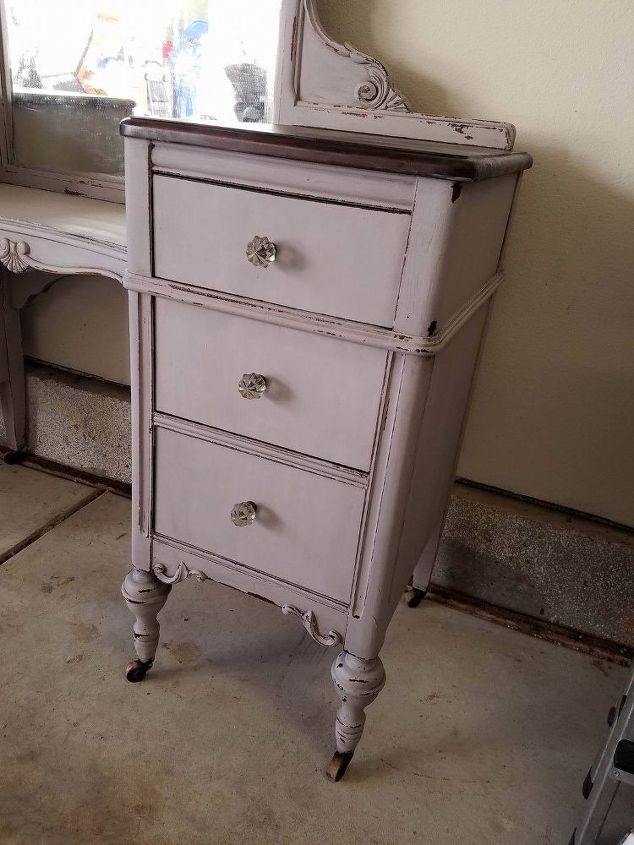
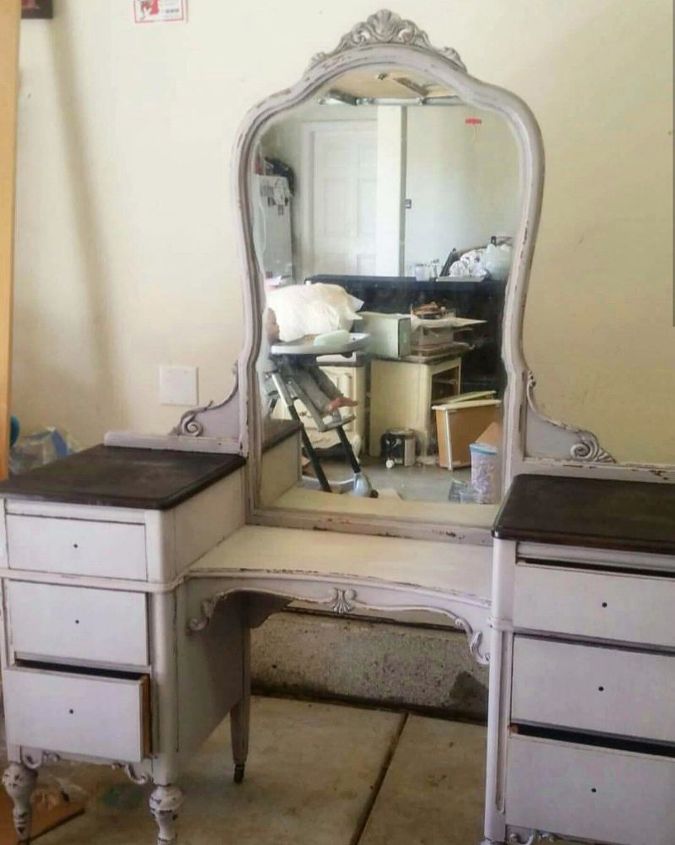
I've been busy painting my life away getting a house full of furniture and decor items painted for my in laws home in Iceland. My sister in law, Esther, has always loved my painted pieces and asked if I'd paint an antique head board she found at a local antiques fair. I course I said yes! While painting the headboard more projects for her big move to Iceland came up and I decided to surprise Esther with a special piece curated just for her! I got this amazing Sligh antique vanity from my friend Cortney. She is so talented let me tell you! She has some absolutely amazing antiques also! Lucky me...and Esther, I think this vanity is a beauty!!
Esther had asked to have the vanity painted chippy pink... I was going to paint it in Petal, but really didn't think that it suited it. I found this lavender color I had mixed up a while back and decided I'd give it a try....
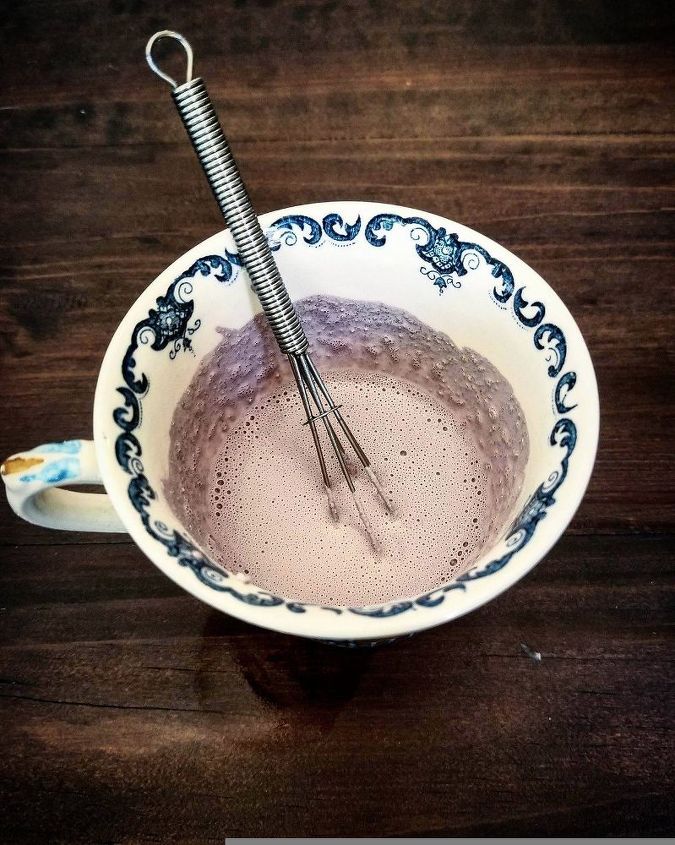
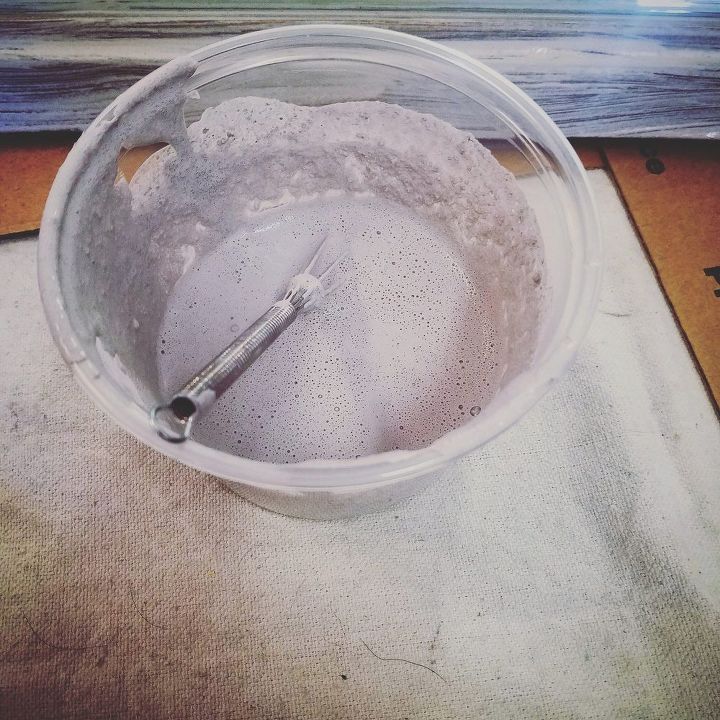
I sanded and stained the tops using our new All in One Stain + Sealer (I'll post more on that later, it's truly AMAZING)!! I poured a little more than half of the mixed Milk Paint into a separate container and added Bonding Creme to it. I didn't want the entire piece to chip, just the edges and mirror. I'm not loving the color at this point so I decided to sleep on it and see how I felt in the am.

Like my helper?! This is my daughter Benedikta, she loves to help me paint. We discussed the color situation and being my Executive Design Assistant, I consult with Bea on all design related questions I have. She agreed it had to go... so I mixed up a new lighter color with my fingers crossed. Otherwise the vanity was just going to end up gray. I would paint all the things gray if I could! 😄
I'm loving this! I actually might just add it to our collection. We will see what the future holds!
I love the new "My Story" feature on Instagram and post a lot of short clips of my current projects there. You can see how much lighter and neutral this shade of purple is. I love it. I finished applying my second coat and got on to my favorite part.... distressing! Which is really easy when using Milk Paint since it does the work for you. I just gently scrape away the flaking and chipping paint with a scraper and add a few of my own details to blend it all in. I lightly sand with a medium or fine grit sanding block to bring out the buttery soft finish that only Milk Paint has. It feels like those super, velvety-soft blankets you want to live in when it's really cold outside!
Love it! I had to snap a quick pic of it before I sealed it up. I decided to use our Oil + Wax because I wanted something that could take makeup spills and repel stains. A few of my favorite things about our Oil + Wax? It's durable, long lasting, non toxic, organic, water and stain resistant. It's also easy to touch up and repair dents or scratches. NO more reapplying your wax finish every six months this is a one time application.
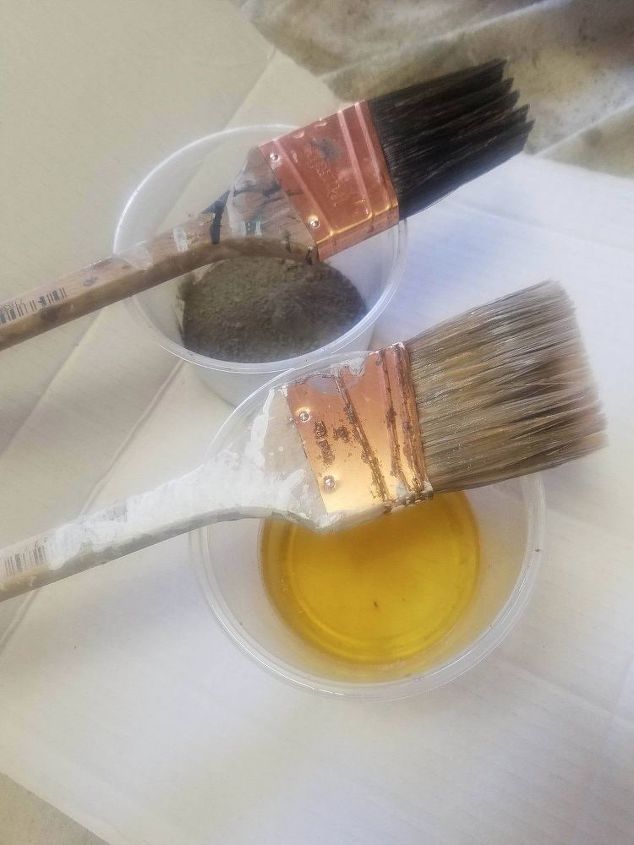
This is the second time I've used our Oil + Wax finish along with DRY Milk Paint powder. You do not want to mix this powder into a paint. I used Silo with a dash of Silhouette in it to create a darker gray powder that I applied right over the Oil + Wax.
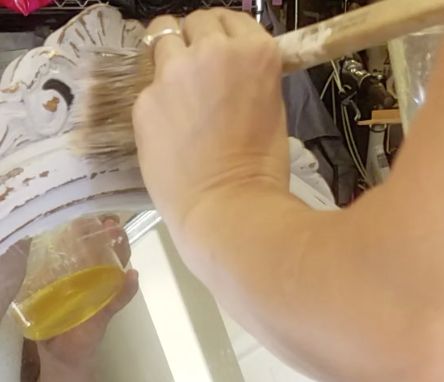
When applying Oil + Wax it's best to use an old brush or a cheap chip brush. I pour the Oil + Wax into a bowl for ease of use and brush it on generously. Since I'm using Milk Paint powder to create an aged look I worked in sections.
Again, this is Dry Milk Paint powder I use this the same as you would an aging dust. I DID NOT mix this Milk Paint with water. I applied it in powder form directly over the Oil Wax. Now I just let this sit for about 15-20 minutes to allow the Oil + Wax to absorb!
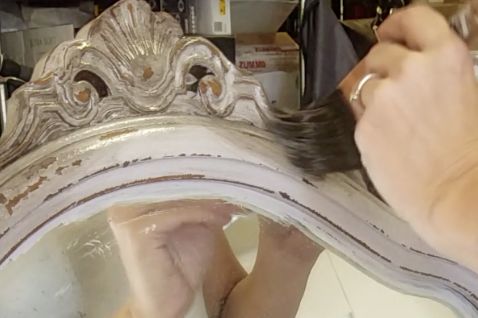
I waited about 15 minutes because it was so hot outside. I gently removed the excess Oil + Wax with a lint free cloth and voila!!! All done. Forever. Seriously that's it. Once the Oil + Wax is cured it creates a durable water and stain resistant finish. It even repels ink, grape juice (wine guys.. that's spilled WINE) just wipe it up! I love it you can use this stuff on your hardwood floors too it's THAT good!
{
"id": "3577484",
"alt": "",
"title": "",
"video_link": "https://www.youtube.com/embed/IlZOwB854DU",
"youtube_video_id": "IlZOwB854DU"
}
{
"width": 634,
"height": 357,
"showRelated": true
}
Hopefully Esther loves it because it's on the way to Iceland now!!! Just look how beautifully these legs chipped!!! I seriously wanted to keep this one! I'll have a video tutorial up soon showing step by step how to use our Oil + Wax and I'll be sure to share it here on Hometalk.
Comments
Join the conversation
47 of 32 comments
-
Gorgeous!
-
A beautiful finish, this looks adorable.


Frequently asked questions
Have a question about this project?