


Vanity Makeover!

2 Materials
$30
8 Hours
Medium
I have an apology to make. Last spring I posted my bathroom reveal and never followed up with how I redid our builder grade vanity. I truthfully think I was just burnt out after this remodel to even think about posting anymore about it.
I started the project in February and didn't finish until mid June. I had the excuse of working full time and doing this makeover by myself on nights and weekends. Let's face it, this 50 something year old doesn't move as fast as I did when I was in my 30's. So all you 30 and 40 something year old DIY'ers....EMBRACE your YOUTH! Because the older you get, that body just may slow down a wee bit when you want to do your projects and you might not finish as quickly as you used to.
Okay, onto the vanity. This is truthfully a pretty easy project. I wanted to change the builder grade vanity into an open shelf vanity. I even felt by opening up the vanity with the shelves even makes the bathroom look a little bigger.
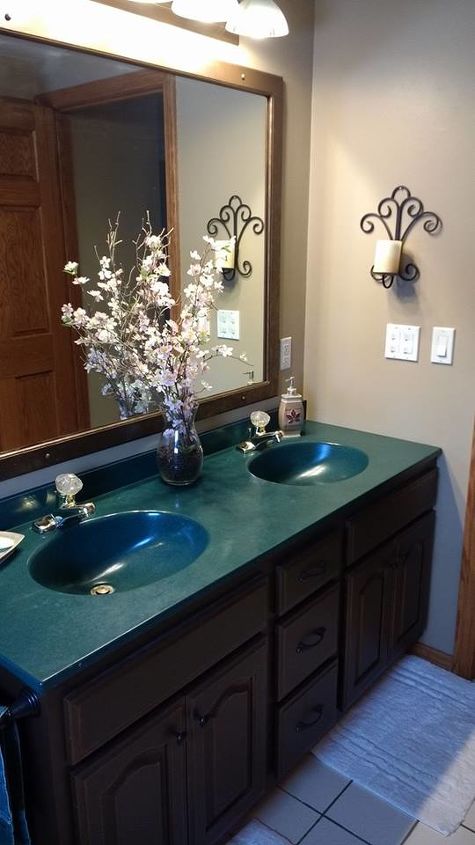
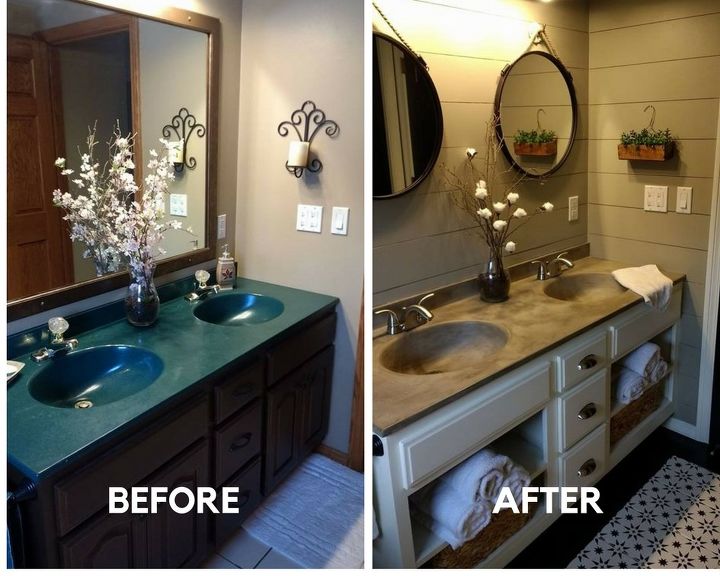
This is my before picture. Years ago I had painted over the honey oak with this dark brown paint and it satisfied me for a quick fix. Enter HGTV and all the makeover madness. So many ideas!!
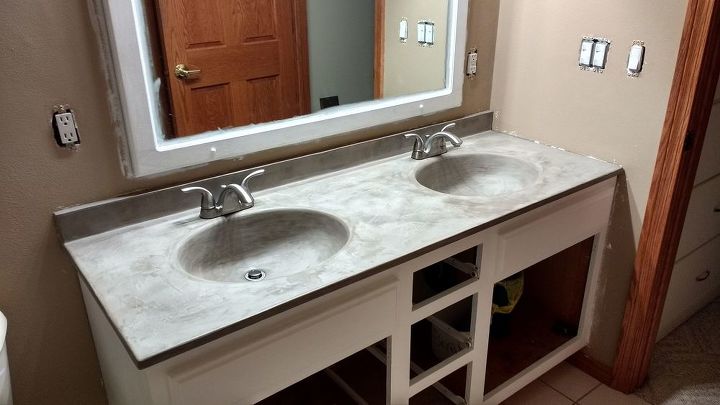
After doing the concrete countertop (you can see my post on how I did this here: http://www.hometalk.com/diy/bathroom/vanities... ) I removed the drawers and doors and cleaned the cabinet with TSP.
I painted the outside of the cabinet with white paint, applying 2 coats. I used Behr paint tinted to Simply White (Benjamin Moore color).
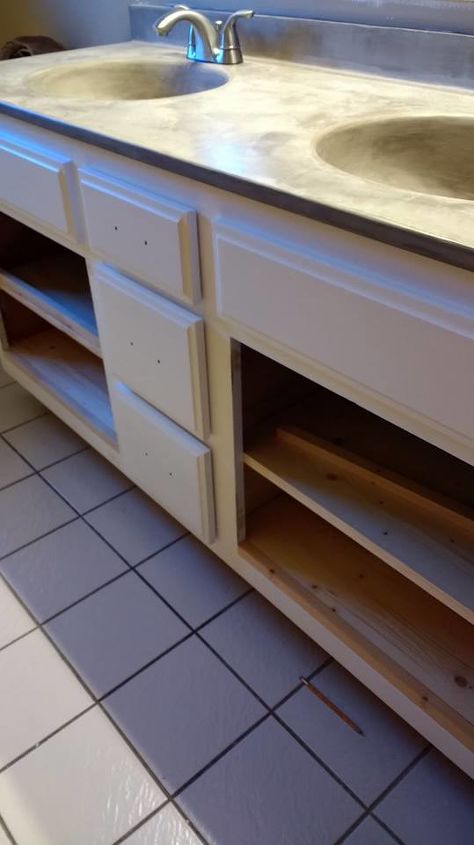
In this picture, I don't know if you can see the tracks for the drawers in the center. I apologize for the poor quality of this picture. These builder grade vanities have these tracks exposed and in order to build my shelves, I needed to create "walls".
Measuring the depth, I cut 4 pieces from a 1 x 8 x 8 pine board that I had in my supply of scrap wood (it pays to be a hoarder sometimes) to enable me to get started on building my walls.
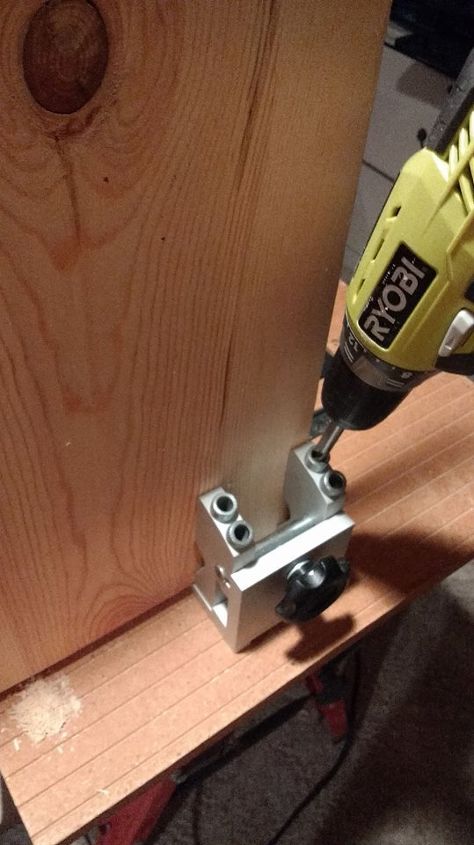
Using my pocket hole tool, I made four holes on each end of the boards to allow me to attach the boards from the inside without making any holes on the outside.
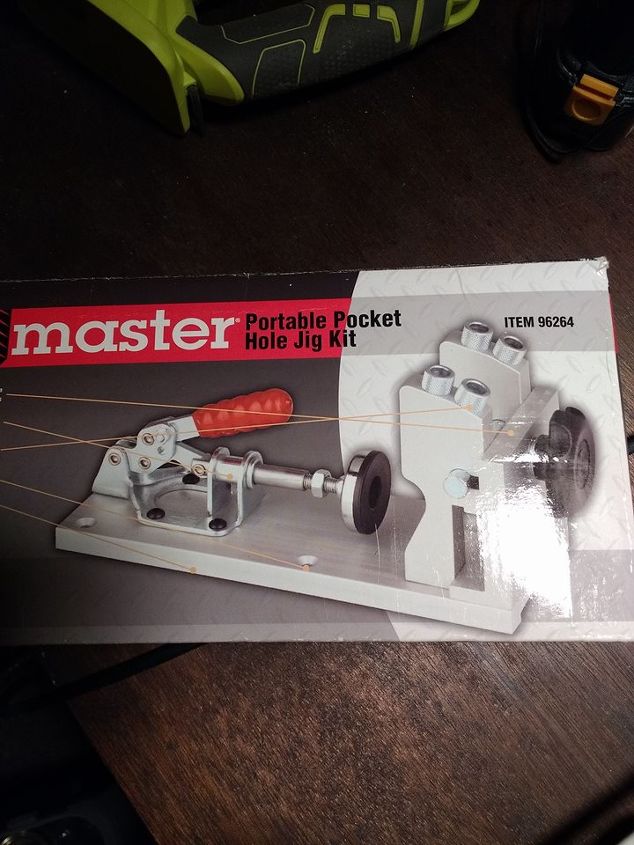
Here is the Pocket hole tool that I have. It is a less expensive version of the Kreg Jig tool that we picked up at Harbor Freight.
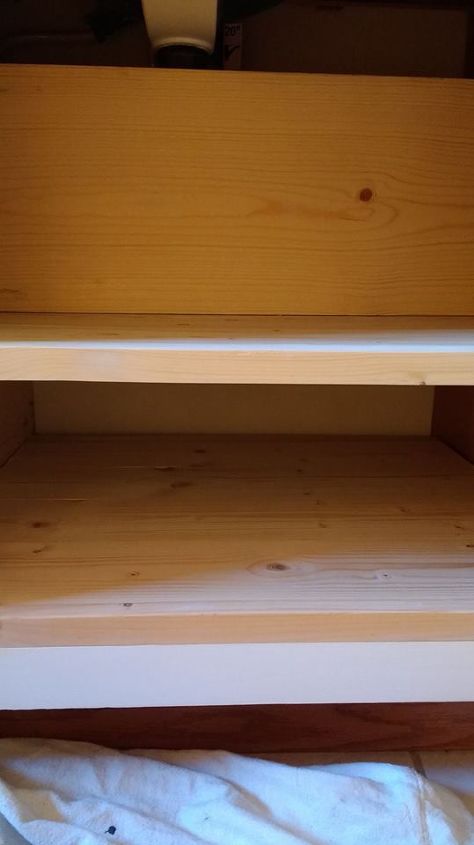
Once the walls were attached, using 1 x 1 pieces of pine, I cut four pieces of wood to attach to my "walls" for the shelves to rest on. I used a nailer to attach these pieces to the "walls". The nailer has to be attached to the hose with the compressor. We have a split level home and the compressor is in our garage. Of coarse the bathroom I was working on is on the top level. Okay, lets just say there was a lot of swearing going on with how many times I tripped over that stinking hose with my running up and down the stairs.
Alright everyone, if you are going to buy one tool to make your DIYing easy, buy yourself the Ryobi, 18-Volt ONE+ AirStrike 18-Gauge Cordless Brad Nailer. This tool is worth every penny and makes my life so much easier with doing projects. I received this as a gift from my co-workers (recommended by my husband since I do all this fun stuff) when I retired in spring and trust me, it is my favorite tool. Of coarse I was done with this project, but I have used it many times since. Love it!
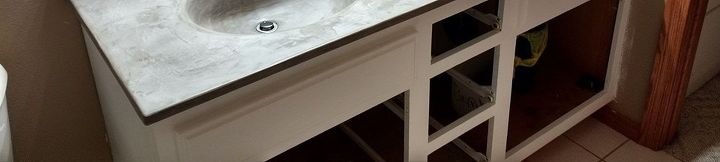
Here is a straight on picture of one side of the vanity. Do you see the plumbing under the sink?? I did not want to see it either so I cut boards just to go on the top shelf and left the bottom open. I wanted it open for two reasons: for more depth/storage and mainly, if you spring a leak you have to be able to see there is an issue. Yes, this happened after everything on the vanity was complete and my husband installed the new faucets. Yeeaaahhh, good thing I left it open ....more swearing.....
For the shelving, nothing fancy, I measured and cut 1 x 4 pine boards and I primed and painted them and just set them on the pieces attached to the walls.
I cut more 1 x 1 pieces for the finishing pieces. Using the nailer (with that stinking hose) I attached these pieces to the first board. Again, the rest of the boards for the shelves, I just set on the 1 x 1's that I had attached to the "walls". When we sprung the leak, we were able to remove the shelves easily for my husband to be able to get at the issue. Even with the finishing piece attached to the one board, he was still able to get at the plumbing.
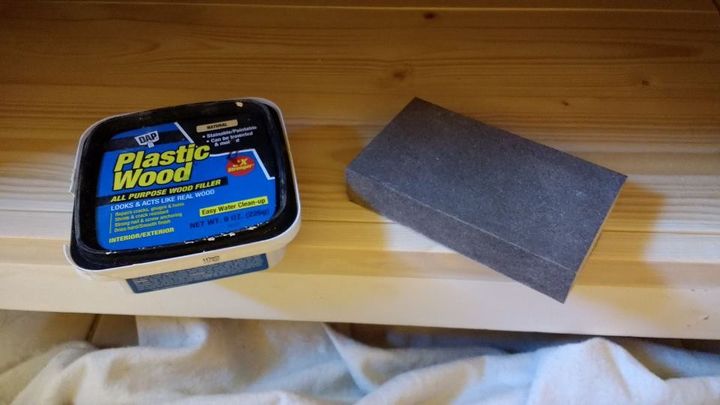
I filled the nail holes with the wood filler and lightly sanded the areas down with my sanding block. Following up with priming and painting the interior of the vanity.
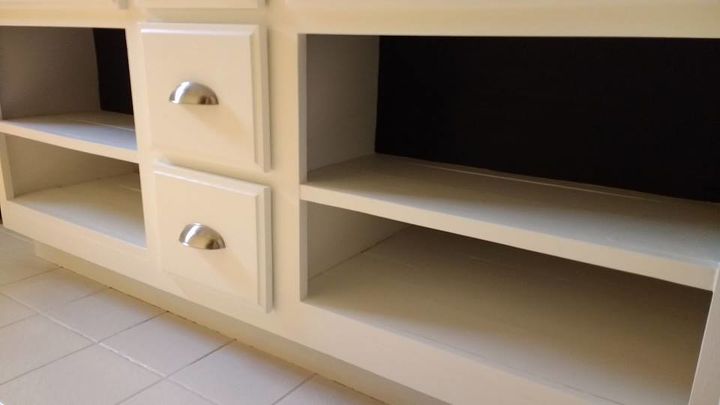
Here is another trick that I did. I painted that board on the top shelf black to add depth to the shelf. Because of the plumbing, you really don't get much depth but hey, how much more room do you need for your pretty towels or whatever you want to put on these shelves.
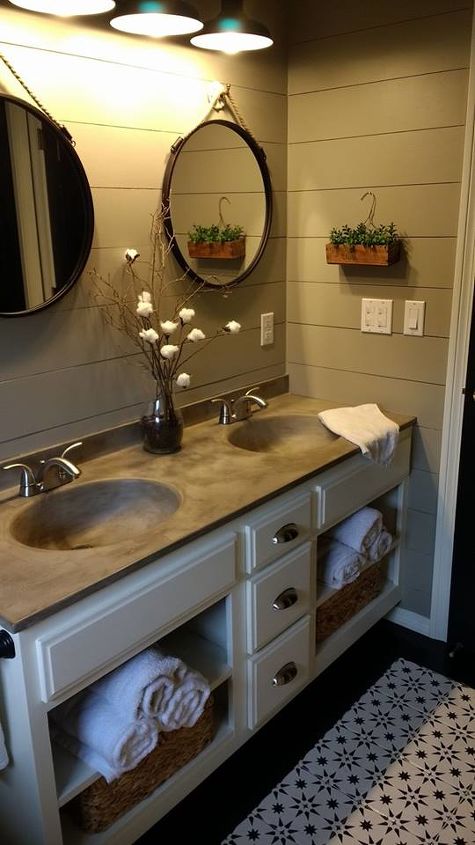
I am so happy with how this bathroom turned out. I get so many compliments on it, I just love it. Building the shelves was a little putsy for me because I am not a carpenter, but now that I have done it, I feel much more confident in doing more projects like this. I seriously love the open shelving and how updated this old builder grade vanity turned out just by taking those doors off and adding shelves.
Thanks for reading friends!! I hope I am able to help inspire more of you to tackle some new project for the start of this new year.
P.S. Here is my post on how I painted and stenciled my ceramic floor: http://www.hometalk.com/diy/paint/i-painted-a...>


Any price and availability information displayed on [relevant Amazon Site(s), as applicable] at the time of purchase will apply to the purchase of this product.
Hometalk may collect a small share of sales from the links on this page.More info
Comments
Join the conversation
4 of 8 comments
-
Very nice makeover!
-
OMG Elizabeth it looks stunning! Love the ship lap walls and the round mirrors. You have great taste.
am going to try in in my little concrete cottage in Key Largo. I have a scallop shell sink that I like a lot but the color is yellowish original 1970s. I love concrete so I cannot wait. And my budget is limited. Less exp than replacing and vanity, which is in ok shape now. Just needs to be pretty. Wish I had your skill set...I want to be your apprentice!


Frequently asked questions
Have a question about this project?
Hi, Awesome job! Are the mirrors the same size? Thank you!