


48-Hour Flip for Master Closet
This post is sponsored by Blinds To Go.
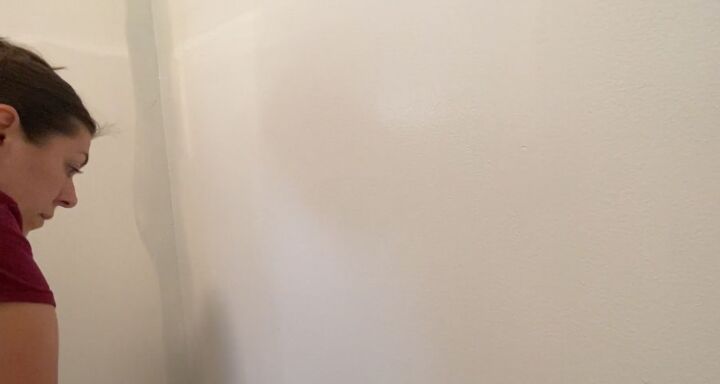
Do you have a messy walk-in closet that you have been dying to make over? Check out what I was able to do in just 48 hours with mine.
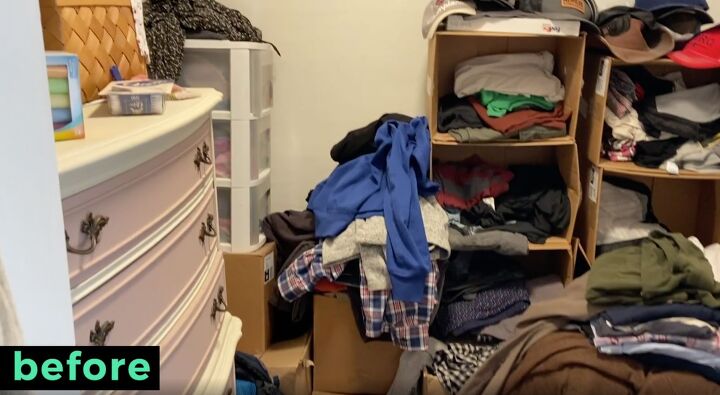
I'm excited to show you how I turned my mess of a master closet into my very own mom sanctuary. My 1886 Victorian home had been struck by lightning, and we had a lot of rebuilding to do.
**To see updates about our house fire, visit my blog: https://gatheredinthekitchen.com/fire/
Certain areas were neglected and in particular, our master closet and bedroom. These rooms became temporary holding rooms.
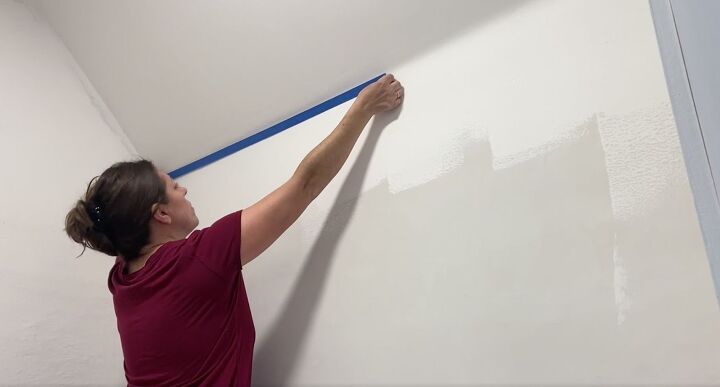
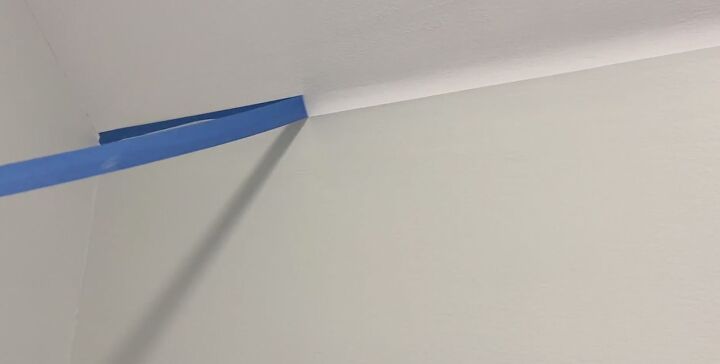
I began the transformation by first placing painter's tape in a straight line between my wall and ceiling.
Next, I caulked a thin line of interior paintable caulk and wiped off the excess. The reason I did this was to ensure no paint bled through the painter's tape.
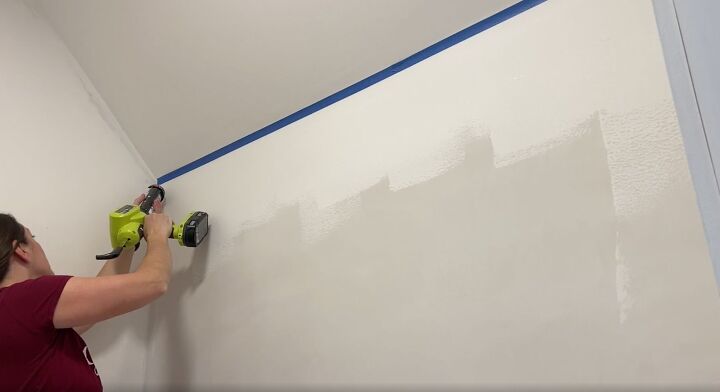
After that was dry, it was time to paint the walls. I chose to paint the walls the same color as we painted our master bedroom; Sherwin Williams Pearl gray. It's a beautiful green-gray color. I cut in the edges and then used a roller to roll the walls.
Peeling off the painter's tape is so satisfying. Look at those perfectly straight lines.
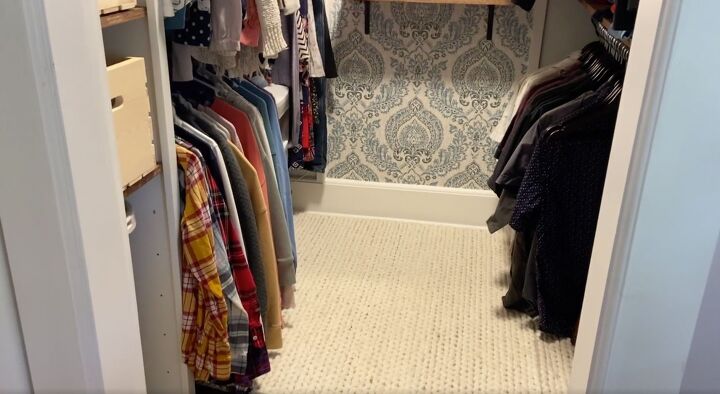
Once the room was completely painted, I wanted to add a little pizzazz so I grabbed peel and stick wallpaper. I have become completely obsessed with adding character to my rooms using removable wallpaper. First, I measured out where I wanted the wallpaper.
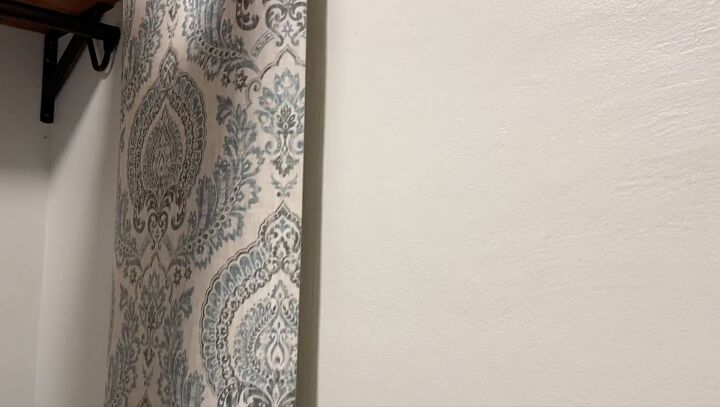
Then, I added the wallpaper. It was super quick and easy.
**Wallpaper used (affiliate link) https://amzn.to/3RqiqJ1
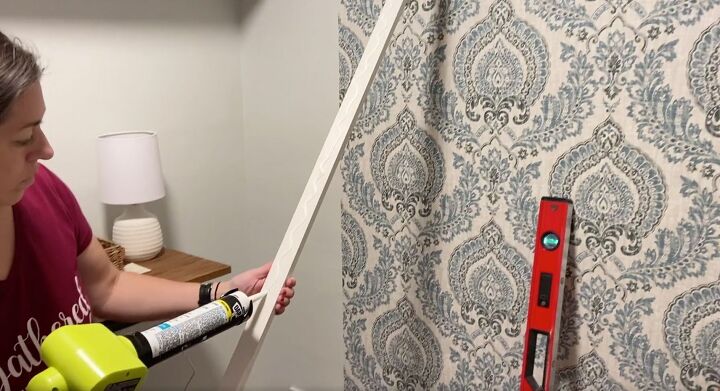
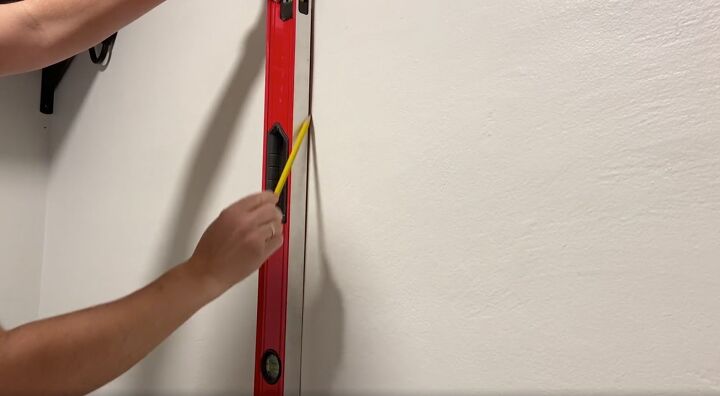
I added one by two trim pieces that I adhered to my plaster walls using silicone.
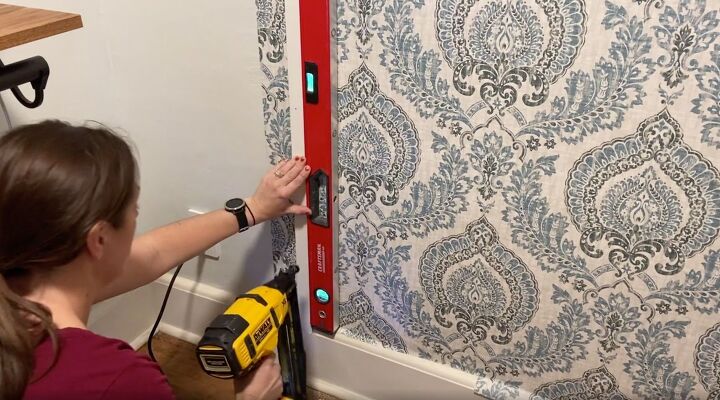
For extra support, I also used two-and-a-quarter inch 16 gauge finishing nails, I ensured they were straight with a four-foot level.
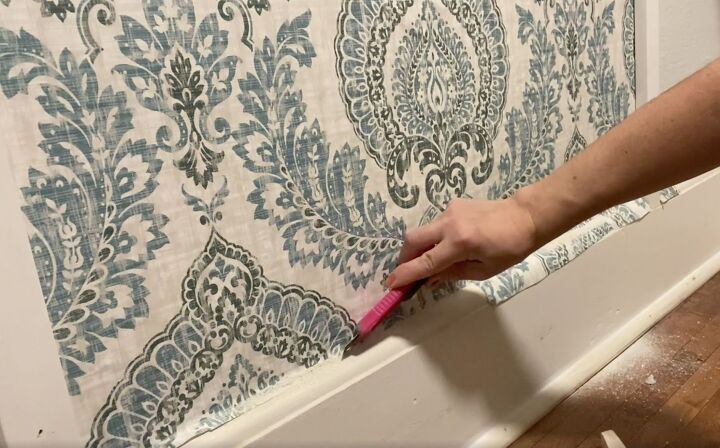
Using a box cutter, I trimmed all of the excess wallpaper off.
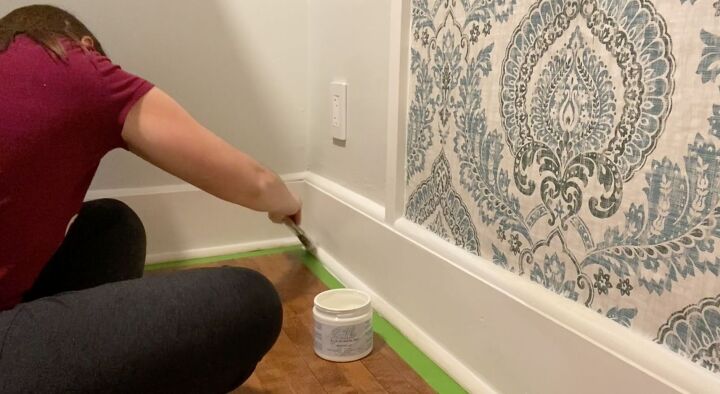
Once the wallpaper feature wall was installed, I painted my white baseboard with my favorite brand of chalk-style paint; Dixie Bell, in the color White Cap. I used painter's tape to ensure clean paint lines and no drips.
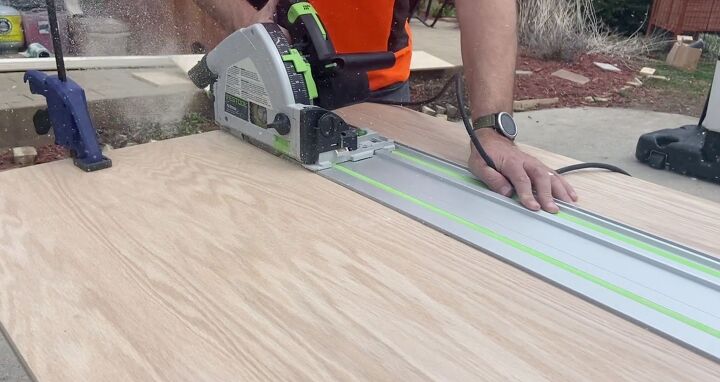
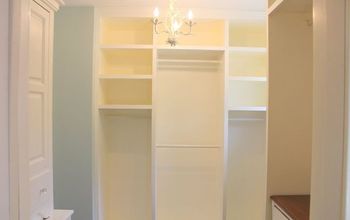
Next, it was time to involve my husband in the project. He built a custom shelving unit and shelves for our closet using our Festool track saw.
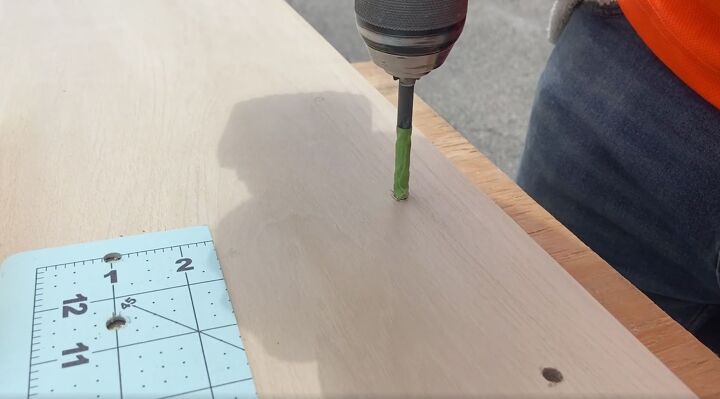
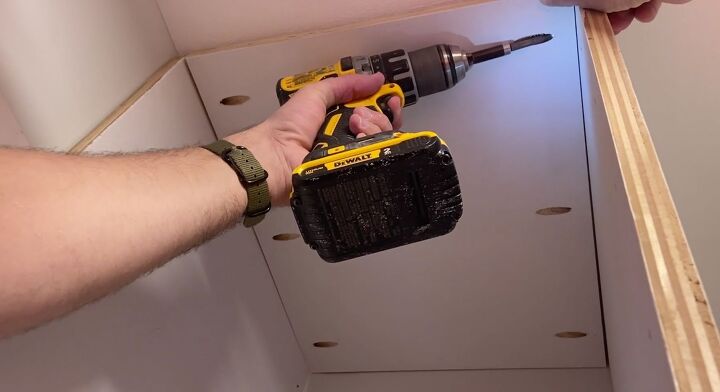
He used a quarter-inch drill bit to drill holes for adjustable pegs on the inside panels of the cabinet and he wrapped a piece of painter's tape on the drill bit to act as a guide to not drill too deep into the panel.
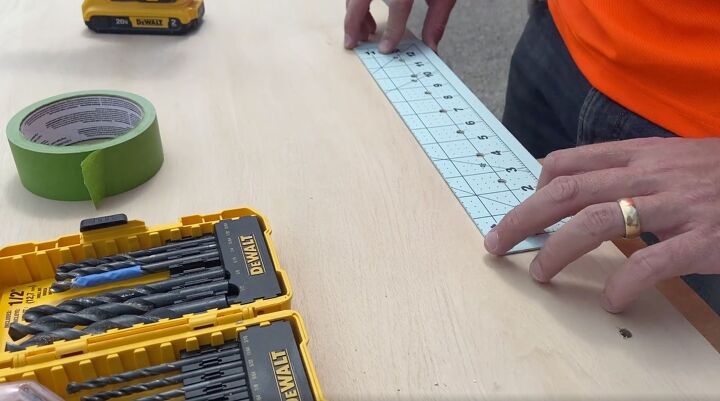
We used a patterned hole template to properly space each hole.
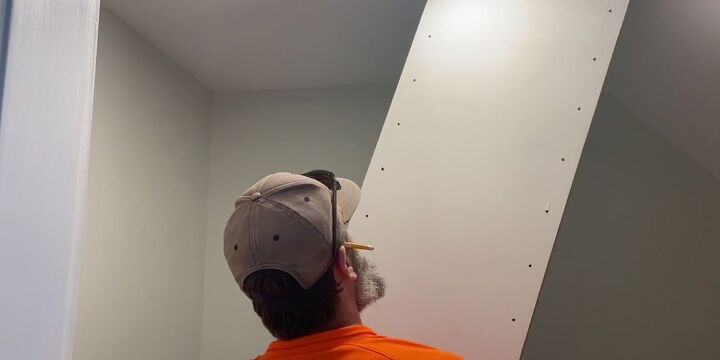
Once all of the panel pieces were ready, it was time to assemble the shelving unit in place in our closet.
We assembled the cabinet panels together.
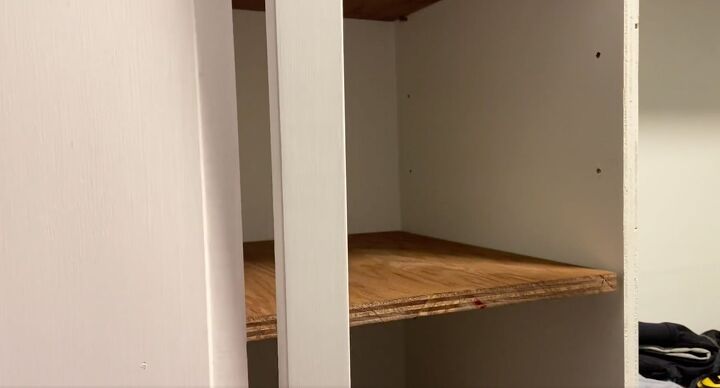
My husband built a face frame for the shelving unit using one-by-two pre-primed pine lumber.
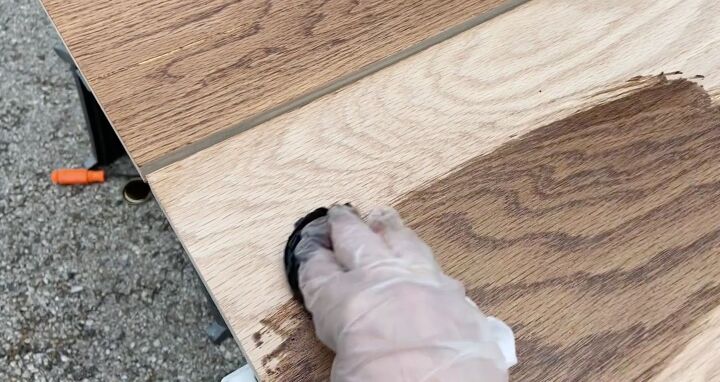
I stained all of the shelves using Minwax stain in the color Early American.
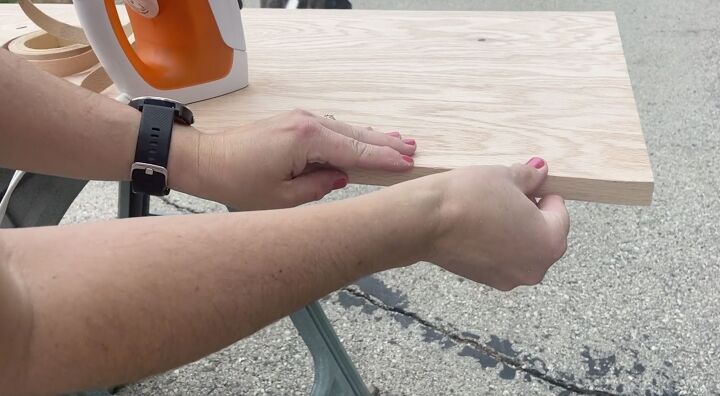
To give each shelf a finished edge, I used an iron-on edging trim and then stained it.
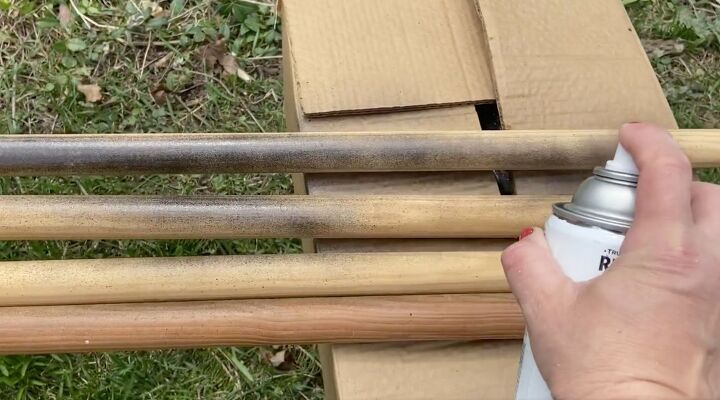
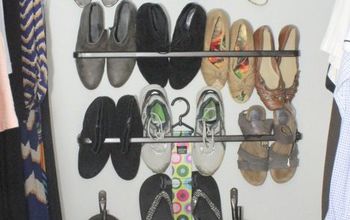
Using Rustoleum spray paint in the color of rubbed bronze I spray painted our old wooden closet rods to give them a fresh look.
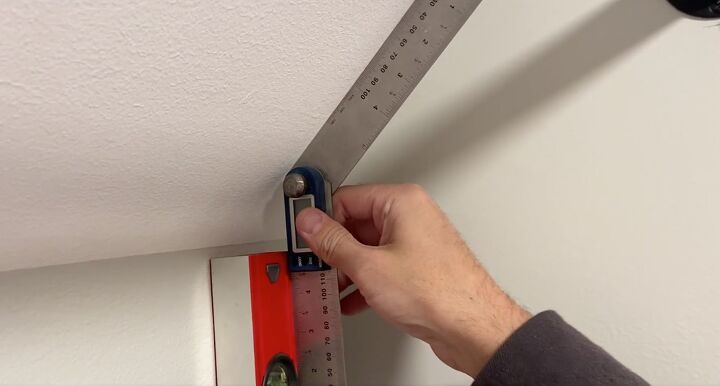
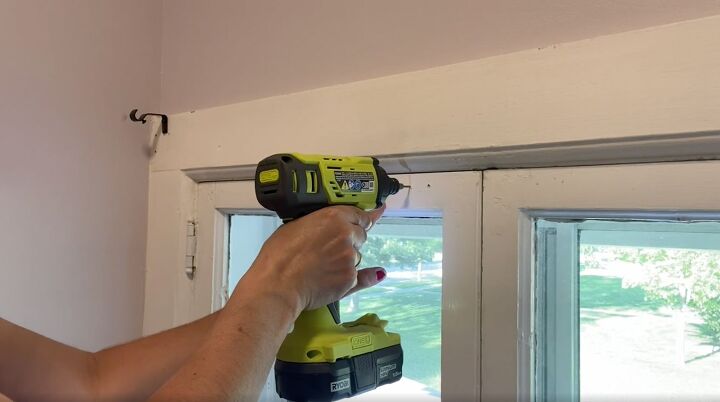
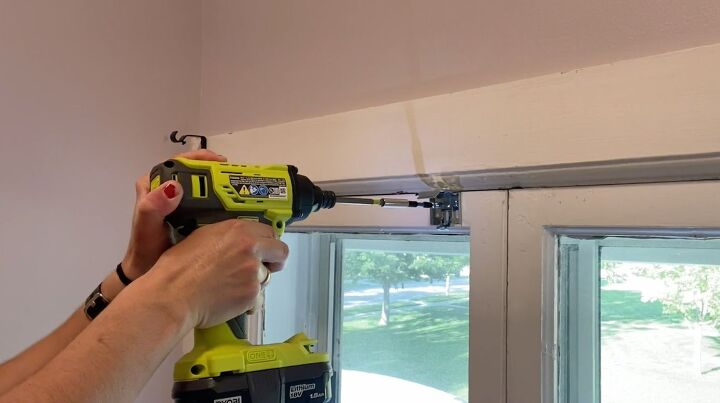
Using an angle transfer tool and level, we began measuring for the hanging curtain rod placement.
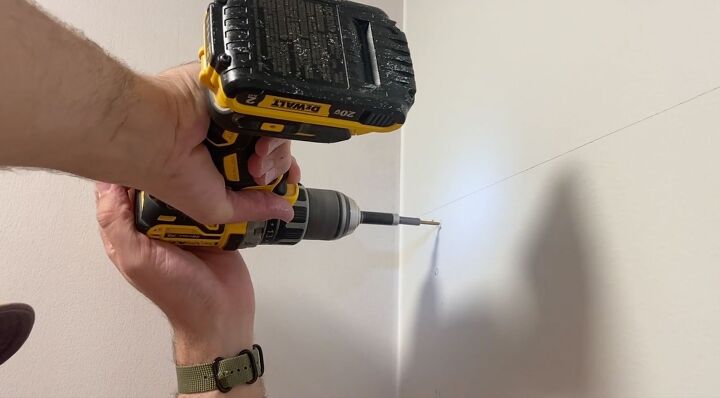
We predrilled the holes into the structure studs.
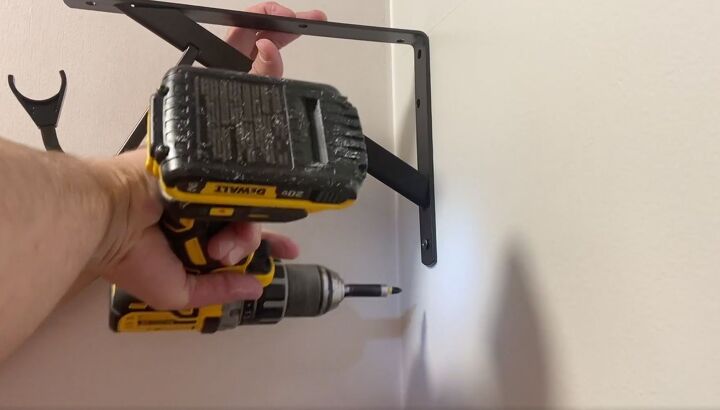
Then installed the metal hanging rod hardware.
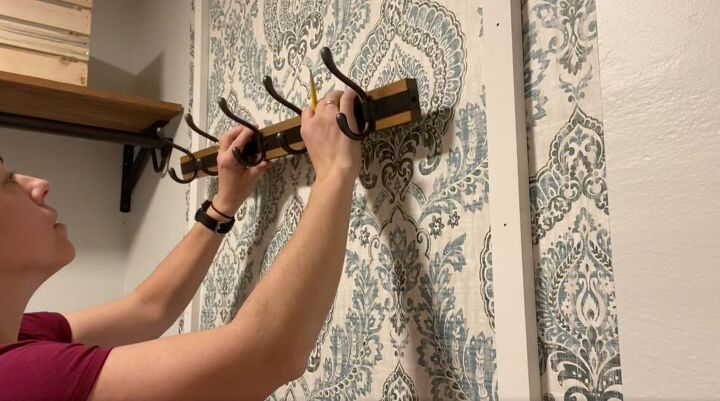
Once all the shelving pieces were complete, I decided to install a hook board on the back wall to create some privacy in our dressing room and add some style to our master bedroom.
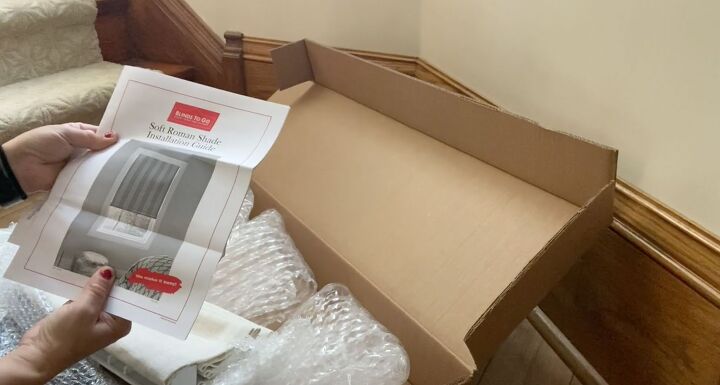
I wanted to add some stylish window coverings so I ordered inside mount cordless Roman shades from Blinds-to-Go in custom sizes for each of my windows. Each shade was handsewn in the color Linen with a light filtering fabric. To ensure the privacy I was looking for, I chose the classic fold for the pleats. That style fits perfectly with my Victorian home.
**See my full tutorial for how to install inside mount Roman Shades over on my blog https://gatheredinthekitchen.com/how-to-install-cordless-roman-shades-inside-mount/
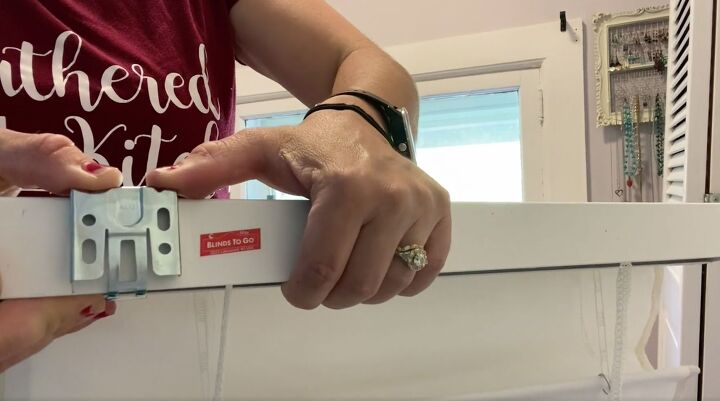
Following the instruction manual that came with the shades, I installed the hardware according. The hardware provided is very user-friendly. Essentially, it's a snap-and-click type of install. My favorite type of window treatment install.
How to measure blinds
To ensure that my wood did not split when I screwed the metal screws for the hardware, I pre-drilled first.
Using a drill bit, I aligned the Roman shade on top of the hardware and snapped it into place. I absolutely love how easy these were to install.
Once everything in the closet and window treatments was up, it was time for me to create some much-needed mommy space. I feel very thankful to have some extra space in our master bedroom that I was able to turn into my very own mom cave.
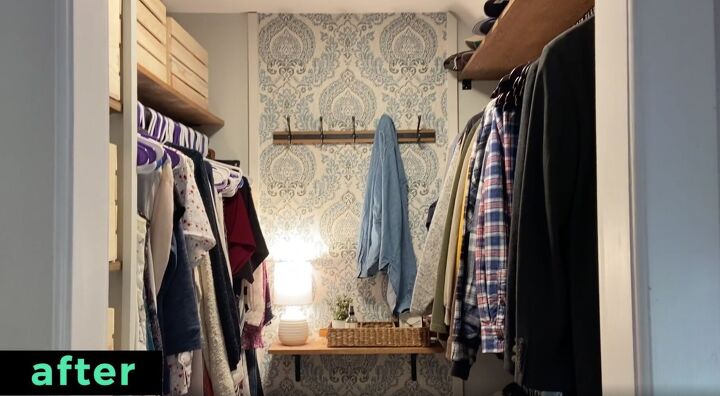
It's hard to believe that my closet and master bedroom went from a total disaster zone to a gorgeous space that I actually want to spend time in. The wallpaper adds a beautiful stylish feature to my now very functional closet.
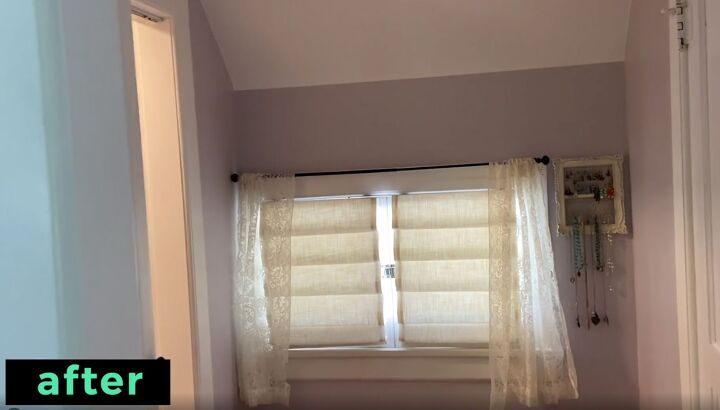
The Blinds-to-Go roman shades add the perfect amount of privacy without blocking out too much light.
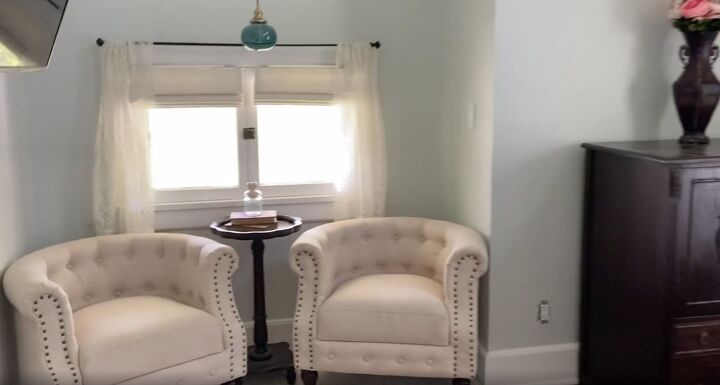
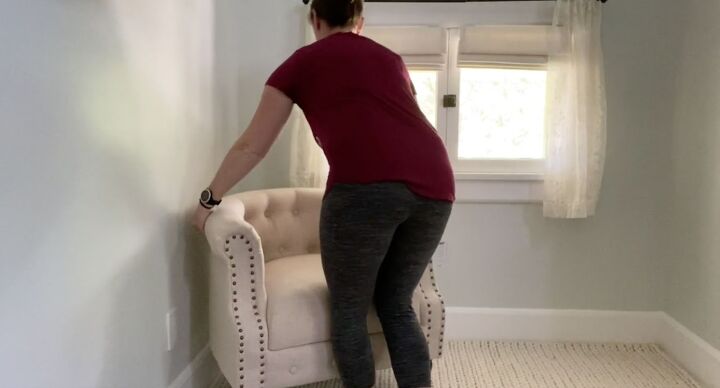
The Tufted chairs add such a relaxing and comfortable space for me to relax after a long day of DIY projects.
As with every DIY project, I always wonder why I waited so long to tackle it because when it's over, I'm always happy with the results. I hope you have enjoyed my closet makeover as much as I have.
**To see all of the products used, visit my blog: https://gatheredinthekitchen.com/master-closet-makeover-48-hour-flip-episode/
Resources for this project:
See all materials


Comments
Join the conversation
-
Beautiful work ❤ love it
-
A well done job. It’s Lovely❣️


Frequently asked questions
Have a question about this project?
What is the name of that gorgeous wallpaper? BTW - beautiful job.
Can I borrow your husband? That's the part I need help with..lol.
Beautiful closet!
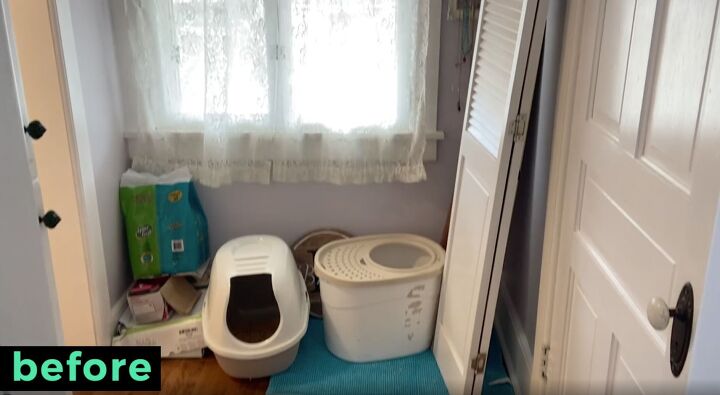
So where did you end up hiding the cat boxes?