


Girl's Closet Makeover

When I was a little girl I would haul a pile of blankets, pillows and stuffed animals into my tiny closet and pretend that it was a cozy fort. A cozy fort with shoes digging into my back and dresses tickling the top of my head. But still, a cozy fort.
In my daughter's shared room is not one, but TWO closets. One for each girl OR as I imagined one closet for clothes and one to be transformed a true cozy nook. With the memories of my own "cozy place" floating in my head I decided that the second closet needed a makeover. Here is what I did to create a small space for my girls to play, read and relax for under $30.
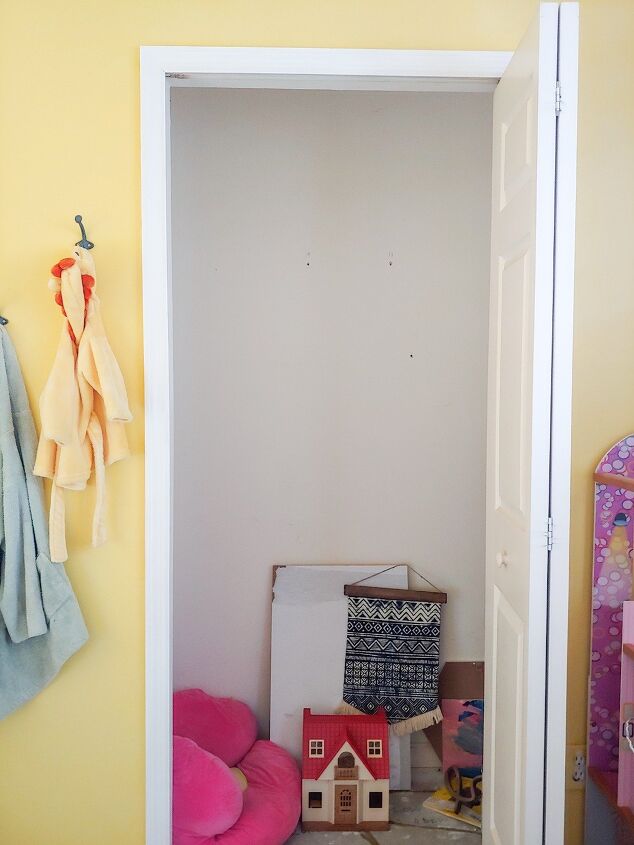
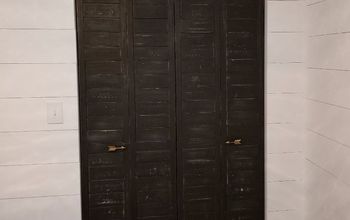
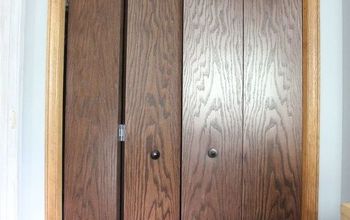
My glorious before photo. We took out the wire racks a couple months ago and the closet has been sitting, waiting to be redone since then. So many ideas swirled in my head, and it took me some time to really narrow it down! But here's how I created this sweet lil space.
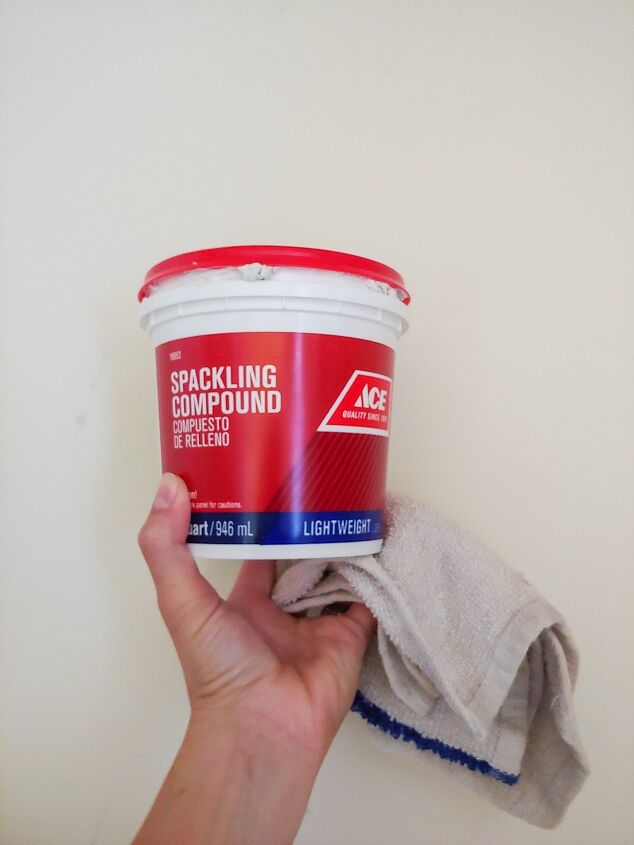
Taking the wire racks out left gaping holes in the walls. I used this Ace spackling compound to fill the holes. My trick to smooth application is to use a paint scraper to scrape the compound over the holes. After filling the holes and letting them dry, it was time for a fresh coat of paint!
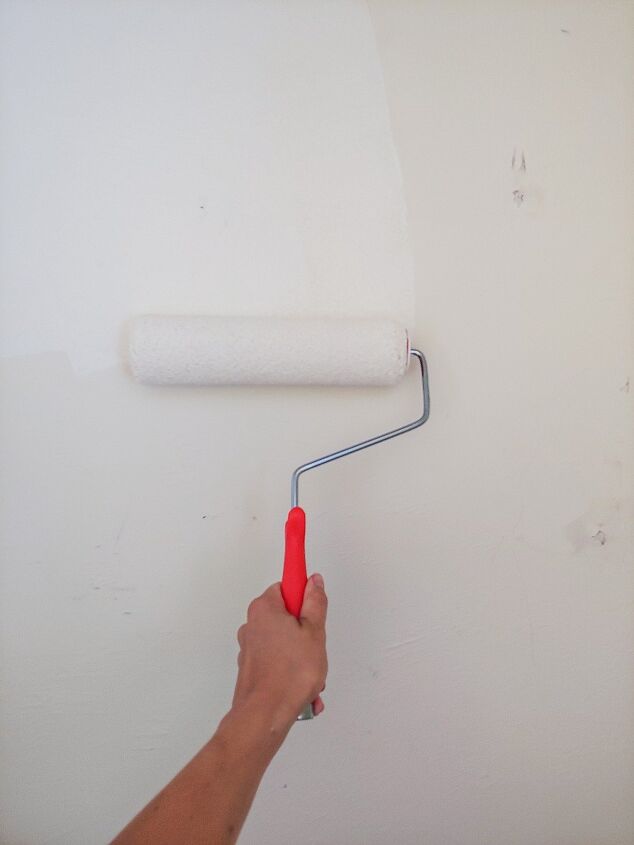
I used Behr plain white, sold at Home Depot for less than $20. It went on beautifully and covered unsightly spots from the previous owner. How a single man gets stains on the wall of a spare room closet it beyond me.
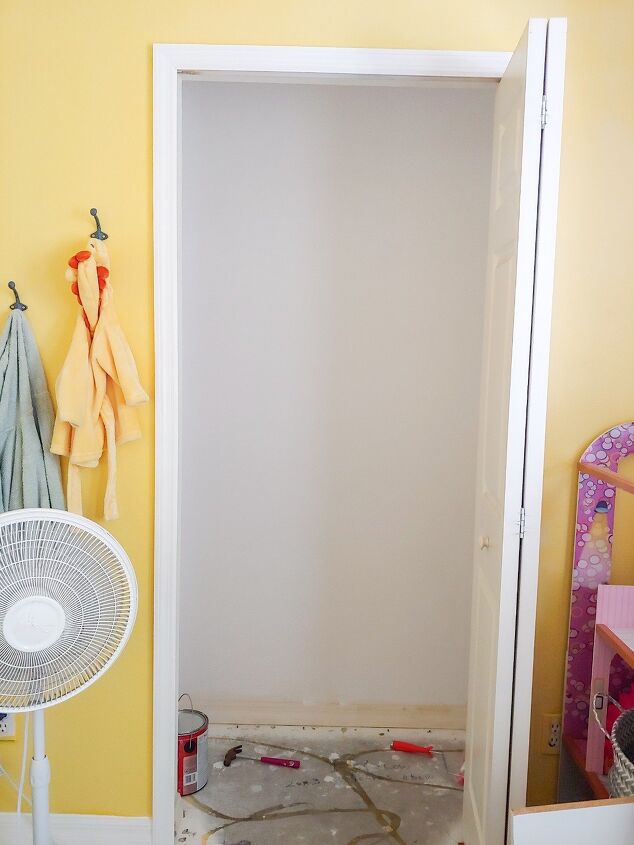
Nothing like a fresh coat of paint!
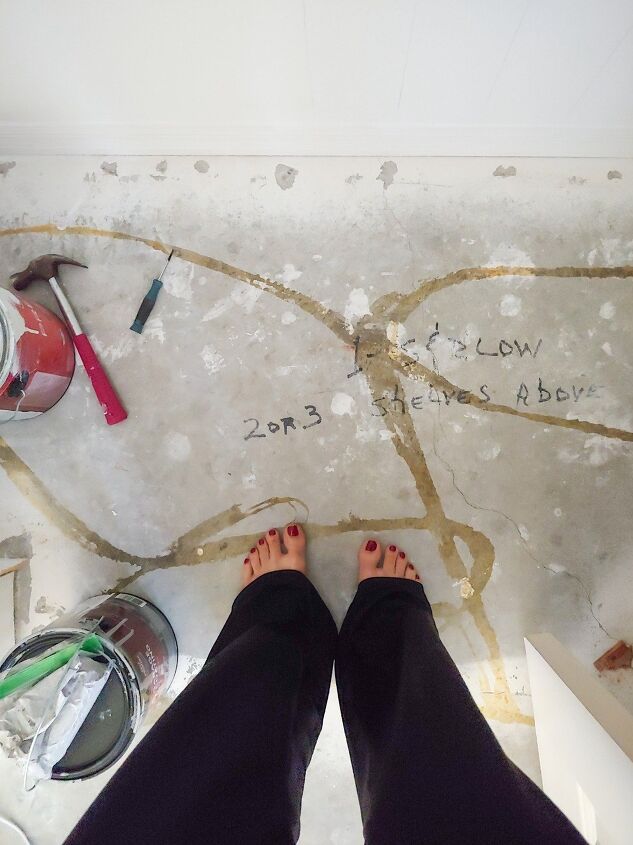
Now for the floors. Gross. After moving in I took out the carpet from most of the house. What home has full carpeting it SOUTHWEST FLORIDA?! A house built in 1997, that's what.
Also, let me note that there were not 2 or 3 shelves in the closet. Just one, so the installation crew clearly ignored those directions.
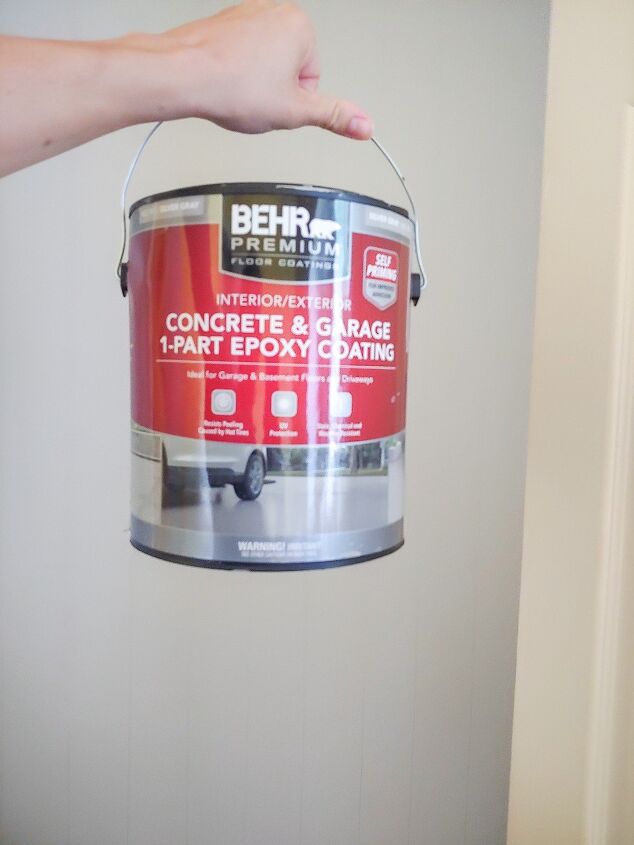
I had leftover Behr premium floor paint from the rest of the flooring I painted a couple months back. This is a Silver Gray color. After sweeping the floor I gave it a nice thick coat.
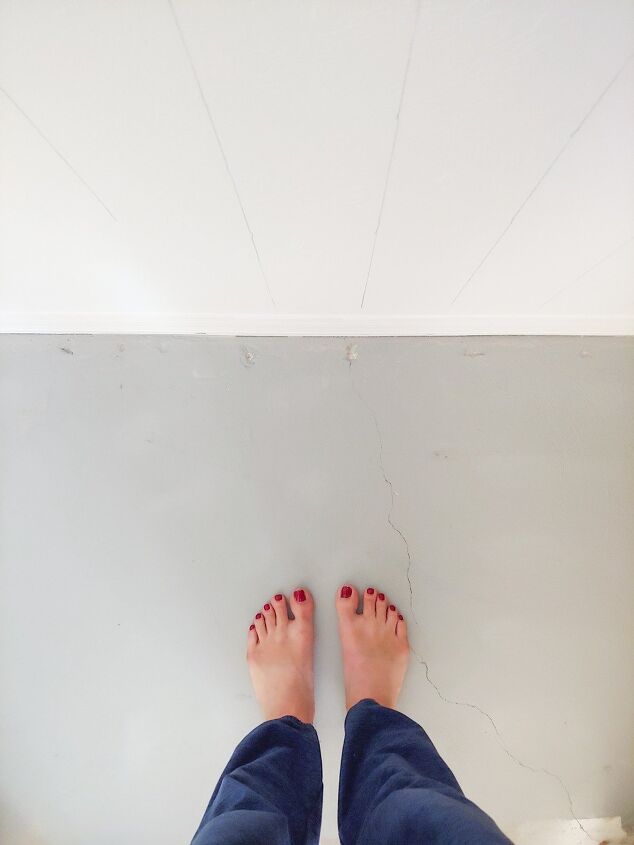
Aaaand here 'tis! I didn't have any filler for the old nail holes but that didn't matter. I decided to give this space a little spice (that's what little girls are made of after all, right?) and stencil the flooring inside the closet. It's a small space so it wouldn't take long but I didn't want to leave the floor bare.
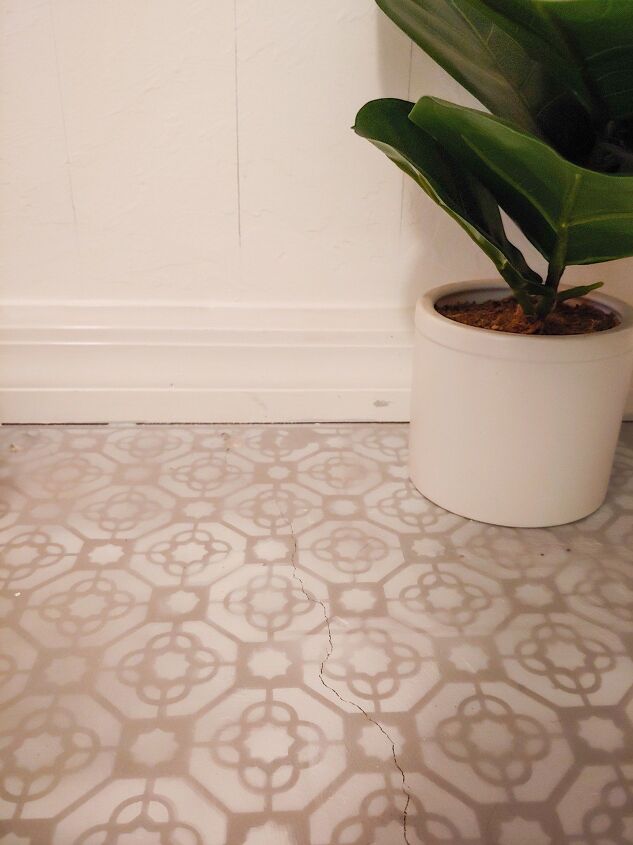
I created a stencil using my Cricut machine (best purchase for a DIY'er) onto peel and stick paper. Then using a small roller and plain white concrete paint created the pattern. I HIGHLY recommend using sticky stencil paper, it makes application a bajillion times easier. Yes, a bajillion.

On the one side of the closet I wanted to add shelving for books, toys and whatnot. I took basic comboard pieces, cut them to about 8 inches in length and screwed them into the wall on either side. Then took a piece of board and placed it onto the comboard pieces. Voila! Easy shelves, perfect for storing in a visually appealing way.
While at Home Depot I also grabbed a sample size of Behr Marquees Passion Fruit Punch. One sample size was more than enough for me to cover the ceiling of the closet and one of the thinner side walls. I used this as an accent color (per my three year olds request). Adding an accent color creates dimension, adds character and personalizes the space for cheap! The sample size of paint cost less than $5!
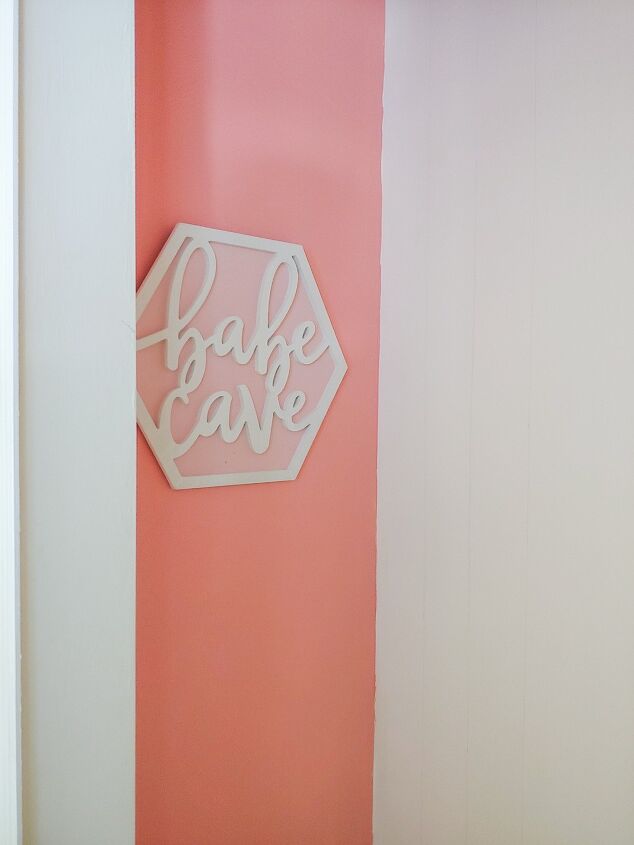
I also hung this adorable sign from clearance at Hobby Lobby. How could I pass this up for only $3?
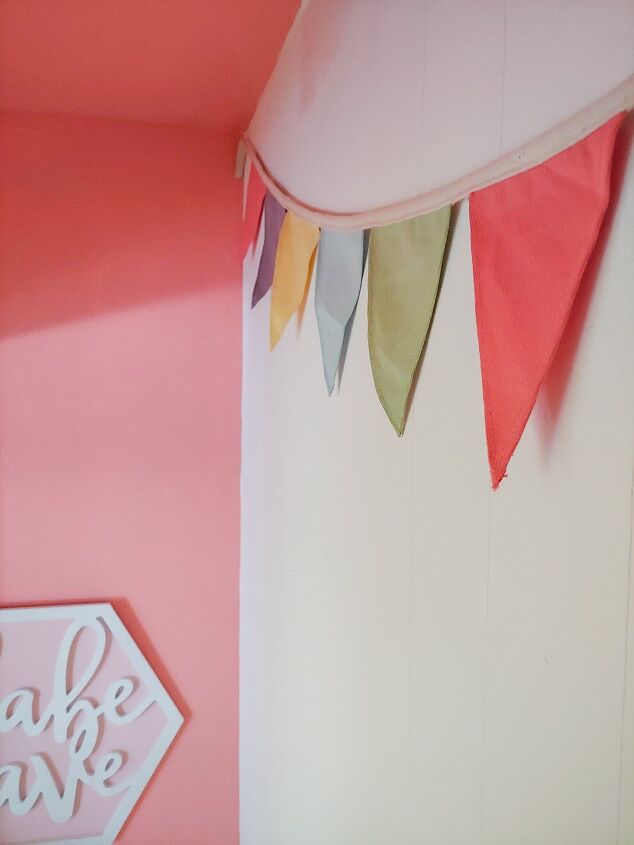
No space is complete without decor, and I've had this banner waiting for a place to hang since we moved in. I hung this on the primary wall of the closet for a fun detail.
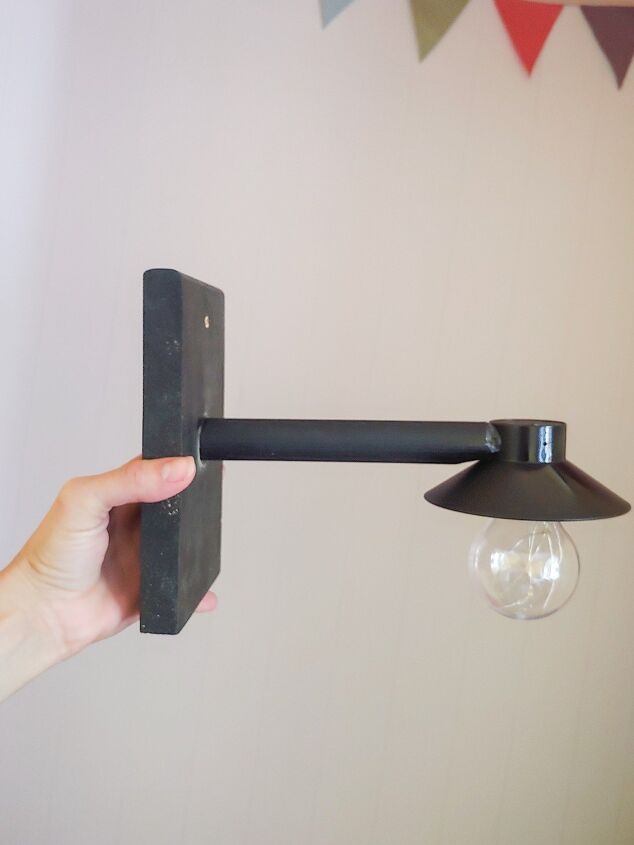
No closet nook is complete without mood lighting. Our closets have no pre wired lights, so I had to do a quick DIY to achieve the look. Thanks to Dollar Tree's LED Lamp and some scrap wood, I made this for under $2. All I needed was:
- 7"x3.5 Wood block
- Wood dowel cut to size
- Dollar Tree LED Lamp
First I cut my wood to the desired size and length (Wood block 7"x3.5", wood dowel 7". Then I spray painted each piece with Rustoleum Matte Black. After the spraypaint was dry I used a 1" drill bit to create a 1/4" deep hole into the center of the wood block and glued the dowel into the wood block using wood glue! Once that was dried I used a hot glue gun to adhere the LED Lamp to the wood dowel.
Inexpensive sconce for instant lighting!
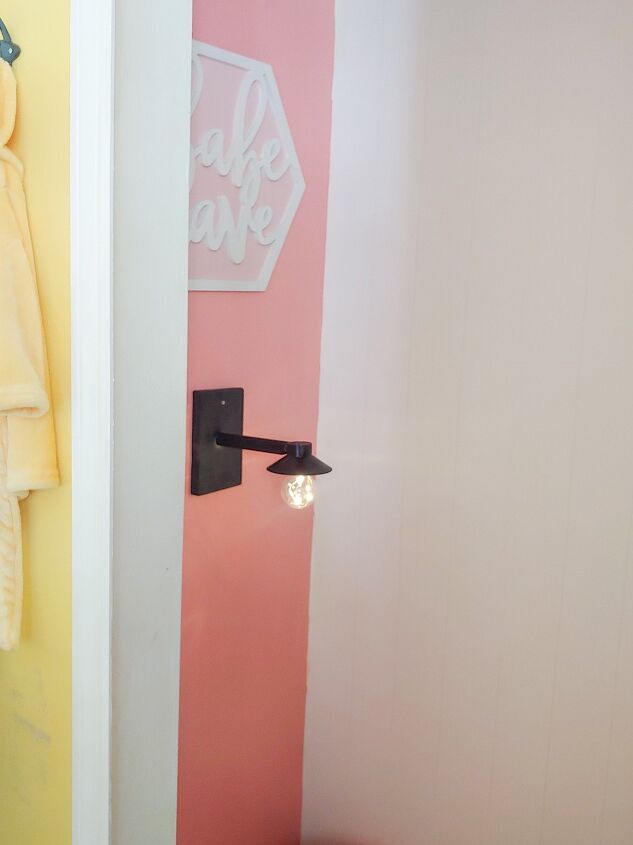
I screwed the sconce into the wall, low enough for my daughter to reach the switch on the top.
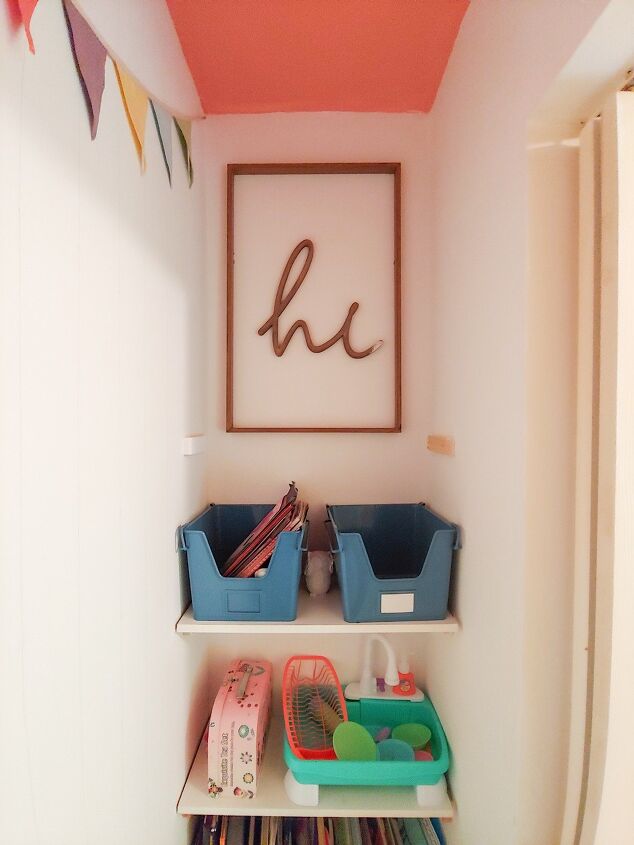
I added this "hi" cutout with command strips and took an old frame to place around it. Overall, this sweet little space turned out perfectly.
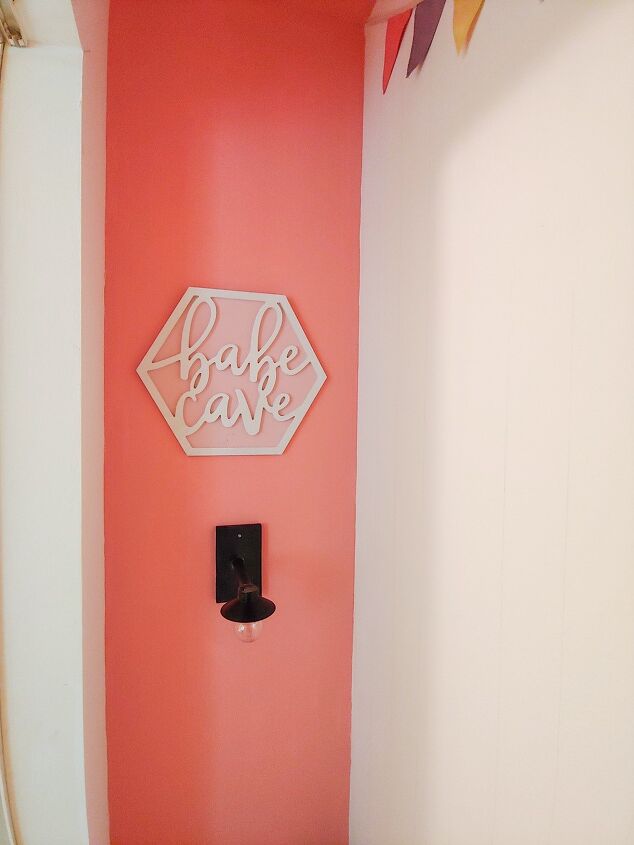
I mean, how cute is this babe cave?!
"Mommy this is so cool".
Approved by my threenager and an entire closet makeover for less than $30?! I'll take that as a roaring success!
Comments
Join the conversation
-
Very cute, but I can't see where there is a place to sit.


Frequently asked questions
Have a question about this project?
I love it. I'am a little stupid here, but how do u turn the light on?
Where do all her clothes go now??