


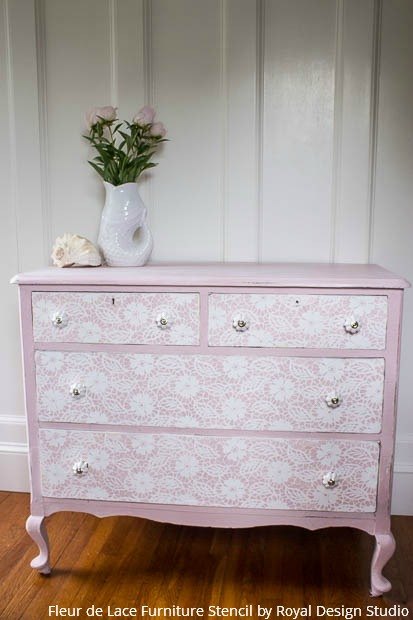
A Stenciled Lace Dresser That's Fit for a Princess

I'm a girlie girl. I love pink, peonies and lace. The more the better, really! When I was a young girl my whole bedroom was done in Laura Ashley. Yes, you would have loved it. I loved being cuddled up in there with all my treasures. So, I think this proves my love for all things frilly, lacy, and girlie. I actuallyhave stenciled my guest room wall with the Parlor Lace stencil from Royal Design Studio.
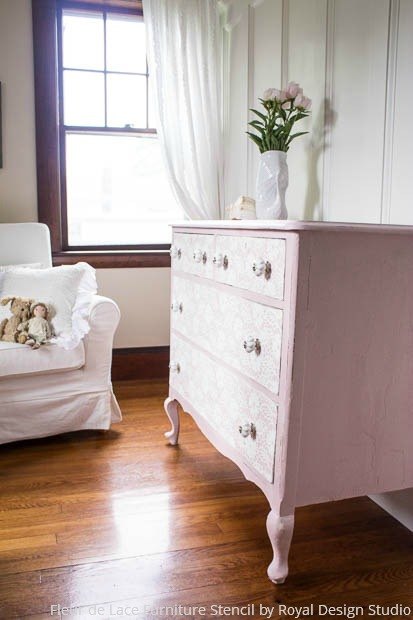
The problem is.I have a house full of boys so there is no proper girlie room for me. BUT, I can always get as girly as I want with the painted furniture I create to sell! I was quite excited about the Royal Birth recently, so here is a painted and stenciled lace dresser in the new princess's honor. I'm calling this one "Charlotte".
Stencils and Supplies by Royal Design Studio www.royaldesignstudio.com
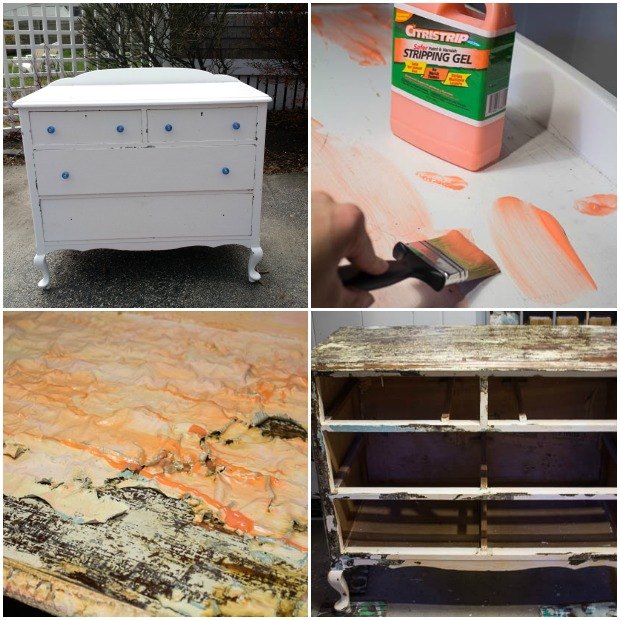
My husband found this great dresser for me. Great bones, great shape. It might look really nice and white, but actually it had layers and layers and layers of paint. These layers of paint were beginning to flake off too. No big deal I thought but I counted white, beige, yellow, blue, pink, gray and primer.
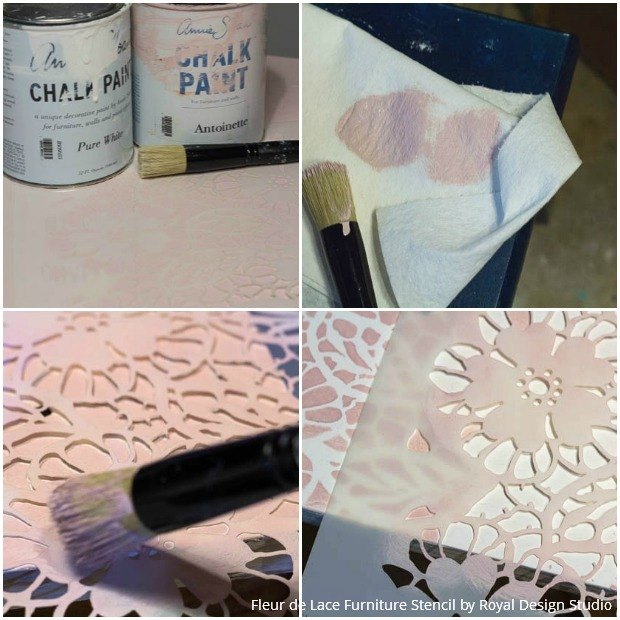
Let's get on with the tutorial, here's what you need:
Step 1: Prep your furniture for painting. I stripped the dresser and sanded as much paint off as I could. Then I washed with mineral spirits and warm water. Once dry, wipe on clear shellac. (I brushed it on so it would seal any flakey bits in of the original paint).
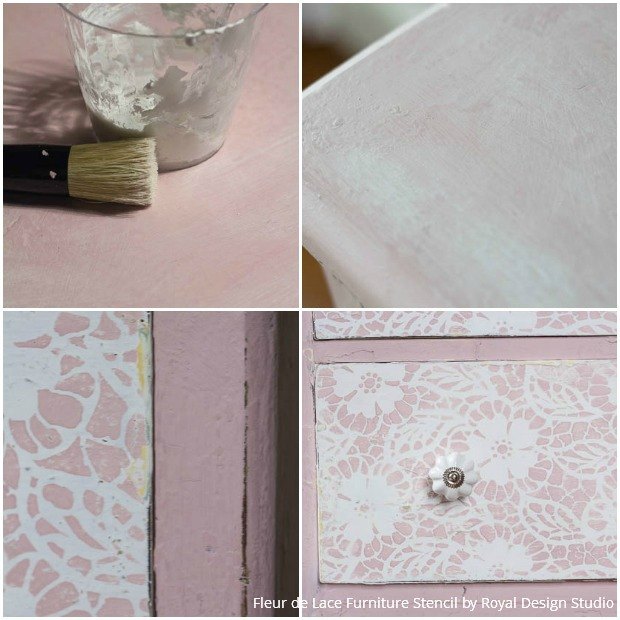
Step 4: Distress the dresser all over for a shabby chic effect. Once distressed you could see the bits of old paint and colors shining through.
What do you think? Will you try and recreate this look in your home? Royal Design Studio has a lovely Lace Stencils Collection featuring allover lace patterns and even some beautifully detailed lace doily stencils. If you want to "get girly", this is the place to go!
Comments
Join the conversation
2 of 6 comments
-
Really good idea! Love it!
-
Thank you @Hannah V and @Lisa Simpson !


Frequently asked questions
Have a question about this project?