


Chalk Painted Pine Dresser
I picked up this secondhand Oregon Pine dresser. At first glance it didn't look like much but I was willing to take a chance considering the low asking price.
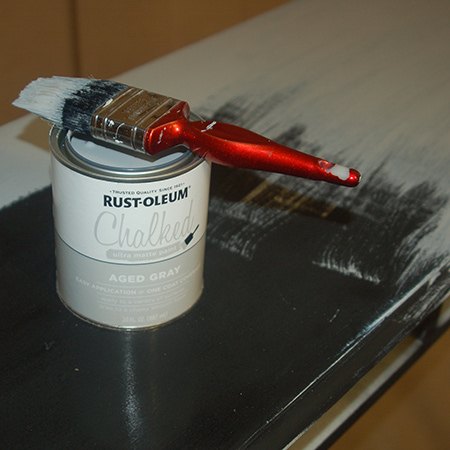
After being given a tin of Rust-Oleum Chalked ultra matt paint, I couldn't wait to transform this secondhand Oregon Pine dresser.
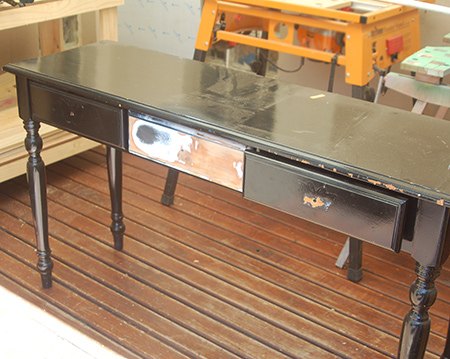
The black paint doesn't do anything for this piece and there are layers of old paint underneath. Apart from that, the Oregon Pine dresser is in perfect condition barring a few dings on the front.
When you find bargain pieces like these, where you don't want to spend hours and hours sanding down, using Chalked ultra matt paint is perfect. All that is required is a light sanding with a 100-grit (medium) sanding sponge.
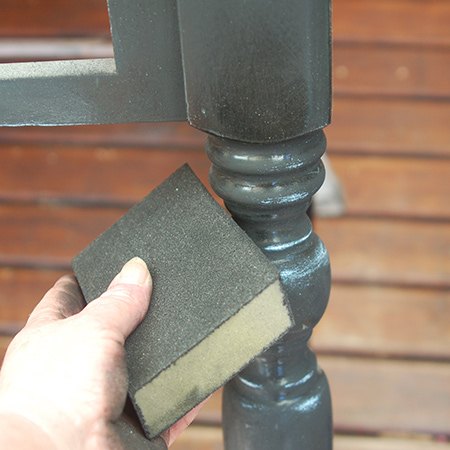
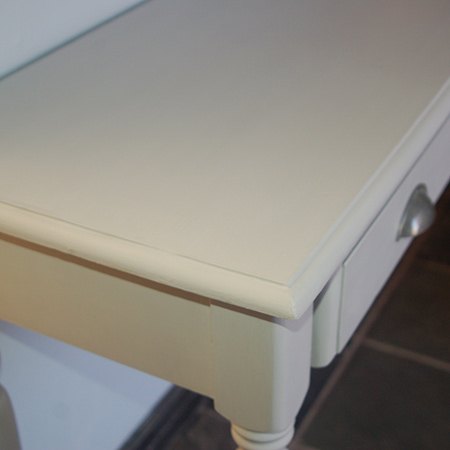
After removing the knobs on the drawer fronts some of the paint also ripped off. To ensure that the difference didn't show on the finished piece you should use an orbital or random orbit sander and 120-grit sandpaper to smooth the damaged areas, as I did on the drawer fronts below.

After sanding everywhere use a cloth lightly dampened with mineral turpentine to wipe clean. The mineral turpentine evaporates very quickly, so no waiting necessary.
After sanding everywhere use a cloth lightly dampened with mineral turpentine to wipe clean. The mineral turpentine evaporates very quickly, so no waiting necessary.
When using any chalk paint you need to apply the paint fairly quickly. Matt paints dry fast, so work the brush in even strokes from one end to the other, lightly feathering any overlapping strokes before the paint has chance to dry.
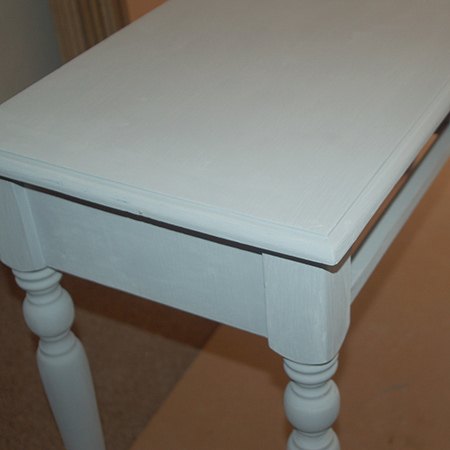
Rust-Oleum Chalked really is ultra matt and very forgiving if you make a boo-boo or two! Lightly sand away any drips or runs with 320-grit sandpaper, unless of course you want these as part of the finished look.

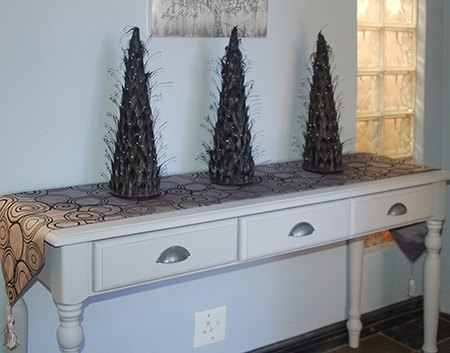
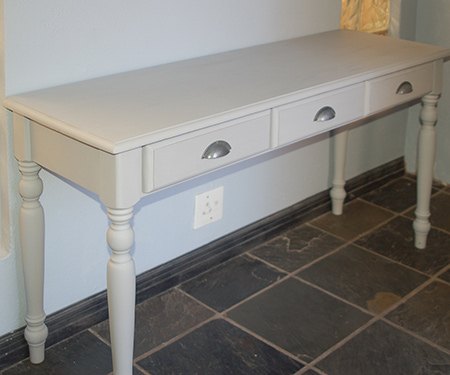
Finish off by adding new hardware to complement your new piece of chalk painted furniture.

Want more details about this and other DIY projects? Check out my blog post!
Comments
Join the conversation
2 of 3 comments
-
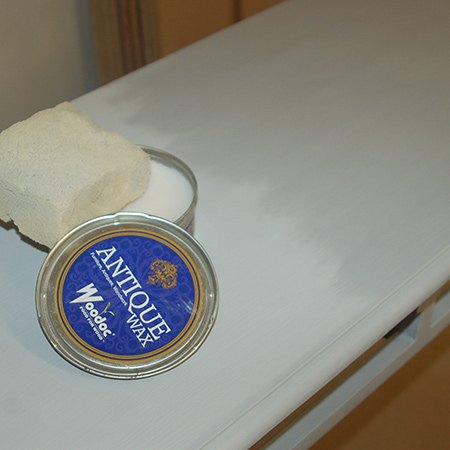
To be honest, I saved this project 3 times and each time the system would not load the proper content. After applying the paint I applied a coat of antique wax.
-
Yes I am inspired. I have a small black table that I am going to try with your information. Thank you so much


Frequently asked questions
Have a question about this project?