


DIY Dresser Makeover Using Stencils

by
Dear Homey
4 Materials
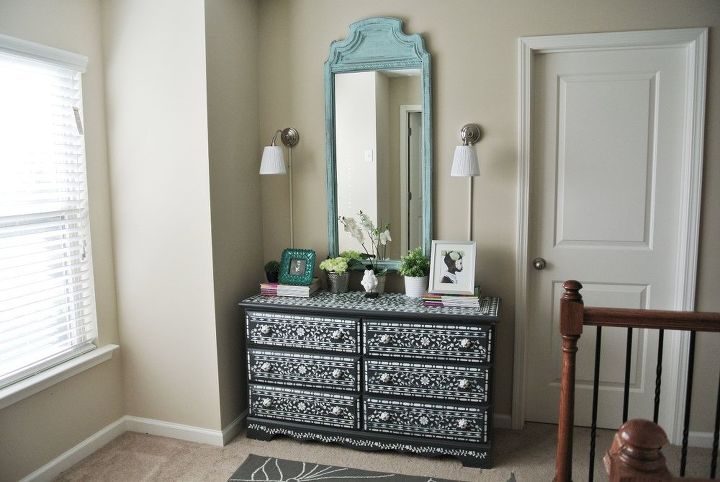
Makeover Time! I was super excited to update my childhood dresser. I have had this dresser for at least 20 years. So, it was definitely time for a change using Indian Inlay stencils!
{
"id": "3666046",
"alt": "",
"title": "",
"video_link": "https://www.youtube.com/embed/jClKpkV4Ni4",
"youtube_video_id": "jClKpkV4Ni4"
}
{
"width": 634,
"height": 357,
"showRelated": true
}
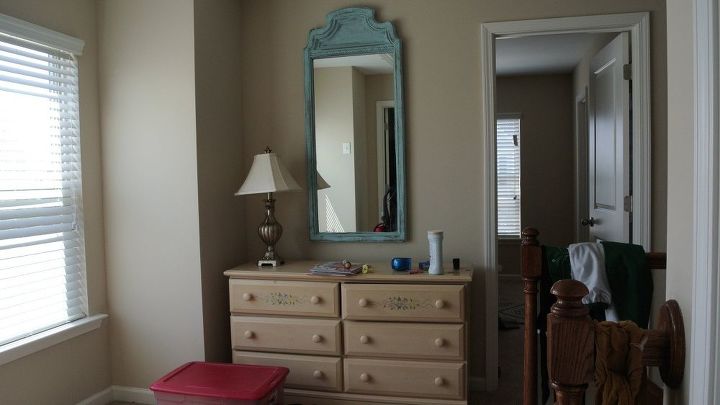
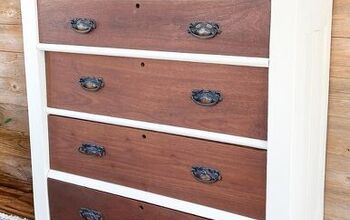
After having this dresser for a number of years, I thought it would be a good idea to give it a fresh look!
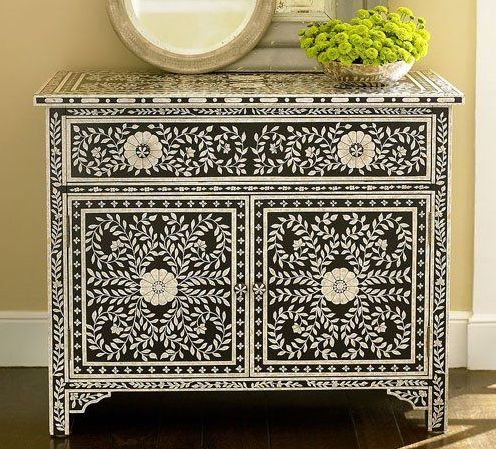
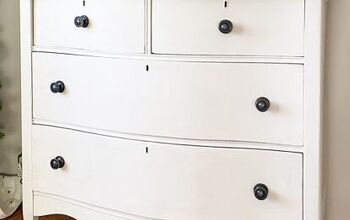
Next, I found some inspiration and decided to use Indian Inlay stencils because of the beautiful detail and elegant appearance.
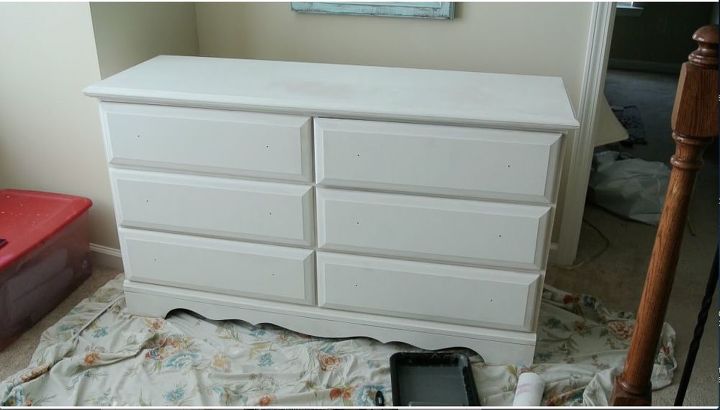
Before I got started, I opened several windows for ventilation since the fumes from the Zinsser Oil-Based primer were quite strong. I applied two coats of the oil based primer and I let dry for 48 hours. Then I chose a charcoal gray satin paint as the base color.
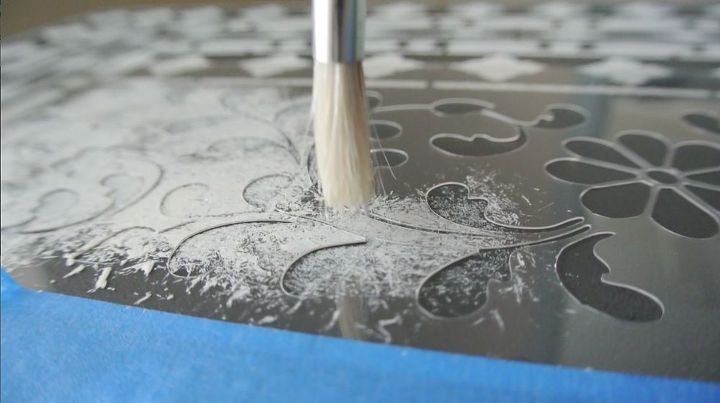
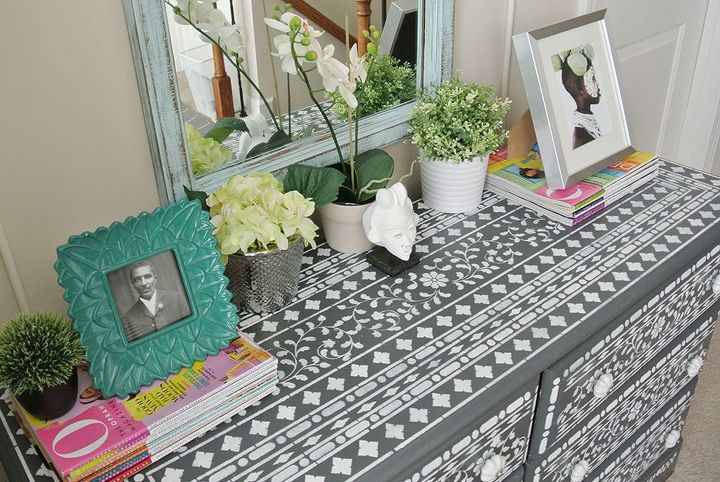
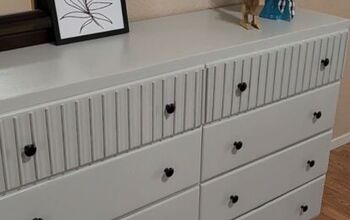
After all the paint was dry, it was time for the stencil….deep breath. 10 minutes into the project, I knew this was going to be a challenge. I carefully laid out how I wanted the pattern to appear. I quickly learned to apply just a small amount of paint to the brush. 2 weeks and a bottle of wine later the stencil work was done! Here's the final result:
Comments
Join the conversation
2 of 64 comments
-
Absolutely beautiful !! You did such an amazing job.
-
Absolutely beautiful! I have a headboard and dresser that I would love to do this to! You did a great job, thank you for sharing!


Frequently asked questions
Have a question about this project?