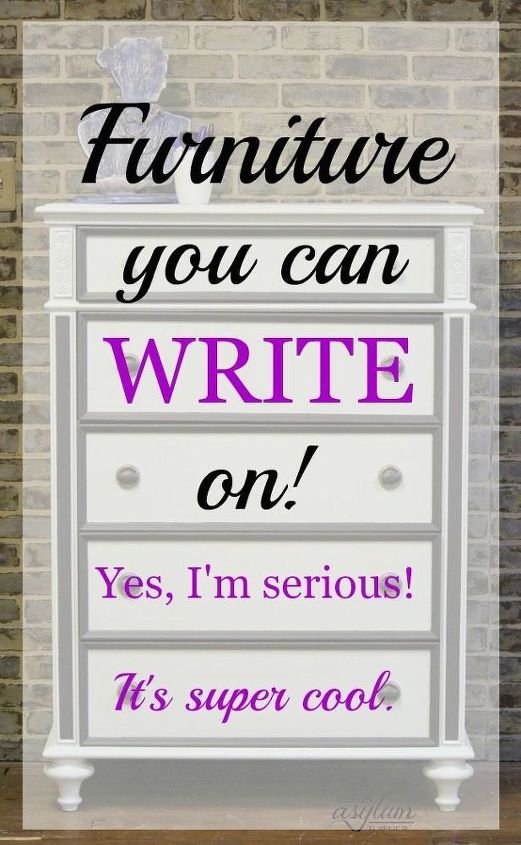
DIY: Furniture That You Can Write On!

Want a dresser you can write on?
Check it out!
This poor dresser had seen better days.
Scuffs, marks and a broken mirror on the top drawer. Sad and unloved.
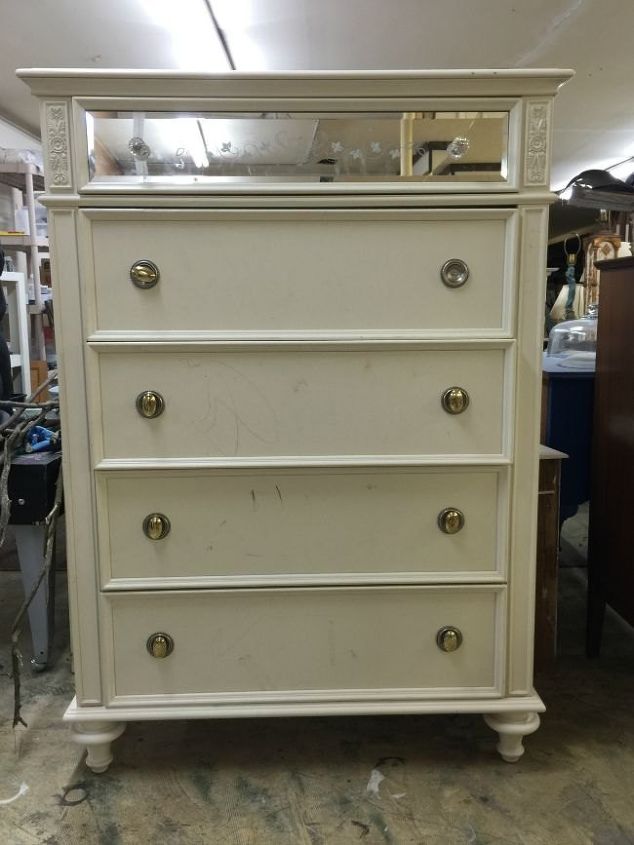
Ugly, really. But I had a plan.


We gave this ole gal a fresh coat of Velvet Finishes and used Cosmopolitan and Timeless.


We base painted with the Cosmopolitan then added the Timeless as an accent color.


http://www.velvetfinishes.com/shop.html
See How to Paint with Velvet Finishes here. http://www.designasylumblog.com/paintingwithvelvetfinishes/


This would have been painful, tedious work without Frog Tape.


http://frogtape.com/index.php/


Seriously. Painful.


If you are doing a project that requires taping over fresh paint, be sure to use the Frog Tape for Delicate Surfaces.


Always remember to remove your tape while the paint is still damp.


Now for the cool part….


I used Dry Erase paint for the drawer faces so they could be written on!


All you need is dry erase pens and an eraser.
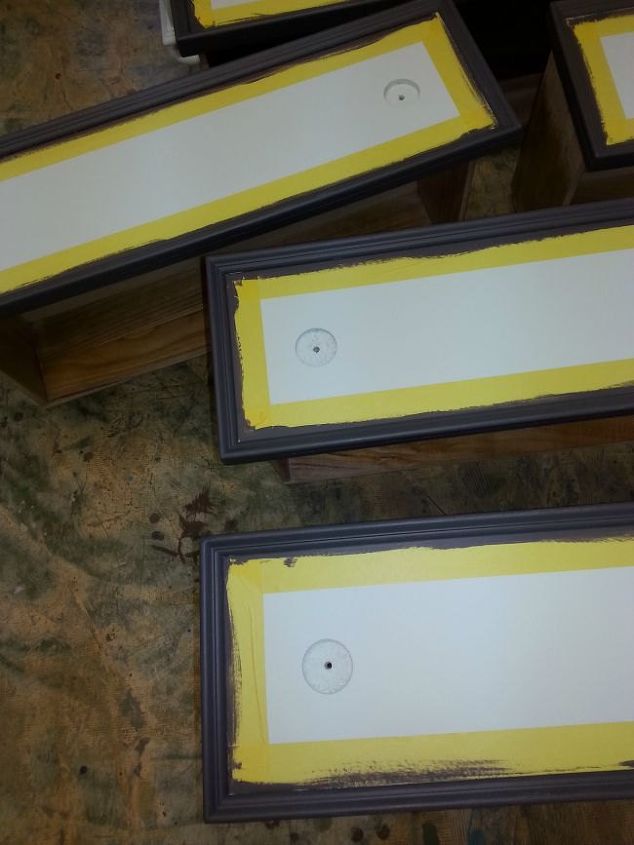
I know what you thinking.


Why would I ever encourage my kid to write on furniture?


You are seriously going to ask the person who has a spray painted sofa in her living room this question?


True story and I can prove it. > http://www.designasylumblog.com/home-tour-casa-de-loco-living-room/


ReMARKable Dry Erase Coating > http://www.remarkablecoating.com/


is available in white or clear.


Decisions, decisions.


I decided on clear. The white is cool and I could think of several color combo’s I wanted to do with the white but the clear peaked my curiosity.


With the clear I could do any color combination.
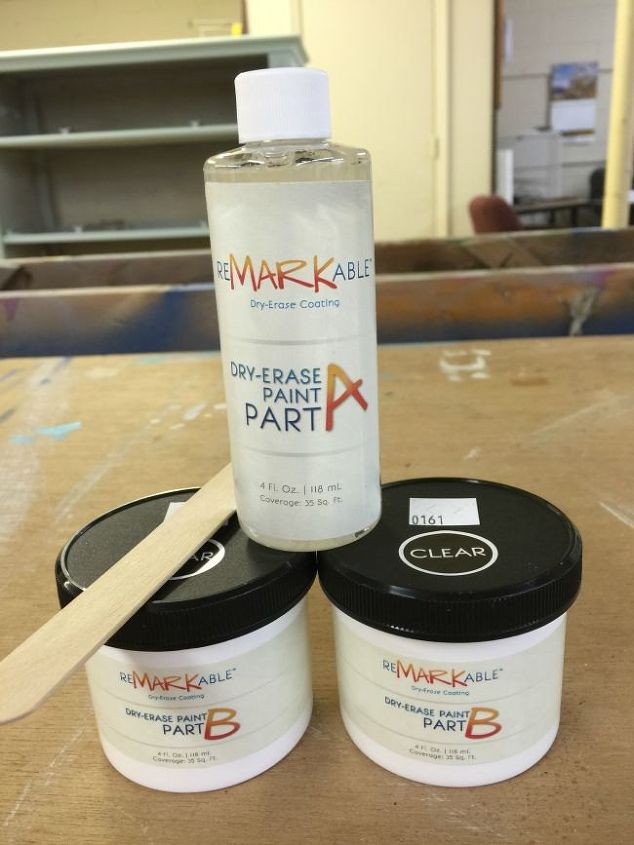
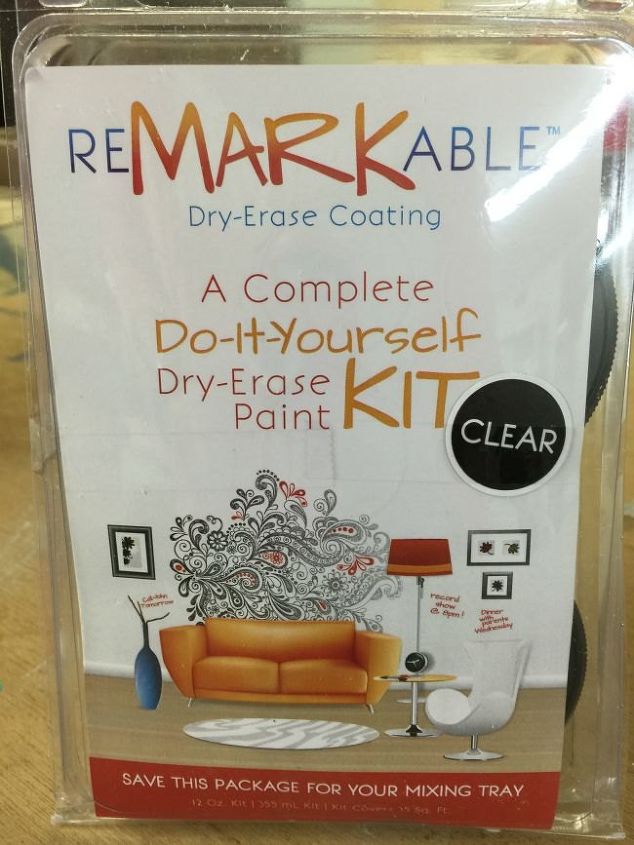
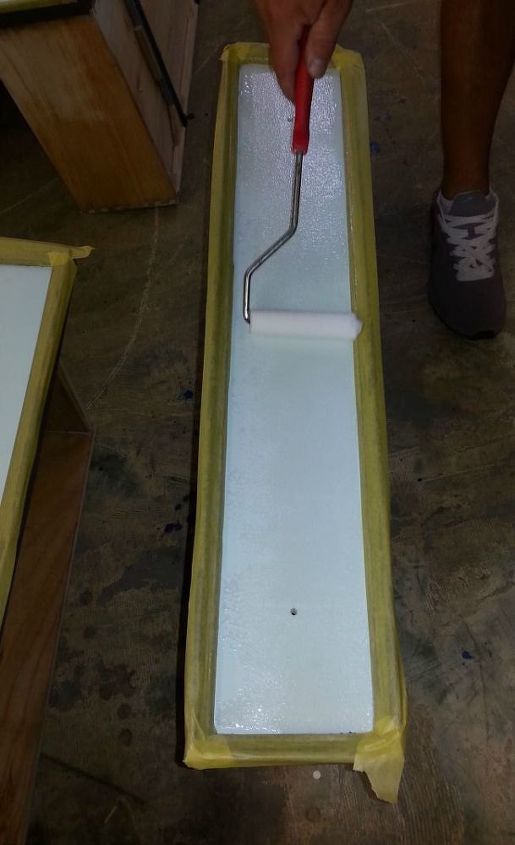
The kit shown above covers 35 square feet.


That’s a lot ya’ll. You can do a big space with that!


It is super easy to mix.
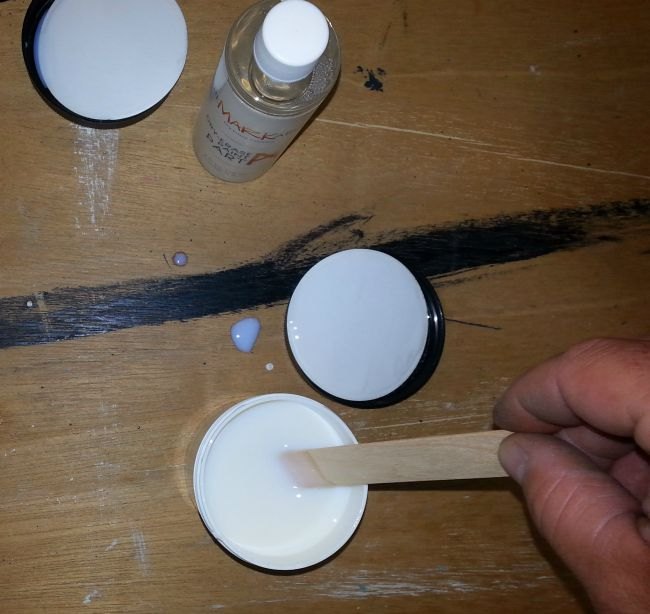
The instructions are simple. Only 4 steps. The package the pieces comes in can also be used as a mixing tray, all you need is a smooth quarter inch nap roller cover.


Simply roll it on evenly.
Once you mix the ingredients in the kit you have 45 minutes to apply the product before it starts to cure, so don’t mix it until you are ready to use.


The cure time is 48 hours so I had to be patient. Not easy for me. I couldn’t wait to grab some little girl off the street (ok, that didn’t sound right) and tell her write on the dresser!!


So cute little Addie came in organized her drawers but she was too shy for a picture.
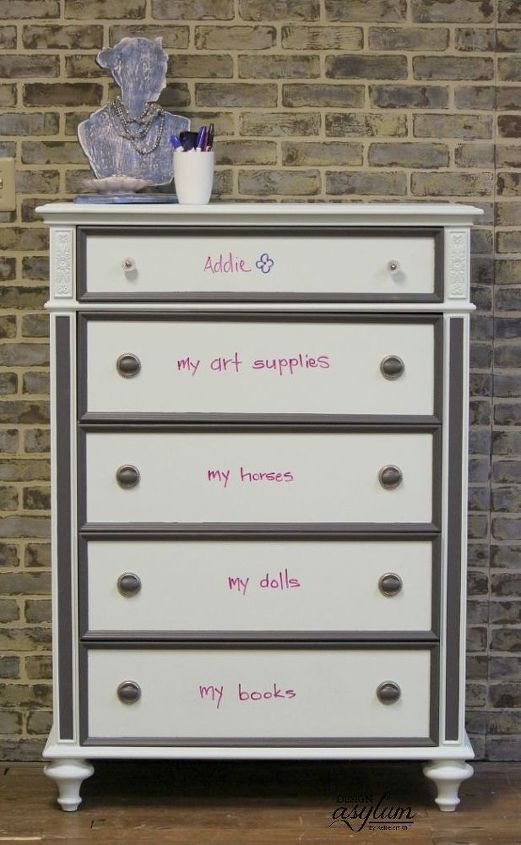
I’m telling you , Addie thought this was the neatest thing ever. She could label her drawers for clothes or for her toys, whatever she wanted!


I think it’s cool that because it’s clear, it can grow with her. If she wants to change it she can. And if she doesn’t want to write on the drawers, since it’s clear, you would never know the drawers had ‘white’board on them.


Brilliant.


If you ever decided to remove it and paint over, you just lightly sand with a 220 grit.


I can think of tons of uses for this, can you?


Where would you use a Dry Erase board? Would you use the white or clear?


I’m dying to use this on a wall at the studio!
Kellie from Design Asylum Blog
Want more details about this and other DIY projects? Check out my blog post!
Go
Frequently asked questions
Have a question about this project?
Comments
Join the conversation
 2 comments
Next