


DIY Plywood Dresser

This is a fun and inexpensive way to build an awesome heavy dresser.
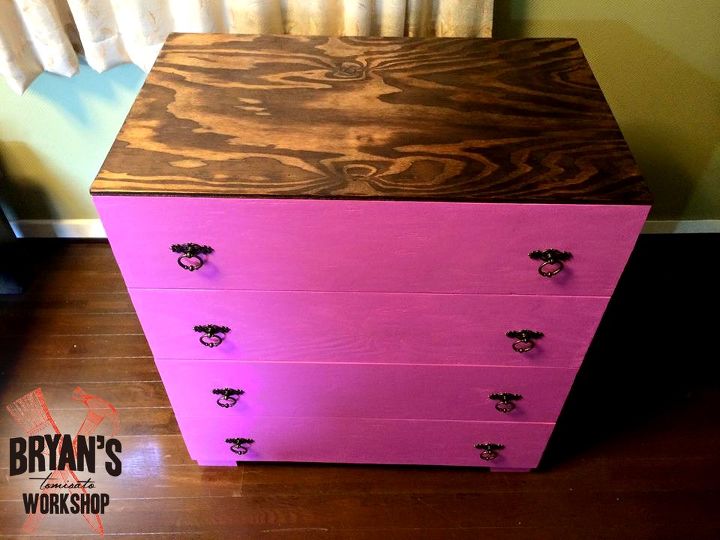
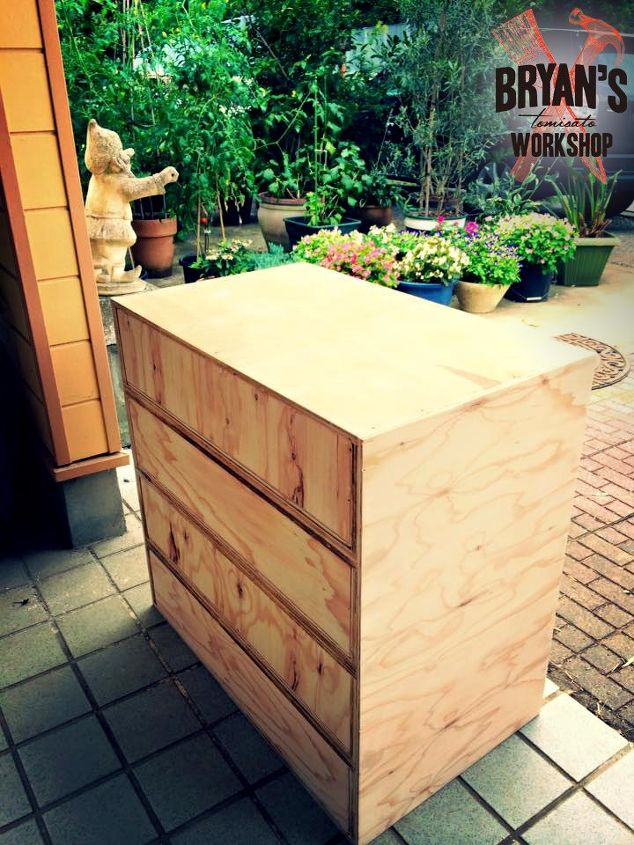
It turned out great and Incredible Hulk strong.
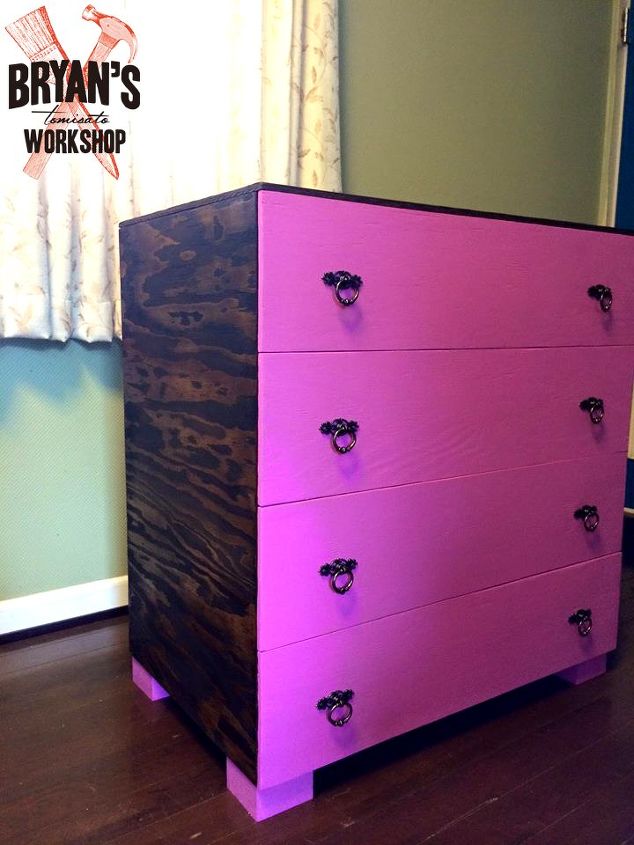
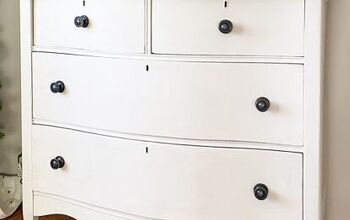
Stain and wax and say to yourself "I will never make one of these things again!"
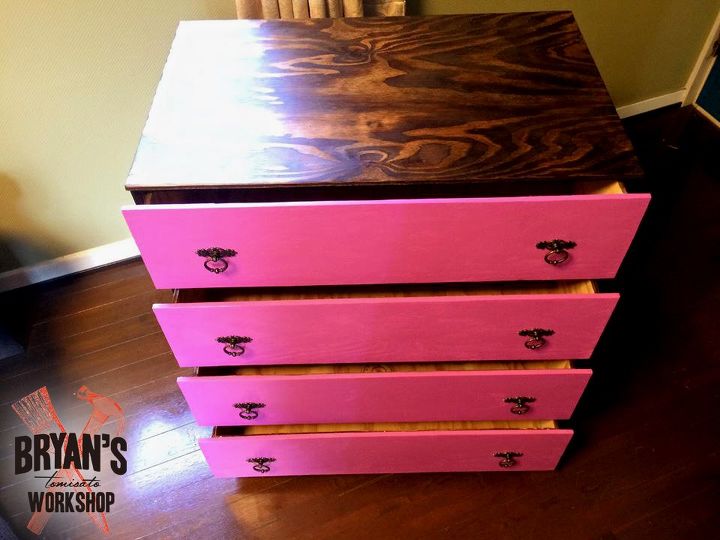
The last part is the top piece of wood. Cut it, so the drawers are flush when they're pushed in.
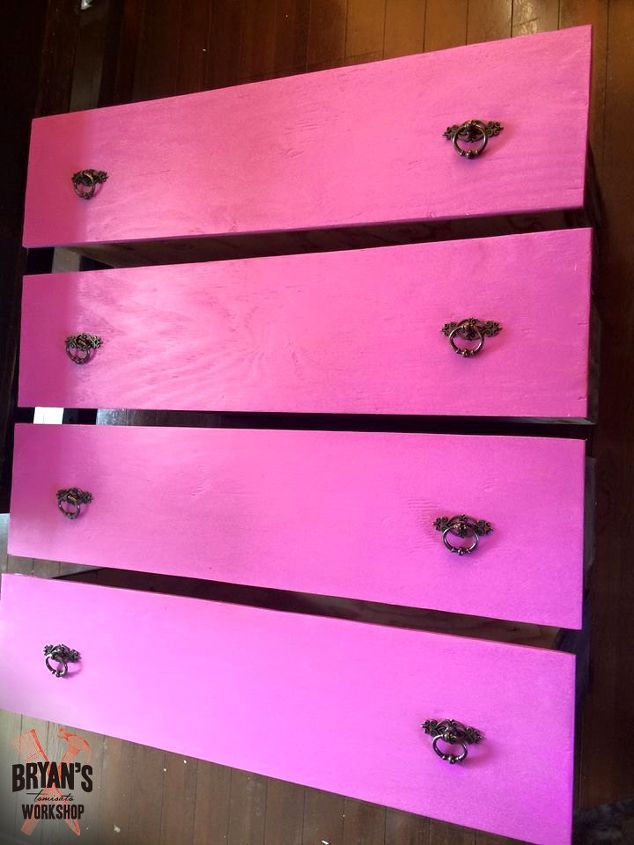
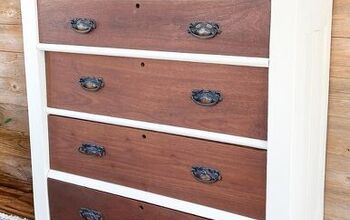
I cut drawer fronts to match the exact opening of the rectangle sized boxes I made first. I laid the dresser on its back and secured these fronts onto the drawers with wood glue and the weight plates. After a couple days of drying, I pulled the drawers out and used screws from inside of the drawer going into the backs of the fronts.....what did I just type? Cover the screw holes and sand....again.
Power up the sander, because you'll need it. If your measurements are on point, you shouldn't have to sand down any major points. Make sure all of the wood putty spots are smooth and make sure your new dresser is free from dust for the stain and paint.
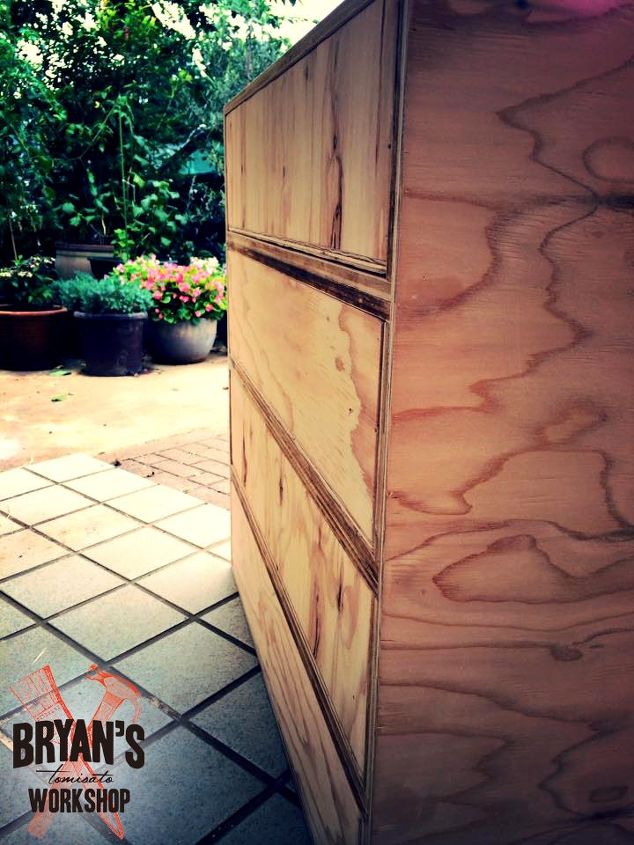
I gave it a couple days to dry and then cut two side pieces and a back piece. Get nice and grainy looking plywood for the outside pieces if you're going to stain it. The most difficult part of this project is the measurements. You need to be dead on. I screwed the side and back pieces on in every place the boxes meet. I filled in the screw holes with stainable wood putty and then cut drawers that will go in flush with the front.
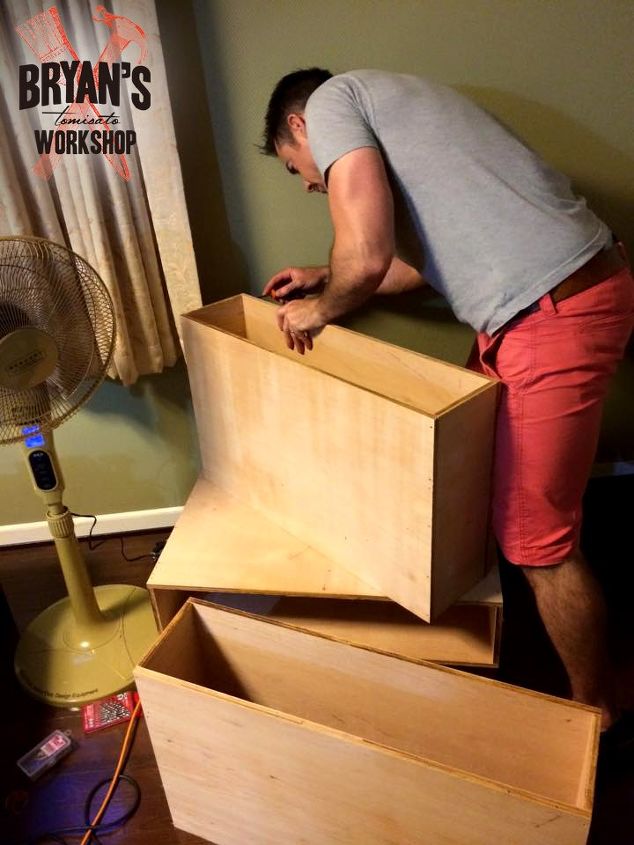
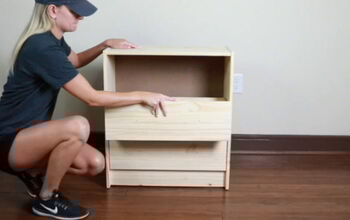
Ka-blamo! After this picture, I lined the boxes up on top of each other and glued them together with wood glue. I used my clamps on the front and put some of my weight plates on the top.
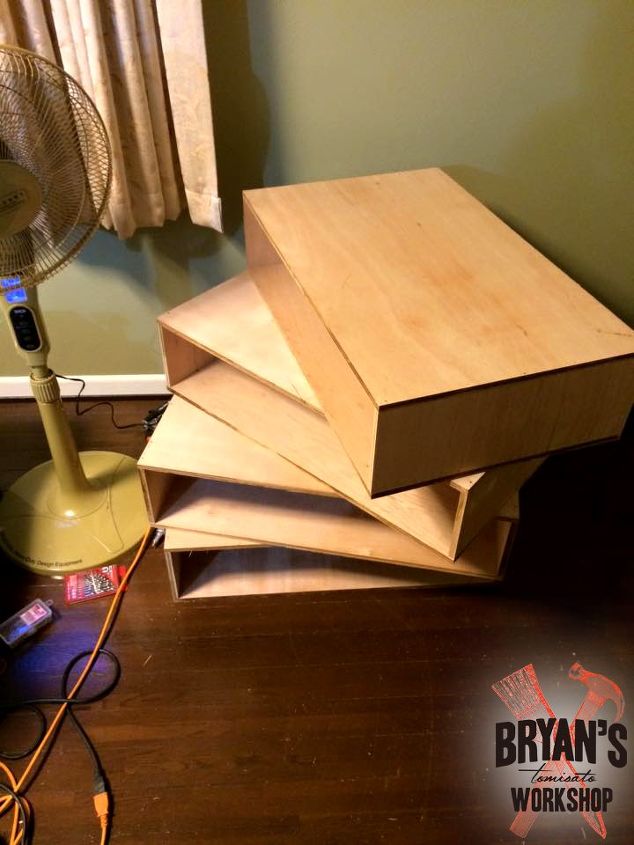
I made four rectangle sized boxes to start. Plywood is pretty cheap and some places will even cut the wood into the shapes you need.
Comments
Join the conversation
4 of 6 comments
-
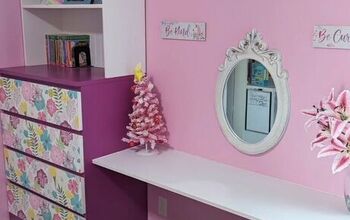
Pretty, pink, with a pinch of power - nice work Bryan !
-
Love it!


Frequently asked questions
Have a question about this project?