


Gypsy Queen Dresser

7 Materials
$100
12 Hours
Medium
White latex painted dresser transformed into stunning vintage style chest of drawers!
You will need: Two colors of Amy Howard's one step paint, Electric Sander, 100 grit and 400 grit sand paper, General Finishes Gel Stain, Vintage Transfer, lace doily, Rustoleum spray paint, Modern Masters Interior dead flat finish, wood putty
1. Step one - remove hardware, put in ziplock bag. Clean mold and mildew off with diluted bleach (50/50 water and bleach).
2. Step two - Citristrip white paint of off top and sides (optional)
3. Step three - Sand top, wipe and stain with a dark stain.
4. Step four - Paint dresser using two different colors of Amy Howard's one step paint - Orchid (purple) and Drama Queen (pinkish).
5. Step five - Stencil sides of dresser using a lace doily and spray paint.
6. Step Six - Transfer Image to dresser
7. Step Seven - Lightly sand all surfaces with 400 grit sand paper.
8. Step Eight - Polycrylic all exterior surfaces
9. Step Nine - Add drawer liners. Optional.
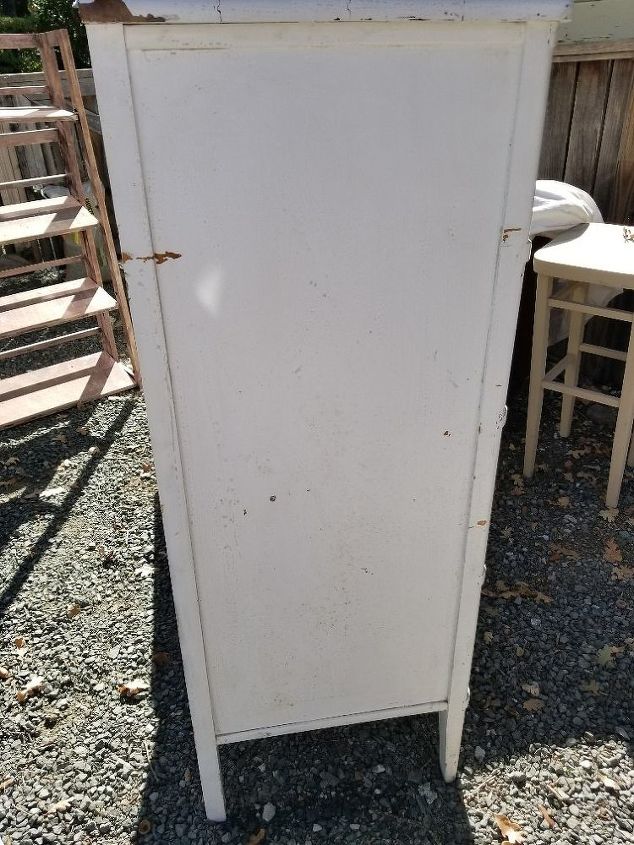
Visually inspect your piece and note any dings, gouges or damage. This step should be done before you buy the piece. You will need to scrub, sand or fill or fill and sand away imperfections that are more than just "character" marks. You can see the deep gouge on the left of the case frame.

Then use a lint free rag to clean all over with soap and water. Don't worry all the grossness came off before I painted. Always wear gloves and a mask before cleaning an old piece. You never want to breath or touch mold or mildew. Also small animals are fond of making drawers their home and they can leave small surprises which can carry disease. Not the instance here, thankfully.
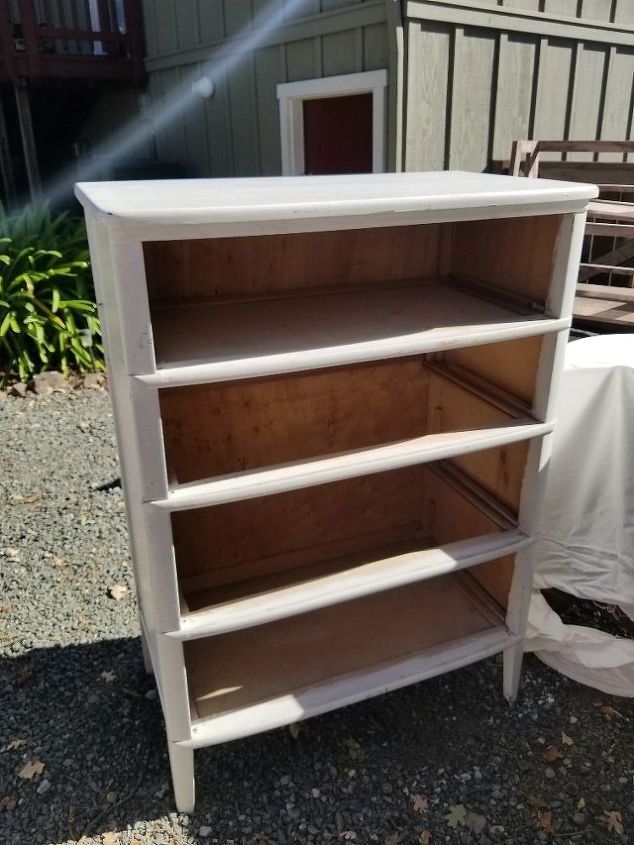
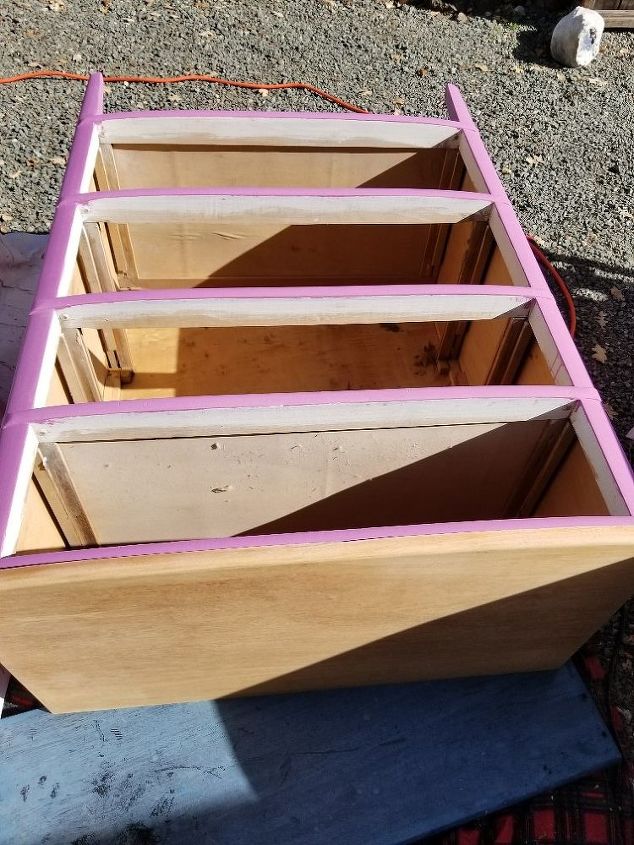
Remove drawers. Treat drawers at the same time you are treating main case of the dresser.
Time to fix those imperfections. Here you will notice that the part of the leg on the right cracked off during transport. I created a new one with wood filler. After the old paint is removed (I had to Citristrip a few times as the paint was really thick), I use Amy Howard's Clean Slate. I wipe the entire case and outside of drawers using a lint free rag. This will help remove all the waxiness and other impurities left on the wood from striping and sanding.
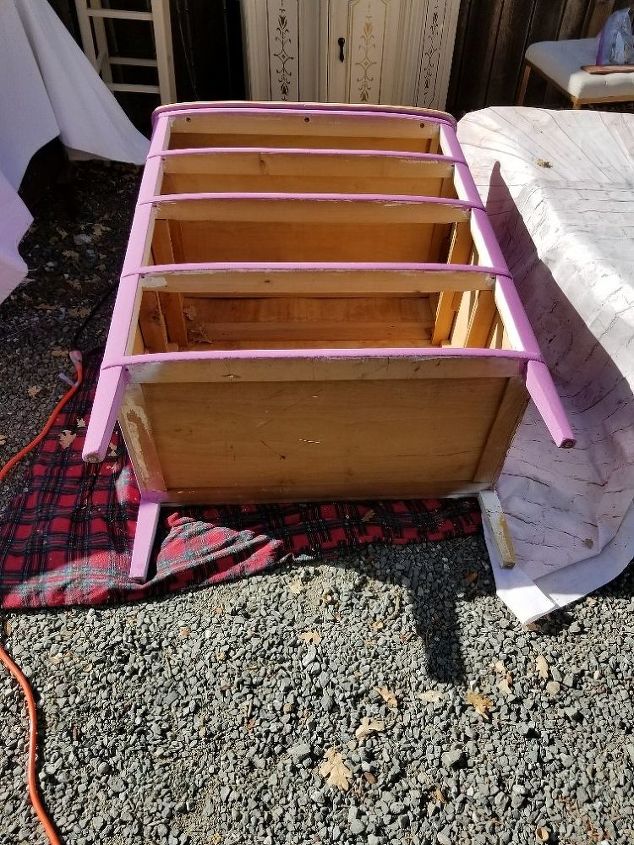
Here is the construction of the leg. I splinted two sides of the leg to create a mold. I find that I always need to add water to the wood filler as it is very sandy. You will need to let that cure for a few days. I continued to work on every thing else to give the leg time to cure. Once the wood filler is dry and has cured, you can sand with a sander and paint to match. Make this your last step to give maximum curing time.
Stain top of dresser. I like to lay the dresser down to prevent any of the stain from getting on the paint. After staining top, paint case with color 1. Then paint drawers with color 2.
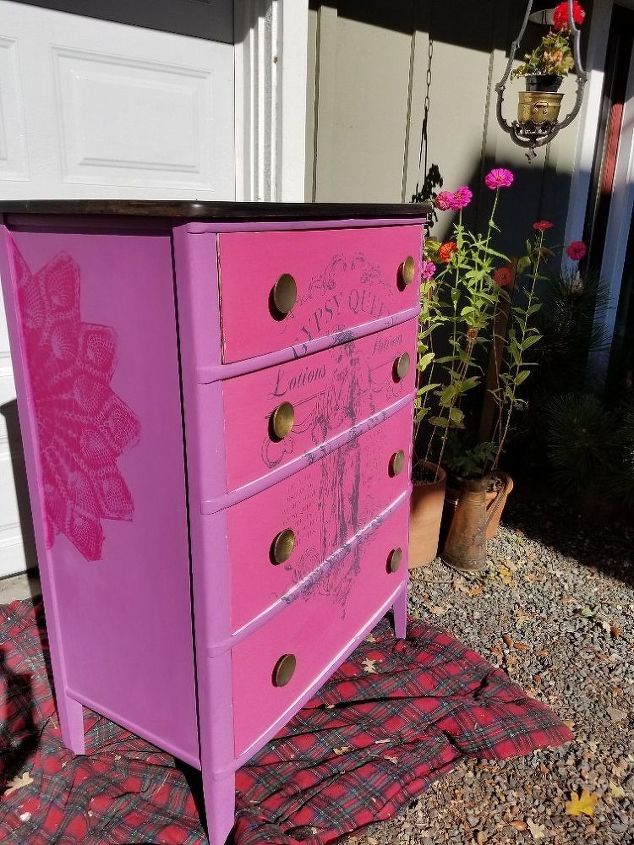
Stenciling with a lace doily give a familiar and unique look to the piece. Lay piece on its side, tape lay lace in desired location. Use painter's tape to tape around doily. Spray lightly with a complimentary Rustoleum flat spray paint. Remove doily immediately. This step is optional and should be done before the all over sealing because the spray paint will travel a bit even with taping off. Because of over spray you are going to want to be able to sand first and then seal.
After staining top and applying transfer to front, sand all over with 400 grit sand paper. If you want to get a transfer or more instructions on this part of the project, contact me via my website. Wipe down with water (allow to dry) and then apply Modern Masters dead flat finish. I am a big fan of Modern Masters interior dead flat because it neither adds or subtracts to your finish but protects from water rings etc...
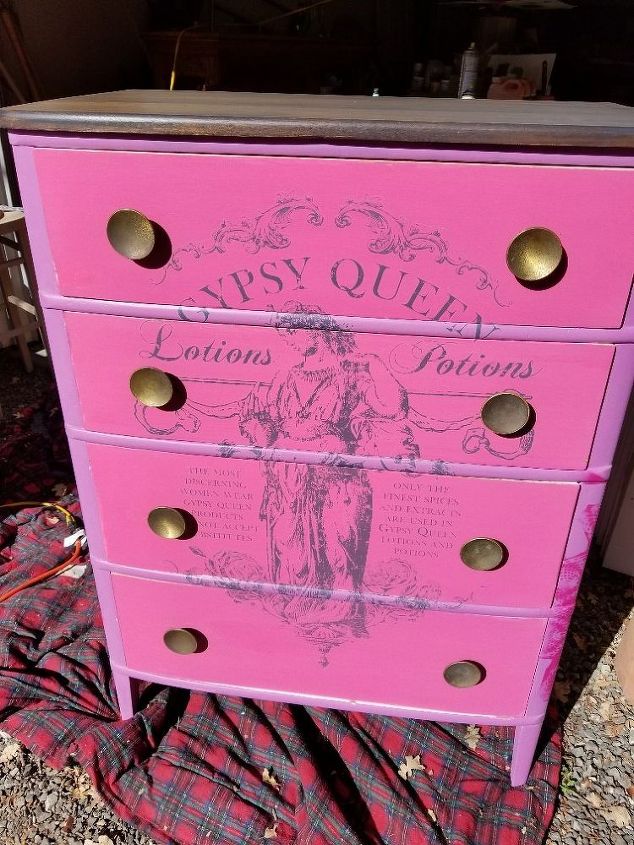
Reattach hardware and add drawer liners if drawer interiors are not in good shape or visually appealing or just for added charm. I sprayed these original drawer pulls with a green patina spray before attaching.
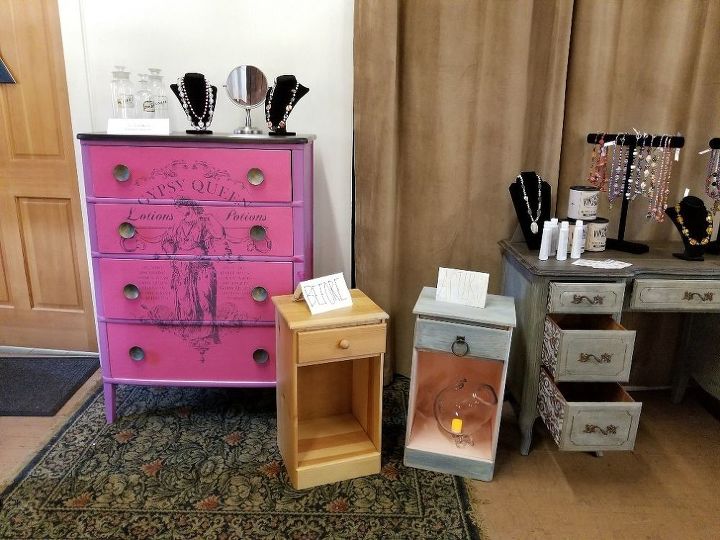
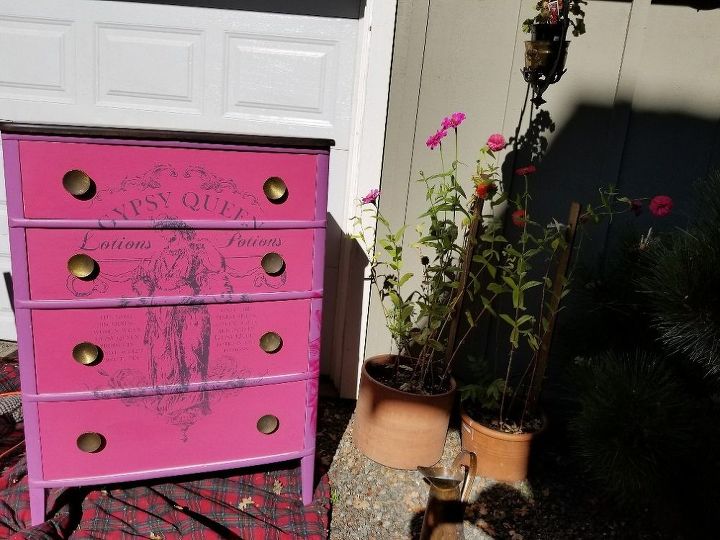
Here she is; the Gypsy Queen! Part of an artist exposition I took part in. You can see glimpses of some of the other furniture I have reimagined.
Resources for this project:
See all materials


Any price and availability information displayed on [relevant Amazon Site(s), as applicable] at the time of purchase will apply to the purchase of this product.
Hometalk may collect a small share of sales from the links on this page.More info
Comments
Join the conversation
2 comments
-
She was plain, simple and ugly! Now she's bright, colorful, and very happy. A new lease on life. Great job!
-
Oh pretty!!!


Frequently asked questions
Have a question about this project?