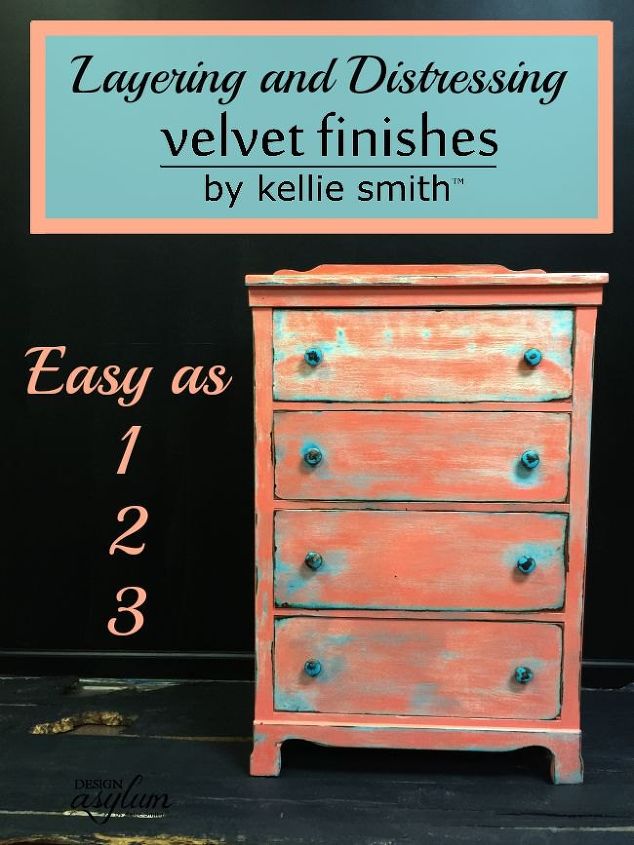
Layering and Distressing With Velvet Finishes Paint - No Sand, No Wax!

You are not going to believe how easy this process is…
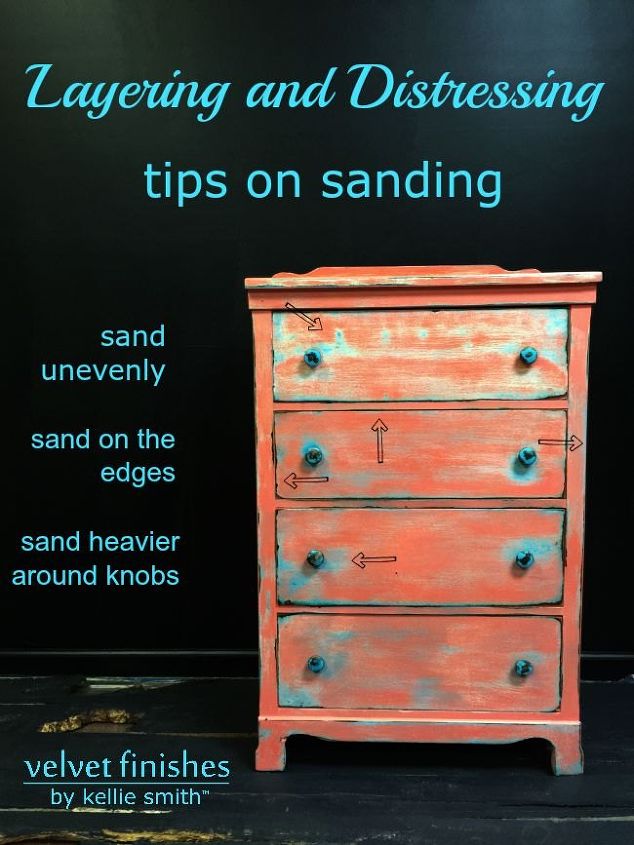
Layering and Distressing with Velvet Finishes
I have told everyone when it comes to working with this paint…
If I can use it, anyone can
and I really mean that.
I’m going to show you how to create a time worn look of layered paint in 3 easy steps.
Velvet Finishes is like magic. It can make us spastic people look as good as the pros!


We have an easy READY – COLOUR – ENHANCE process that anyone can do!


http://www.velvetfinishes.com/index.html
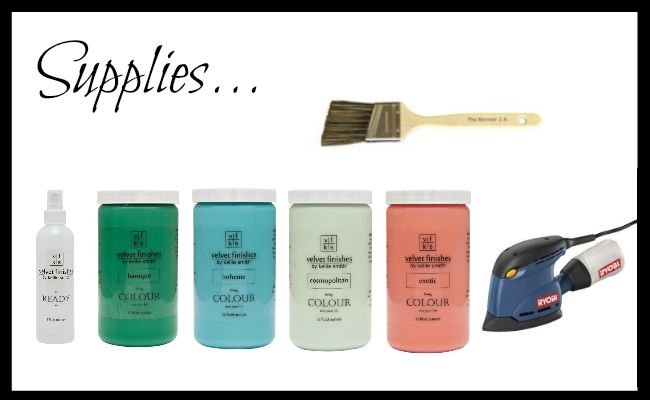
Step 1 is the READY product. This is our spray on deglosser and cleaner and the key to preparing your furniture for painting.


http://www.velvetfinishes.com/more-cool-stuff.html#!/ready/p/37603226/category=9624024
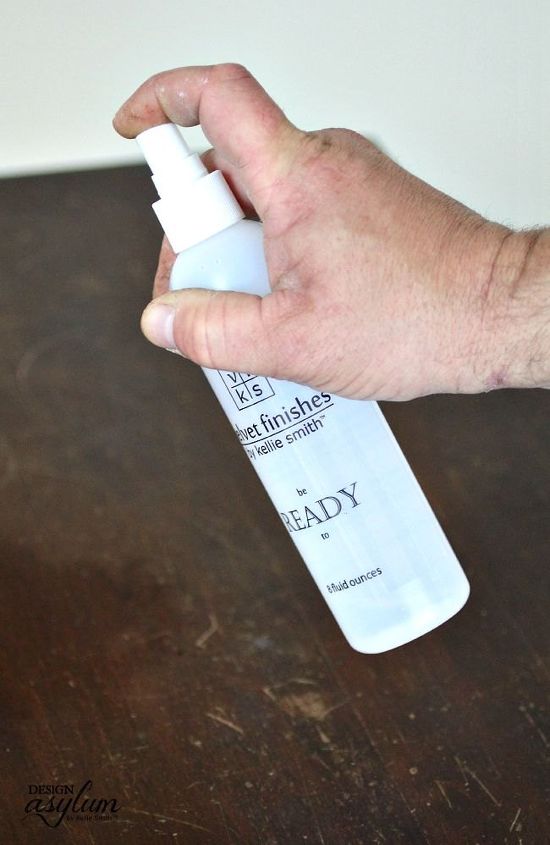
The Accomplice is spraying READY on the piece prior to painting.


To use the Ready, spray it on and let it sit for about one minute then wipe off with a lint free rag. If your furniture is super dirty, or you are painting cabinetry, repeat the process. Easy!


Now for the COLOUR step. Paint it!!
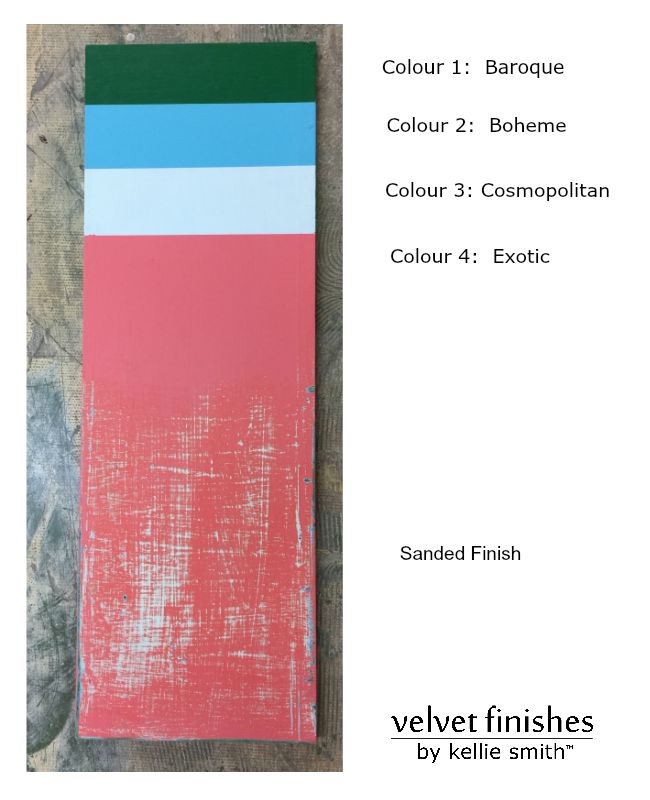
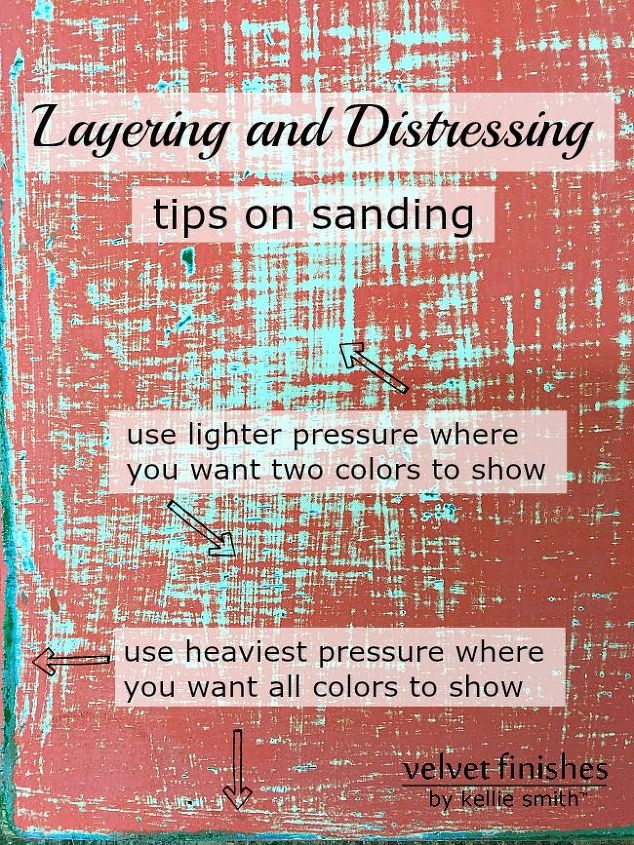
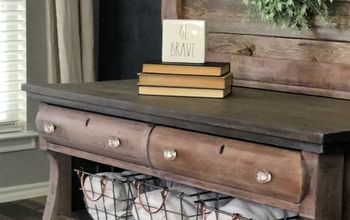
I painted the base coat in Baroque, then painted a coat of Boheme, then Cosmopolitan, and lastly Exotic.


You can see all the fabulous colors here:


http://www.velvetfinishes.com/velvet-finishes-paint.html


With this type of project, the coats do not have to be perfect. Usually one good coat of each color will give you enough to reveal once sanded. You need a thick enough coat so that when you sand, you have enough there so that you do not just sand through.


Also think about where you will be sanding. Possibly you do not fully paint each coat. If you are only wanting 2 colors on the front but 4 colors on the edges, paint accordingly.


The last step in this process is to sand.


I use the Ryobi Cat Sander because they are inexpensive, easy to handle and do a great job.


Mine is blue, like shown above but the newer one is green.


Apparently these are only available online and what is in the stores is battery powered, which has a slightly lower orbits per minute.


They also DO NOT have a dust collecting bag, which I really, really like. Sanding is messy and I prefer to keep the dust corralled as best as possible!


If you prefer the version like mine, you can purchase it here:


http://www.amazon.com/Ryobi-ZRCFS1503GK-Corner-Finish-Sander/dp/B00NO7R6MQ/ref=as_li_ss_tl?s=hi&ie=UTF8&qid=1437918657&sr=1-2&keywords=ryobi+cat+sander&linkCode=sl1&tag=wwwkelliesmit-20&linkId=531a1cdf9340237144e5ad70bc574005


How do I use a sander you ask?


It’s really easy but if you’ve never sanded with an electric sander there are two tips I want to share.


Apply enough pressure. If you do not press hard enough the pad skips and creates little circles in the paint finish. Not pretty.


Change the sanding pad frequently. If the pad is gunking (yes that is a word) up with paint, then change the pad. You will not get the best results with a gunked up pad.


Now, for the bigger question…


Where do I sand?


Imma show you….
BOOM!


People this is so easy! If I can do it, I KNOW you can!!!


To create a piece that looks time worn, the sanding has a subtlety to it. I sanded so that the Baroque only shows on the edges.
Do you have any tips you can share? I’d love to know your painting process!


What colors would you layer?
Kellie from Design Asylum Blog
Want more details about this and other DIY projects? Check out my blog post!
Go
Frequently asked questions
Have a question about this project?
Comments
Join the conversation
 2 comments
Next