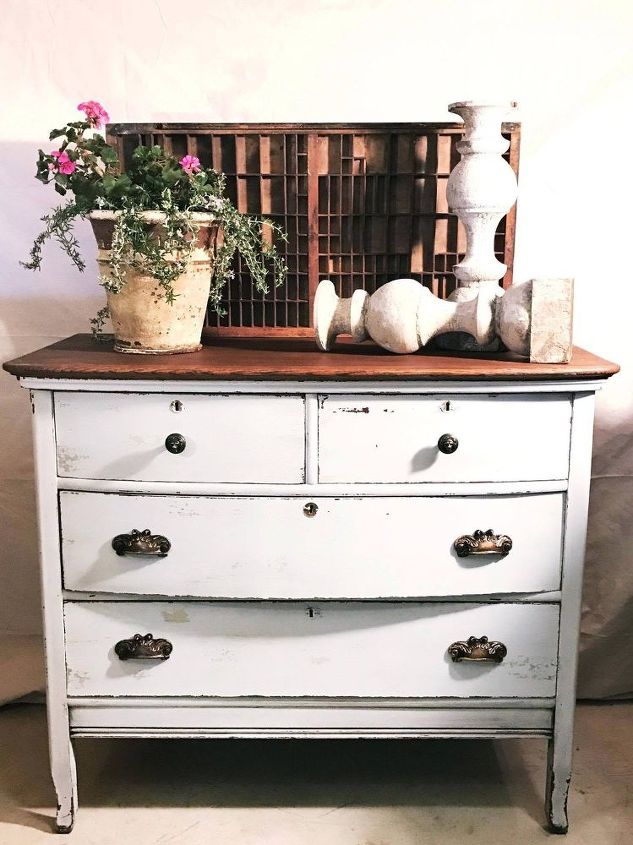
Painting a Farmhouse Dresser

Old Barn Milk Paint
by Old Barn Milk Paint
5 Materials
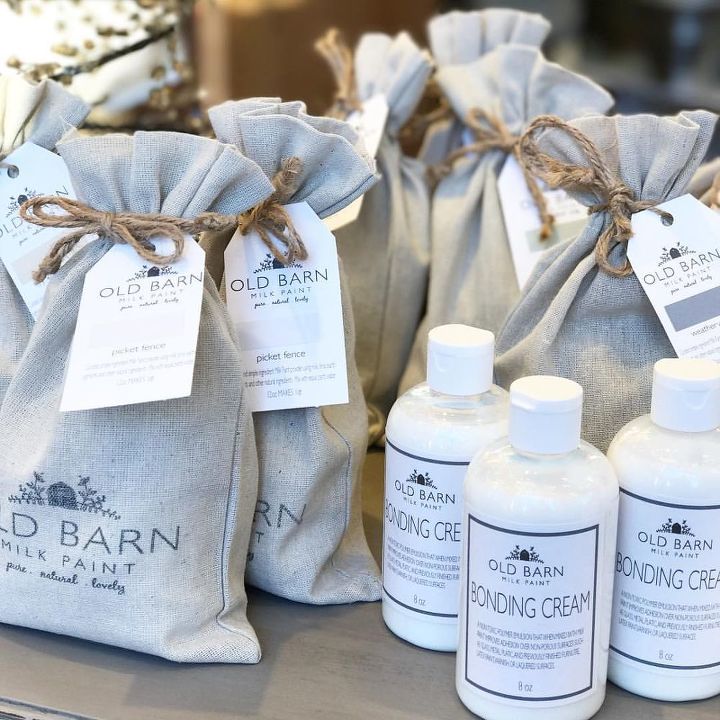
How to transform furniture beautifully with Old Barn Milk Paint
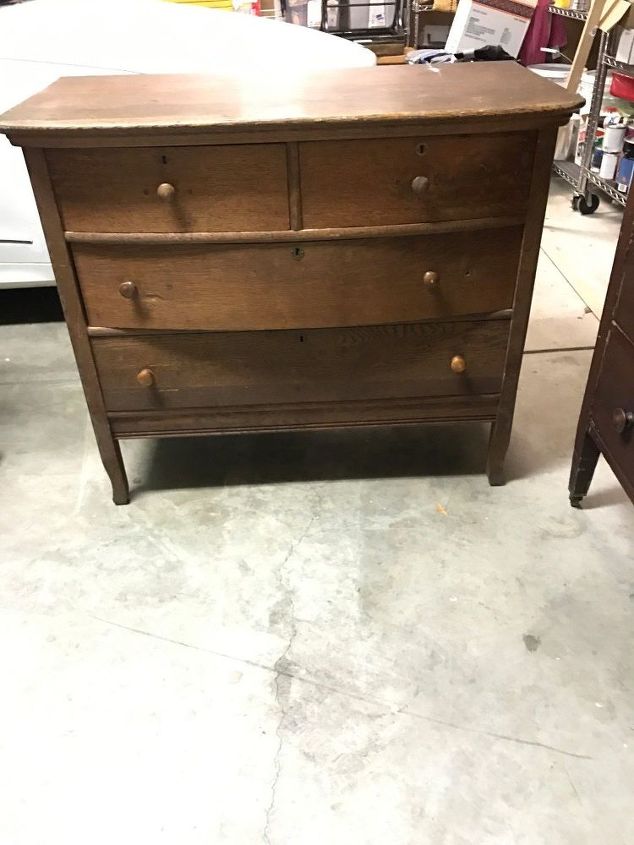
There are certain places you hear about in the furniture flipping world that are full of treasures. You'd think I would frequent these places, but, I don't. I usually find my pieces locally. People send me pictures, I walk into the shop and there are pieces there that are always pulling me in.


I woke up a couple Sundays ago to a text from a friend inviting me to go to Alameda Antiques Faire. I've never been and was super excited to see what all the glory was about this place. I mean EVERYONE raves about it. When they find out I have never been, they are appalled! I mean it's like I've committed some sort of crime! I totally understand the shock now! It's freaking amazing! So many talented vendors, some amazing, wonderfully curated items and not just furniture! I saw some of the most glorious makers during our visit and it was off season! Meaning most of the vendors weren't even there. I wish I'd taken more pictures, but I was totally absorbed in the flow of the entire event!


It was a slow Sunday as I said, but my friend and I found some AMAZING finds!!! I scored three dressers and this is a the first of them that I am working on.


This dresser really grabbed my attention. I think I say this every time I write that some pieces speak to me, and this is a perfect example.


I started off sanding the top lightly to remove some stains and water marks. I had to fill holes and repair damage to a couple drawers, this whole process really gives me time to listen to the piece. When you're prepping your furniture and you see those little knicks and gouges, the little imperfections that tell the story of where it's been and how it's lived it's life don't take them all away. Enhance them and allow them to show you where to distress, and keep the authentic age of the piece. Now, if there are holes and major damage I fix that, I'll grab some bondo or wood putty and fill an ugly crack in the center of a drawer, fill the missing veneer, I've even completely rebuilt half of a decorative leg by shaping and building up bondo. It is really an amazing medium (extremely stinky) for use on furniture.
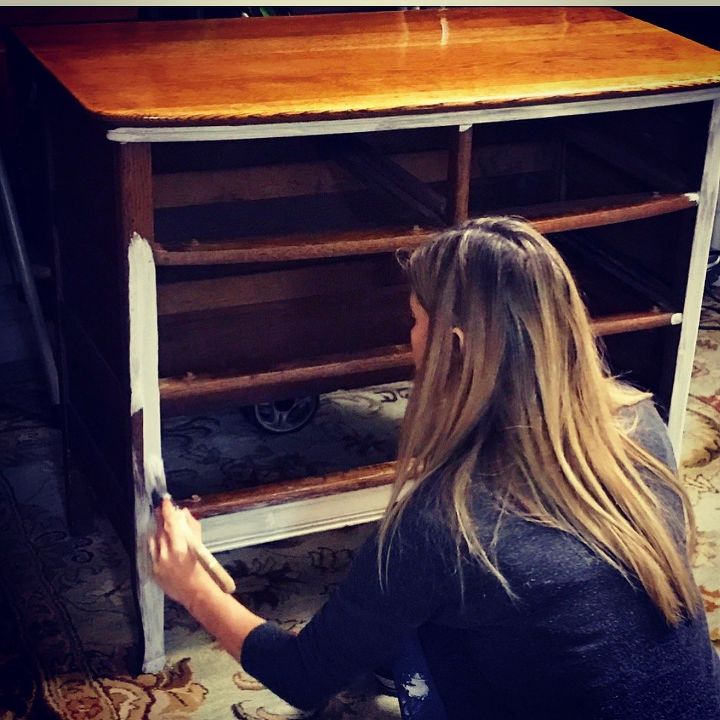
Once I filled the holes and sanded the top I mixed up OBMP in Wedgewood. As you know Milk Paint needs time to settle and fully dissolve once you've mixed it up. Approximately 10 minutes. Since my time is valuable and I don't ever sit around and wait, because I lack the patience, I always use this time to prep my pieces. I gently scrubbed every bit of the dresser with TSP to remove dirt and whatever the heck could have been on it. Make sure you remove all the TSP solution by rinsing the piece with a clean wet rag. You will be shocked at how much dirt this stuff removes!


Finally I'm ready to get to work! I started applying Wedgewood in smooth even strokes following the grain of the wood. I immediately was met with my worst nightmare ever! BLEED THROUGH! UGHHHHHH!!!!!!! I mean seriously, don't we all hate bleed through?? I hate wasting product and I hate shellac, which is often the only solution for bleed through when you're using Milk Paint. It's not a great idea to use primers under Milk Paint, when Milk Paint dries it dries quickly and shrinks, pulling the finish underneath, this is why you get chipping on non porous surfaces. As the Milk Paint dries and shrinks, any finish underneath will be pulled off with the Milk Paint. It's STRONG. I feel like there's a misconception because of the chipping that Milk Paint is a weak paint... it's really one of the strongest paints I mean apply this to raw wood and it absorbs in like a stain and will not move for anything!


Ok.... I'm a bit of track now, hmmm.... ok shellac, I hate the stuff, I can't use it because of the odor and my migraines so I've been playing around with some other formulas to find a non-toxic solution. You know me, if it's not readily available I will obsess until I find something that will work and I have learned through this process that the non-toxic and plant based solutions are typically more durable than the chemical based ones!


So I painted the entire piece with Wedgewood and it all yellowed. A lot, in fact it turned this beautiful Ochre colour! So I sealed it all up with our Finish Coat, I wanted to see how this would work as a sealer for stains. Then I applied a second coat of OBMP Wedgewood over this and waited. I had no idea what would happen, will the paint drop to the floor? Will it continue to yellow??
Nada, nothing happened. So I took a heat gun to some areas to encourage chipping and crazing because this piece needed to be worn and full of chippy goodness. I also really wanted that first coat that yellowed to come through.
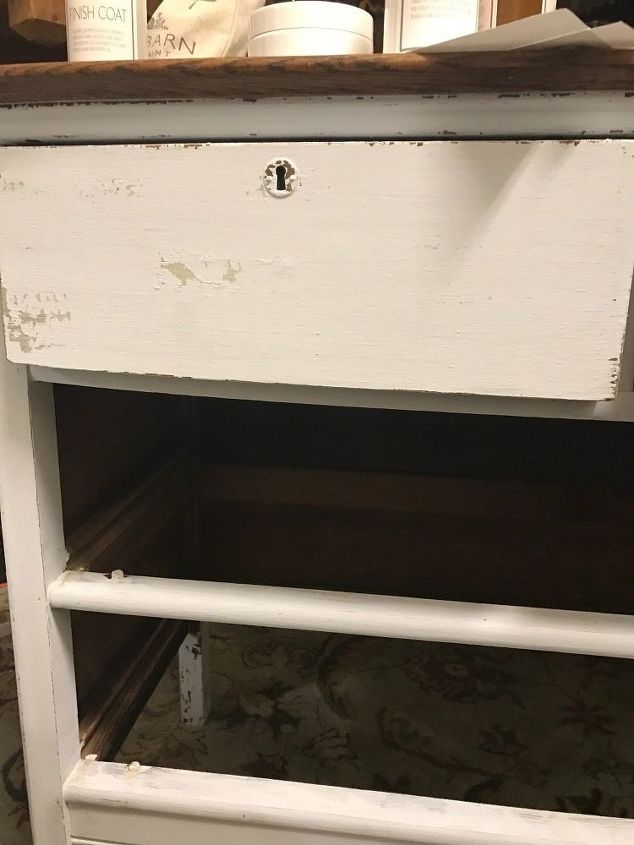
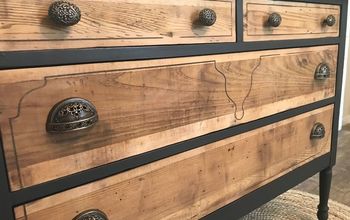
I love when I get to pull out the scraper and remove all the chips and flakes of paint. I heavily distressed the legs of this piece because the paint didn't chip quite as much as I wanted and I wanted this one to look worn and naturally aged. I think Toni was a bit in shock when he saw me with the big 2.5" scraper just pulling the paint off! I know what I'm doing though, and told him to get away before he made me self conscious!
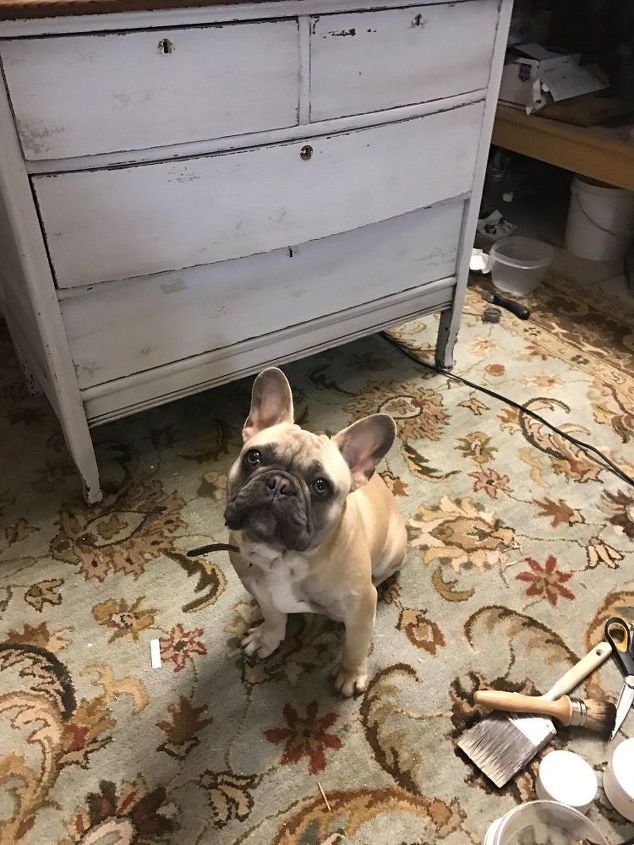
Winston, our Frenchie is my work companion, he keeps me company and busy. He likes to get his little squish face into everything, including the photos. This time I let him be in the picture I mean he was giving me those darling puppy eyes!!! How could I make him move??


To seal this piece up I applied OBMP Hemp Oil Blend to the wood top, I wanted to moisturize and make it water proof. I applied two coat of our Hemp Oil and waited 24 hours. When I came back down the next day, the top was still really orangey and I hated it. I decided to apply OBMP Dark Beeswax Polish to deepen the wood. I did not want to stain this one. I wanted the rough texture of the original top. Ultimately I applied two coats of Dark Beeswax and I think it turned out perfectly. I got to keep the texture and charm of the wood and it looks gorgeous!


Next I worked on the body, I applied a bit of Dark Beeswax to the legs and very bottom edge of the entire body. Then I got to work with our Oil + Wax and Aging Dust. I poured each into separate bowls and got out a big old scruffy brush. I started by applying the oil wax onto the painted surfaces. Then I dipped my brush into the Aging Dust and brushed it on. I worked like this till my brush was basically just a saturated solution of the Oil + Wax and the Aging Dust and applied it everywhere concentrating where I wanted the Aging Dust to be the darkest. I waited about 15 minutes and wiped off the excess solution with a clean lint free rag.
I seriously love this piece. From every detail, it turned out exactly as I envisioned. I love the layers of chipped paint, the heavy distressing in all the right places and the Aging Dust really enhanced and deepened all the details and added a truly aged look!


I since I started this project I have accumulated a garage full of pieces. In addition to the other two dressers I picked up at Alameda, I have a beautiful buffet I'll be painting for my next event at Pottery Barn. If you happen to be local to Walnut Creek, California come by and see me on Jan 21, 2017 I'll be at the Joy of Organizing event with my entire line of products! Including a surprise new product. I've talked about this a lot before and I can not wait to release it!


Warm wishes to you and thank you so much for reading and following me! Have a blessed day!


~Chrystal
Suggested materials:
  • Old Barn Milk Paint - Wedgewood   (www.oldbarnmilkpaint.com)
  • Old Barn Milk Paint Oil + Wax   (www.oldbarnmilkpaint.com)
  • Old Barn Milk Paint Dark Beeswax   (www.oldbarnmilkpaint.com)
See all materials
Frequently asked questions
Have a question about this project?
  2 questions
  • Mary Ann Laurino Mary Ann Laurino on Jun 23, 2019

    Where did you get your hardware

    I have the same piece of furniture n would love to try this but need hardware.

  • JUNICE COPPINGER JUNICE COPPINGER on Mar 14, 2023

    Love your fur baby he makes the picture!!!

Comments
Join the conversation
 2 comments
Next