Dresser Into Custom Kitchen Island

by
Hooked On Pinterest
(IC: blogger)
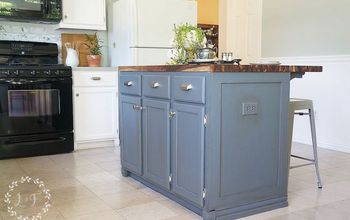
Ever since we planned to take the wall down between our kitchen and our living room, I knew that I wanted an island in the kitchen. At first I thought that I would just extend our existing counter top to create the island. But, I quickly realized that this would be a costly and time consuming. So, on to plan b, create an island from an old dresser. I decided to use an old dresser that we originally got from my husbands parents back when we moved into our first apartment. This is a child's dresser, our kitchen is not so big so it works well in our space.
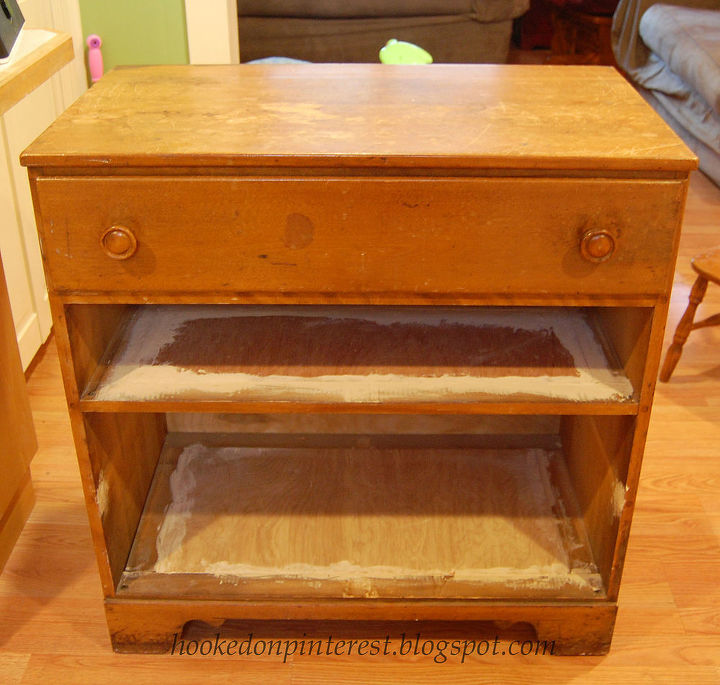
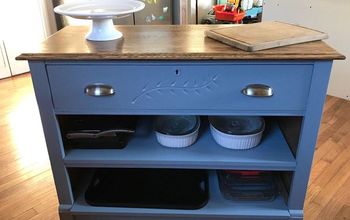
I always forget to take pictures at the very beginning of my projects. So, if you can imagine this dresser originally had 4 drawers. We left the top one in, took the bottom three out and created two shelves. The shelves will ultimately be covered with doors that my Dad is making for me.
The next step was to sand the piece to get it ready for painting. We also drilled the second holes for the handles on the top drawer.
I finished painting the base of the dresser, this took about 2 coats of semi-gloss paint.
Once we had the laminate for the top, my Dad took it to his house and cut the laminate, glued it to plywood and added the trim to the top. To adhere the laminate to the plywood he used contact cement. He said this was a two person job because once you set it down there is no picking it back up to make adjustments. He had my Mom help him with this.
After that my Dad attached finish pine board to the base to hide the 2x4s. Then it was time to attach the top. We drilled 9 pilot holes through the top of the dresser. Then because the drill would not fit, my Dad screwed the top on with a screwdriver. After all 9 screws were in we could tell that the top was going no where.
Enjoyed the project?

Want more details about this and other DIY projects? Check out my blog post!
Published January 2nd, 2015 2:36 PM
Comments
Join the conversation
3 of 26 comments
-
It looks great, your Dad did a great job. Cherish your Mom and Dad, I really do miss mine. God Bless you and your family. I really love it.
 Sarah
on Sep 20, 2016
-
-
 Elizabeth Grueninger
on Jan 27, 2019
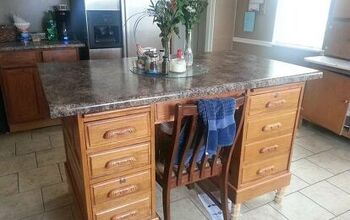
I used an old roll top desk. Then i got tired of only one chair. So i removed one end, added legs, painted it black. Now i have room for 4 chairs.


-
 Hooked On Pinterest
on Feb 01, 2019
Your island looks great and has so much storage! Great job!
-
-












Frequently asked questions
Have a question about this project?