


The Stinky Dresser Project

by
Janice
6 Materials
My Husband is always bringing home all sorts of items he finds on the side of the road and in dumpsters, and when he brought home this dresser....well, let's just say I was thinking how to get it in the trash as soon as possible. It was so stinky I was glad to have the chance to leave it outside for a few days, and it even got rained on!!
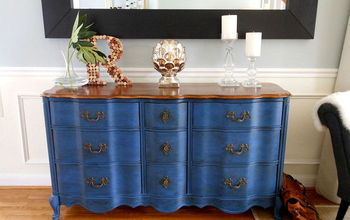
This is how it looked before...
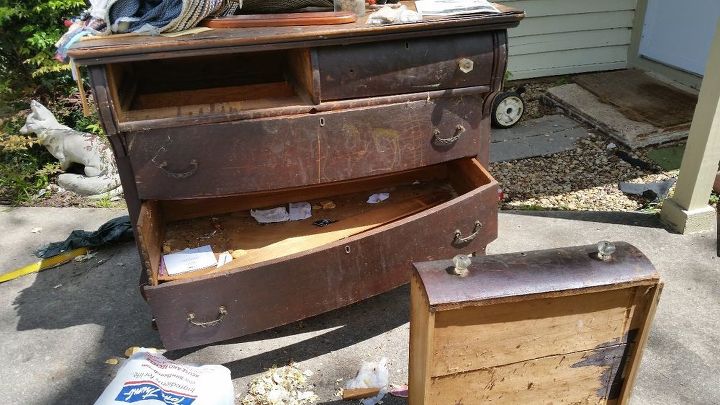
Stinky dresser, but look at those glass knobs
As I said, it was very stinky so after leaving it outside for about a week, and it getting rained on and still was stinky, I used a lot of Murphy's Oil Soap and washed it 2-3 times.
After It dried for a couple of days, I started removing the veneer from the top of the dresser.
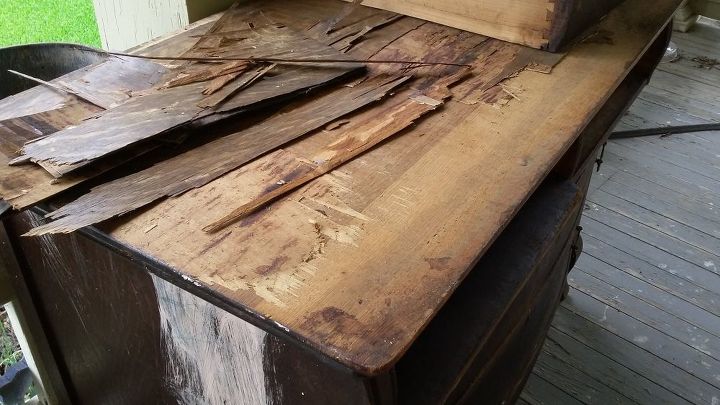
Removing the veneer
After the veneer was removed I was so happy to see the lovely wood under.
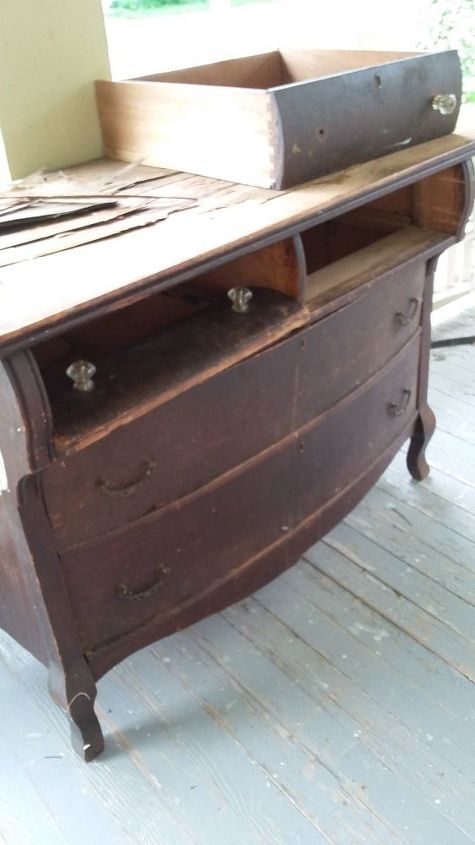
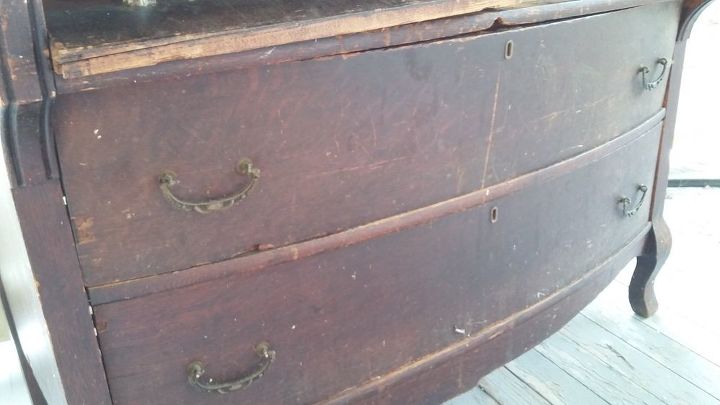
After taking the veneer off, I focused on the drawers. Most of them were broken, so I decided to make them into doors. This was going to be tricky because of the brace in the middle of the two lower drawers
I measured carefully and cut the front of the drawers
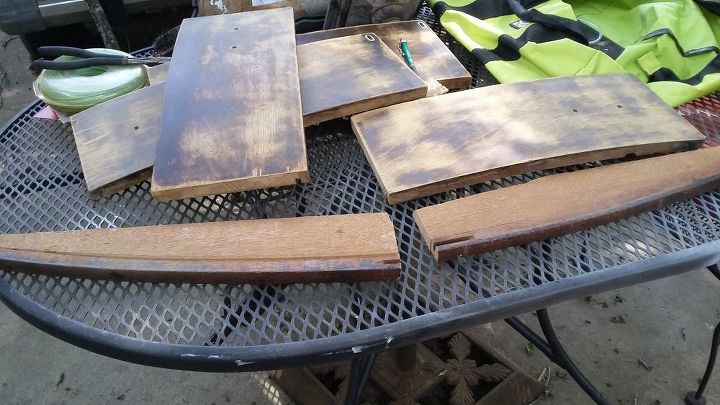
I sanded the drawer fronts after cutting and got ready to glue them together. This ended up being quite a tricky job...so tricky, I forgot to take a picture of the process
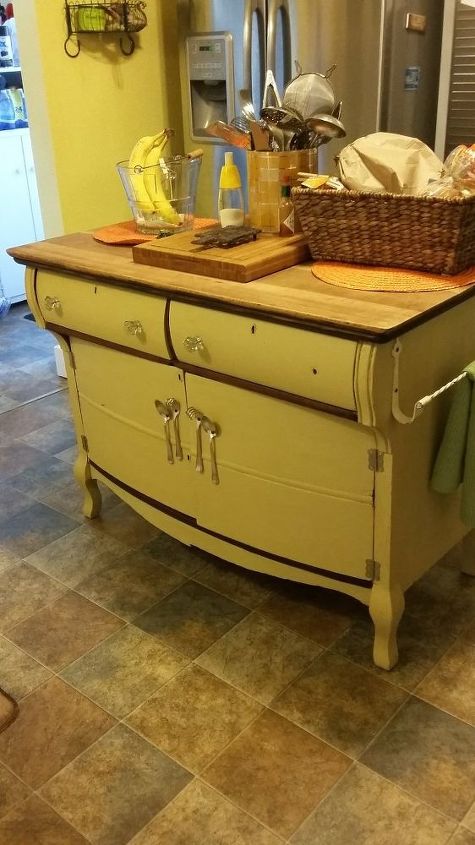
The end result
After putting the doors together, I painted, added silverware for door handles, and a vintage towel holder. I had to search for the right size knobs as the dresser only came with 3. I found others on Ebay.
For more details on this cabinet, visit my Blog "Still" Blessed with One Less, (www.stillblessedwithoneless.com). Thanks for stopping by!!
Comments
Join the conversation
2 of 4 comments
-
That's so cool! The silverware handles are a nice touch!
-
Thank You so much!


Frequently asked questions
Have a question about this project?