


Vintage Dresser Facelift

7 Materials
$80
5 Days
Medium
Antique dresser gets a chalk paint makeover.
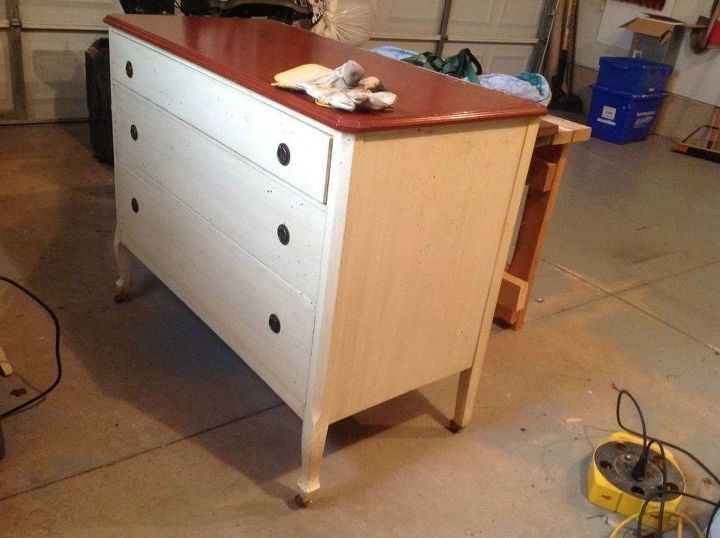
My auction win!
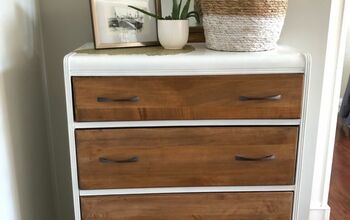
Where to start?? This 1970's fleck painted dresser needed a makeover. I took a good look at this dresser, took some paint samples from a chip and decided to keep the top natural and restore to its maple wood finish. The rest of the dresser however took a lot more than that.
1. Cleaned and vacuumed the dresser, took apart drawers, mirror and hardware. Taped anything that I didnt want to paint and put a drop sheet on the floor beneath the dresser.
2. Using a paint remover, I put on gloves and poured the heavy liquid onto the top of the dresser. There was a lot of paint to come off, so i decided that this would be he best way.
3. Leave the paint remover to do its thing ( took about 20-30 mins for it to bubble)
4. After you see bubbles you are ready to take a metal scraper and start scraping off the old and "grungy " paint. I put the old paint and remover gloop into a metal can. This remover can eat through plastic! Wear your gloves!
5. Once all paint was removed from the top, I did a nice sanding to get the wood even, clean and free of any remaining paint. Wipe down with a damp cloth when done.
6. Using your choice of stain, apply a thin layer with a lint free rag. I usually rub onto the wood with my fingers. I get a better feel for the stain. Let dry completely.
After the top of the dresser is completely dry, I covered with a piece of cardboard in preparation for the second phase of my project.
- Wipe down all the drawers and dresser. Using a 60 grit sandpaper on the hand sander, I carefully sanded all of the "faux fleck". ( this took a bit of time)
- After all sanding was done, I took a damp rag and cleaned off all of the dust and grime.
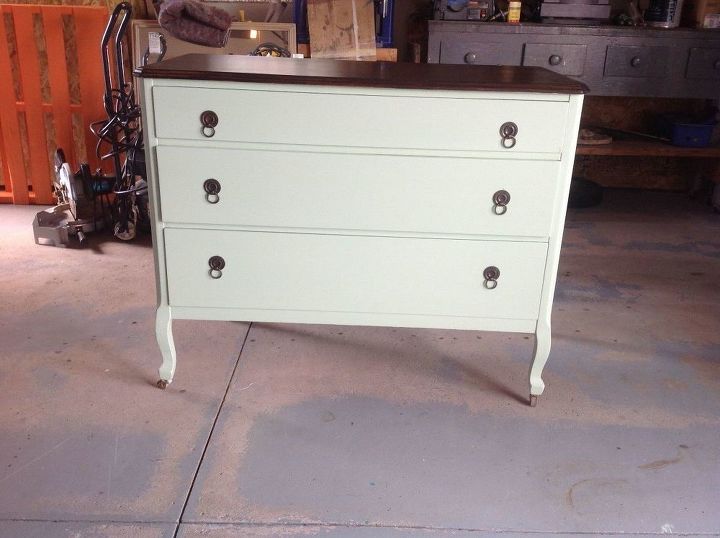
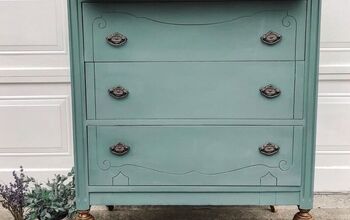
- Using " Bluestone House" chalk paint (color is Sideboard Green) and a round chalk brush, start in a small area to see how the paint will glide and cover.
- Finish the first coat and let stand for approx 4 hrs. After the first coat is dry, I use a 220 grit very light 3M sandpaper and lightly sanded the dresser. This gives it a smooth work surface.
- Apply the second or even third coat, making sure to lightly sand after each application.
- When complete, you may want to lightly wipe the whole dresser and let dry.
- Using Bees Wax and a lint free rag, Take your time and start the wax at the corner of the dresser. I use small circles and generally widen my work surface. After the dresser is complete, wait for 20 mins for the wax to set in. After that time, take another lint free rag and wipe/rub to polish to a shine.
- Let dry completely before moving the dresser.
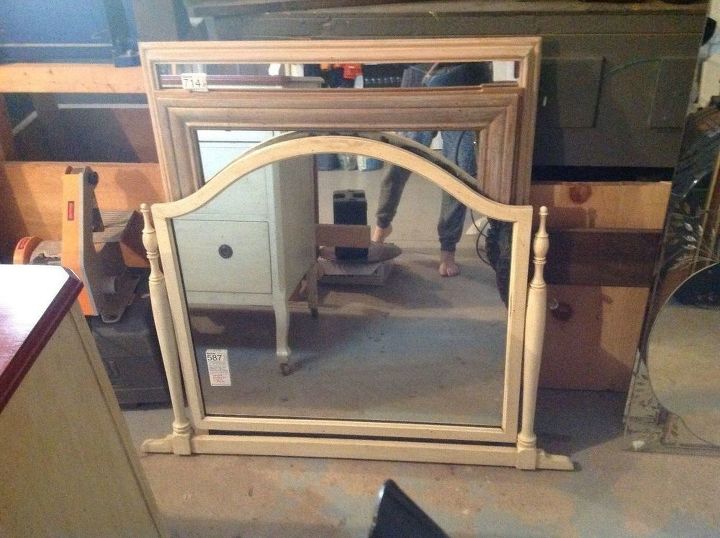
Waiting to be refinished
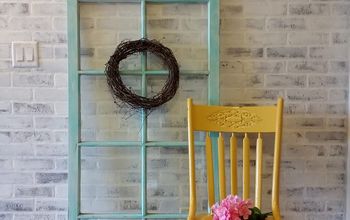
The mirror had to be lightly sanded and then painted and waxed. Same method as he dresser. Make sure to tape the inside of the mirror so nothing is transferred onto the mirror.
Drying
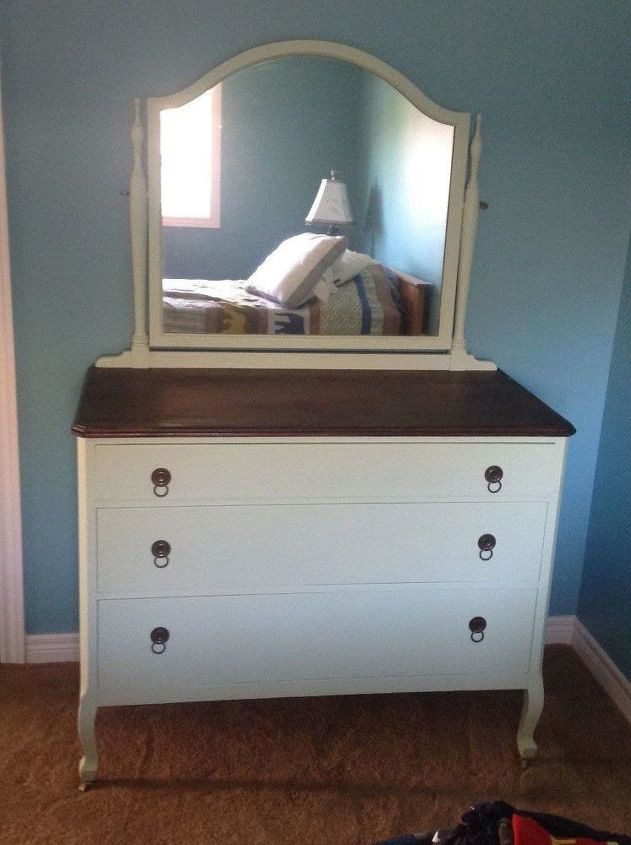
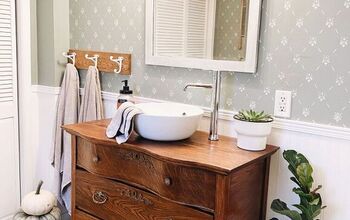
Fit for my king ( well my son).
Comments
Join the conversation
2 of 3 comments
-
Lovely work!!!
-
Thank you


Frequently asked questions
Have a question about this project?