


A Beginner’s Guide To Refinishing Vintage Furniture
Do you have an old piece of furniture in need of some TLC? Not sure how or where to start? Refinishing furniture can seem like a daunting task, but it doesn’t have to be! Today I am sharing my step-by-step beginner’s guide to refinishing vintage furniture.

*This post contains affiliate links. When you make a purchase using these links, I earn a small commission (at no extra cost to you!) To learn more, you may read my Disclosure Policy. Thank you for supporting my blog!
First, in the interest of full transparency, a quick PSA: I am not a professional DIY’er. And I don’t pretend to be one. When it comes to refinishing furniture, I am also a beginner. But, if I can do this project, then so can you! Here is a list of everything you will need to get started.
Supplies
I purchased most of my supplies online, but you can also find these materials at your local home improvement store.
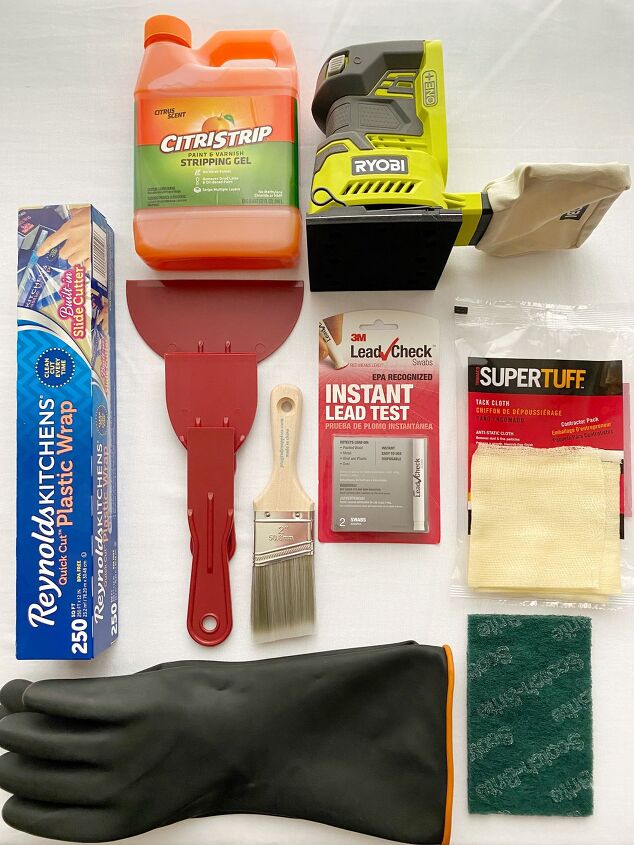
A Beginner’s Guide To Refinishing Vintage Furniture ~ Supply List:
- Lead Paint Testing Kit
- Citristrip
- Chip Brush
- Chemical Resistant Gloves
- Plastic Wrap
- Plastic Scraper
- Mineral Spirits (not pictured)
- Scotch-Brite Scrubbing Pads
- Power Sander
- 220 and 400 Grit Sandpaper (not pictured)
- Tack Cloths
- Shop Vac (not pictured)
- Paint Sprayer (not pictured)
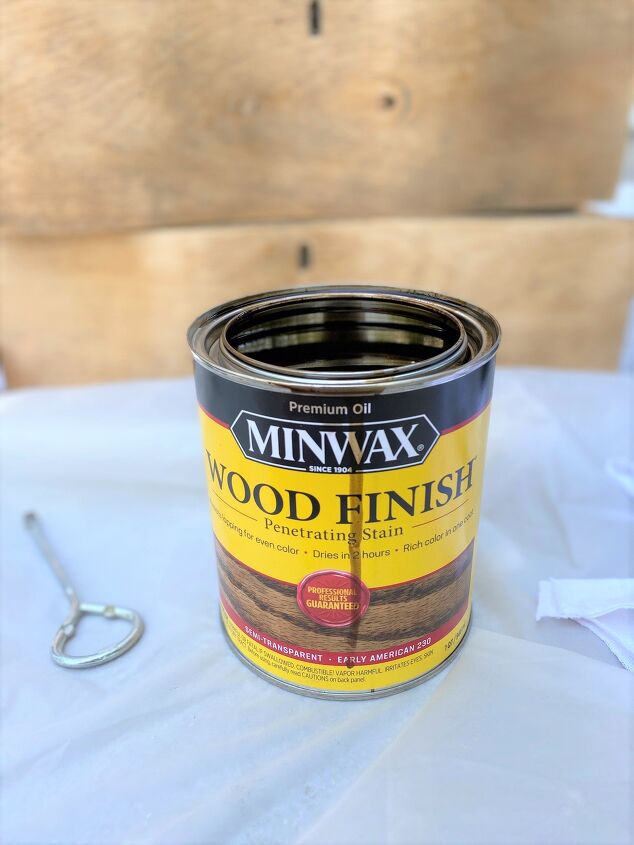
- Stain (not pictured)
- Water-Based Polyurethane (not pictured)
- New Hardware (not pictured)
Directions
Now that you know the supplies you’ll need, let’s talk about the steps involved in the project.

The original dresser
A Beginner’s Guide To Refinishing Vintage Furniture ~ Directions:
1. Test The Paint For Lead
Test your paint for lead. Lead-based paints were banned in 1978, but if you have an old piece of furniture, it’s always best to perform a lead test at the beginning of your project.
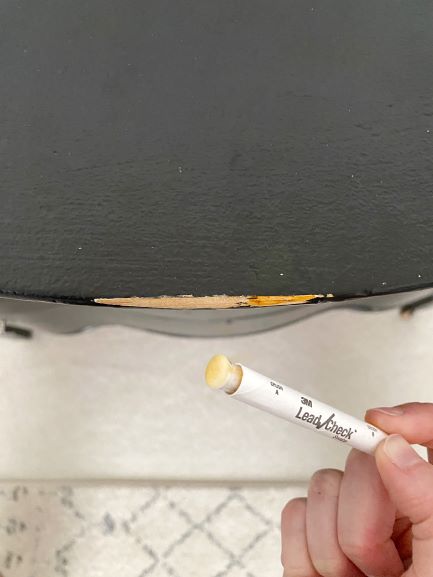
Yay, no lead!
There are a variety of lead test kits available, but I prefer this test from 3M™. Follow the directions provided with the kit by gently crushing the ends of the test and squeezing until the yellow liquid comes to the tip of the swab. Then, rub the swab on the test area for 30 seconds. If the swab turns pink or red, the test is positive for lead. If the swab shows no pink or red color, the test is negative for lead.
2. Remove The Existing Paint/Stain
Once you’ve confirmed that your paint is free of lead, it’s time to apply the paint stripper. After doing some research on various paint removers, Citristrip came out on top as the most highly recommended brand.
Before applying the Citristrip, protect your hands with some chemical resistant gloves. (Trust me, you DON’T want to get it on your hands. It burns. A lot.) The Citristip does give off a strong smell, so I would recommend using it outdoors or someplace that has good ventilation.
Next, use a chip brush to apply the stripper. Don’t skimp! The thicker the better. In fact, I dumped the bottle of Citristrip directly on my dresser and used the chip brush to spread it around evenly. (Tip: I did find that the stripper dries out quickly in the heat. I would recommend working quickly and applying the Citristrip to your furniture a few small sections at a time.)
Another tip that helps to prevent the Citristrip from drying too quickly – use plastic wrap! Covering the furniture with plastic wrap not only helps the Citristrip work longer, but it makes your job easier when it’s time to scrape it all off.
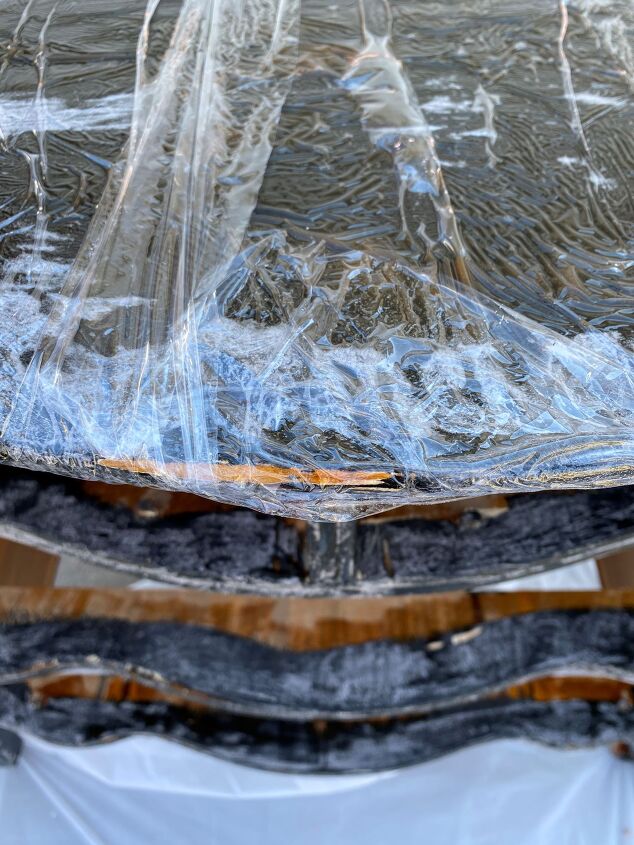
Citristrip covered with plastic wrap
Before you do any scraping, let the stripper sit for at least 30 minutes and then test a small section using a plastic scraper. It may be tempting to try to scrape the paint off as soon as possible, but when covered with plastic wrap, the Citristrip can stay on for up to 24 hours.
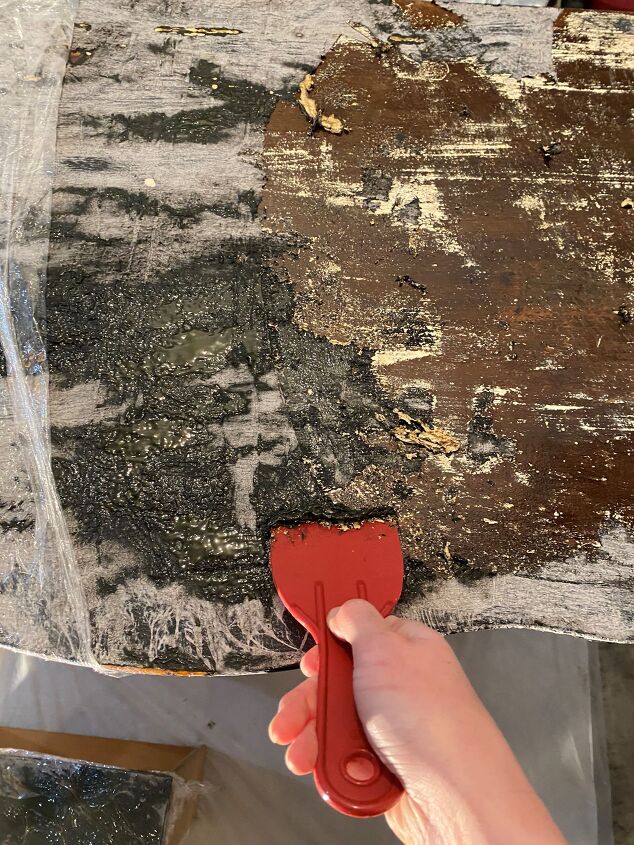
Removing the first layers of paint
L: After one application of Citristrip R: Applying a second coat of stripper
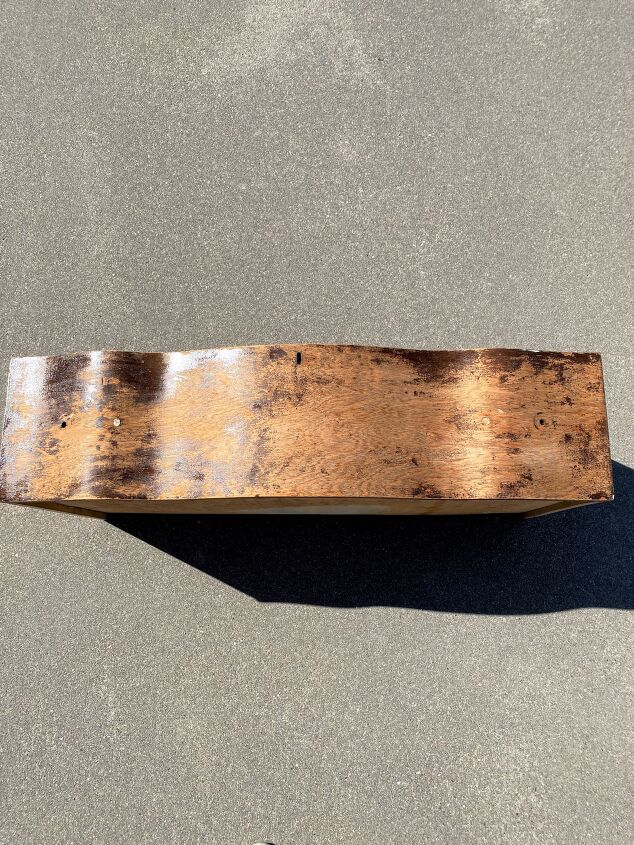
If you’re impatient like me, the waiting is the hardest part (even Tom Petty & The Heartbreakers agree). But, as I learned, the longer the stripper sits, the easier it is to remove the old paint and stain! If necessary, repeat the stripping process until all of the old paint and stain has been removed.
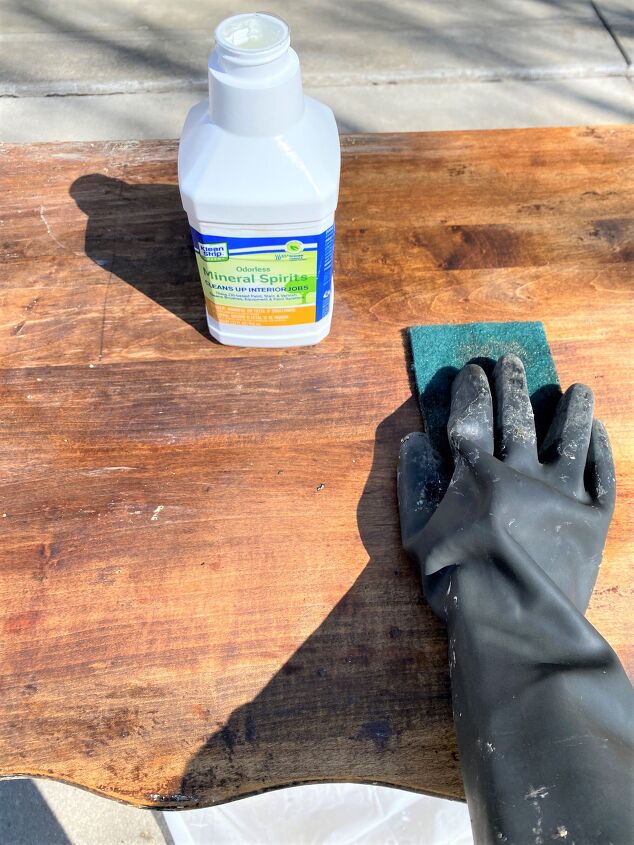
3. Clean Off The Remaining Residue
There will be leftover residue from the paint and stripper. To clean off the extra yuck, use mineral spirits and Scotch-Brite scrubbing pads. You may even need to use a small scrubbing brush, or toothpicks to get into all of the cracks and crevices. Tedious? Yes! Fun? No!
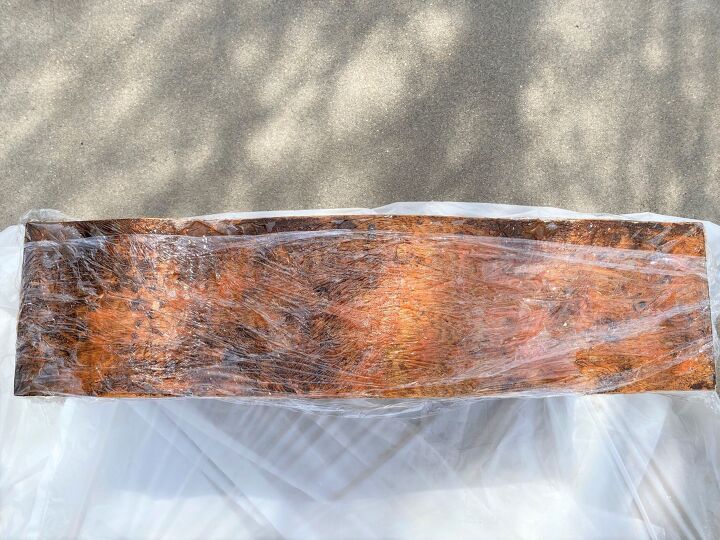
Once all of the residue is removed, wipe down your furniture and let the wood dry before sanding it.
Cleaning off the excess residue
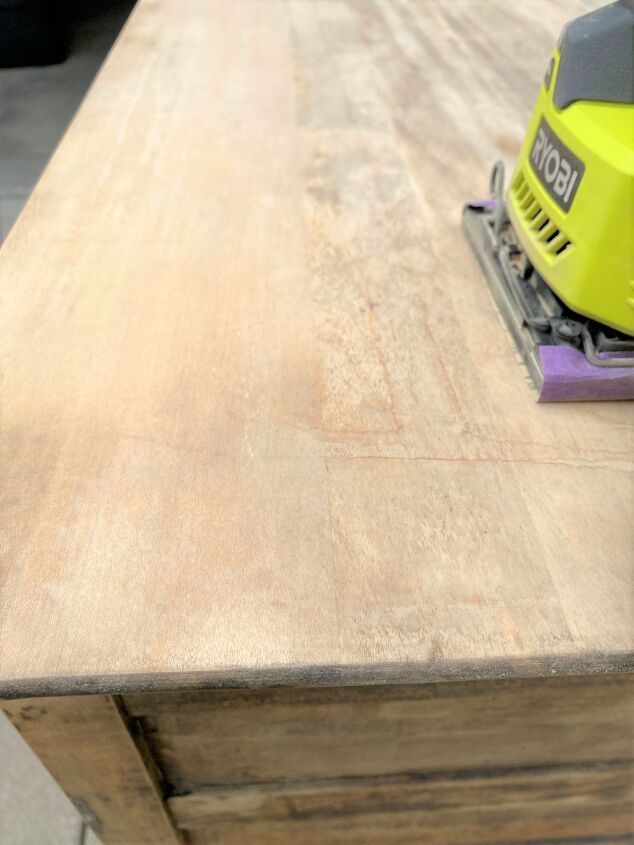
4. Sand Smooth
Once dry, sand out any rough spots and remaining imperfections. For the large, flat surfaces of my dresser, I used my power sander with 220 and 400 grit sandpaper. Your grit may vary based on the condition of your wood after it has been stripped.
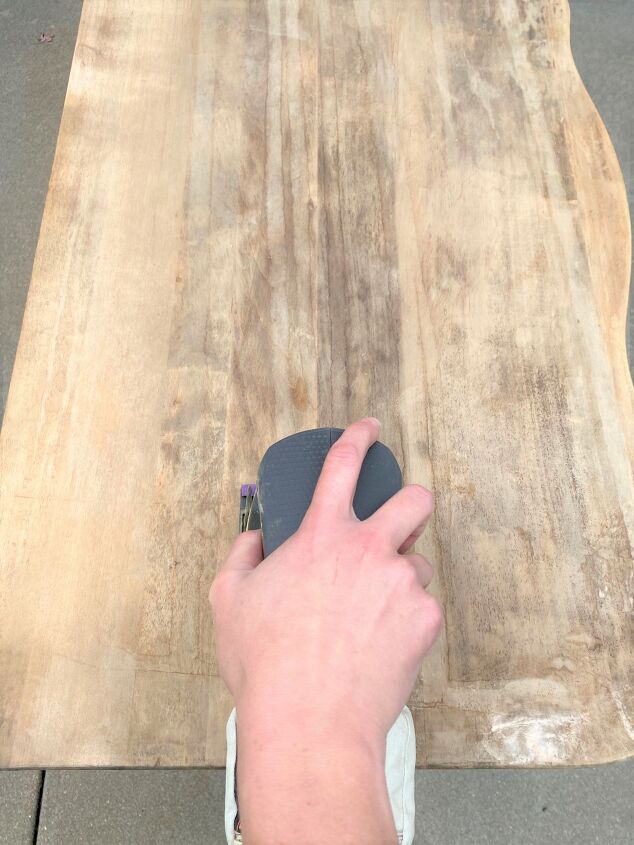
Making progress
Sand until smooth, always sanding with the grain of the wood. You can also use a sanding block or wedge for smaller, hard-to-reach areas. When the sanding is finished, use tack cloths and a shop vac to wipe down the furniture and remove any dust.
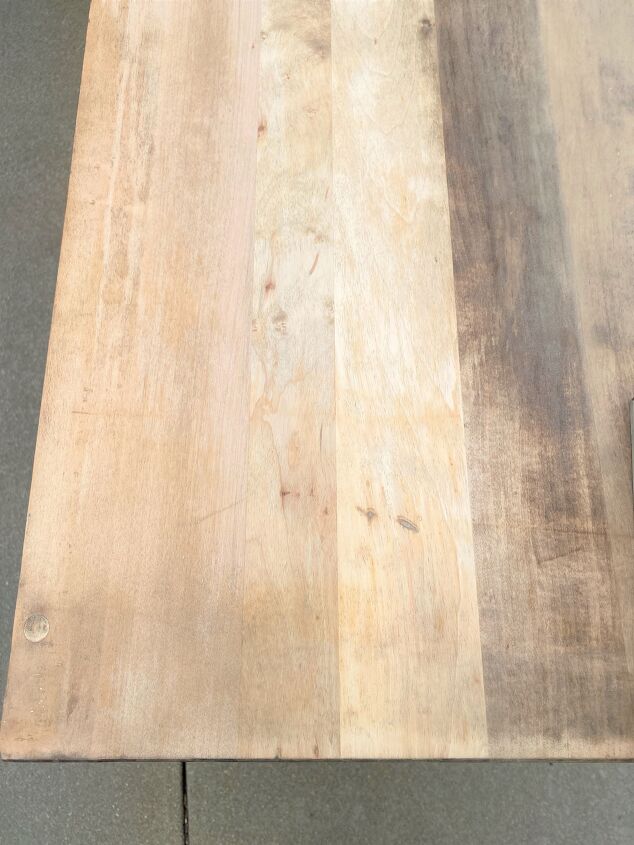
So much better!
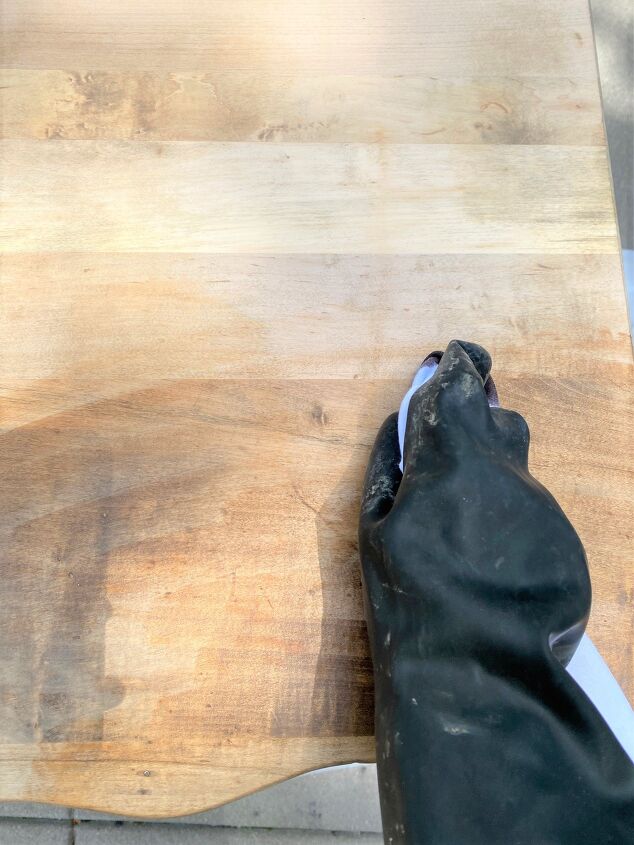
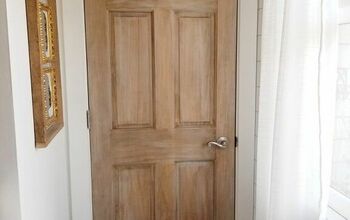
5. Finish As Desired
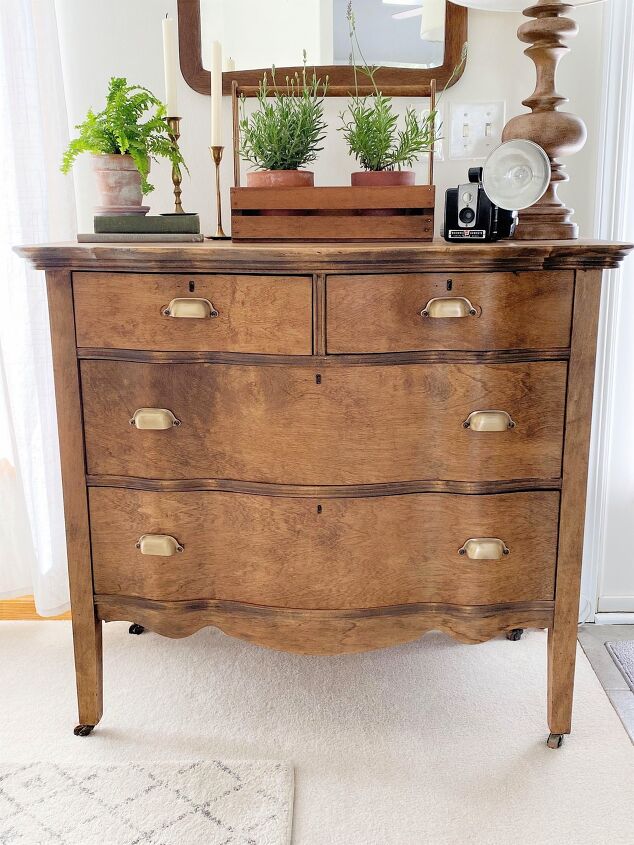
I originally planned to leave my dresser in its natural state and use polyurethane to seal and protect the wood. However, after all of the stripping and sanding was done, I decided there were a lot of inconsistencies in the color of the wood. Leaving the dresser as is was no longer an option.
On to “Plan B”! Using a rag, I applied a light coat of stain to the dresser and gently wiped off any excess.
Staining
After the stain was dry, I used my paint sprayer to apply three coats of water-based polyurethane. Allow for 1-2 hours of dry time between each coat of poly, and lightly sand.
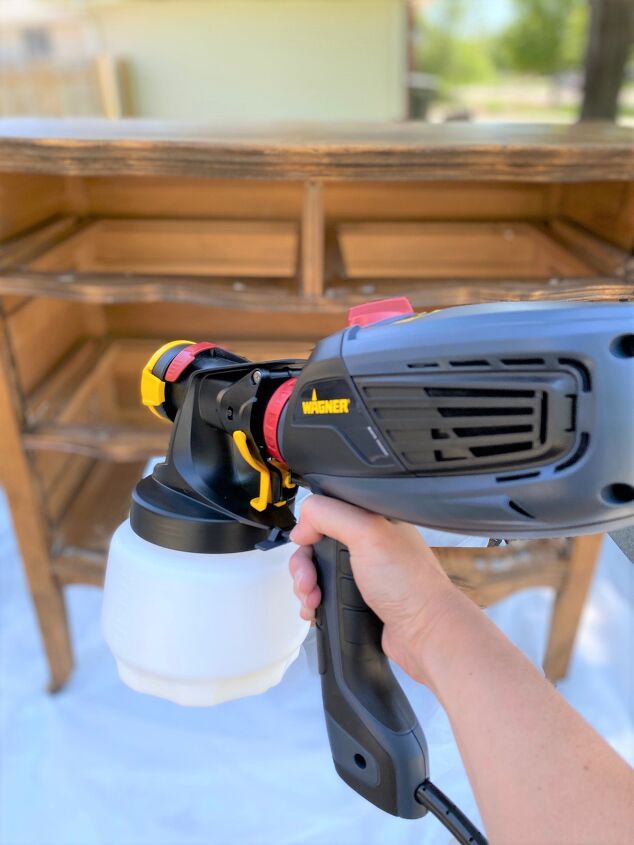
Spraying on the clear polyurethane
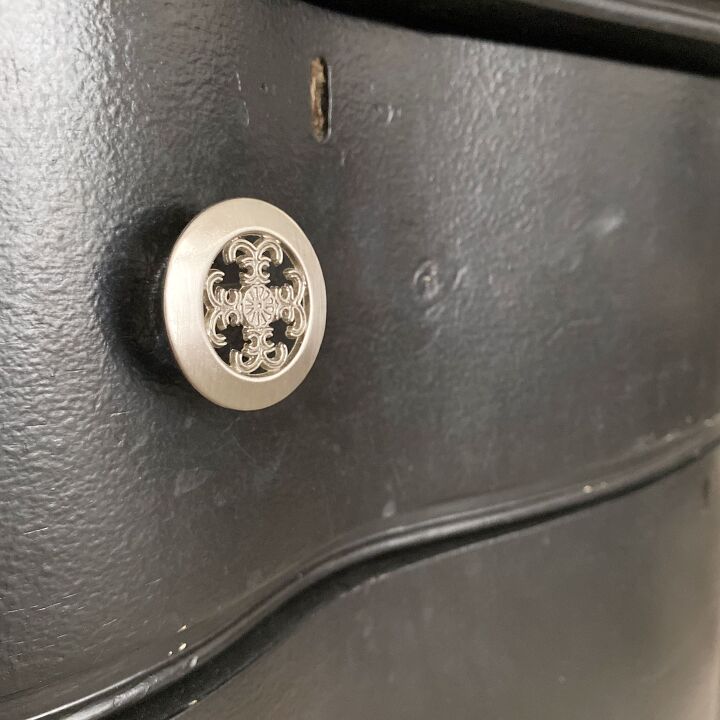
To finish the dresser, I added these pretty antique brass pulls. Aren’t they gorgeous?!? They really make the dresser look finished and give it a true, vintage feel.
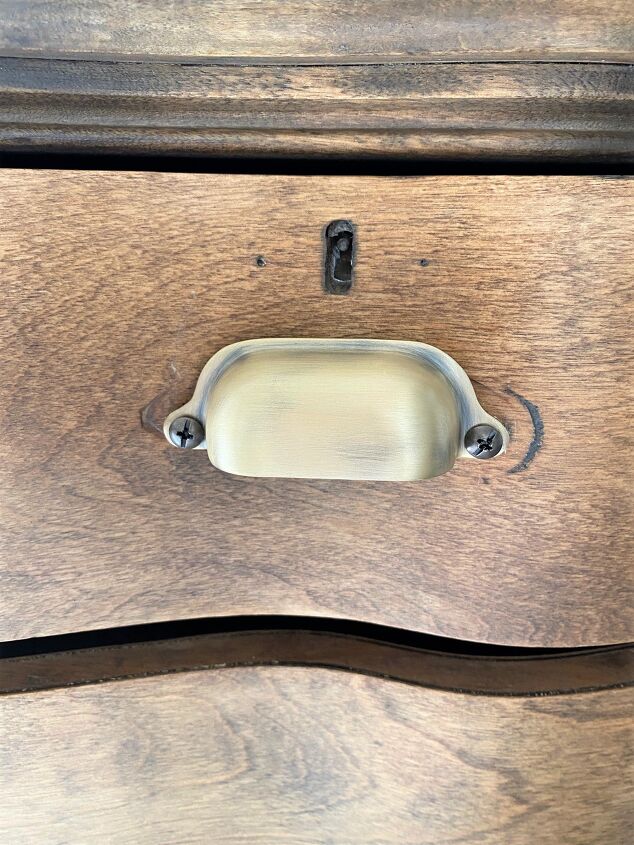
The vintage brass cup pulls add the perfect touch
So there you have it! A beginner’s guide to refinishing vintage furniture from a fellow beginner. I hope this post helps to inspire you to tackle your next big DIY project or to refinish that old piece of furniture.
As always, thanks so much for visiting the blog! I appreciate your support!

More PROJECTS:
Simple Summer Porch Refresh

Did you enjoy this post? PIN it for later!

You may also like: Beautiful And Festive Christmas Napkin Rings In Under 10 MinutesQuick And Easy DIY Door Basket With Fall FoliageHow To Make A Teacher Survival Kit
Resources for this project:
See all materials


Comments
Join the conversation
-
YES!! Someone who values the original finish of vintage/antique furniture. I really deplore the trend of painting these invaluable pieces.
-
Absolutely STUNNING! I LOVE the 'natural' wood look. It is very sophisticated and rich looking. Great job. Thanks for sharing your project with us.


Frequently asked questions
Have a question about this project?
Not to sound stupid, but what is the plan if the paint does test positive for lead? I've never thought about testing for lead before I stripped any furniture.
I was given a piece that someone attempted a very bad crackle finish. Will this process work on removing the glue and paint? I know it could be beautiful, just not sure how to proceed.
Jen, I LOVE YOU!! Thank you so much for making safety a priority, I have been suggesting to people for years on Hometalk who use old windows and doors etc in their homes with old chipped paint to get a lead paint test kit. They are not expensive and you can get them in HD, Lowes or any big box hardware store.
Your bureau came out beautifully and for a novice you did an EXCELLENT job of refinishing.
The only thing I would suggest is to look for a makers mark on the piece, it could be anywhere. If there is one research the name to see the history of the piece. The reason for this is because some real antiques and vintage pieces will lose value if the refinishing is done incorrectly. Research and then go from there. One question please, are the brass key hole liners still intact or were they remove which is a shame? I couldn't tell from the pictures. Below is a search for them if you would like to replace. If the mechanism is still there you can get skeleton keys that may make them useful again :)
replacement brass keyhole liners