


A Little Paint Goes a Long Way - Side Table Revamp

4 Materials
$4
1 Day
Easy
While I had the painting area set up from the previous project I wanted to get this little table up to snuff, too.
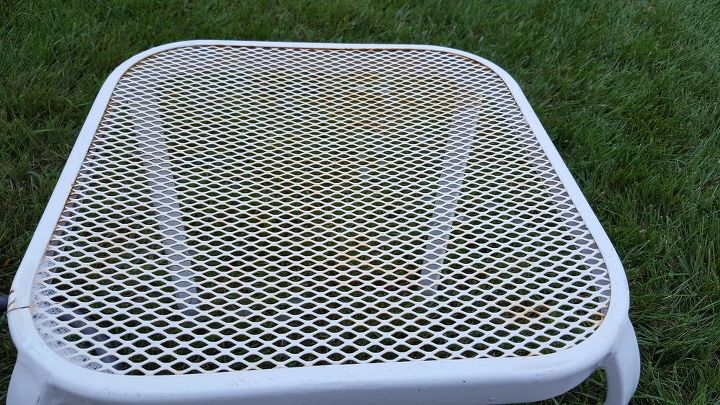
Again, humid weather and metal don't mix well. The top screening was rusted on top and underneath but the frame and legs were pretty much ok.
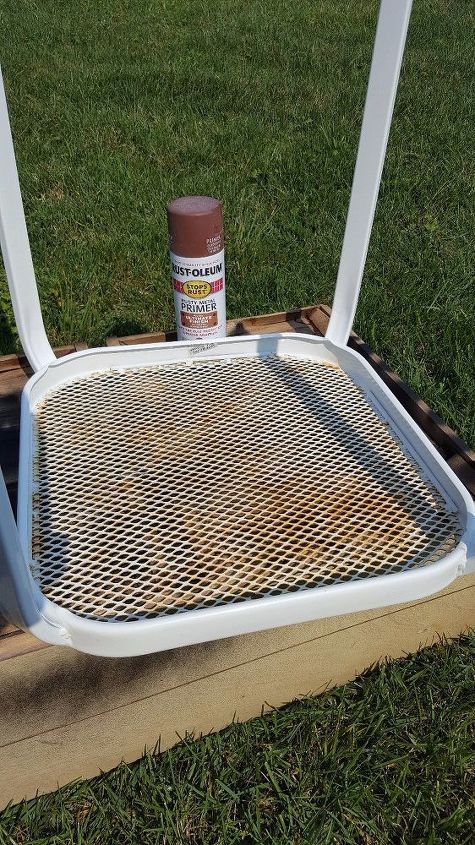
First, the table was prepared for painting by being wiped down with a damp cloth and then wiped down again with alcohol. This removes any oils and dirt so the paint can adhere better.
The next step was priming the table. Because of the rust, one coat of Rust-Oleum Rusty Metal Primer was used, allowing each coat to dry before applying the next coat.

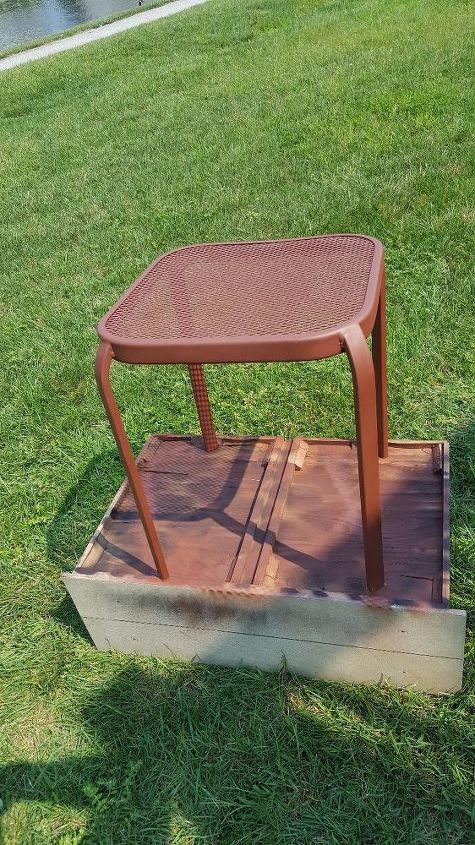
It got too breezy out to paint outside, so up to the garage. Following the primer, I used two coats of Rust-Oleum satin aqua.
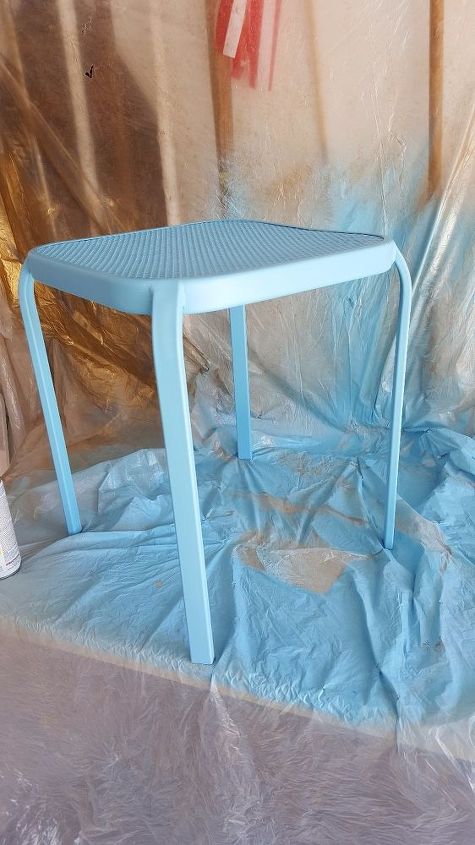
Finally, the table was sealed with Rust-oleum's clear coat, again using two coats.
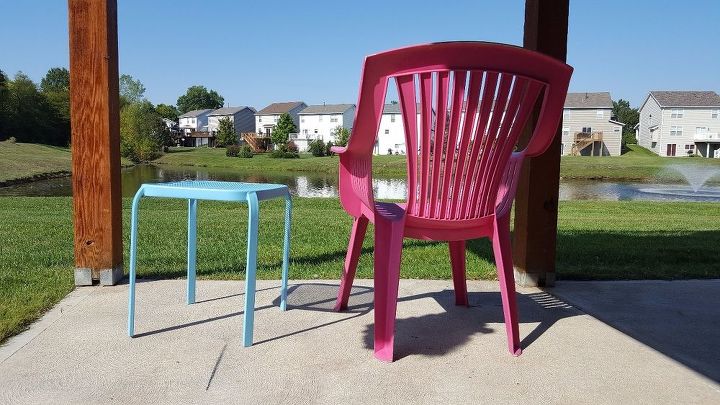
And we're done! It looks so much better.
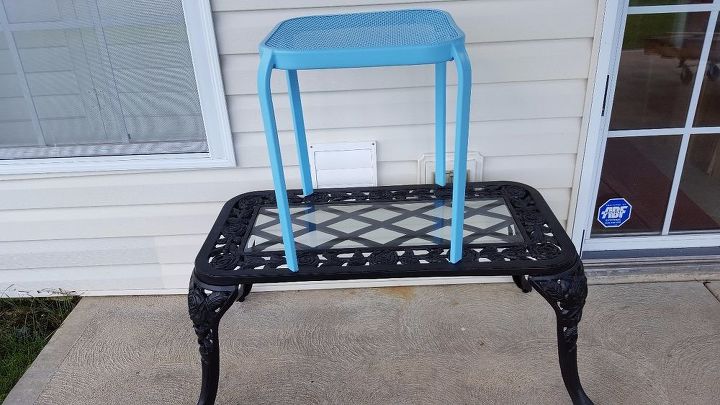
Here are two of the three projects that were painted during the last few days. They look beautiful, and again, I didn't need to purchase but one can of spray paint for each project. I love that! I will post item number three shortly.
Below is a link to the wrought iron table redo.
I had never used spray paint until two years ago. I was never crafty until just a couple years ago. It's never to late to start--you can do it, too!


Frequently asked questions
Have a question about this project?