Antique Dresser Chalk Paint Makeover

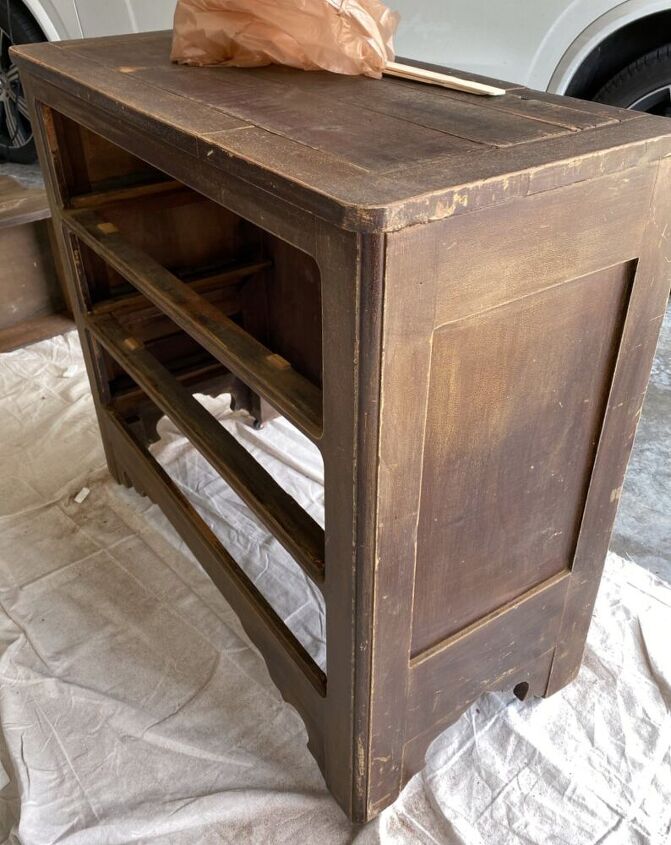
There’s nothing novel about giving an old antique a makeover. And there’s nothing new about chalk paint. Unless you haven’t tried it. I can’t believe what an improvement it is over regular latex paint! It makes giving a battered antique a face-lift unbelievably easy. Just take a look at this $40 find I stumbled upon; see how easily I transformed it; and be prepared to be wowed. This antique dresser makeover was just too easy!
(Affiliate links included for your convenience. As an Amazon associate I earn from qualifying purchases. See disclosure here.)
- supplies needed:antique dresser
- paint – Amy Howard chalk paint
- liming wax
step 1 – sandTo prepare the dresser for painting, I first removed the knobs from the drawers. then I vacuumed up all the dirt and dust. I lightly sanded the surface and dusted again.
step 2 – paint the knobs
The knobs are the crowning jewel of this find. They are wooden fruit and acorn shaped knobs, probably carved by hand. When I saw them, I knew this dresser was very old. And for $40, it was a tremendous bargain! I first envisioned painting the knobs realistically in an array of rich colors – browns, umber, golds and greens. But once I chose a bold blue for the dresser, I decided the knobs would contrast nicely in metallic silver. I simply used craft paint and gave them one quick coat. I let a few small areas of wood show. I wasn’t going for a lacquered look; instead, I wanted to reveal the age and old wood of the dresser.
step 3 – paint dresser
For the dresser itself. along with the drawers, I painted them with Amy Howard’s one step chalk paint (bought from Ace Hardware). I used the dark base and had the store match the color to Sherwin Williams 6524 Commodore. It only took one coat to cover.
step 4 – sand
After drying, I lightly sanded over the paint, especially along the edges, so some of the natural wood showed through.
step 5 – apply wax
Next, I applied a very small amount of liming wax (which is actually just a white wax). After applying wax to a small area, I then buffed it with a clean rag to a light shine. The liming wax gives it a white-washed look as well as a light coat of protection.
step 6 – sand knobs
Finally, I lightly sanded over the silver knobs, just enough to show a few spots of raw wood. It was important to me to show that the handles were actually carved from wood rather than made from molds.
This antique dresser makeover was as easy as that – one coat of paint, a bit of wax, and some light sanding. I completed it in only one day!
The biggest compliment is a little share – please pin the photo below!
Enjoyed the project?

Comments
Join the conversation
-
 Diana Deiley
on Aug 06, 2023
I love this too and the color. I have a nightstand with the same knobs. However, I recently read where a woman purchased a similar item at a thrift store for $40, and then had it appraised - $200 - $300! Now she's polishing instead of painting!🤗
-
 Wendy at myfrenchtwist.com
on Aug 07, 2023
Interesting! I knew it was quite old when I first saw it!
-
-
-
 Diana Deiley
on Aug 07, 2023
Ya, but I still love what you did with it. The color is perfect.
-











Frequently asked questions
Have a question about this project?
Will the wax be enough protection for the wood? I always think polyurethane for top coat.