368K Views
Antique Shutters = Bedside Tables

by
Alicia W
(IC: paid contributor)
4 Materials
$15
2 Days
Medium
I found these awesome shutters at our local antique store and knew I could use them in my bedroom remodel.
They had the original hardware and most of the slats were still intact. I wanted new bedside tables to replace the outdated tables we had. These shutters were going to be perfect.
Begin by cleaning the grime off the shutters using a brush with gentle cleanser and water. Allowed them dry completely before sealing with clear wax.
Measure the width of the shutter.
Measure and cut 1” x 2” for the frame of the table.
You will need two pieces of the same size for the front and back; and three pieces of the same size for each side and the middle.
Screw the table frame together.
I used a Kreg Jig to screw my frame together. By using this tool, the joints are a lot stronger.
After putting your table frame together, lay the frame on top of a piece of 1/8” plywood.
Cut out two pieces - one for the top of the table and one for the bottom.
Measure the length of the shutter and cut four 1” x 2” boards to size.
Paint one end the color of the wall where the shutters will hang.
With the back of the shutter facing up, nail the long pieces to either edge of the shutter with the painted side out.
Place the shutter beside your bed to determine the height of your table.
Screw the table frame to the front of the shutter.
Nail the plywood to the top and bottom of the shelf frame.
Stain the entire table then apply clear wax.
Attach a gooseneck reading light to the front of the shutter.
Attach the shutter to the wall using screws with wall anchors.
Cover the screw holes using wooden buttons applied with glue.
Stain the wooden buttons.
Grab a good book and enjoy your new tables.
We want to help you DIY, so some of the materials in this post are linked to sellers. Just so you know, Hometalk may collect a small share of sales from the links on this page.
{
"id": "4391546",
"alt": "",
"title": "",
"video_library_id": "7560",
"thumbnail": "https://cdn-fastly.hometalk.com/media/2017/10/20/4391546/antique-shutters-bedside-tables.jpg"
}
{
"width": 634,
"height": 357,
"showRelated": true,
"noautoplay": ""
}
[{"sources":[{"type":"video\/mp4","src":"https:\/\/video-cdn-prod.b-cdn.net\/hometalk\/2021\/12\/09\/11948\/11948_406p_h264.mp4","label":"406p"},{"type":"video\/mp4","src":"https:\/\/video-cdn-prod.b-cdn.net\/hometalk\/2021\/12\/09\/11948\/11948_270p_h264.mp4","label":"270p"},{"type":"video\/mp4","src":"https:\/\/video-cdn-prod.b-cdn.net\/hometalk\/2021\/12\/09\/11948\/11948_180p_h264.mp4","label":"180p"}],"poster":"https:\/\/cdn-fastly.hometalk.com\/media\/contentmedia\/2021\/12\/03\/130530\/thumbnail.jpg","media":{"video_library_id":11948,"thumbnail":"https:\/\/cdn-fastly.hometalk.com\/media\/contentmedia\/2021\/12\/03\/130530\/thumbnail.jpg"}},{"sources":[{"type":"video\/mp4","src":"https:\/\/video-cdn-prod.b-cdn.net\/hometalk\/2024\/02\/21\/33259\/33259_source-406.mp4","label":"406p"},{"type":"video\/mp4","src":"https:\/\/video-cdn-prod.b-cdn.net\/hometalk\/2024\/02\/21\/33259\/33259_source-720.mp4","label":"720p"},{"type":"video\/mp4","src":"https:\/\/video-cdn-prod.b-cdn.net\/hometalk\/2024\/02\/21\/33259\/33259_source-1080.mp4","label":"1080p"}],"poster":"https:\/\/cdn-fastly.hometalk.com\/media\/videos\/2024\/02\/21\/33259\/thumbnail.jpg","media":{"video_library_id":33259,"thumbnail":"https:\/\/cdn-fastly.hometalk.com\/media\/videos\/2024\/02\/21\/33259\/thumbnail.jpg"}},{"sources":[{"type":"video\/mp4","src":"https:\/\/video-cdn-prod.b-cdn.net\/hometalk\/2023\/05\/02\/25906\/25906_source-406.mp4","label":"406p"},{"type":"video\/mp4","src":"https:\/\/video-cdn-prod.b-cdn.net\/hometalk\/2023\/05\/02\/25906\/25906_source-720.mp4","label":"720p"},{"type":"video\/mp4","src":"https:\/\/video-cdn-prod.b-cdn.net\/hometalk\/2023\/05\/02\/25906\/25906_source-1080.mp4","label":"1080p"}],"poster":"https:\/\/cdn-fastly.hometalk.com\/media\/videos\/2023\/05\/02\/25906\/thumbnail.jpg","media":{"video_library_id":25906,"thumbnail":"https:\/\/cdn-fastly.hometalk.com\/media\/videos\/2023\/05\/02\/25906\/thumbnail.jpg"}},{"sources":[{"type":"video\/mp4","src":"https:\/\/video-cdn-prod.b-cdn.net\/hometalk\/2021\/12\/09\/12131\/12131_406p_h264.mp4","label":"406p"},{"type":"video\/mp4","src":"https:\/\/video-cdn-prod.b-cdn.net\/hometalk\/2021\/12\/09\/12131\/12131_270p_h264.mp4","label":"270p"},{"type":"video\/mp4","src":"https:\/\/video-cdn-prod.b-cdn.net\/hometalk\/2021\/12\/09\/12131\/12131_180p_h264.mp4","label":"180p"}],"poster":"https:\/\/cdn-fastly.hometalk.com\/media\/contentmedia\/2021\/07\/26\/112183\/thumbnail.jpg","media":{"video_library_id":12131,"thumbnail":"https:\/\/cdn-fastly.hometalk.com\/media\/contentmedia\/2021\/07\/26\/112183\/thumbnail.jpg"}},{"sources":[{"type":"video\/mp4","src":"https:\/\/video-cdn-prod.b-cdn.net\/hometalk\/2023\/08\/09\/28366\/28366_source-406.mp4","label":"406p"},{"type":"video\/mp4","src":"https:\/\/video-cdn-prod.b-cdn.net\/hometalk\/2023\/08\/09\/28366\/28366_source-720.mp4","label":"720p"},{"type":"video\/mp4","src":"https:\/\/video-cdn-prod.b-cdn.net\/hometalk\/2023\/08\/09\/28366\/28366_source-1080.mp4","label":"1080p"}],"poster":"https:\/\/cdn-fastly.hometalk.com\/media\/videos\/2023\/08\/09\/28366\/thumbnail.jpg","media":{"video_library_id":28366,"thumbnail":"https:\/\/cdn-fastly.hometalk.com\/media\/videos\/2023\/08\/09\/28366\/thumbnail.jpg"}}]
Enjoyed the project?
Resources for this project:
See all materials
Any price and availability information displayed on [relevant Amazon Site(s), as applicable] at the time of purchase will apply to the purchase of this product.
Hometalk may collect a small share of sales from the links on this page.More info
Published October 11th, 2017 8:47 PM
Comments
Join the conversation
2 of 114 comments
-
 Rebecca Faughn
on Feb 05, 2022
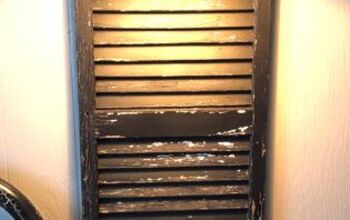
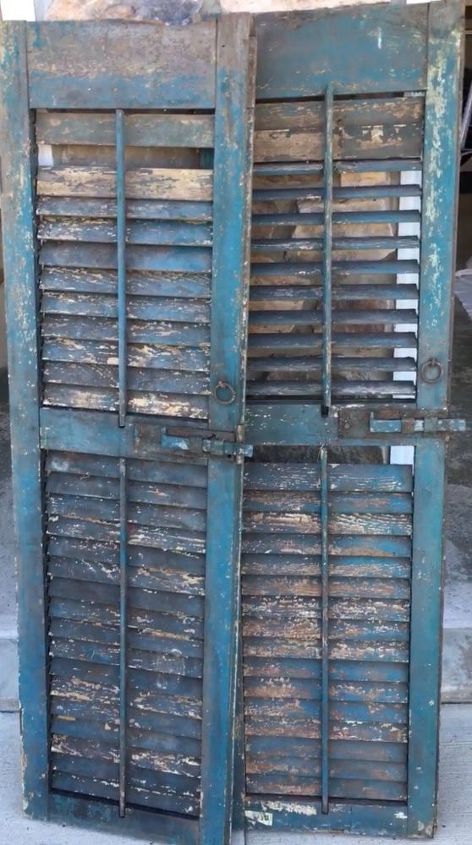
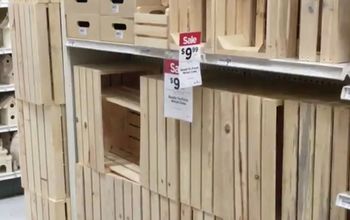
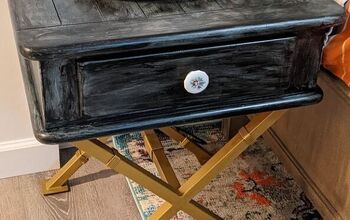
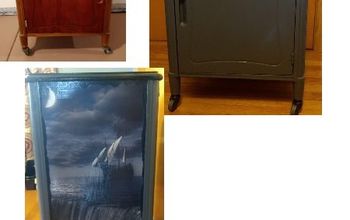
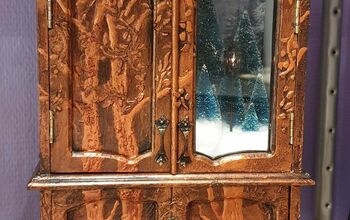
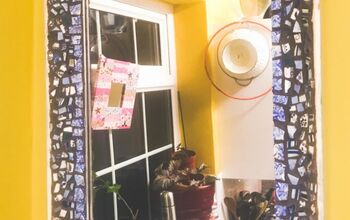
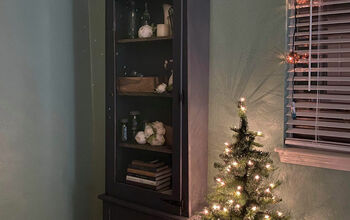
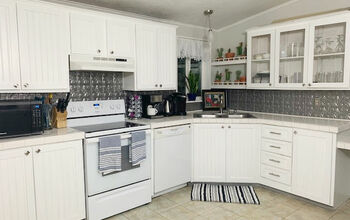
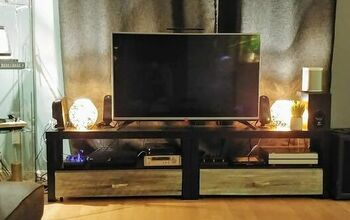
Bought the lamps, USB plug and the shelf brackets from Amazon. The lamps have a dimmer switch on them so I ran the cords through the slats of the shutter and they plug in to the power behind the bed. Cleaned up the flaky paint on the shutters and sprayed with polyurethane. The USB/plug is easy to install by drilling a hole set it in and has a washer that screws tight on the underside. Even though the pictures don’t seem to open properly, here are some additional pics!


-
-








Frequently asked questions
Have a question about this project?
How is the shelf supported? Just the back edge of the shelf screwed in? Doesn't look like it would be very strong without angled supports. ???
When it gets screwed into the wall, do you keep a gap between shutter and wall? Only, because it sticks out further at the base than the top. Is it on a slight angle? Worried about placing a drink on an angle.
How can I organize refrigerator door clutter?