


Boho Inspired Rocking Chair

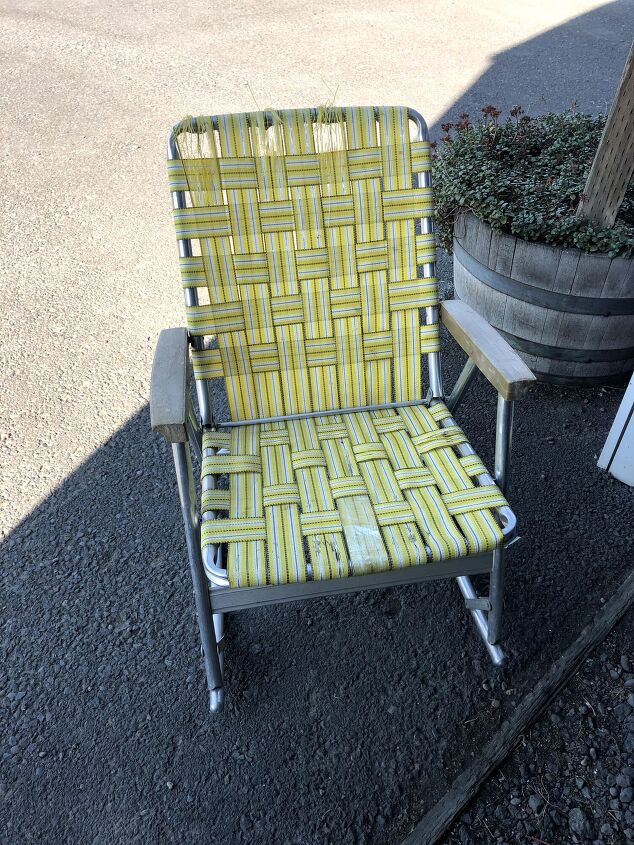
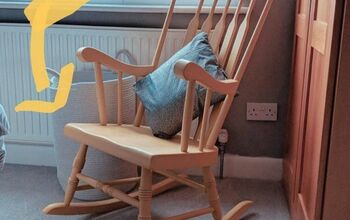
I LOVE rocking chairs, so I was thrilled to find this old chair at a yard sale for only $1. Now the straps were on the verge of snapping, which is fine because they weren't really my style, but I saw great potential for a DIY macramé style chair.
Best macrame rope!
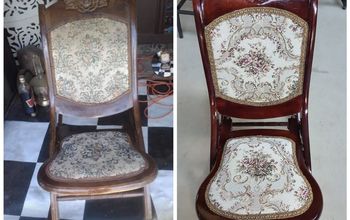
The very necessary before picture.
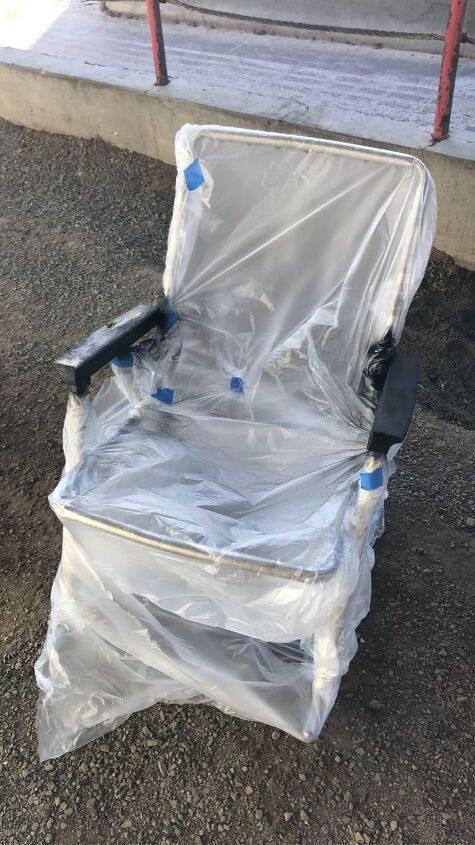
I removed the ugly yellow straps and spray painted the handles with an indoor/outdoor paint.
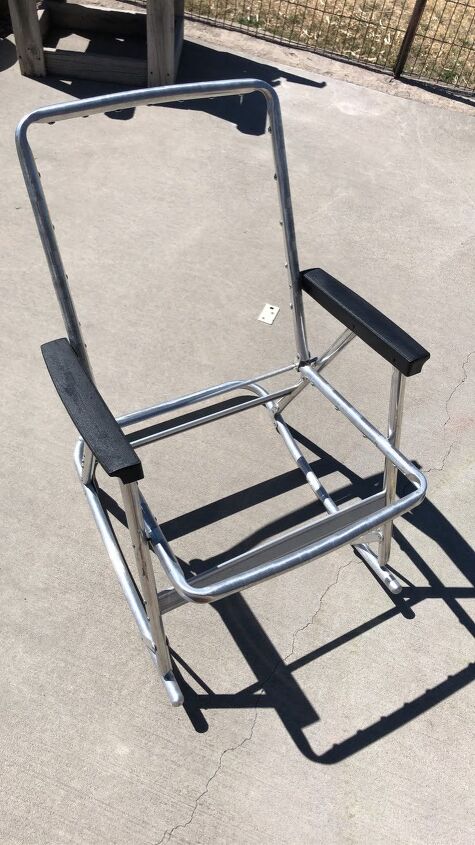
The frame was easy to clean up and looked pretty good.
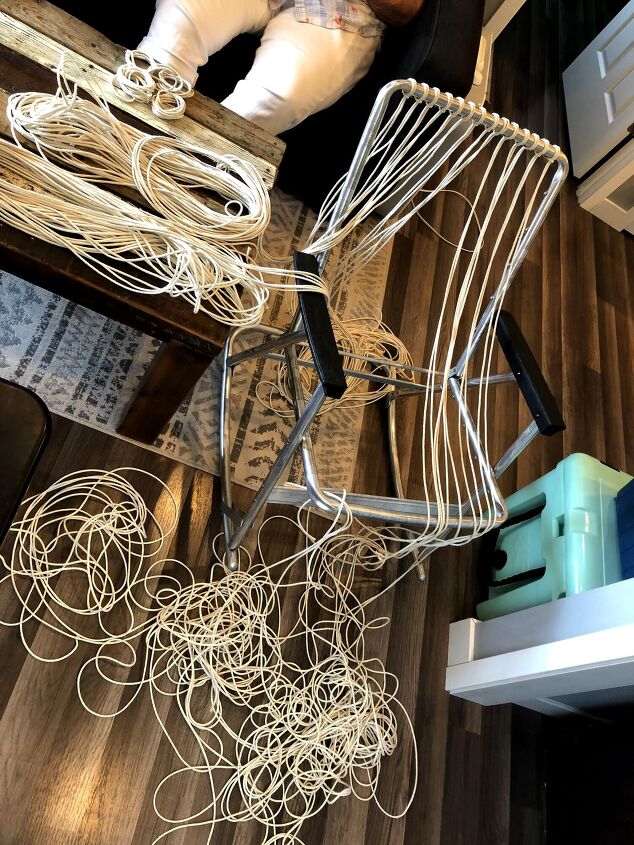
Now for the fun part, I decided to macrame a new seat and back. I used Cotton Macramé Cording by Bead Landing, 4 mm thick and 32 ply. I figured this would be the strongest while still being easy to work with and eventually comfortable to sit on.
It came in a 50 yard spool, and I used 8 total. Now, I was only planning to use about 5 spools but I overestimated the cord, more on that later. At this point I would recommend estimating how much cord you plan to use for the whole project and finding/ordering a spool with the amount of cord that is closer to your estimate.
After some research, I decided to use 9 times the total length of my project ( the back and seat of the chair, from the top of the frame to the front of the seat frame). This turned out to be crazy excessive! I would say maybe 7 times the length would have been just fine (except for the pieces on the side which need extra length to wrap around the frame), but it also depends on the type of knot that you plan to use and how much cord will go into each knot.
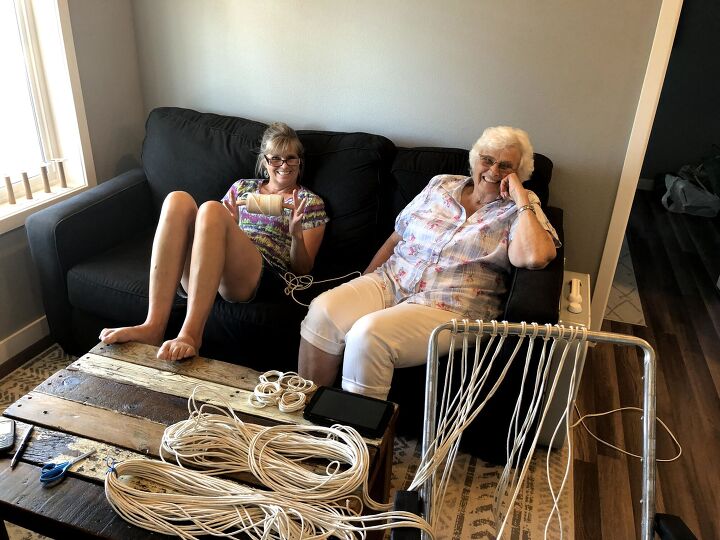
I started this project on a weekend trip with my mom and grandma, pictured above, and they were very helpful when it came to measuring out the cord!
First off, I attached the cord to the top of the chair with a lark's head knot. Then I tied three rows of alternating square knots and a single row of horizontal half hitch knots. At the end of each row of knots, to attach them to the frame I just wrapped the outer most cord around the frame and continued with the next row.
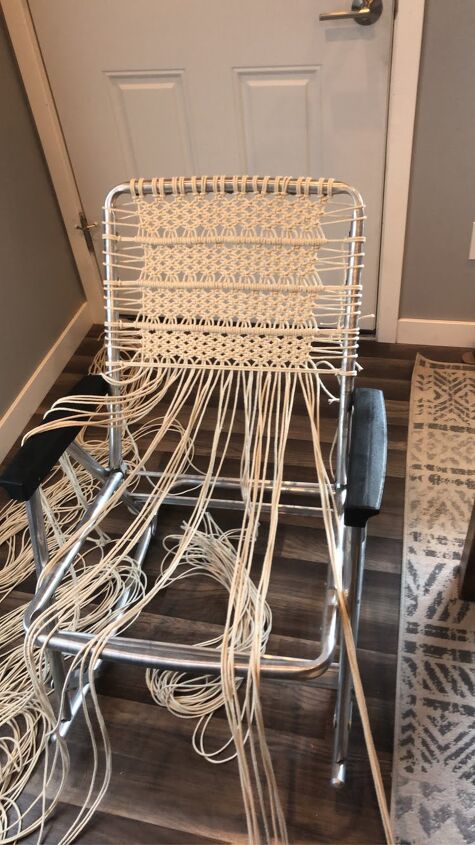
Initially I left about an inch of cord and then started the process again, alternating square knots and then half hitch knots. I didn't love the gap that I had left but I wasn't about to take out 60 knots.. So I left the gap in for the back of the chair, but when I did the seat of the chair, I tied the square knots right next to the half hitch knots. I am hoping this will help to prevent too much stretching in the cord and make it more durable.
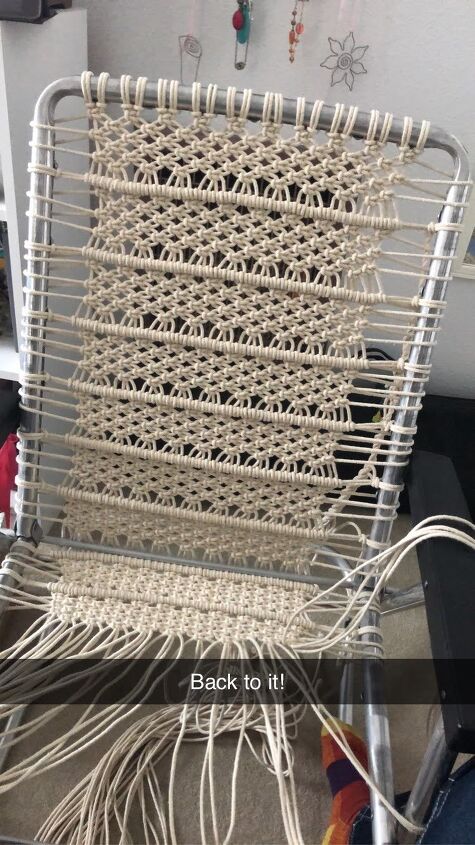
Transitioning from the back of the chair to the seat of the chair was a bit tricky. See the chair folds up, like the classic versions of these chairs. So I couldn't tie anything to the rod between the back and the seat because it moves. I also needed to pull the cords as tight as possible at this point so that the seat would be taut enough that it would be comfortable to sit in.
Finally, to secure the macramé seat to the front of the chair frame I used a constrictor knot. I chose this knot because it is suppose to be a very strong knot. I made it this far after all and I didn't want the last securing knots to be the reason this chair fell apart.
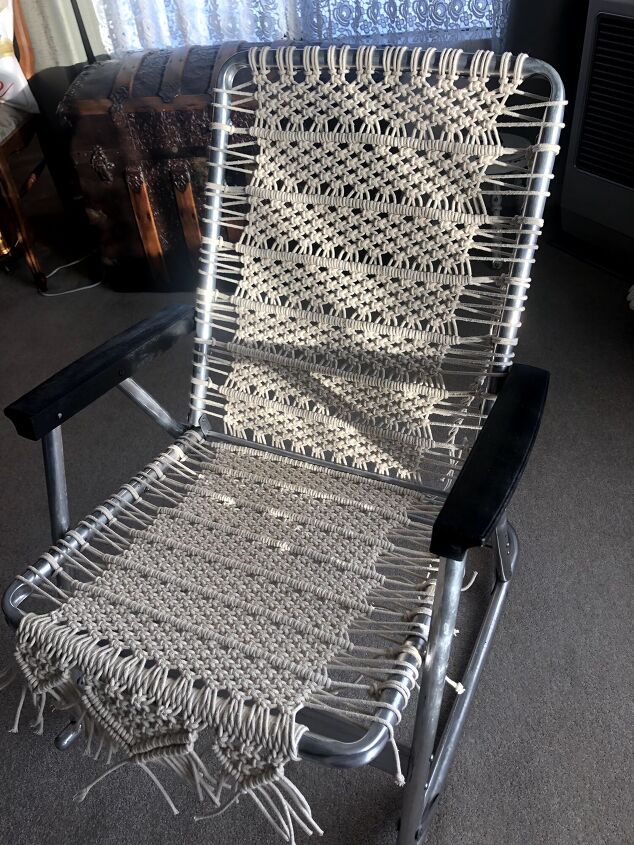
After tying it off to the frame of the chair, I added three small macramé pendants using the same two knots from the chair. I still need to brush out the ends to give it a fuller and finished look.
Now, in total this took me about four months to complete.. Macramé is rough on the fingers if you don't have a little callus to protect them, especially when you are pulling the knots as tight as possible. Blistered fingers combined with limited time led to an extended project time line. However, something like this is easy to pick up/ put down and is great to work on for an hour here and there. But for someone with more experience/time it could easily be finished within 5-6 days.
I only used two different knots but there are so many fun variations out there that could be incorporated for different patterns!
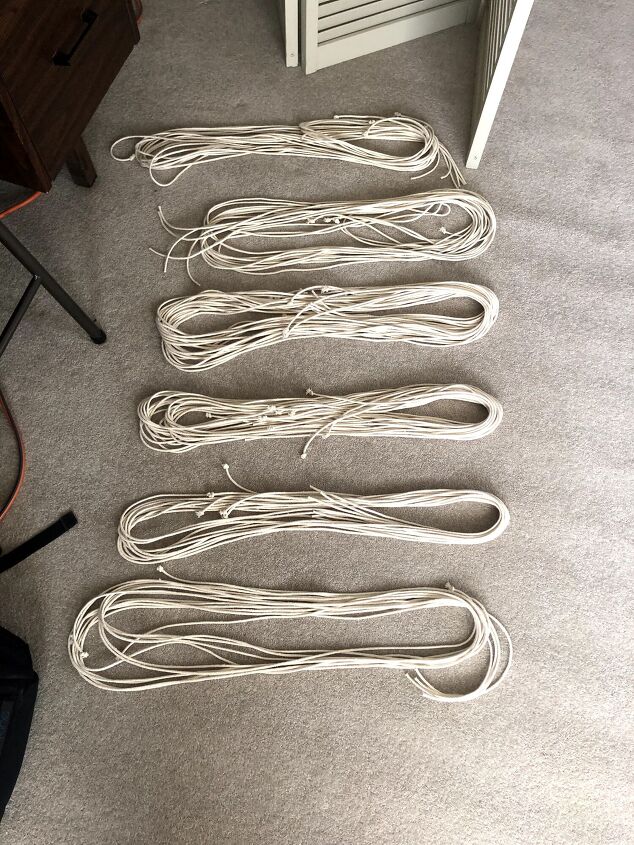
Like I said before, I had sooo much extra cord.
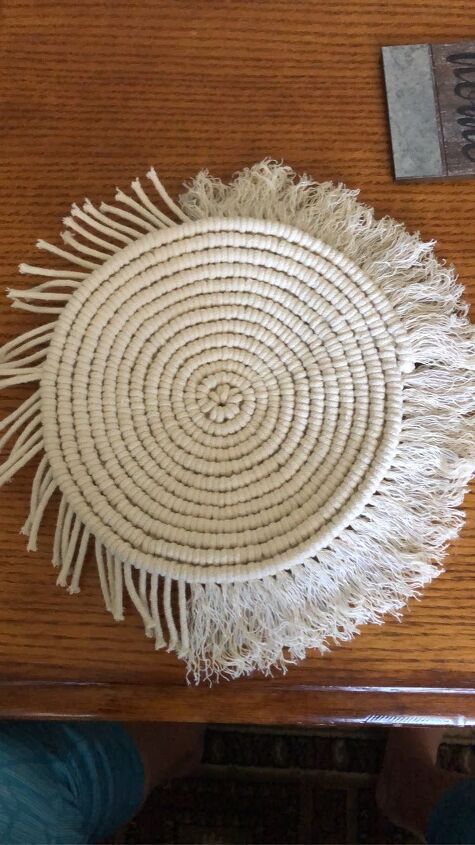
So I made (several) bonus projects with the left over cord. Simply tie five larks head knots around a sixth cord that is looped and pull tight. Then use the double half hitch knot until you run out of cord or you decide the project is large enough.
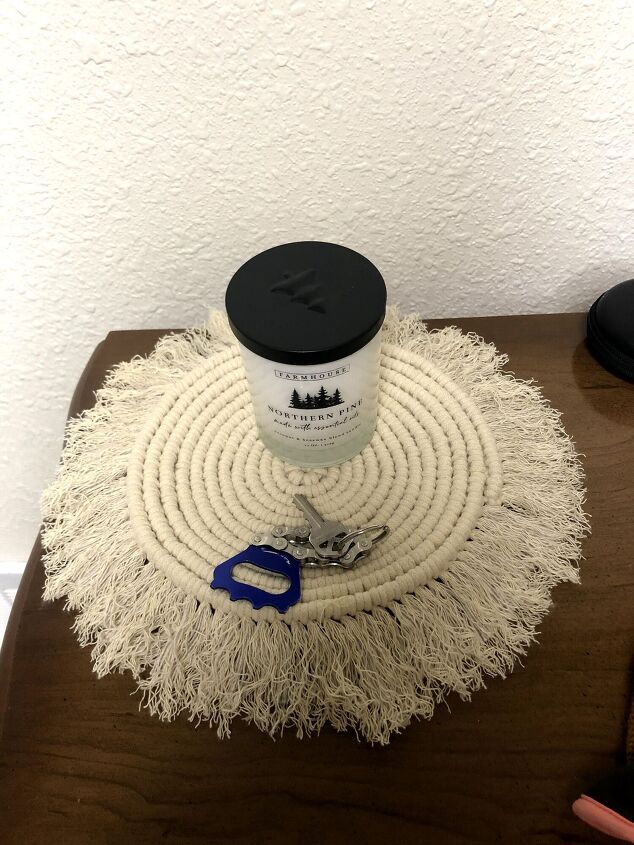
I made several large ones for tables and some smaller ones to use as coasters!

All in all, I think this was a successful upcycle project!
Resources for this project:


Comments
Join the conversation
-
Absolutely beautiful!
-
I love it!!


Frequently asked questions
Have a question about this project?
How much yarn is needed for the chair?
I wonder if you wet it if it would tighten back up ?
I must say that you have absolute patients. It’s beautiful.