Cable Spool Project

by
Jackie
(IC: homeowner)
A little while ago, I posted a question on Hometalk Discussions about what to do with this cable spool and I got so many helpful answers. I'm ready to share my results!!!
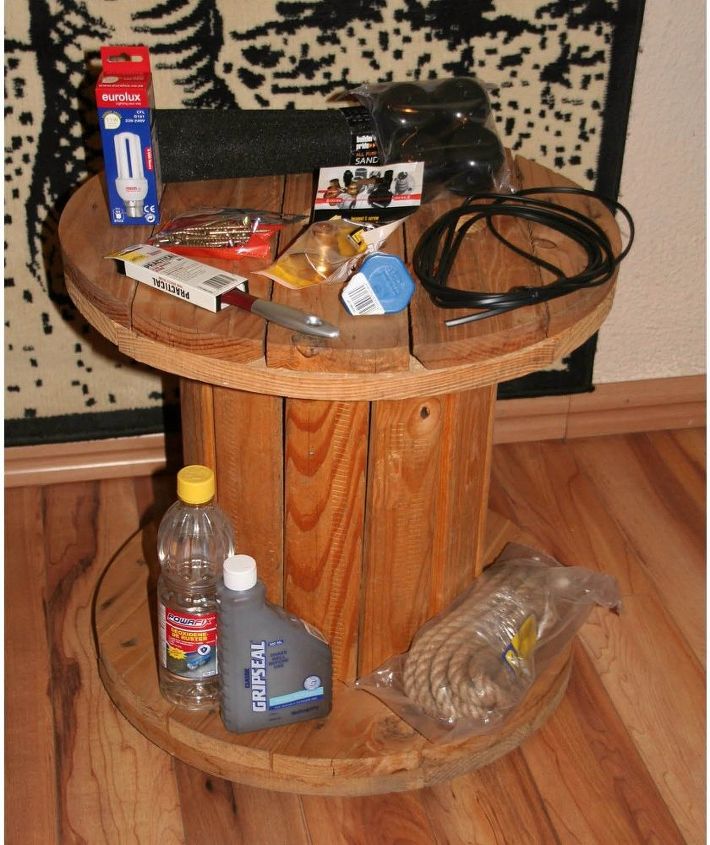
I started with one small cable spool donated by my son. Bought sandpaper,feet,screws,electrical stuff for the lamp (plug,wire,bulb holder and bulb), rust remover, wood sealant, paintbrush, and rope. All set for the journey!!
First off I removed the nuts and washers holding the long bolts in order to remove the rust from them. ONLY DO THIS ONE BOLT AT A TIME!!!! I didn’t! The whole thing nearly collapsed on me. I struggled for an hour to get it back together again, cursing all the time.
Soaked the nuts and washers in the de-ruster for 15 minutes- ONE AT A TIME THAT IS. Washed them, sprayed them with Q20 to stop them rusting again and put them back.
See the smiley face now!!
While all this soaking of nuts and washers was happening, I started the sanding process. I didn’t go overboard as I like the rustic feel!
4 feet, 4 screws, a little measuring and all in place.
The fun part for me was putting the wood sealant on. Love watching the wood come alive!
Then I fitted the light fitting to a thin piece of laminated wood that I found in the shed, attached the wire and plug……
….and fastened the whole thing to the base of the spool. Obviously over the biger hole in the base!
Next, I glued the rope around the base of the spool. Enlisted my mom to hold it in place while I took the photo!
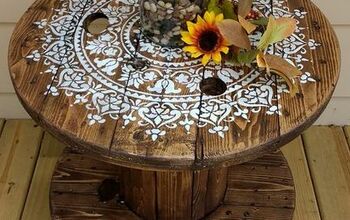
Finished result by day….
….And by night. I am glad I didn’t throw it away!
Enjoyed the project?
Published December 12th, 2016 1:05 PM
Comments
Join the conversation
4 of 80 comments
-
Love this now need to find out where in UK I can get a cable spool from.Did you need lots of special tools . Well done
 Ann Barry-Krishnan
on Jan 13, 2017
-
-
-














Frequently asked questions
Have a question about this project?