


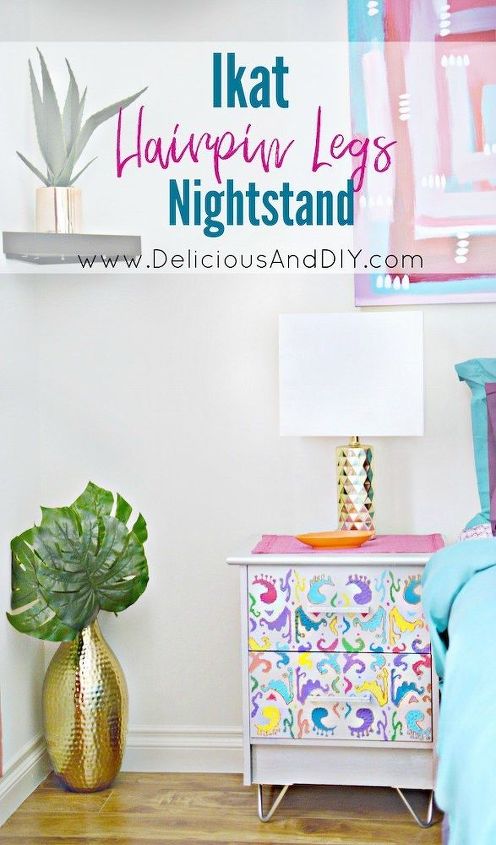
DIY Ikat Hairpin Leg Nightstand
4 Materials
$20
2 Hours
Medium
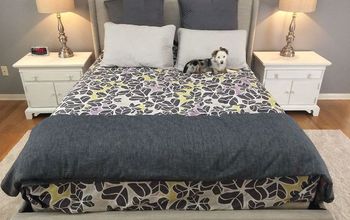
In my Master Bedroom Final Reveal that I shared a few weeks ago on my blog you can see these upgraded Nightstands using hairpin legs.
In todays post I will show you guys how I attached these little legs and went about the whole process.
But first we need a little reminder of how the Nightstand actually looked originally.

They looked more like they belonged in an office space than in a Bedroom.
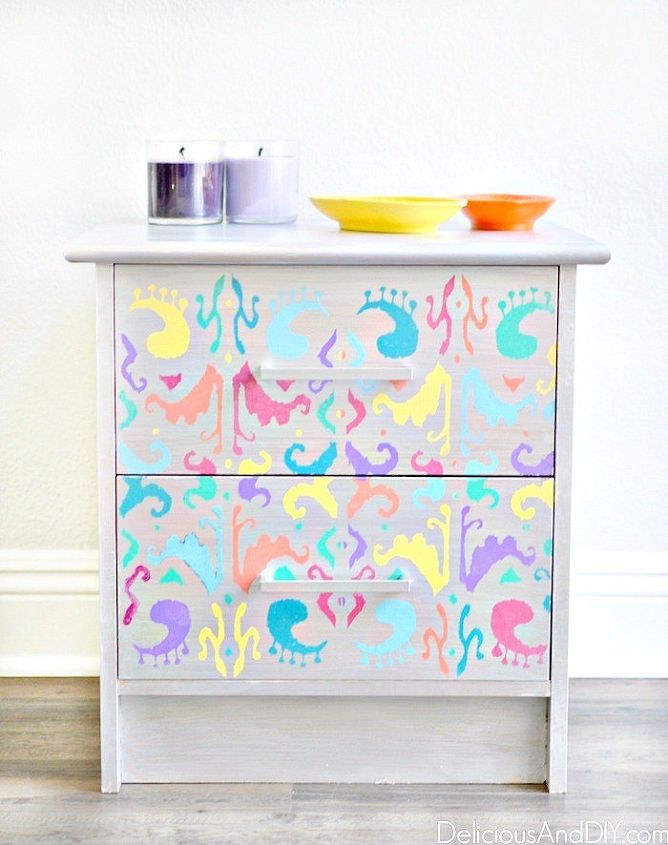
But just by using a stunning Ikat stencil and Multiple Paint colors.I ended up with something like the image below.
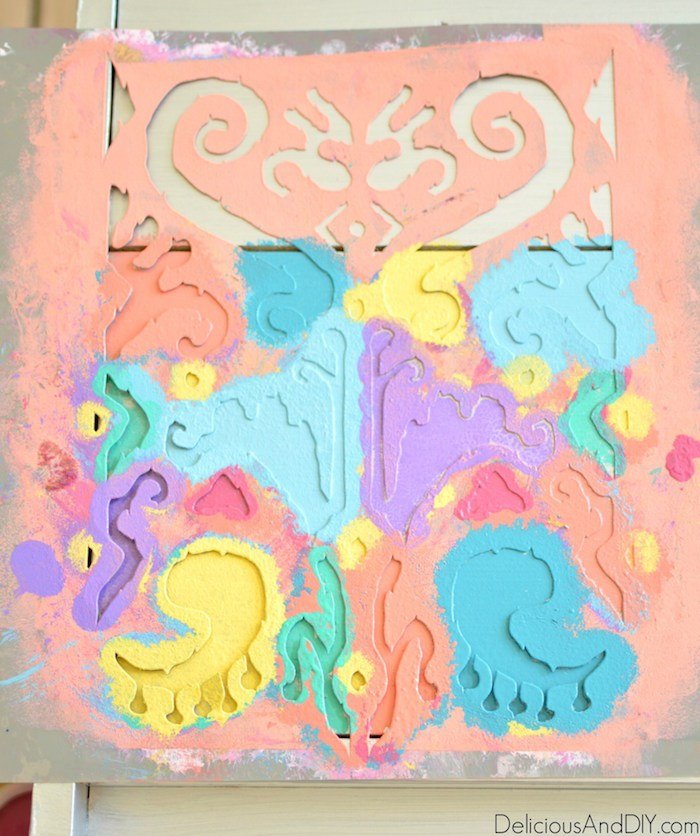
In case you guys want the full tutorial and the paint colors I used on this piece, hop on over to my Multicolored Ikat Nightstand post.
I loved how these tables turned out and I was fine with them for a while.
But when I added Hairpin Legs to my Modern Bookshelf Makeover which you can see in my master bedroom reveal post, I knew I wanted to do the same exact thing with these guys.
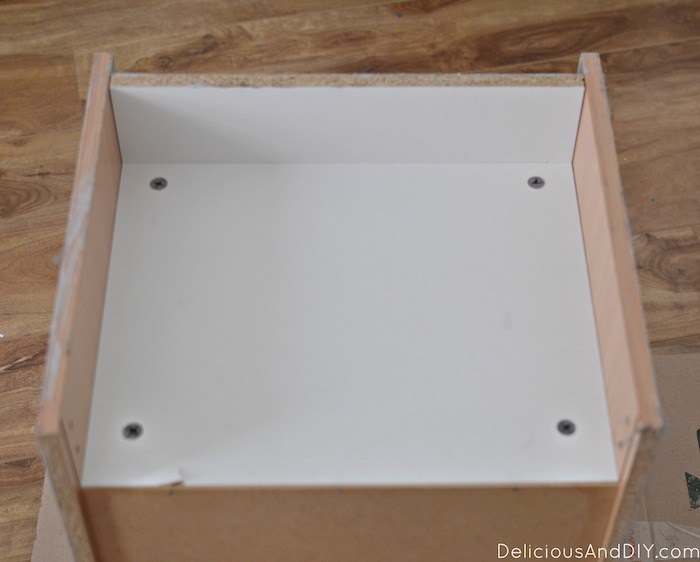
I flipped the Nightstand and saw that one side was missing a wood panel so I did a quick run to Home Depot, got the exact size of the wood piece.
To attach the wooden panel I used Gorilla Glue.
I applied it on the base of the table and only three other sides of the panel.
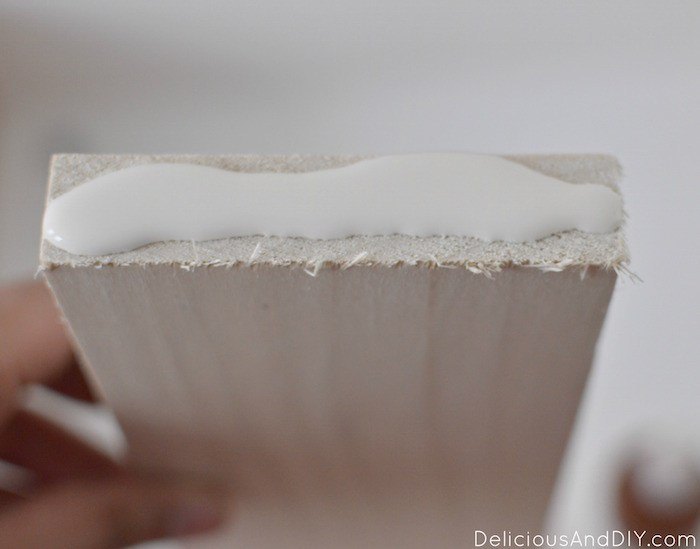
And then I went ahead and attached it onto the Nightstand. Since I bought the perfect size of the wood piece it fit snuggly in its space.
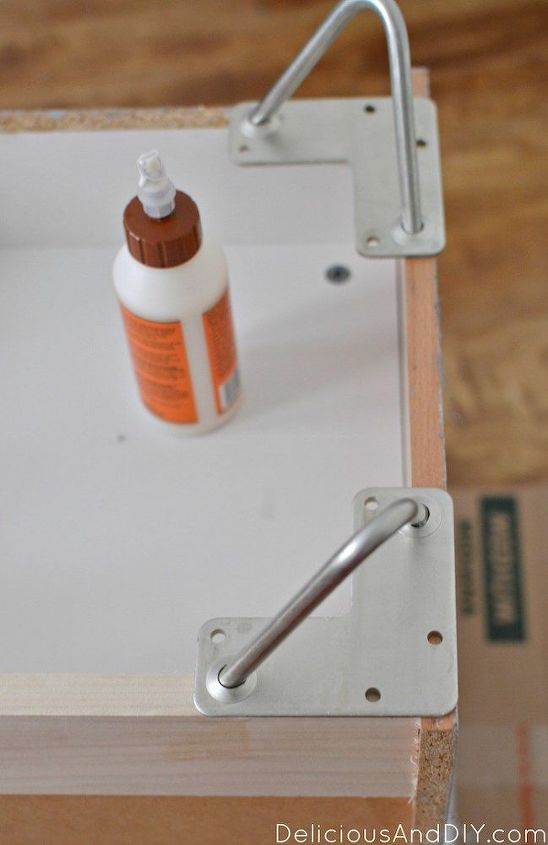
I got the 4 inch Hairpin legs in the color Silver.
I placed them first, so I could mark where I wanted to drill the holes.
Only two of the four holes could fit on the wood panel side which was completely fine, because it still gave the same support and balance when I was done with the whole process.
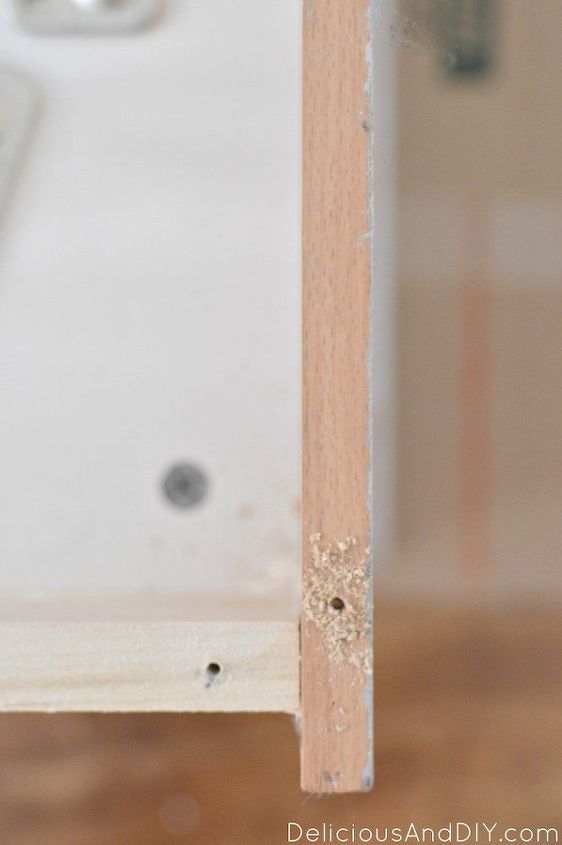
Using a drill, make the holes and then place the legs on top and screw it down completely.

Repeat on all fours sides.
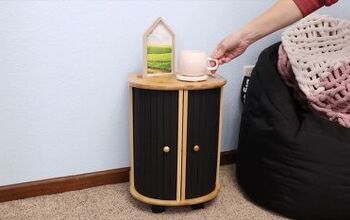
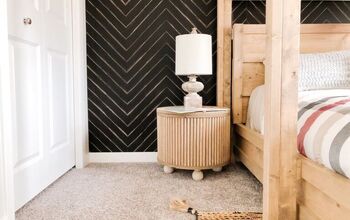
Flip the table back up and you should end up with something like this.
Resources for this project:
See all materials


Any price and availability information displayed on [relevant Amazon Site(s), as applicable] at the time of purchase will apply to the purchase of this product.
Hometalk may collect a small share of sales from the links on this page.More info

Want more details about this and other DIY projects? Check out my blog post!


Frequently asked questions
Have a question about this project?