


How to Transform a DIY Makeup Vanity Into a Colorful Art Deco Piece

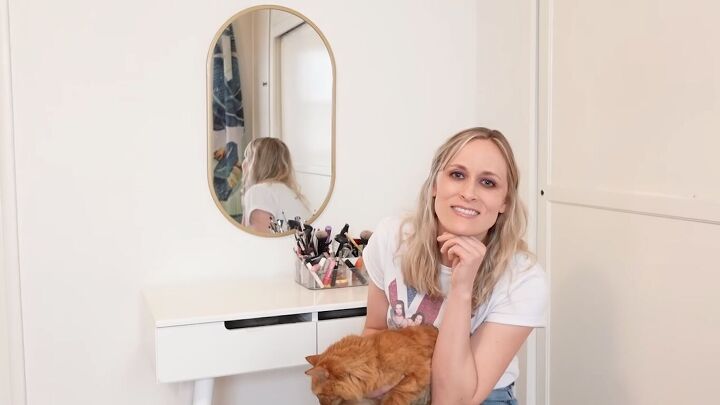
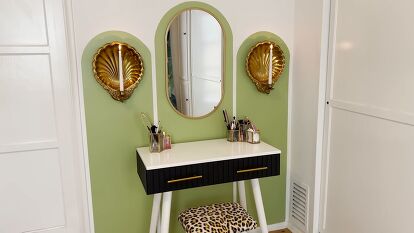
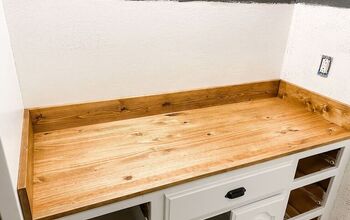
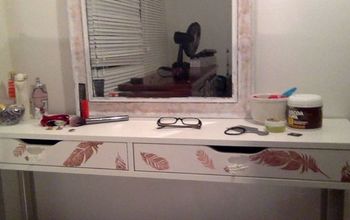
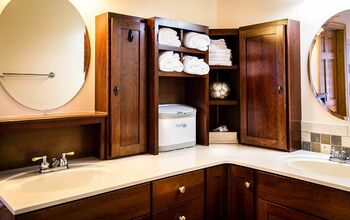
Today, we are doing a DIY makeup vanity makeover. The vanity area in my bedroom is very blank, very white, and very practical, and I can’t stand it. We need glamor, we need drama. So, we’re going to transform this old vanity into a DIY fluted vanity in a colorful Art Deco style, with the help of a few upcycles and thrifted items.
Tools and materials:
- Vanity with stool
- Mirror
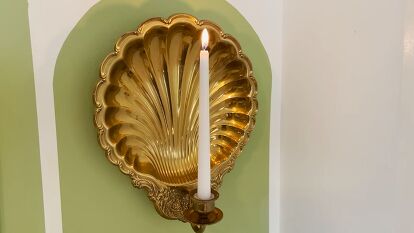
- Thrifted sconces
- Craft sticks
- Dowel
- Scissors
- Marker
- Sandpaper
- Glue
- Spackle
- Painter’s tape
- Level
- Pencil
- White, green, and black paint
- Paintbrushes
- Hardware
- Hardware tool
- Drill
- Screws
- Polyurethane topper
- Fabric
- Staple gun
- Sand
- Nails
My makeup vanity's previous lives
In a previous video, I made this vanity over with washi tape. However, the drawers require me to reach inside and pull, which messed up the washi tape design. Also, I hate that drawer style.
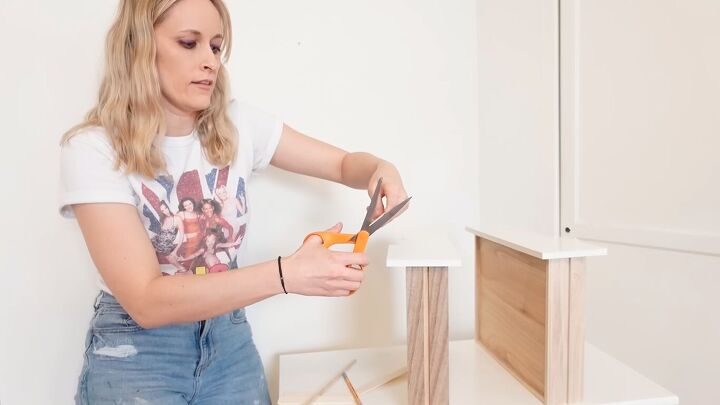
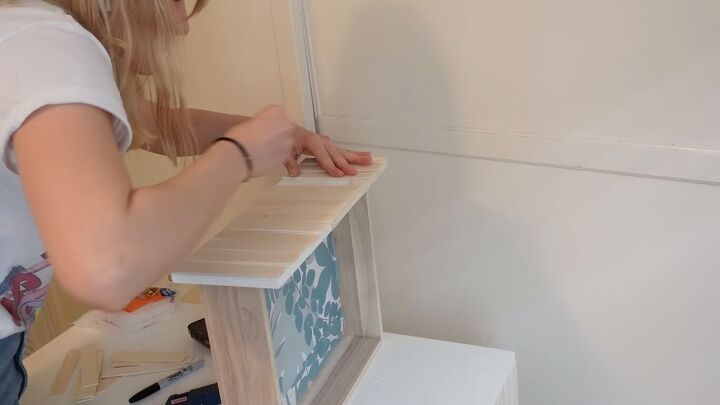
1. Cut craft sticks for the fluting
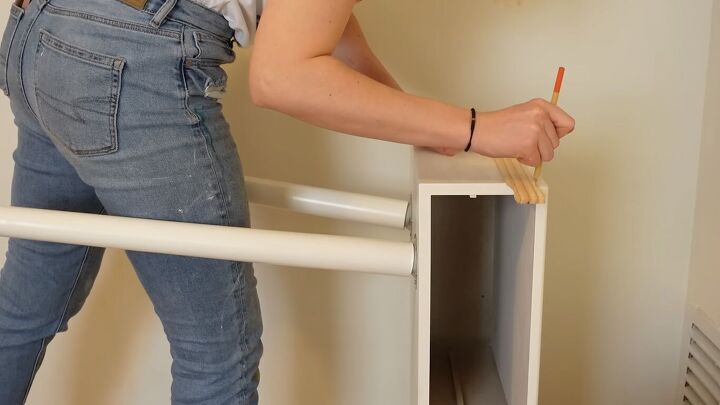
To add personality and texture, we’re going to add a fluting trim all the way around the edge using craft sticks. They’re basically popsicle sticks.
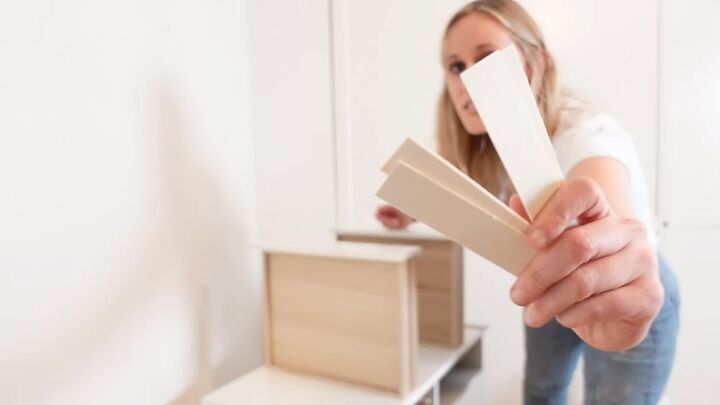
Add the sticks all the way across, using a dowel as a guide for the spacing between them.
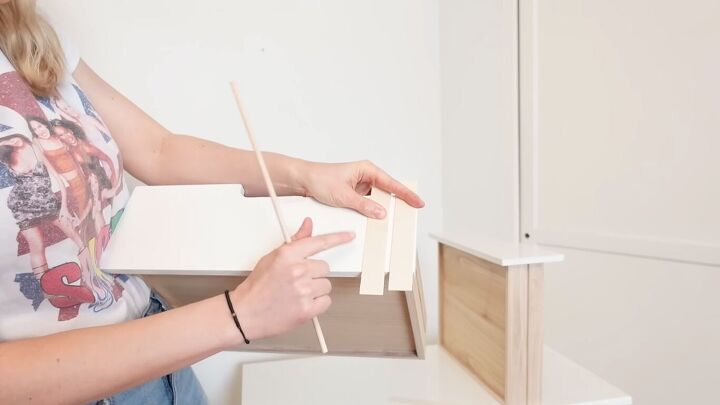
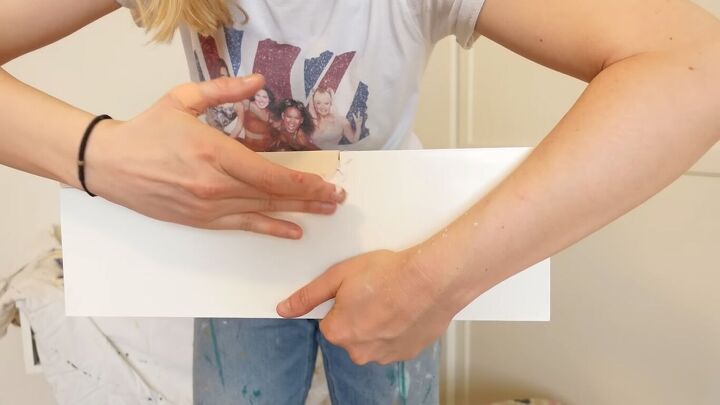
Cut the sticks to the right length.
Do the same for the side of the vanity. You can use one stick as the template for all of them.

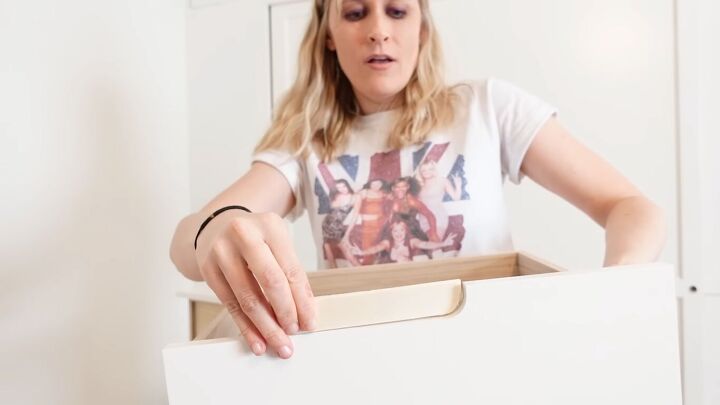
2. Fill in the cutout
I also want to fill in the stupid cutout. So, to create a solid front, I have cut the craft sticks in the shape of the cutout.
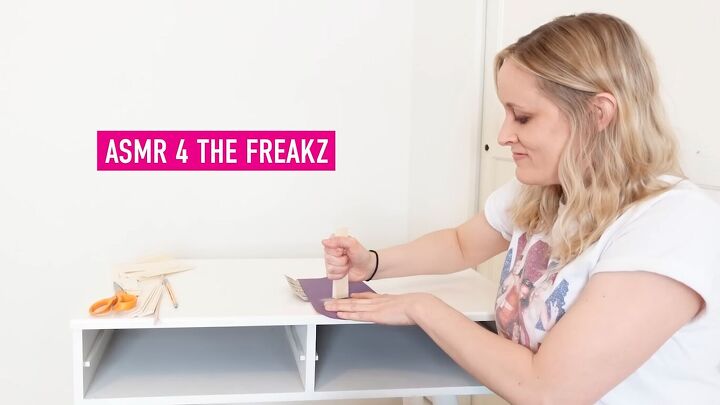
3. Sand the edges
Sand the edges of the craft sticks to make sure they’re nice and neat. Also, sand the laminate surface of the vanity sides and drawer fronts to help the glue stick.
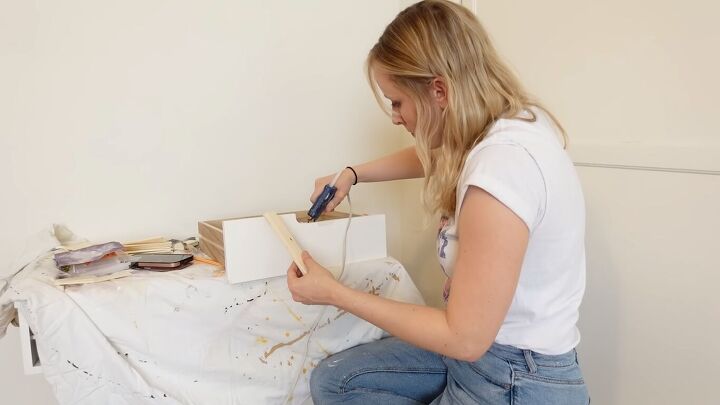
4. Glue
Now it’s time to head down to Gluetown. Today’s glue of choice is Gorilla Glue’s hot glue sticks.
Note: We’re gluing wood to laminate and laminate is basically plastic.
Glue the pieces to fill in the cutout, then add a little spackle to smooth it out. Wait for the spackle to dry.
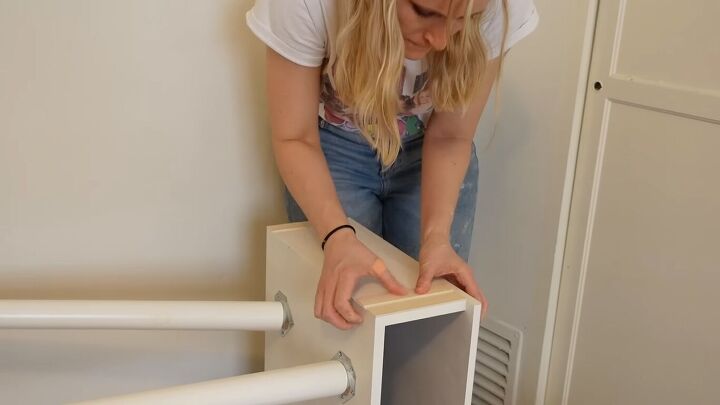
For the sides, you can start to glue the fluting pieces in place. Leave about a quarter inch at the top for consistency.
Spacing tip
Glue your end pieces first, then approximate the spacing as you move inwards. You can also use painter’s tape on the backs to place the craft sticks first.
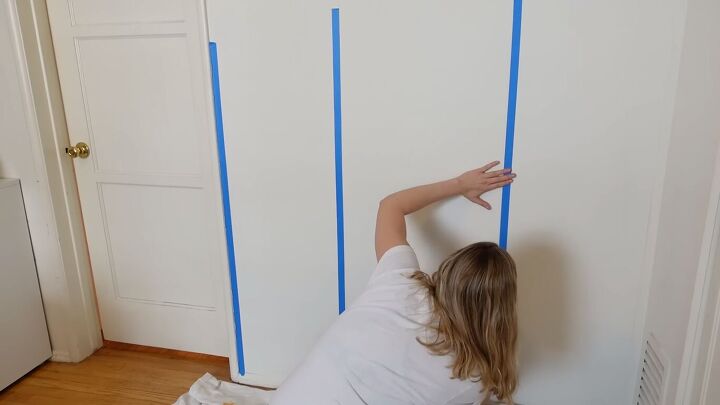
5. Paint arches
Next, I want to add an Art-Deco-inspired scallop-y frame for the mirror and thrifted sconces I have. Ideally, this would be a screen, but that wouldn’t work with the sconces. So, we’re going to be painting arches instead.
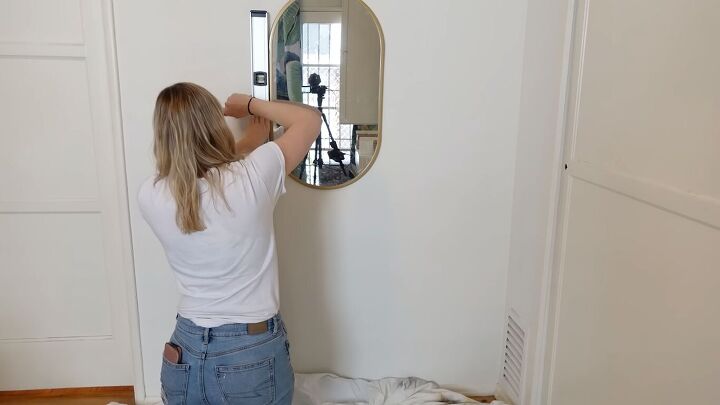
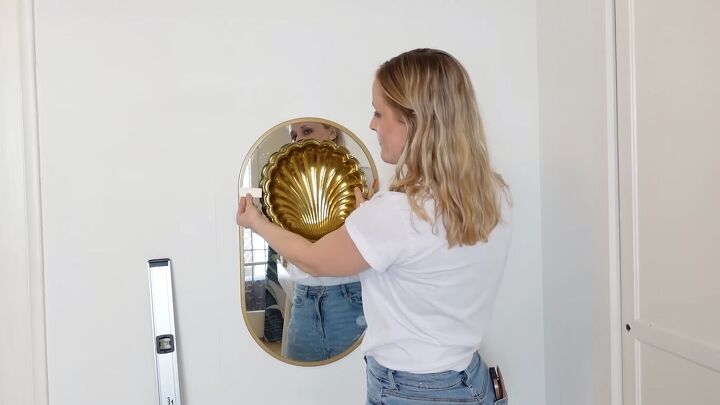
I’m using my level, which has a 2-inch frame, to trace around my oval mirror, which will provide the perfect curve for our arches.
To draw around the curve, I use another craft stick to the right width I needed and used it to guide my hand around the mirror.
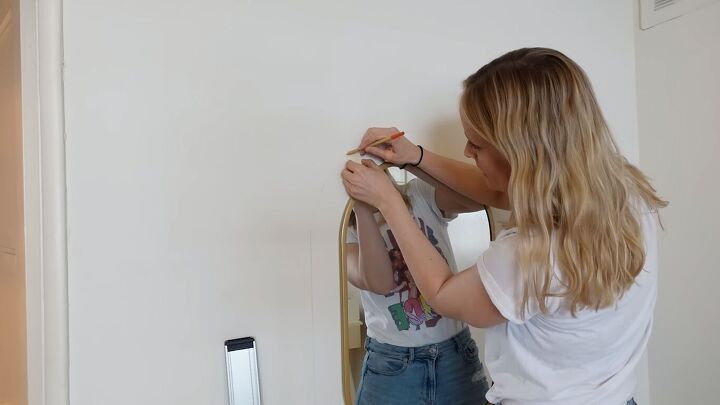
It just so happens that the sconces roughly follow the same curve as the mirror with a space of approximately the same length to the edge of the mirror… does that make sense? So, I can trace the mirror for the smaller arches on either side.
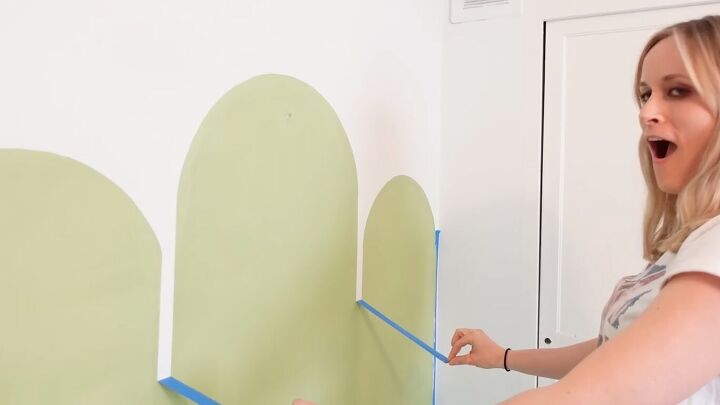
I left a little gap between the central arch and the side arches, to give the effect of a folding screen.
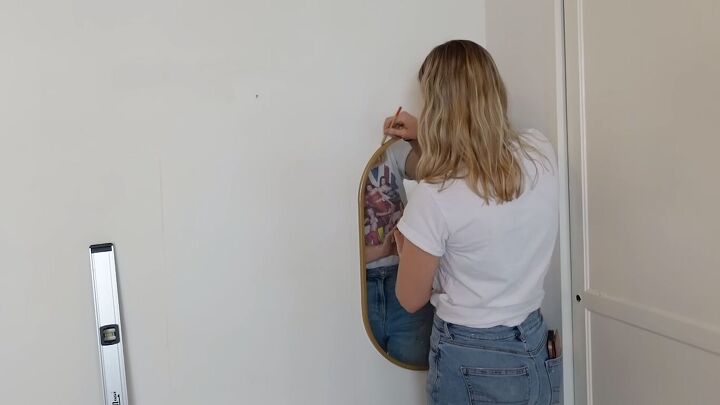
To make sure my arches were level, I marked the tops of them.
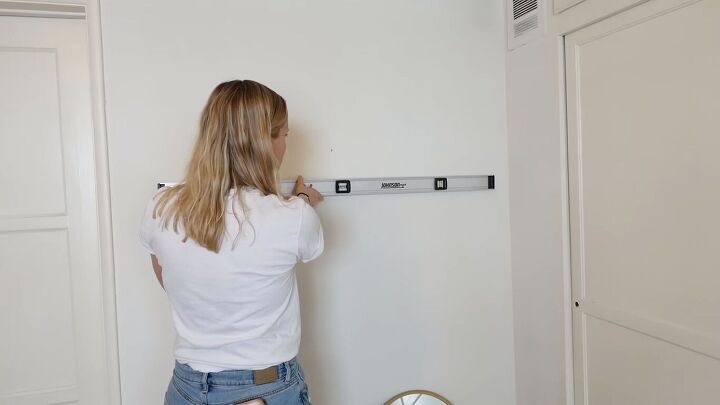
Next, I taped around where I wanted to paint.
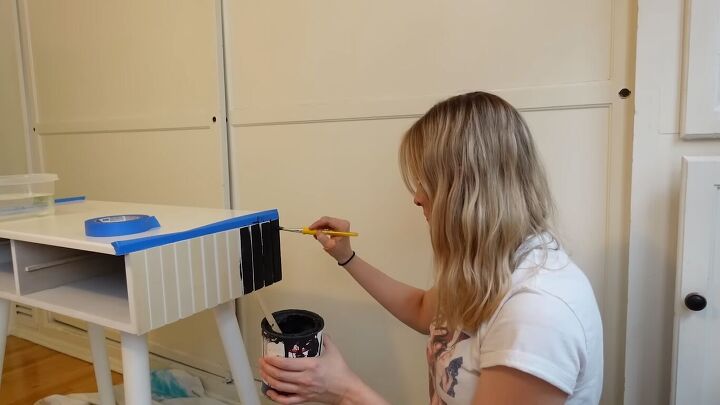
How to paint crisp lines
Tape alone doesn’t ensure perfect crisp lines, so go over the painter’s tape with a white base coat as well.

The paint I’m using is called Fresh Artichoke by Behr. This yellow-green is a little more 70s than Art Deco, but I think it’s funky and fun. Paint the arches, then peel the painter’s tape off.
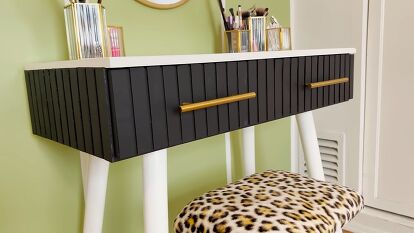
6. Glue the craft sticks to the drawer fronts
Now that the drawer fronts are spackled, dried, and sanded, I’m adding the fluting effect to them too.
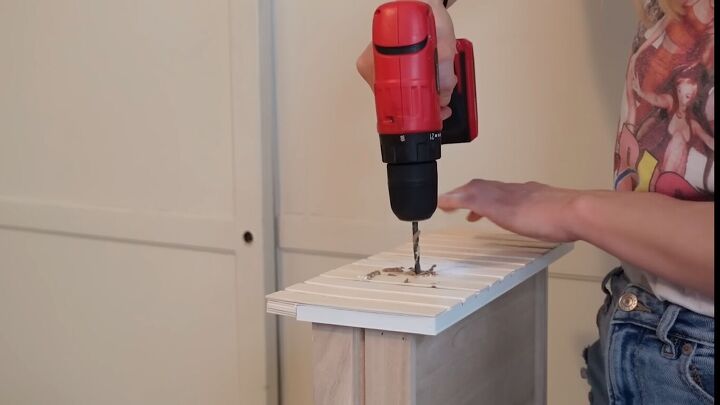
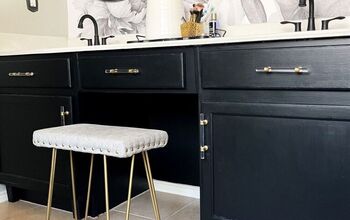
7. Add hardware
We’re going to be painting and adding hardware to these drawers, so I’m using a hardware tool to figure out where the holes should go.
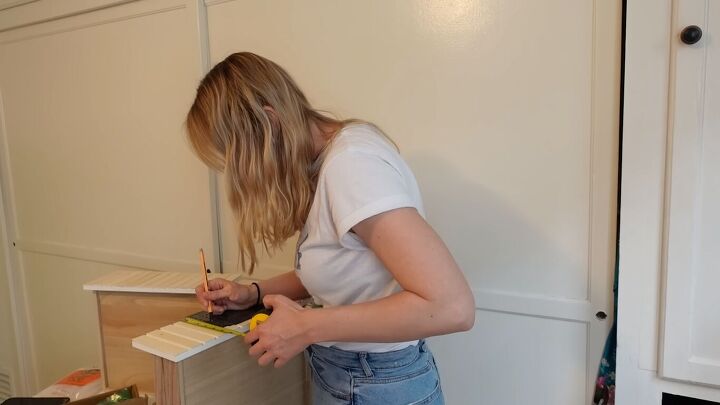
Then drill the holes. You can attach the hardware after painting.
I’m painting the vanity an opulent black with chalk paint as chalk paint can stick to laminate without the need for a primer. I then used a polyurethane topper to make the paint more durable.
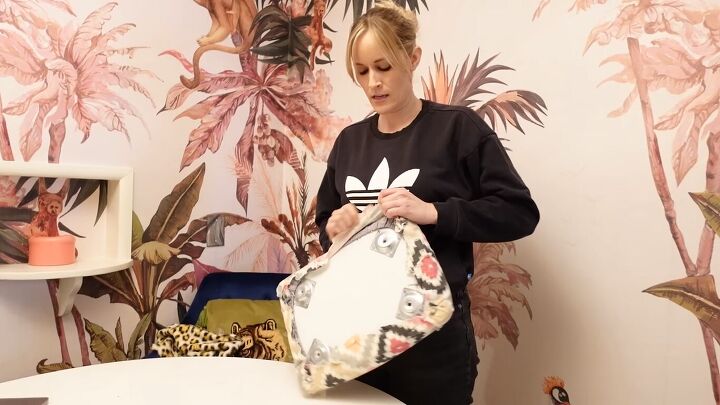
8. Reupholster the vanity stool
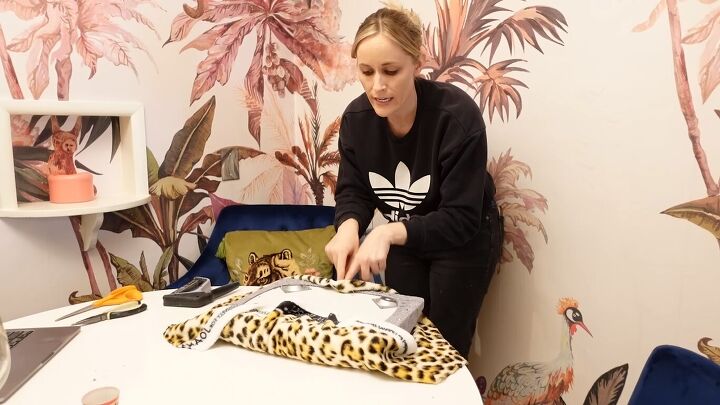
Next, we’re reupholstering the stool with a fun leopard print fabric. First, take off the table legs and the old upholstery.
Cut the fabric so that you have enough to fold over the stool top.
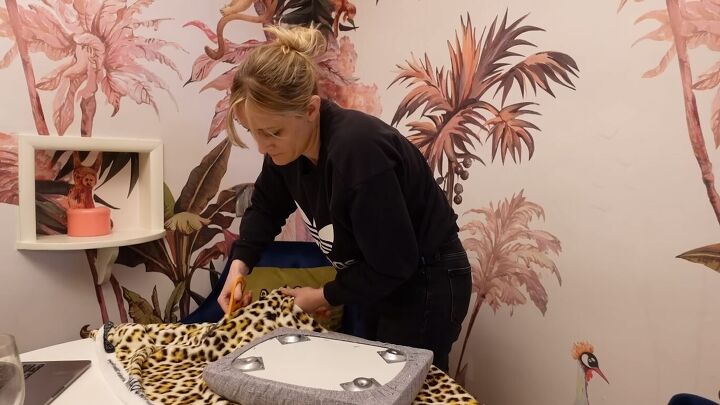
Staple the starter pieces first; the center of each edge. Then, go around and fold and staple what you need.
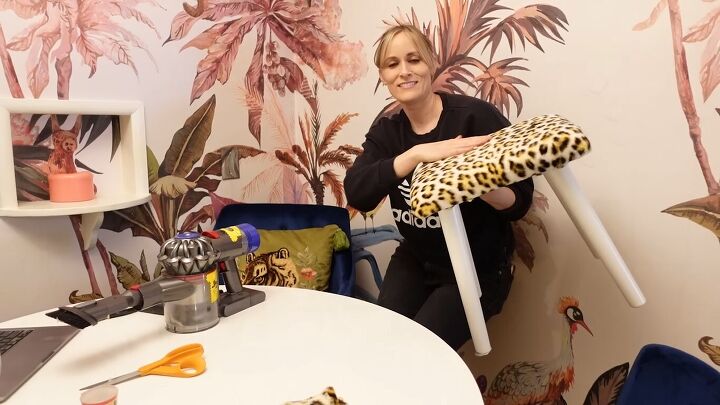
Then reattach the legs and you’re done!
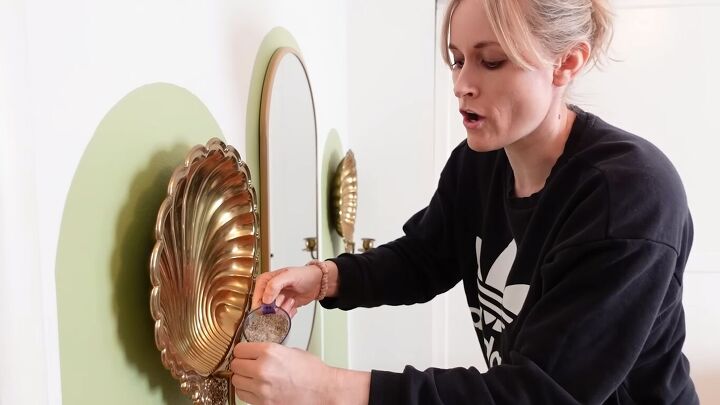
9. Finishing touches
Hang the mirror and sconces and watch it all come together. The candleholder bases are quite large so I’m going to pour in some sand so that my taper candles stay in place.
DIY makeup vanity makeover
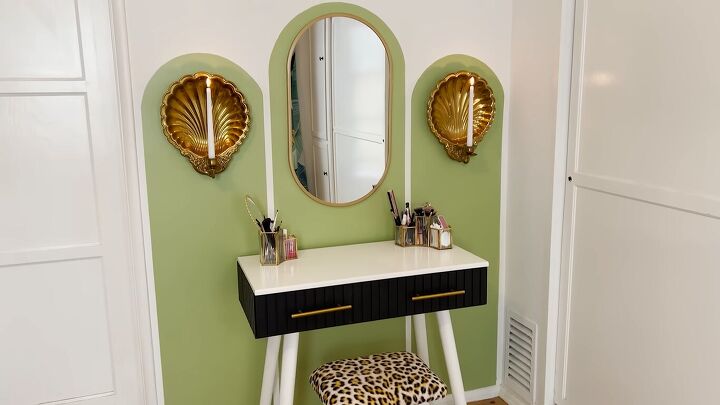
DIY makeup vanity makeover
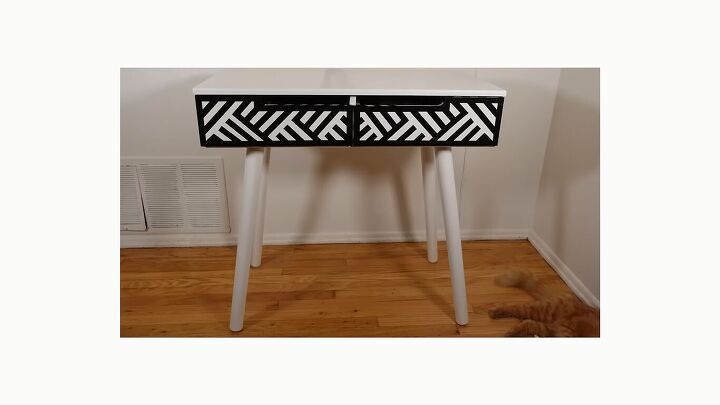
I love being able to reuse stuff that I already have in my house or pieces that just need a little facelift. I’m very happy with how well this DIY makeup vanity transformation turned out. The fluted hack for $20 in popsicle sticks is pretty genius and I highly recommend trying it out.
What do you think? Let me know your thoughts on this project in the comments below.


Frequently asked questions
Have a question about this project?