


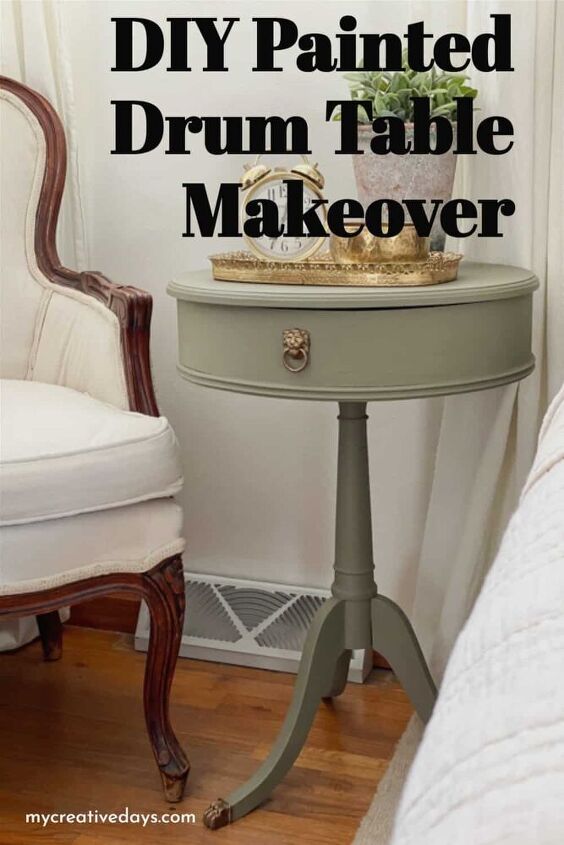
DIY Painted Drum Table Makeover
This DIY painted drum table makeover is another example of taking a drab piece and turning it into something that fits your home perfectly!
I don’t know what it is, but recently I have been finding small tables while I am out browsing around. Our living room is starting to look like a small table factory. 🙂 I recently shared the DIY Painted And Glazed Side Table, the $5 Ethan Allen Table Makeover and I have another one waiting to be worked on.
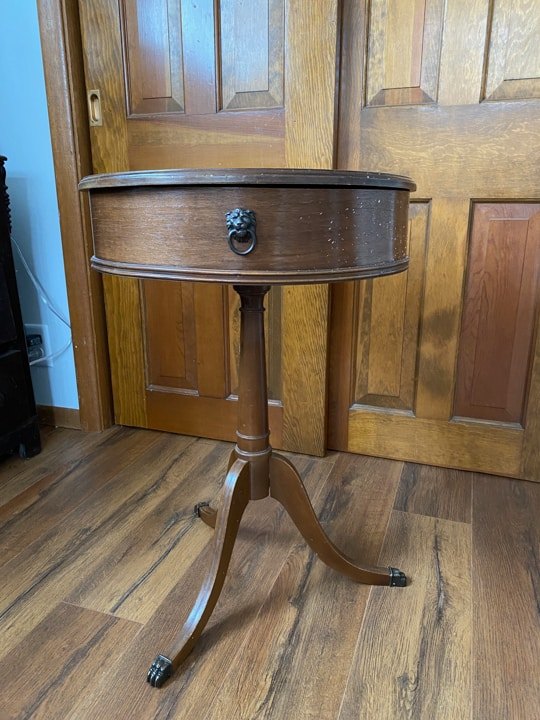
This table was a perfect size, had storage, and was only $10. I had to bring it home.
When I opened the top, there were these racks inside.

I don’t know what they were for. I was thinking that it may be something for sewing? You will have to let me know if you know what they are for.
The first thing I did was get rid of them. There were only 4 screws holding up each piece, so easy to remove.
{Affiliate links are used in this post. Click on any of the pink links to find the products I am talking about. You can read my disclosure HERE.}
Dixie Belle Paint – “Spanish Moss” color
Rub’N Buff – “European Gold” color
Then, I used Krud Kutter – Gloss Off to clean and de-gloss the table. This stuff has worked so well for me in my last two makeovers. I share in my YouTube video below how easy it is to work with.
After the Krud Kutter was dry, it was time to paint.
You know if I am painting, I am grabbing my favorite paintbrush. This time I used the Palm Pro. It fits perfectly in my hand and makes my painting project a breeze.
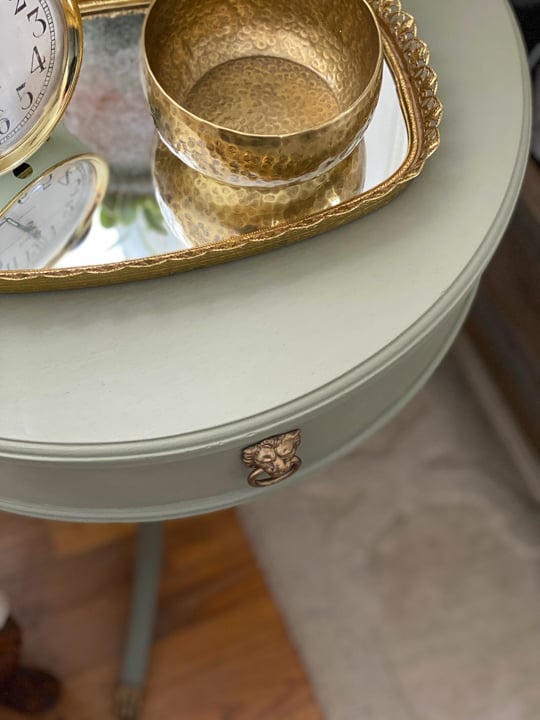
I chose to paint this table in “Spanish Moss” color from Dixie Belle Paint. I am loving beige colors right now and this one has a green touch to it which makes it that much better. It is such a pretty color and I knew it would look beautiful on this table.
The table took two coats of paint. While the second coat dried, I applied “European Gold” Rub’N Buff to the feet and the lion head knob on the table. It was just what these pieces needed to give them a little sprucing up and not look so drab.
Here is a video sharing some tips for painting furniture as I was painting this table. This video starts after I applied the “Mud” from Dixie Belle Paint and it had dried overnight:
Once the paint was finally dry, I applied one of my favorite top coats to the table. I always use a flat topcoat and this one is made by the same company as the paint so I use it every time I am adding a top coat over the Dixie Belle Paint. I don’t always add a topcoat, but I thought this table needed it.
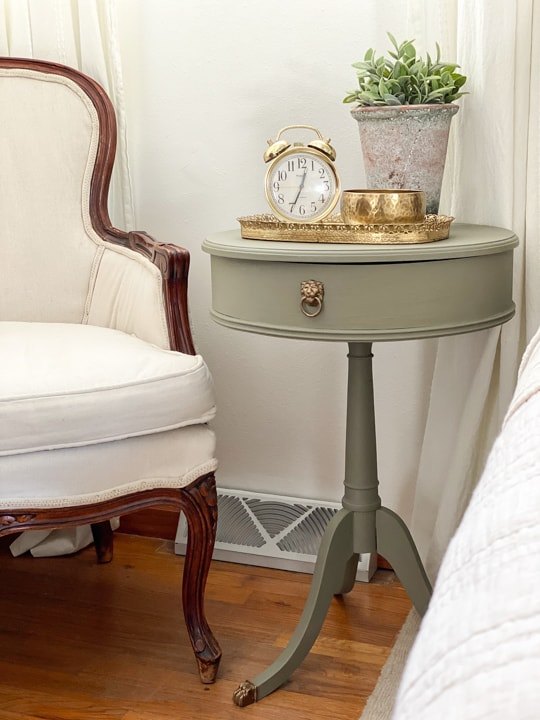
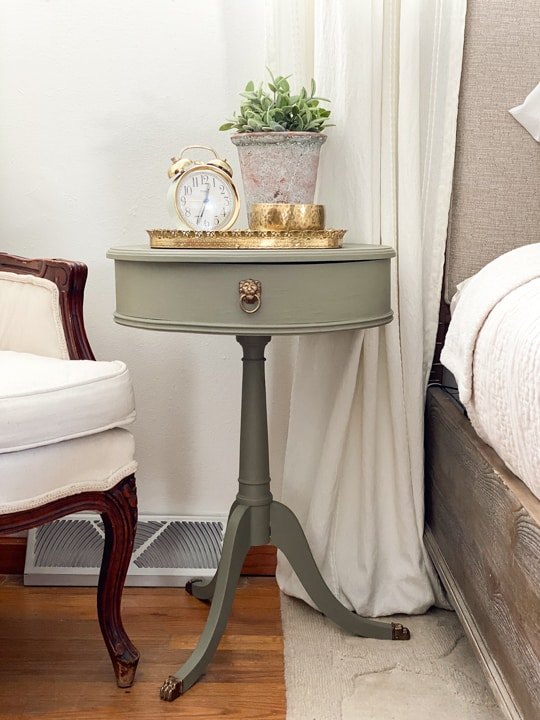
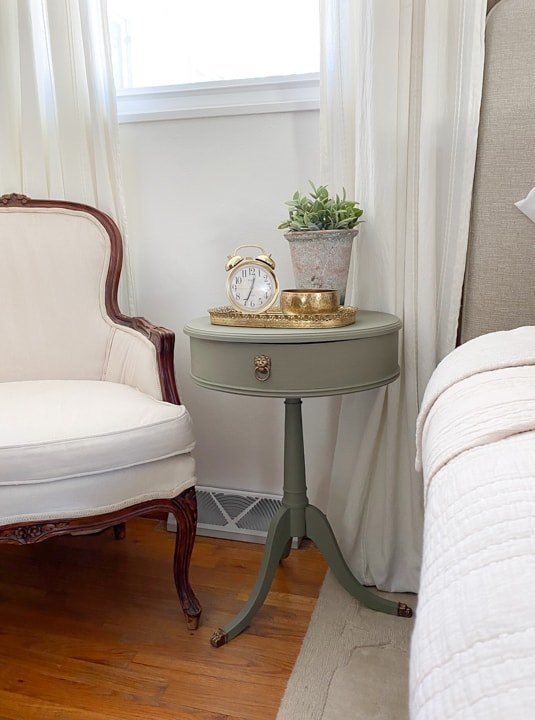
Look at her now!!
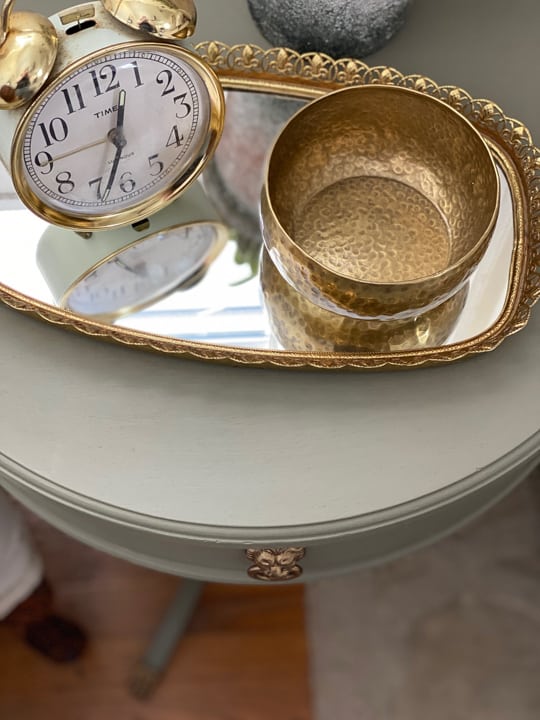
This wasn’t a piece where the paint brought out all the detail it had, but the paint did bring new life to it. I didn’t like the dark brown vibe. It wasn’t happy. It wasn’t pretty to look at.
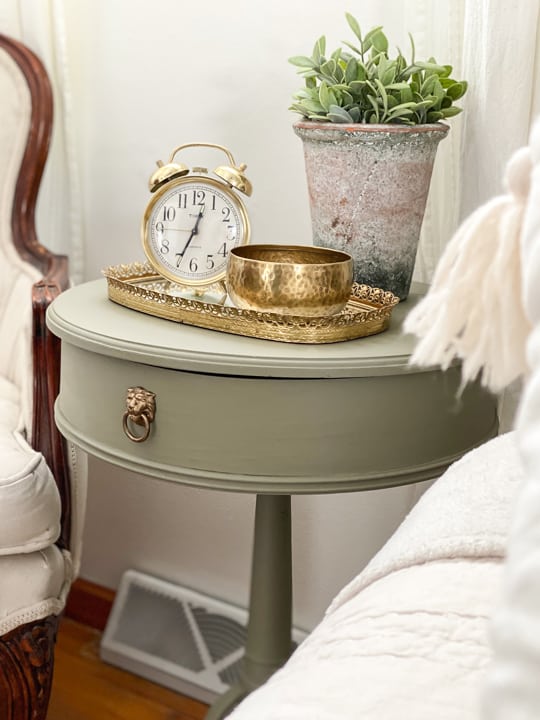
It is so pretty and will go to a home where it will be loved and used.
Now, the question I have for you is: What would you store inside this table? (I did not paint the inside – just the inside of the “lid”).
If you try a furniture project or have already done one, post them to your Instagram feed and tag me @mycreativedays! I would love to see them all!!
PIN THIS POST!


Comments
Join the conversation
-
It turned out really pretty and I'm glad you didn't distress it.


Frequently asked questions
Have a question about this project?